2 Sisters 2 Cities

Image Map
  • About 2 Sisters 2 Cities
  • Recipe Index
  • Project Index
  • Contact Us
  • Like us on Facebook
  • Follow m on twitter
  • Follow k on twitter
  • Follow 2S2C on Pinterest
  • Follow 2S2C on G+
  • rss
  • e-mail 2S2C

Meaghan Barry

Meaghan is a former finance professional, turned stay-at-home mom.

Beef Wellington with Oyster Pate

Posted by Meaghan Barry on January 2, 2010

For this year’s New Year’s Day dinner, I wanted to try a more challenging dish to mark this special occasion.  My mom made us Beef Wellington for Christmas in 2008 so I wanted to try this dish on my own.  I had also seen a special on the Today Show where they made mini Beef Wellingtons for a NYE appetizer.  I definitely want to try to make these for a party sometime as I suspect they would be a huge hit.  Searching for a recipe, I found this one on the Food Network site by Paula Deen.  All of the commenters seemed to have enjoyed it a lot, so I decided to give this version a try:

Paula Deen’s Beef Wellington with Oyster Pate
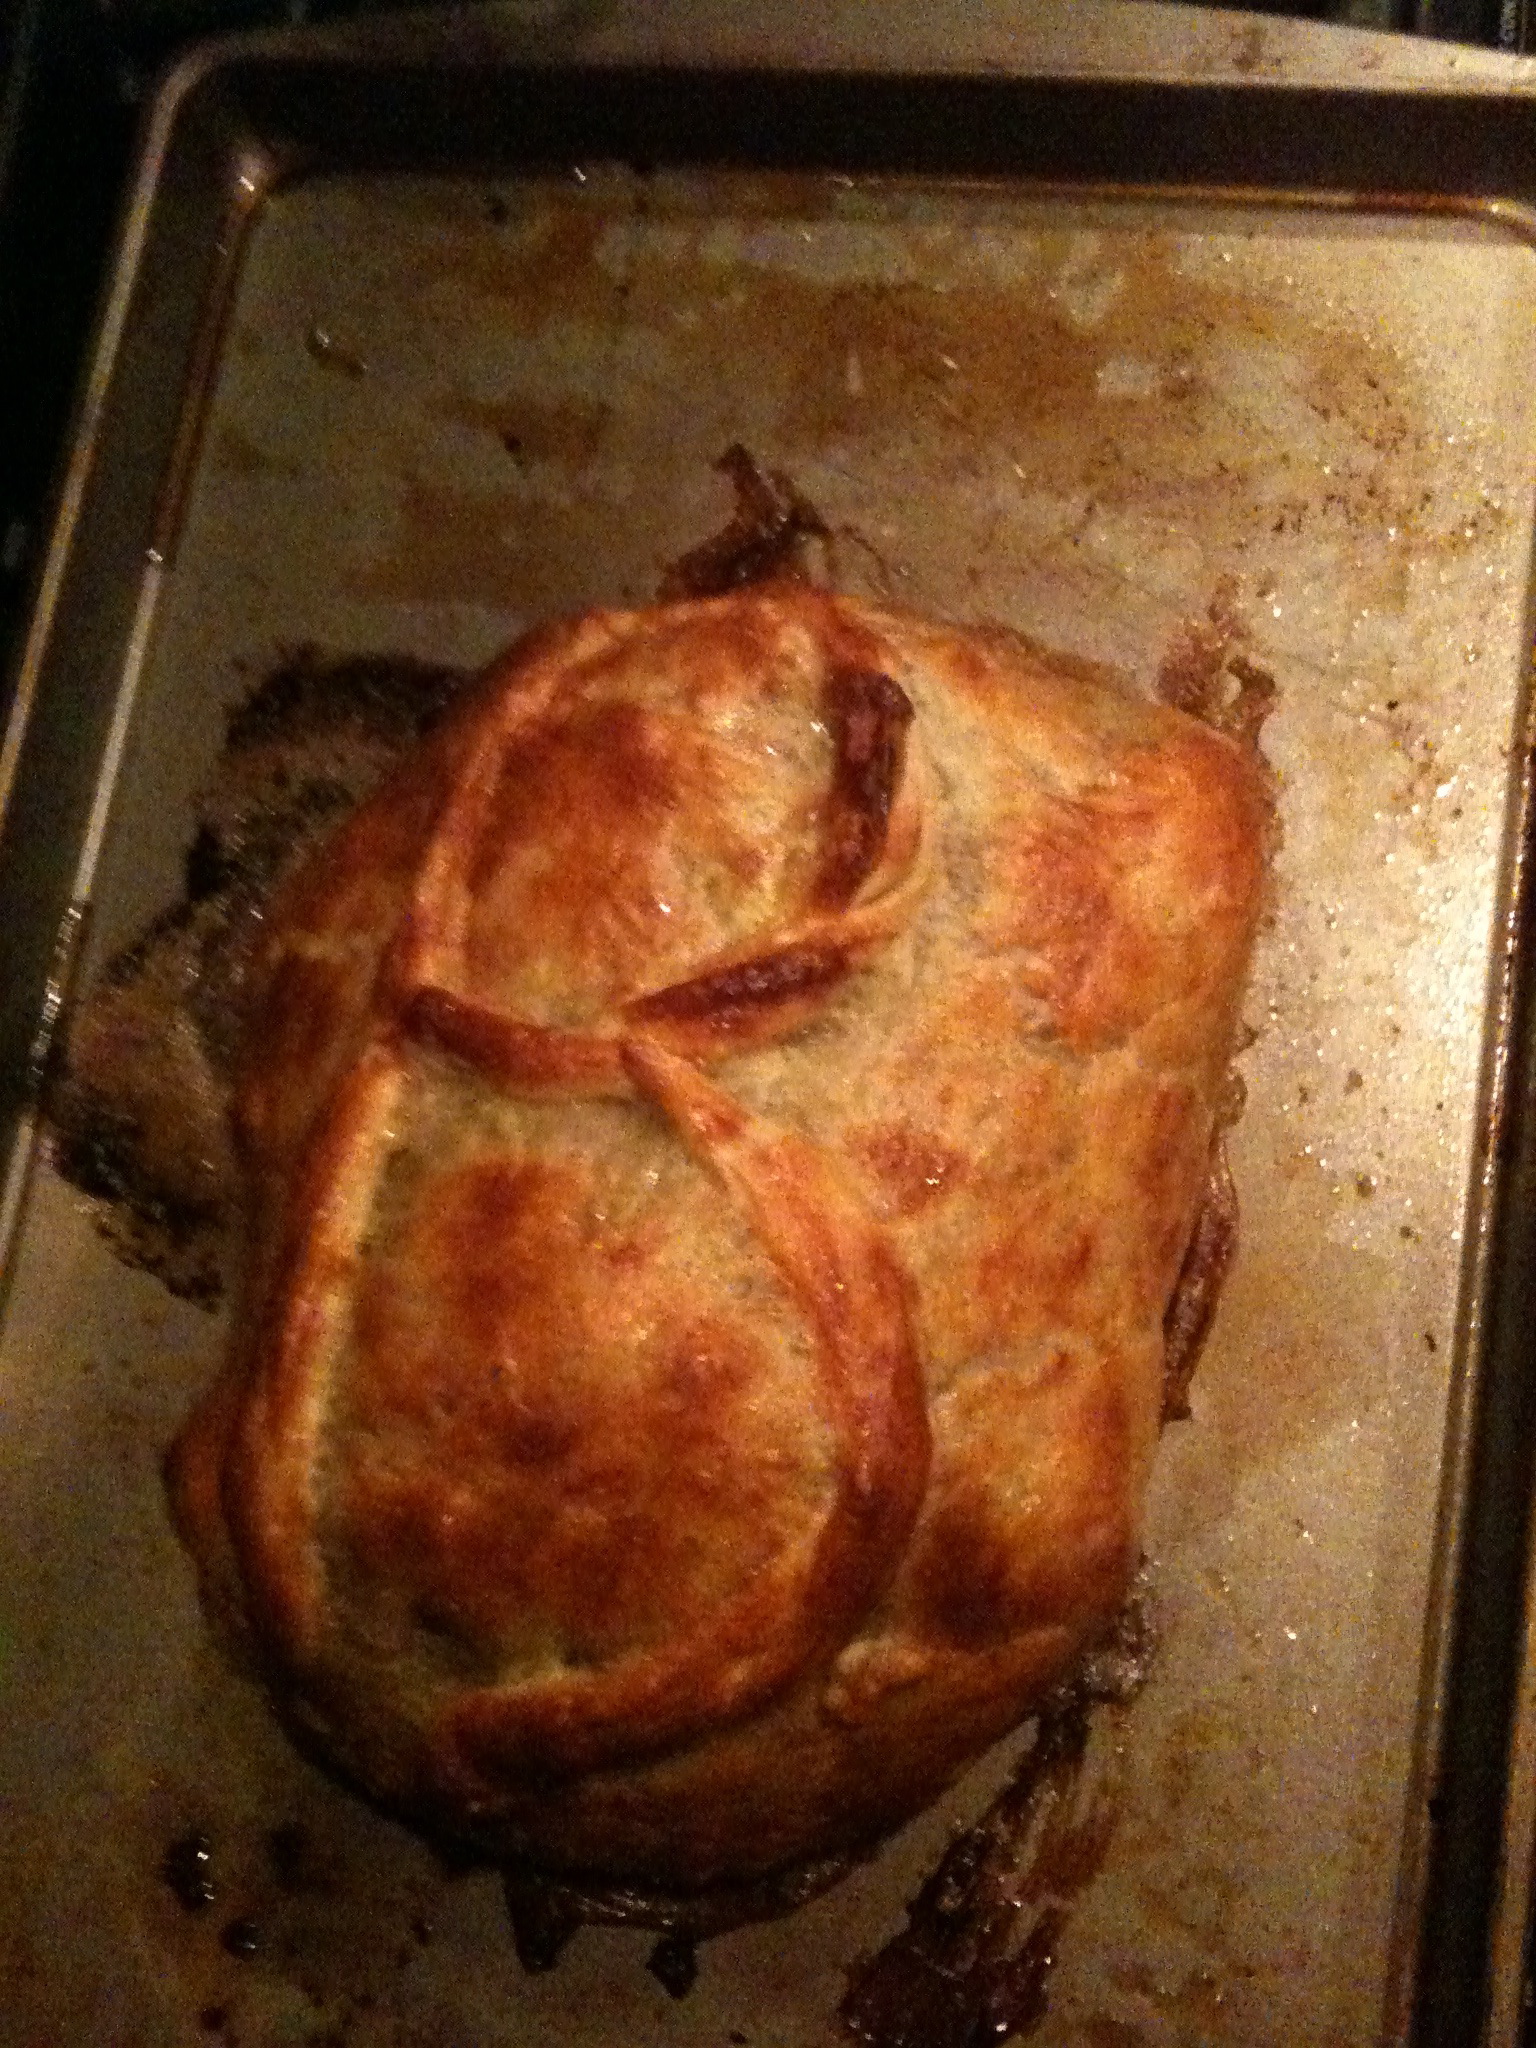
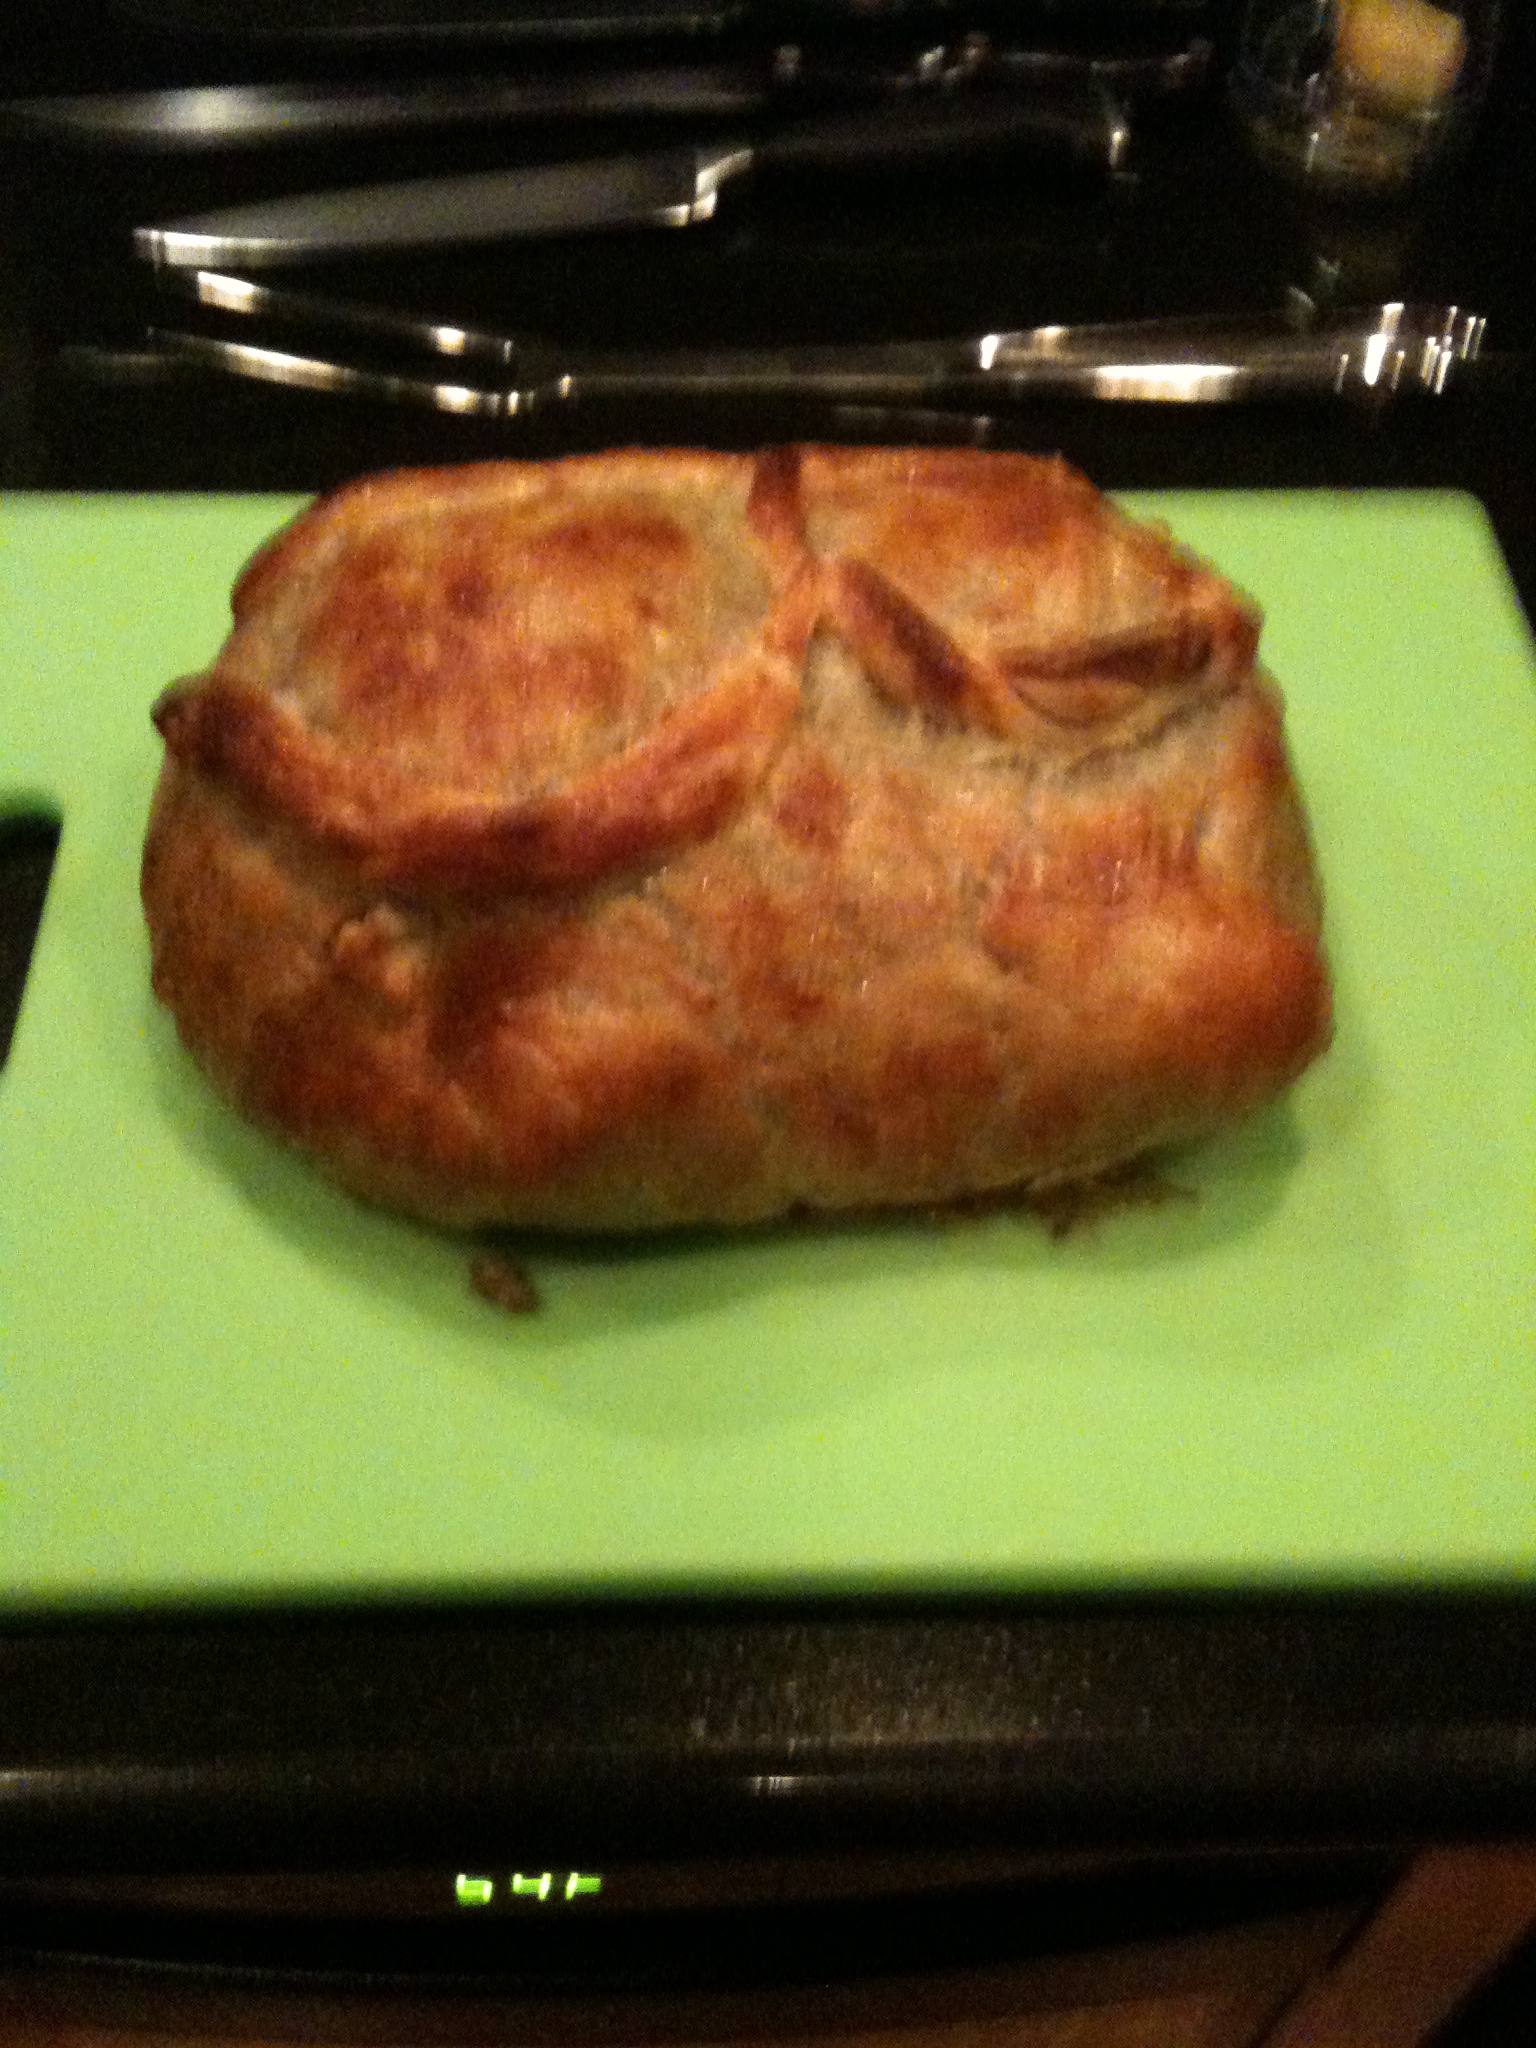
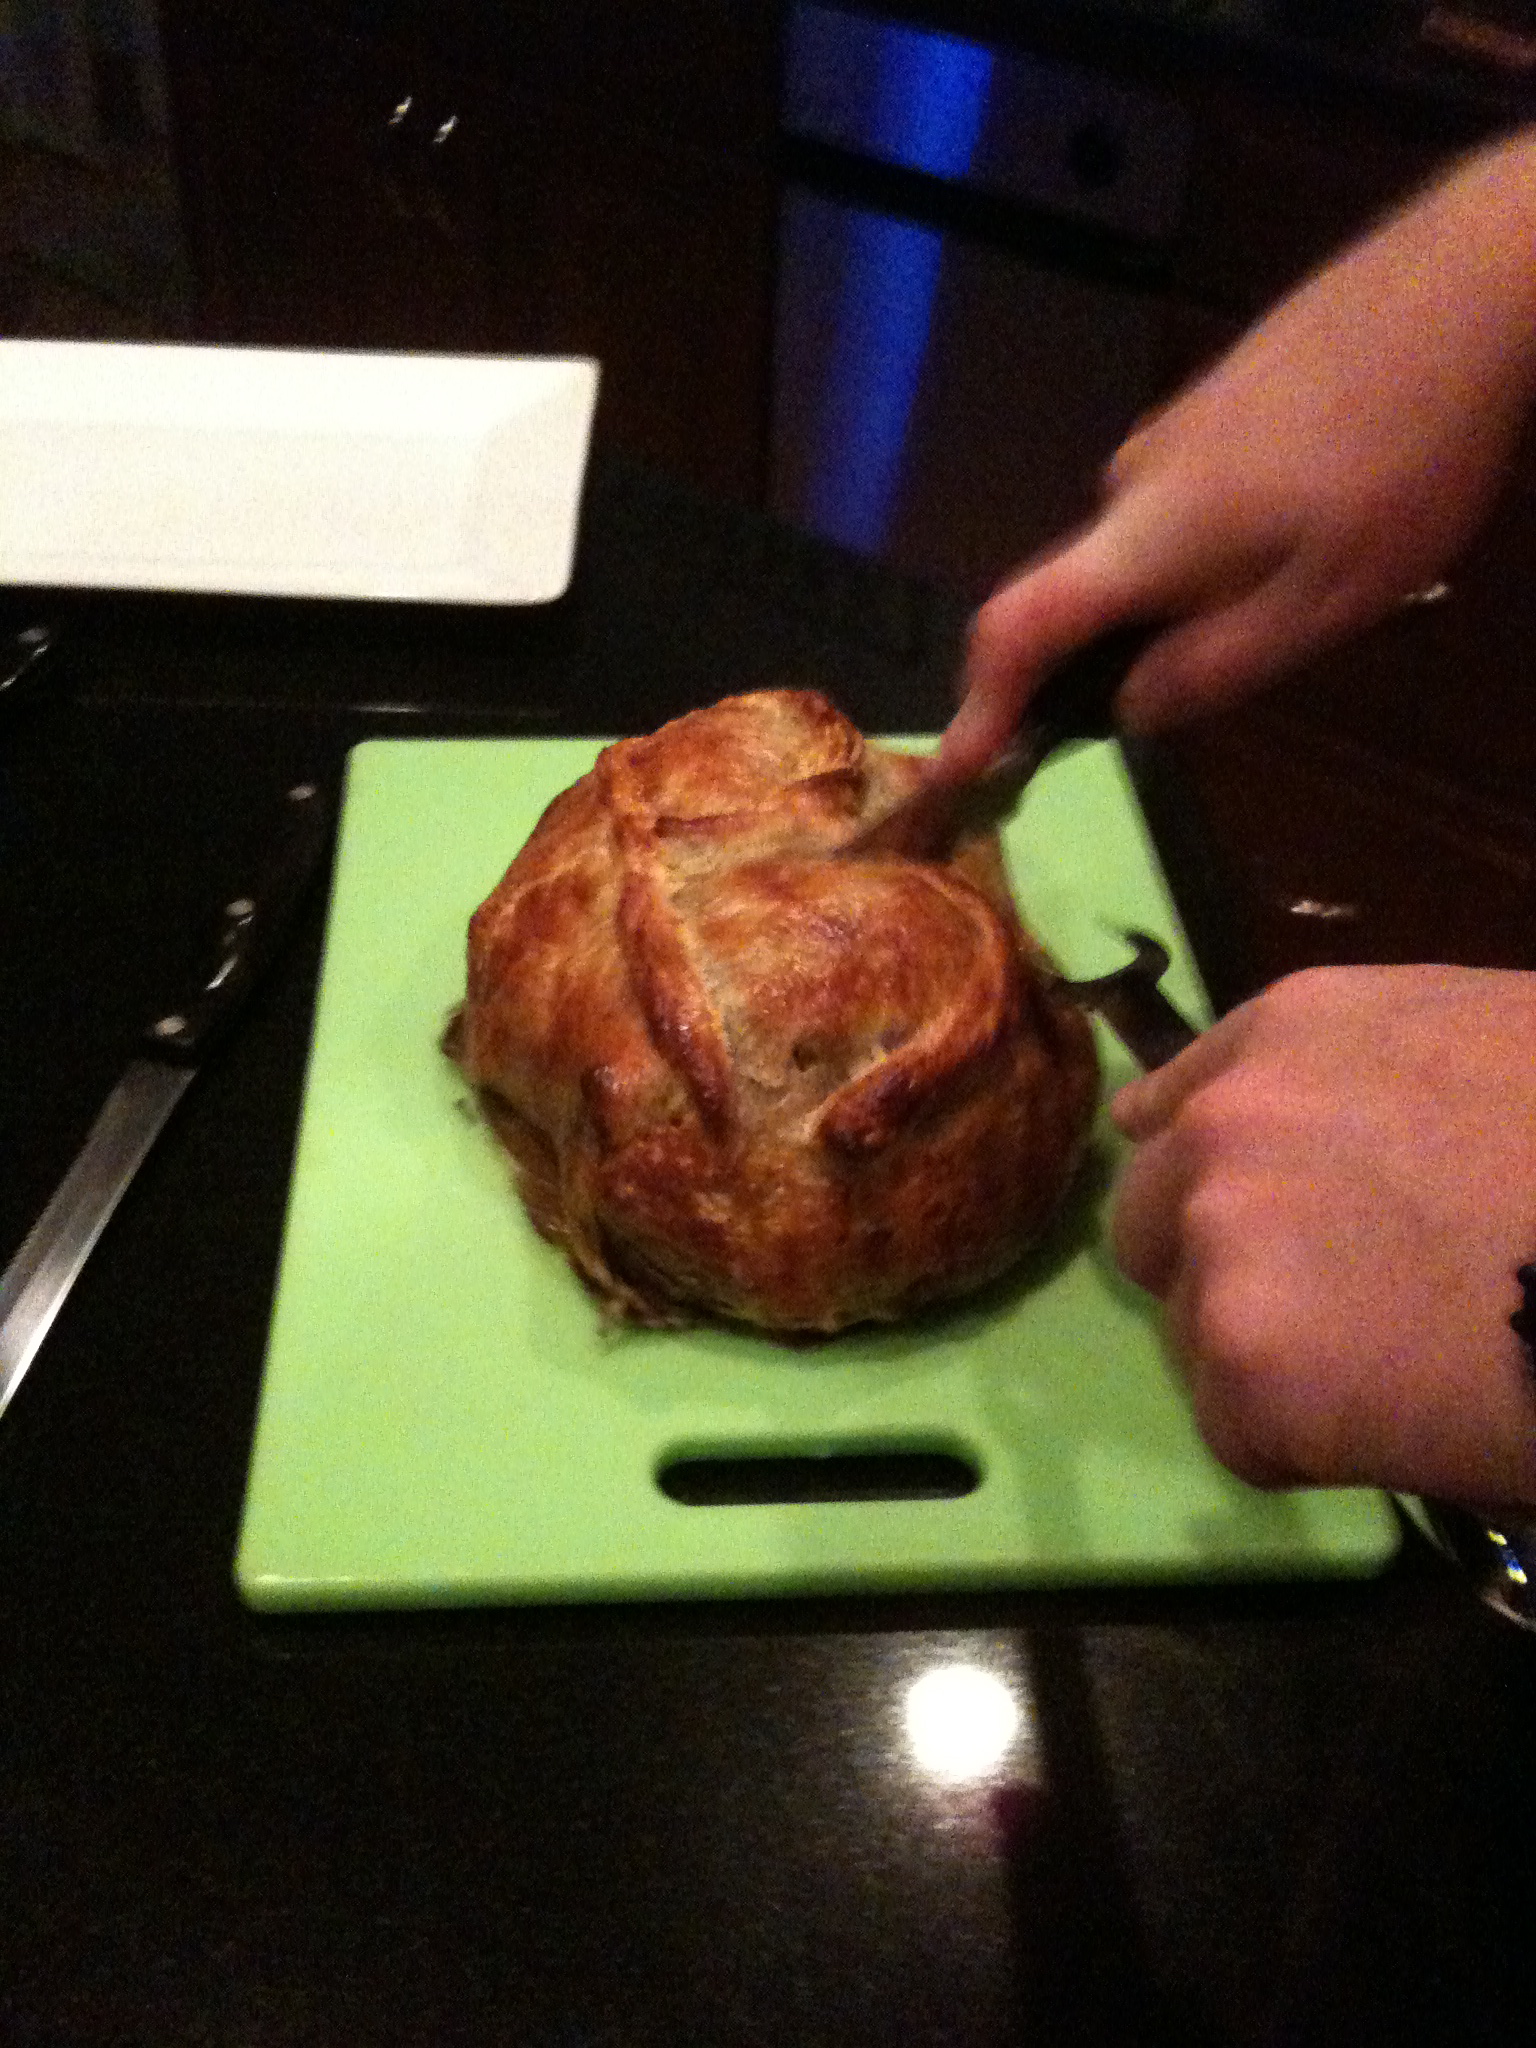
Her recipe calls for a 1 1/2 to 2 pounds beef tenderloin, but the smallest one I was able to find was 3 pounds.  I knew it was going to be a bit rare given the extra size so I cooked it about 10 minutes longer than the recipe called for.  It still ended up being rare, but fortunately, this is how the husband prefers his beef.  Paula Deen recommended using the extra pastry to decorate the top…I decided to monogram my Beef Wellington with a big B.  Look how pretty it turned out!

It tasted great!  I absolutely loved the oyster pate as well.  Paula drains the pate using cheesecloth, which I did not have on hand.  I just used a few paper towels instead…I thought the pate came out fine.  I would highly recommend this recipe for a special occasion dinner.  I served it with green olives as an appetizer and sauteed spinach on the side.

I hope you all had a nice new year’s dinner.  It is snowing a bit here in Boston today so I need to figure out a warm dish to make for dinner tonight.

-M


Filed Under: M's recipes Tagged With: beef wellington, Food Network, Paula Deen, special occasion dinner

French Omelette

Posted by Meaghan Barry on January 2, 2010

Happy New Year! For breakfast yesterday morning (a rather late one since we did not get home from dinner out until 2 a.m), I decided to make my French Omelette. This omelette is inspired by my favorite brunch item at Gaslight, a French bistro in Boston’s South End. My French Omelette does not include their delicious frites, bloody mary, and cappuccino. It was a nice breakfast to start off the new year nevertheless.

French Omelette (serves 2)

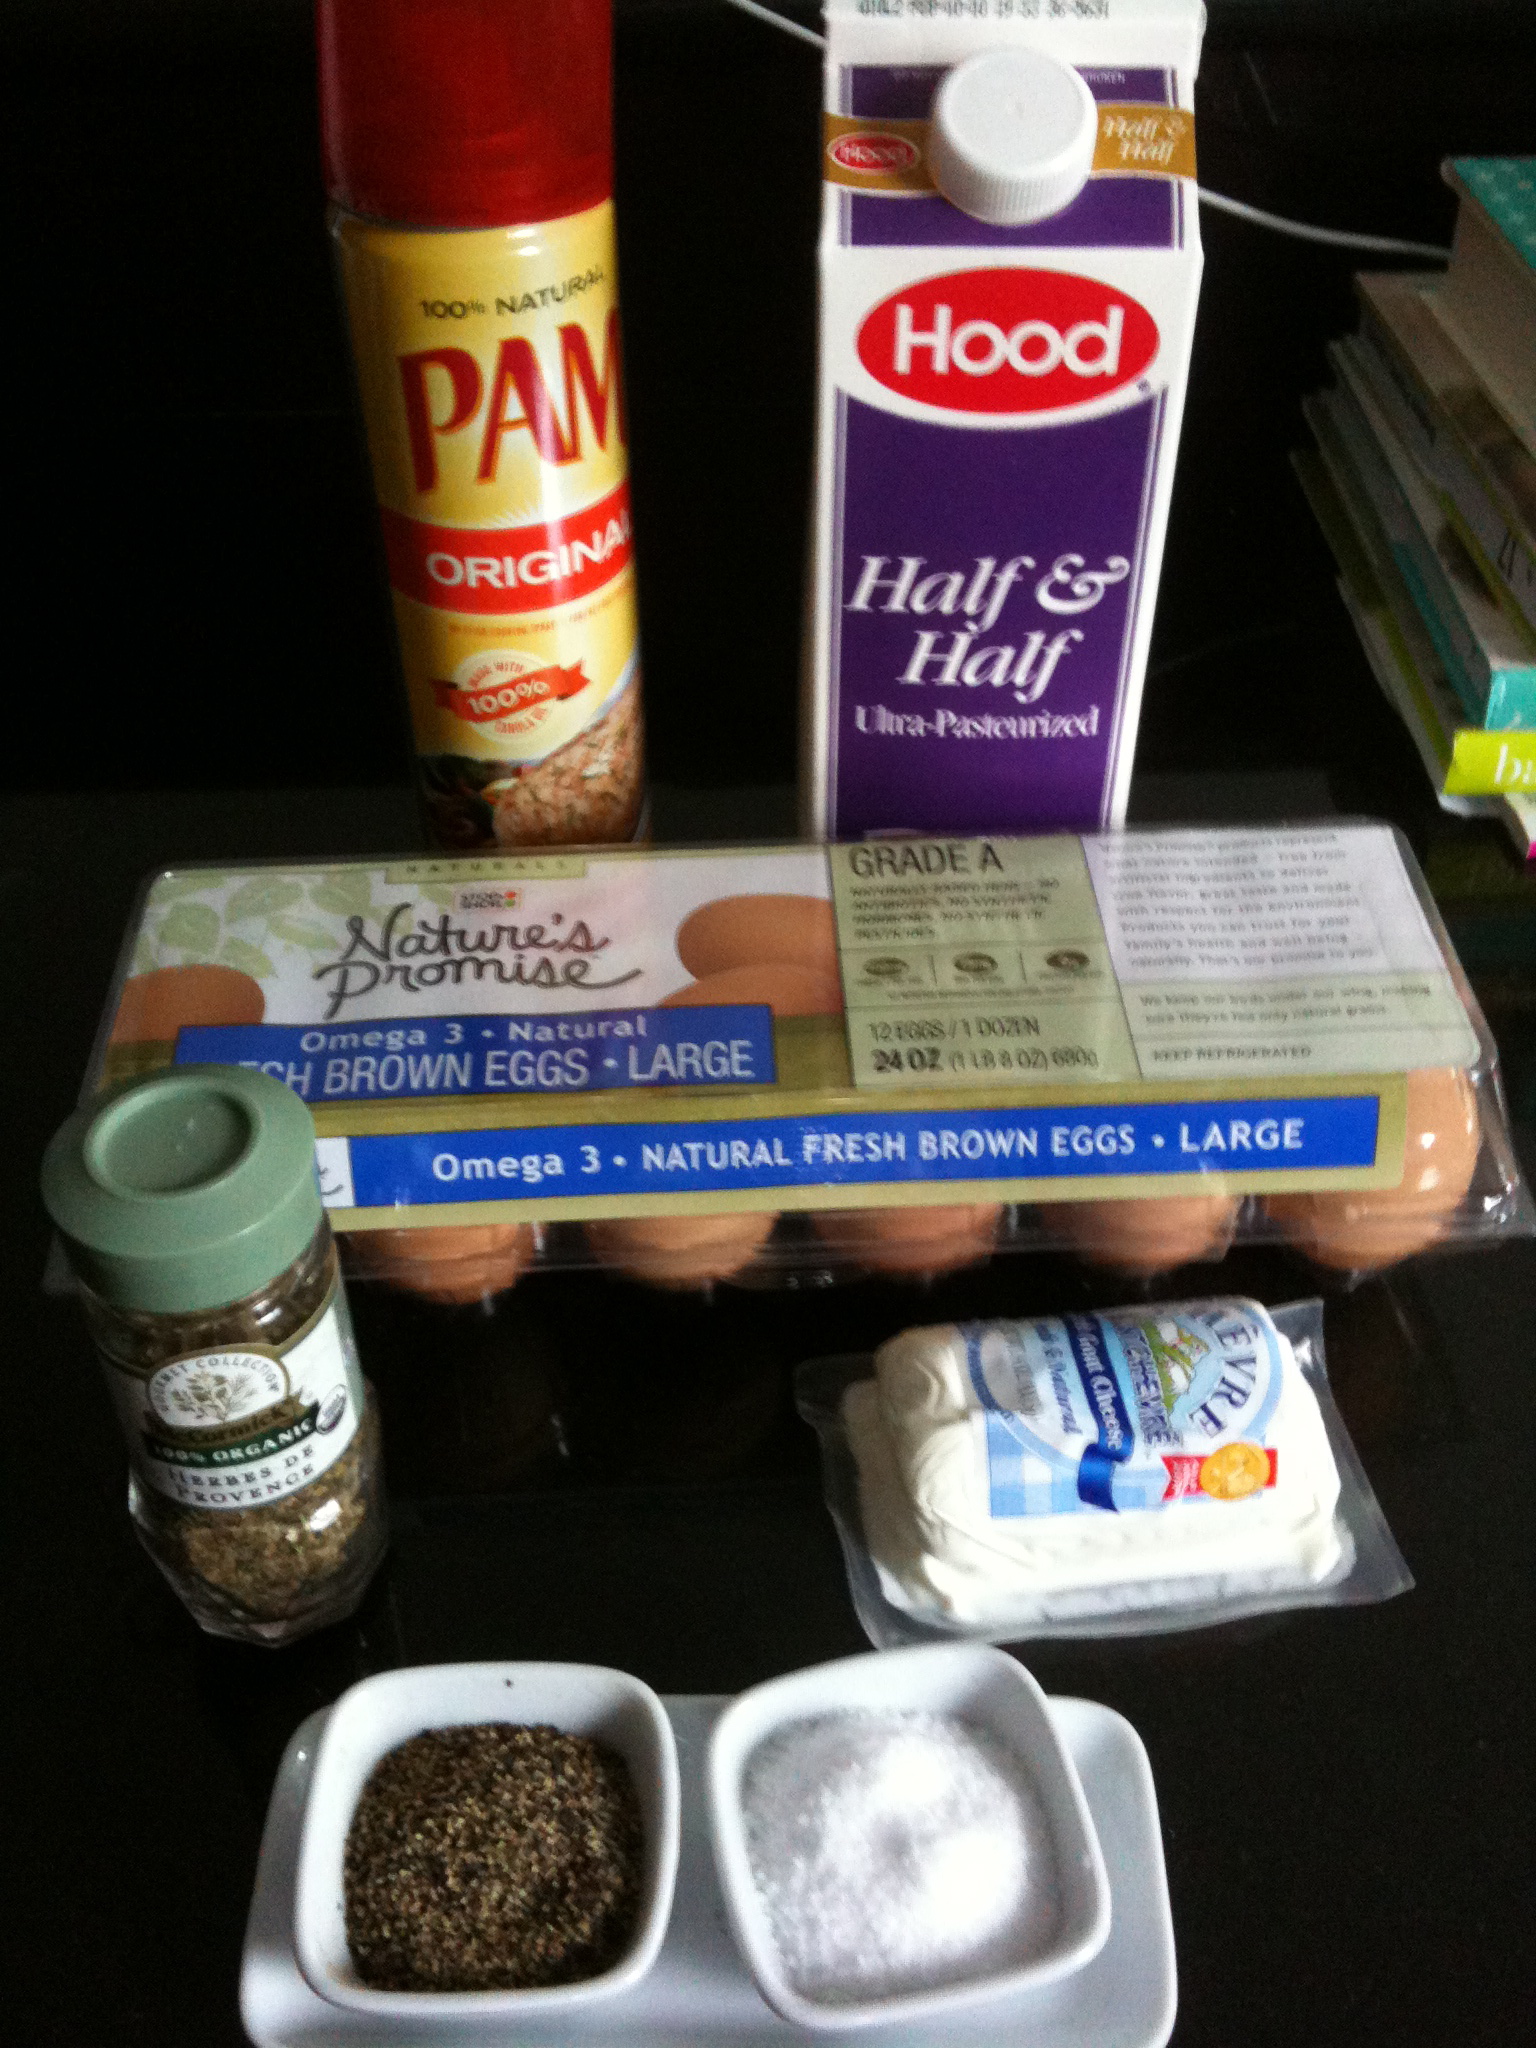
Ingredients:
-6 eggs
-1 tablespoon half & half
-1 tsp herbes de provence
-3/4 oz. package of goat cheese
-salt and pepper
-cooking spray

Directions:
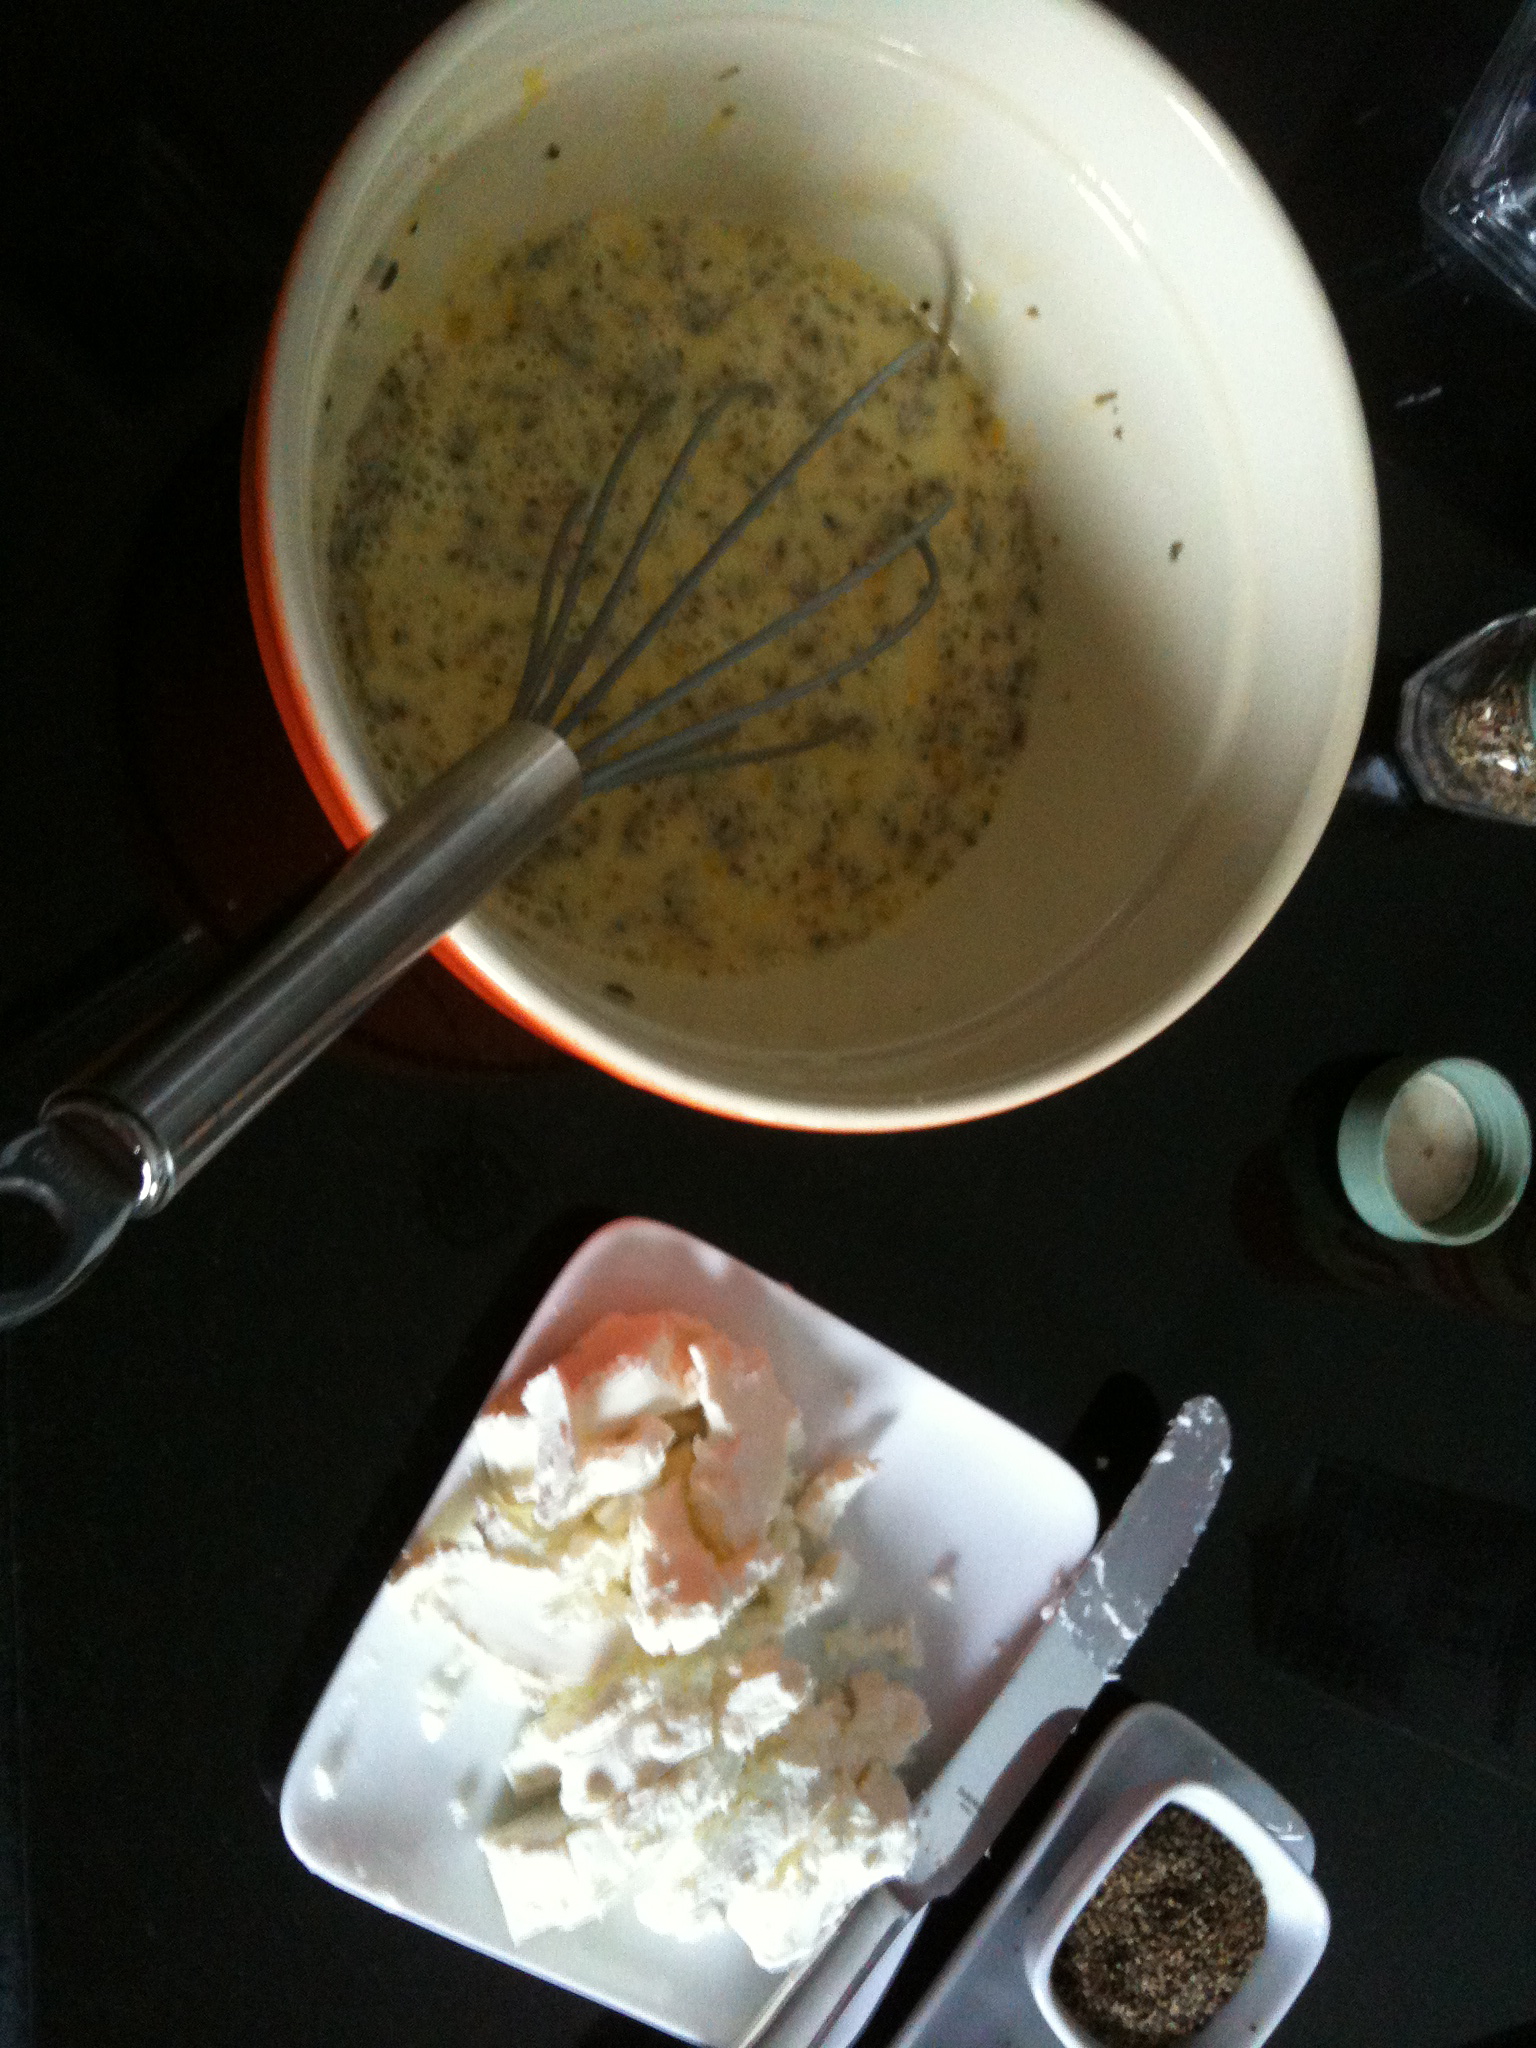
Crack the eggs and whip together until smooth.
Mix in the half & half and herbes de provence.  Start slicing up the goat cheese into small wedges.


N
ext, heat up your frying pan over medium-high heat.  Spray the pan with cooking spray.  When it’s hot, pour half the egg mixture into the pan.  Using a fork or spatula, lift edges up as they cook to allow the egg liquid to flow under.  Once it is nearly finished cooking (only a small amount of the egg liquid remains), place half the goat cheese slices down the middle.  Fold the sides of the omelette over onto the goat cheese and flip over the entire omelette afterwards.  Plate omelette.  Repeat with remaining egg mixture and goat cheese.

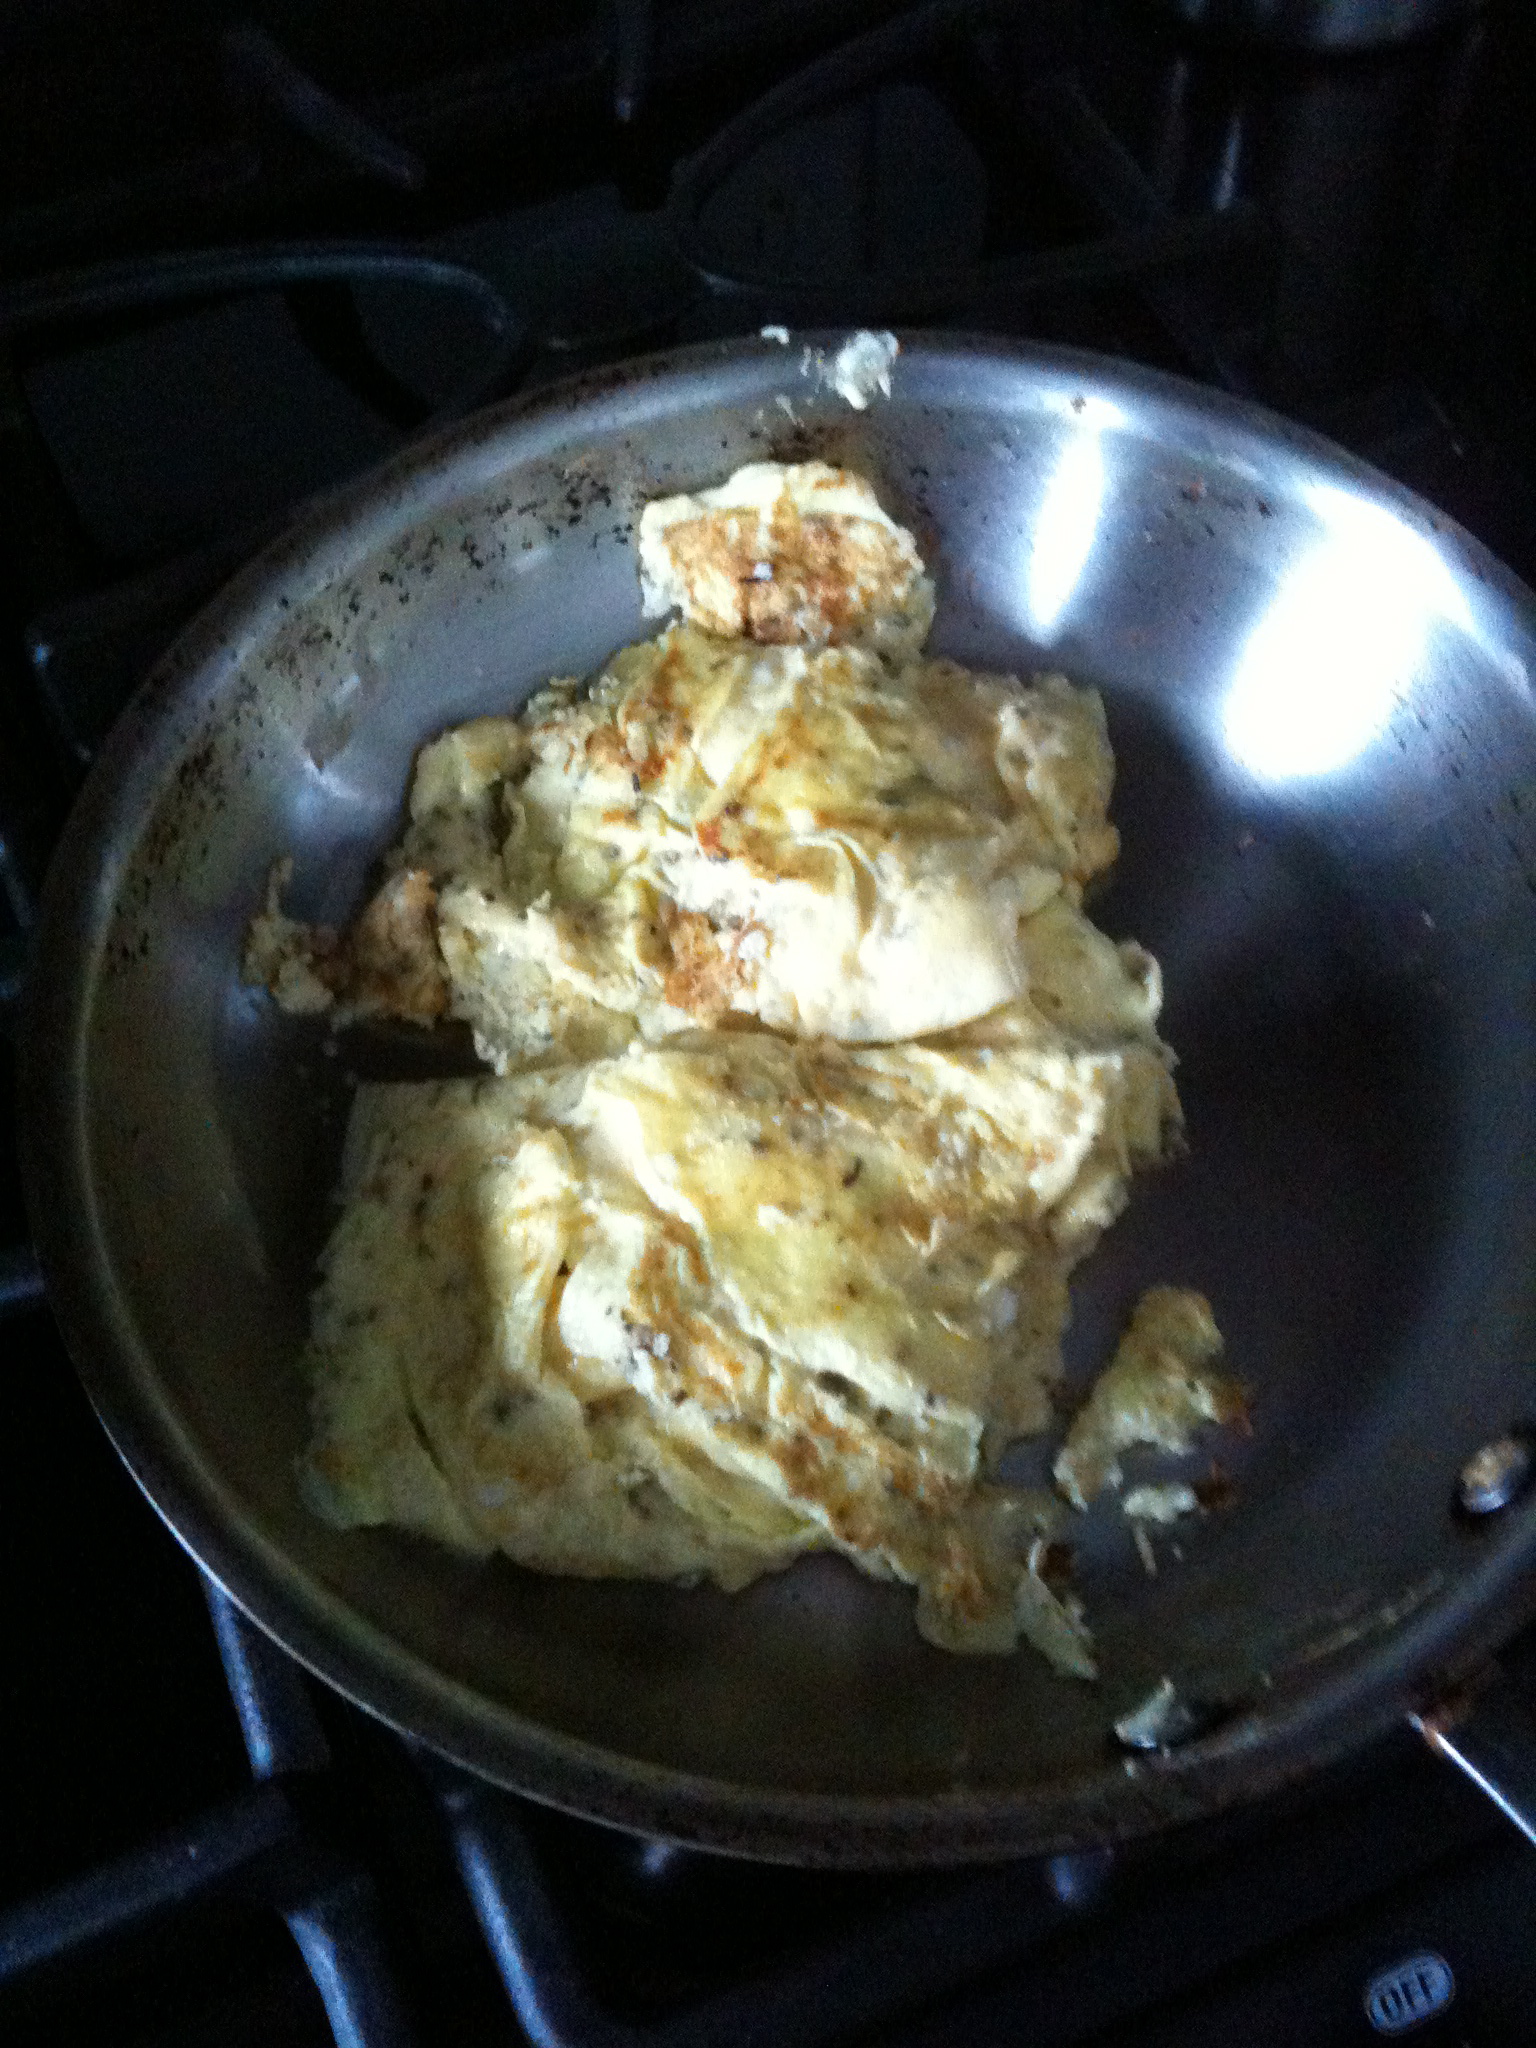
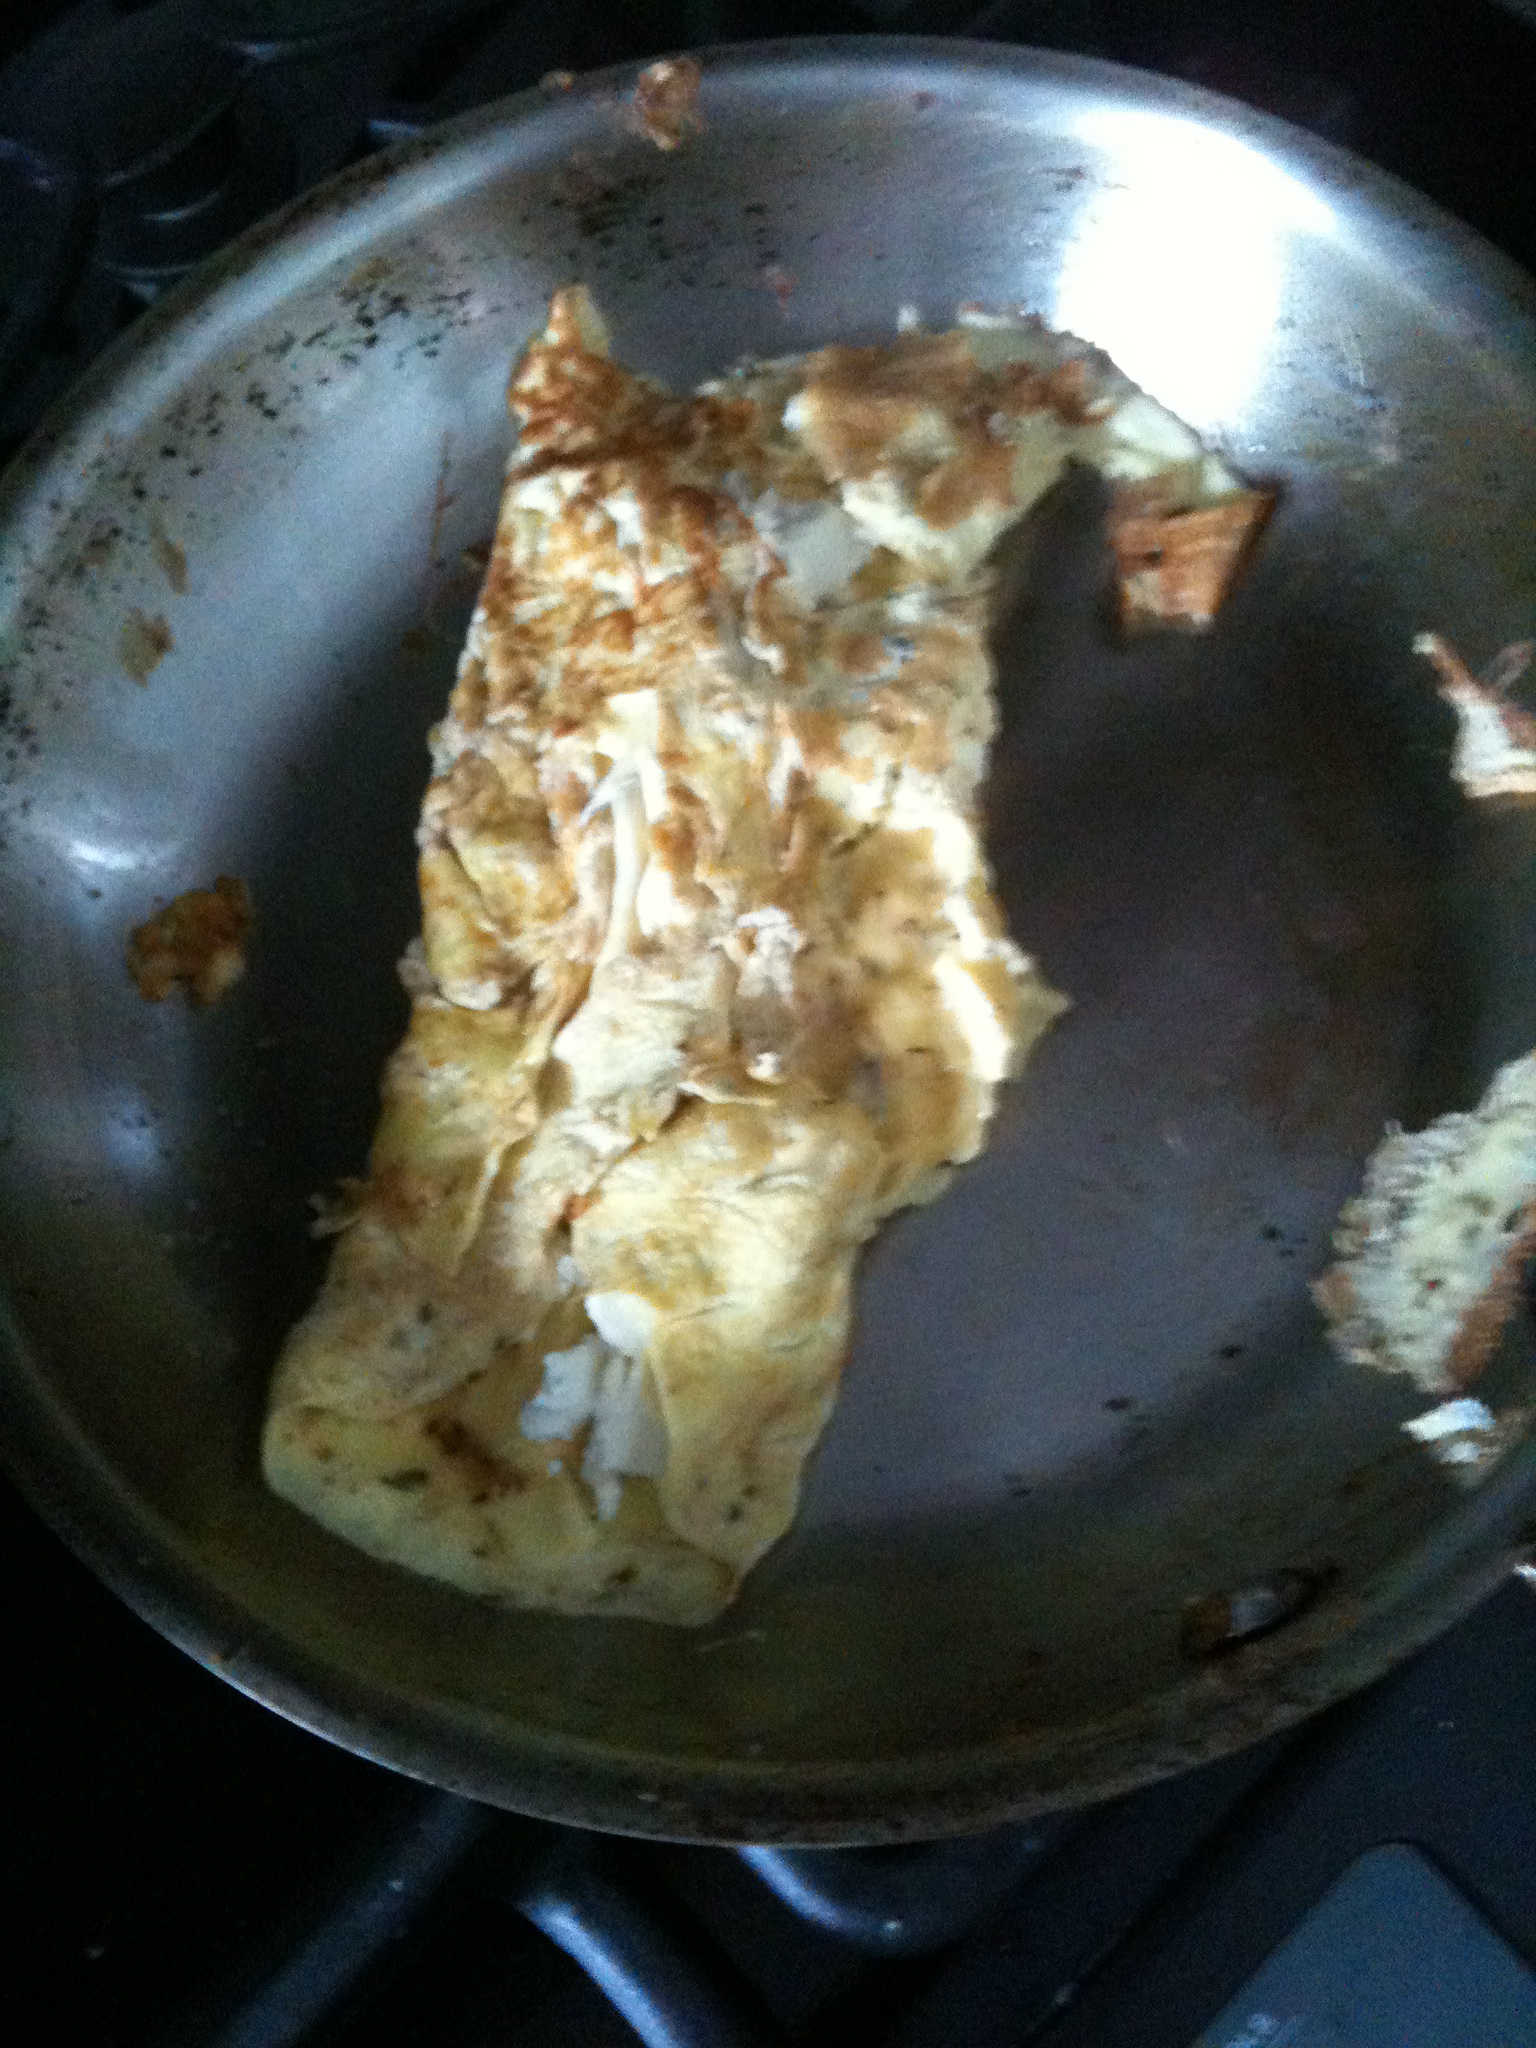
I’m still trying to master the perfect omelette, but here are my pictures of my two attempts yesterday.  Don’t worry if your omelette doesn’t look perfect- it will most likely still taste delish.

Enjoy!

-M


Filed Under: M's recipes Tagged With: breakfast, new year's day

Crock-pot Pulled Pork

Posted by Meaghan Barry on December 29, 2009

This is a really easy recipe to pull together and it’s a great dish because it’s ready as soon as you come home from work. I am always looking for crock-pot recipes, but many of them require cooking for only 3-4 hours (which isn’t a possibility when you are working 8-9 hours at the office, plus commuting). This recipe cooks for 10 hours. I usually throw the ingredients together in the crock-pot the night before and then put it in the fridge overnight. In the morning before I head out for work, I take it out of the fridge and set the crock-pot to low for 10 hours.

Ingredients:
3-4 lb boneless pork roast or pork shoulder
1 tsp pepper
1 tsp kosher salt
1 tsp cumin
1 tsp paprika
1/2 tsp cayenne pepper (add more or less depending on how spicy you want it)
-sliced green pepper
-sliced onion
-1/2 cup brown sugar
-jar of barbecue sauce
-bulkie rolls

Directions:
Trim off any large pieces of fat off pork roast. I sometimes buy bone-in and you can leave this on (just pull it out before serving). Combine pepper, salt, cumin, paprika, and cayenne pepper in small bowl. Rub the spice mix over the pork roast.

Put the sliced green peppers, onions, and brown sugar in the the crock-pot. Place the seasoned meat into the crock-pot next. Add 3/4 of the jar of barbecue sauce (add more or less depending on how saucy you want your pulled pork to be…my husband likes less so I usually only add about 1/2 a bottle).

Cook 10 hours on low or until finished. Using a fork, pull meat apart and shred. Use a large spoon to mix all the ingredients together. You can add more barbecue sauce before serving if it looks a bit dry and also can serve a little sauce on the side. I usually serve this on a bulkie roll with either coleslaw, corn bread, or pasta salad as side dishes. You can also serve the pork without rolls.

My preferred barbecue sauce is Dinosaur Bar-B-Que Sensuous Slathering Sauce (http://www.dinosaurbarbque.com). I’ve also tried it with Dinosaur Creole Honey Mustard barbecue sauce, which was also quite good.

-M


Filed Under: M's recipes Tagged With: crock-pot, easy to prepare meals

My new hobby- letterpress

Posted by Meaghan Barry on December 28, 2009

While I was planning my wedding a few years ago and picking out invitations, I became introduced to the concept of letterpress.  I quickly fell in love with it and have since done much research on this very old form of printing.  I read the on-line letterpress community Briar Press daily and have purchased several books on printing and typography from Amazon.  This past summer, I took a letterpress class through the Mass College of Art…the minute I passed my first notecard through the Vandercook press, I was hooked.

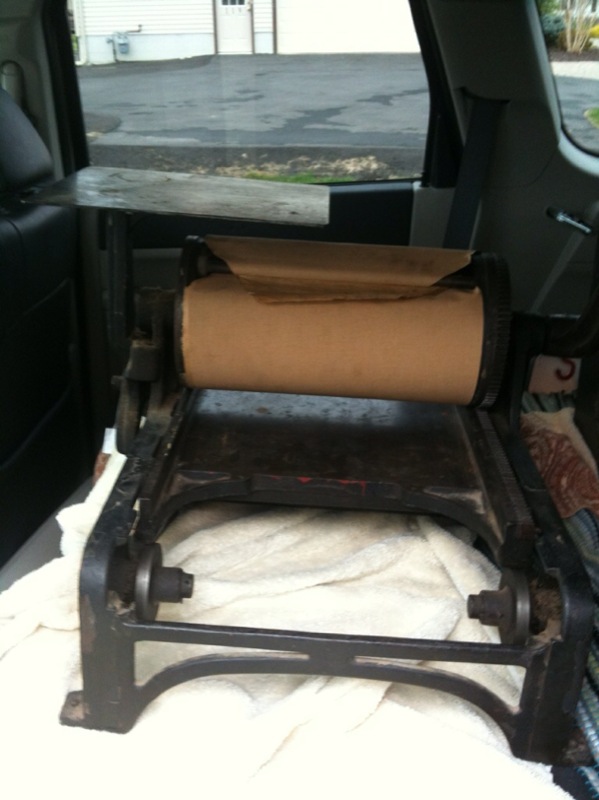
Shortly before returning to my parent’s home in upstate NY this past Thanksgiving, I was perusing the Briar Press classifieds and saw that there was a press for sale in my home town.  What luck!  I did some Google searches on the press and e-mailed a few individuals who owned a similar press and everyone had good words about this particular press.  It is called a Poco Proof Press No. 0 and was originally manufactured in Chicago in either the 1910s or 1920s.  The general feedback I received on the press was that it was a pretty rare press, a good beginner press, made a strong impression (onto the paper), and that it was generally lightweight (compared to other presses…more on that story later).   Most importantly, it is a small enough press that it will fit into my condo in Boston…I decided to go for it!

I contacted the seller and asked to set up a time to see the press.  My husband was away traveling at the time so I asked my mom if she would go with me to see the press and possibly pick it up if it looked good.  Off we went to the artist’s studio…

Upon arriving there, the man showed us into his studio that he was just moving into.  I was hoping he had a few other presses just to look at and show my mom, but he just had the Poco Proof Press that he was selling.  I gave the handle a few cranks and looked at a few other things, and decided to buy it!  It came with its original wooden shelving, but it comes right off for “easy” moving.  The owner’s son and another artist in the building helped move it to the car…despite the press being 210 pounds of cast-iron steel, this 14 year old boy and wirey artist made the move appear effortless.  Our only challenge was fitting in the press and the wooden case both in the car due to their awkward shapes.  Our two movers were in my car, bending at every angle, and somehow balancing this heavy press on their laps- it was quite a scene.  Finally, after finding a way to remove the divider in the back, we were able to get both pieces in.  I was now a proud owner of a poco proof press!

-M

Related Posts Plugin for WordPress, Blogger...


Filed Under: Crafting & DIY, M's post Tagged With: Letterpress, projects

  • « Previous Page
  • 1
  • …
  • 8
  • 9
  • 10

Recent Posts

  • Easy Holiday Office Party Tips
  • 5 Steps to an Easy Football Party
  • Gingerbread Biscotti
  • Holiday Coffee Bar and Thanksgiving Recipes
  • Soft Sugar Pumpkin Cookies
  • Cinnamon Sugar Apple Cake
  • Hello Pumpkin Season!
  • Make Your Own Milkshake Party!
  • Mama’s Pickles
  • S’more Cookies

Categories

  • About 2 Sisters 2 Cities (7)
  • Books (8)
  • Crafting & DIY (22)
  • Design & Decorating (15)
  • Gardening (5)
  • Giveaway (14)
  • Guest Bloggers (8)
  • K's post (46)
  • K's Recipes (191)
    • K's Desserts (75)
    • K's Entrees (23)
    • K's Sides (24)
  • M's post (72)
  • M's recipes (167)
    • M's Entrees (21)
    • M's Sides (14)
    • M's Desserts (30)
  • Organizing (7)
  • Party Ideas (49)
  • Uncategorized (1)
  • Vacation (12)
Stitch Fix

Archives

Blogroll

  • Annie's Eats
  • Bake at 350
  • Baked Bree
  • Boston Harbor Beacon
  • Confections of a Foodie Bride
  • Cook Like a Champion
  • Erin’s Food Files
  • Forever and a Recipe
  • Framed Cooks
  • Oh Happy Day
  • On Common Ground
  • Pennies on a Platter
  • Pink Parsley
  • Recipe Girl
  • Sally's Baking Addiction
  • Simply Scratch
  • The Curvy Carrot
  • The Pioneer Woman
  • Tidy Mom
  • Two Peas & Their Pod
  • What’s Gaby Cooking
  • Young House Love
Increase your website traffic with Attracta.com

grab a 2 sisters button!


Copyright © 2014 ~ 2 Sisters 2 Cities | Blog Design by Minx Design