2 Sisters 2 Cities

Image Map
  • About 2 Sisters 2 Cities
  • Recipe Index
  • Project Index
  • Contact Us
  • Like us on Facebook
  • Follow m on twitter
  • Follow k on twitter
  • Follow 2S2C on Pinterest
  • Follow 2S2C on G+
  • rss
  • e-mail 2S2C

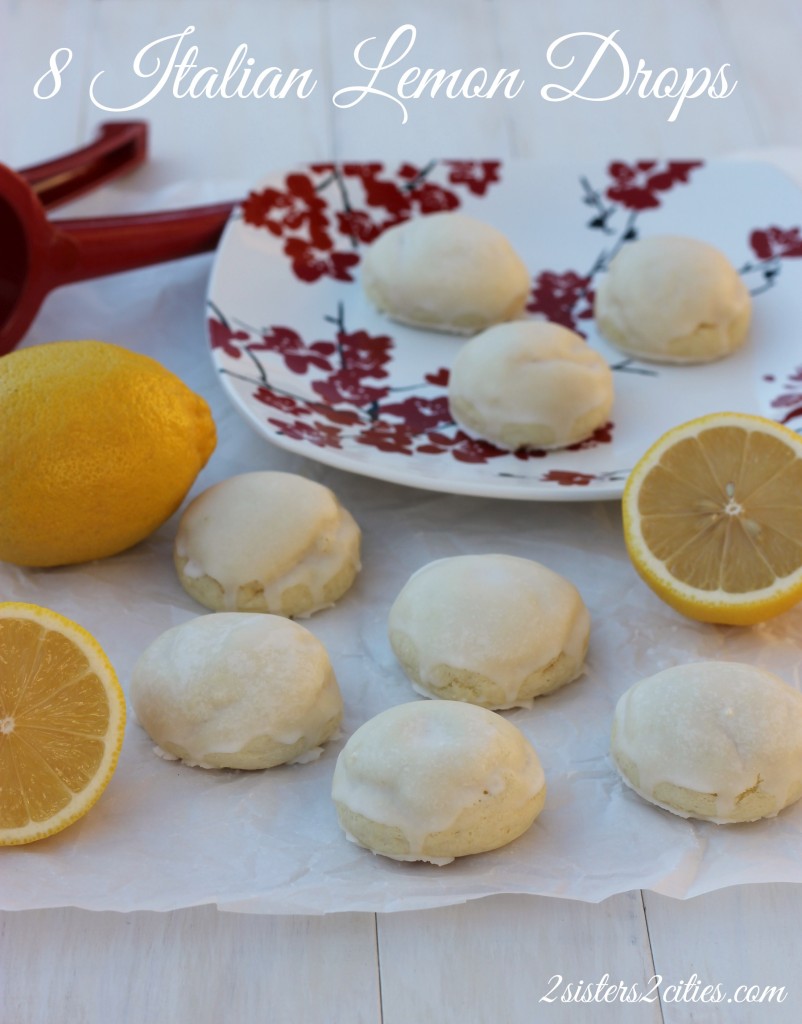
8 Italian Lemon Drops

Posted by Keelin Hollenbeck on December 11, 2013

Italian Lemon Drops

As I have told you all before, I have a crazy food memory in which I can practically remember everything I have eaten at most events in my life.   Can I remember a phone number or where my keys are…uhhh nope!  It’s funny how selective memories can be, but I guess it shows my love for all things food.

Where were we?  Oh right, when I think of Christmas as a child, all the cookies my mom made around the holiday time come to mind.  I can remember the peanut brittle, the chocolate crinkles, the peanut butter cup blossoms, the Mexican wedding cakes, the cut-out cookies, the buckeyes and endless more.  As I grew up and learned how to bake, I started taking on more baking around the holidays and emulated the same tradition my mom had in my own place.  The whole Christmas cookie process of planning, sharing, giving and of course, eating has become quiet an obsession of mine and really how our 12 Days of Christmas Cookies started here at 2s2c.
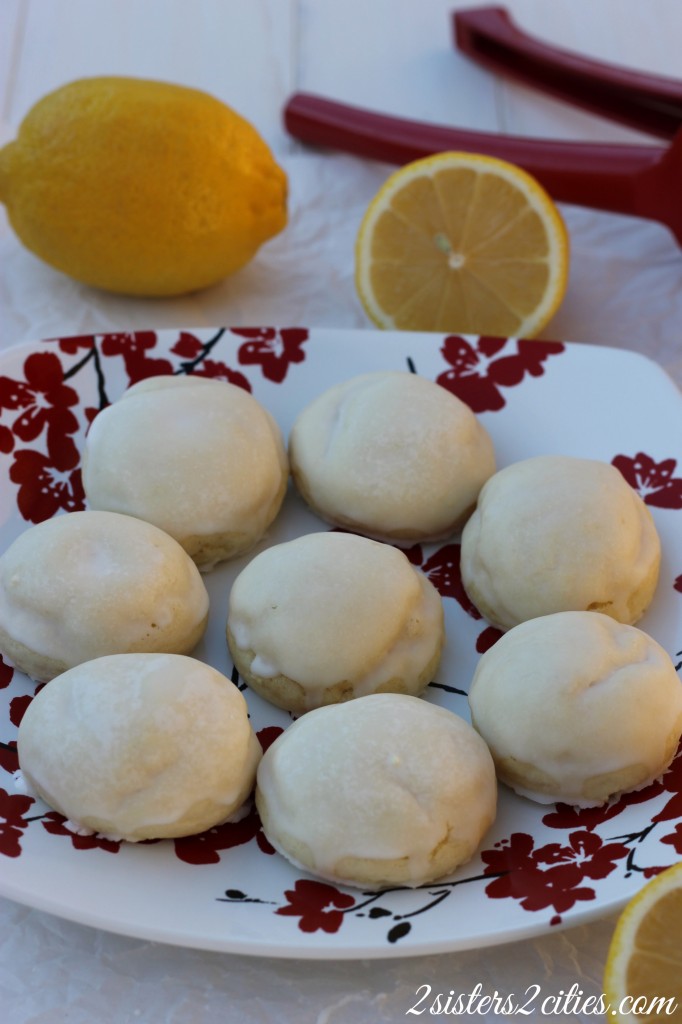
Italian Lemon Drops

I have shared most of the above recipes that I remember growing up with, but there was one cookie missing that I couldn’t put my finger on.  I kept remembering a round puffy lemon cookie with lemon glaze.   It was driving me crazy that I couldn’t find the recipe in any of my family cookbooks.  When I asked my mom, she remembered where it was from: a school fundraiser cookbook she had bought over 30 years ago.  Alas, here is how we came to cookie number eight on this year’s countdown- the Italian Lemon Drop cookie (i.e. the Lemon Anginetti.)  I have updated some of the ingredients to more modern ones since the original recipe included melted Crisco and 3 tablespoons of lemon extract!

Print
Italian Lemon Drops
Author: 2 Sisters 2 Cities
 
Ingredients
Cookie-
  • ½ cup unsalted butter, melted
  • Zest from one lemon
  • ¾ cup sugar
  • 2 eggs
  • pinch of salt
  • 3½ cups all-purpose flour
  • 7 tsp baking powder
  • ⅔ cup whole milk
  • 2 tsp. lemon extract
  • ½ tsp. vanilla extract
Glaze-
  • 1 lemon, juiced
  • 1-1 ½ cups confectioners’ sugar
Instructions
  1. Preheat oven to 350 degrees F.
  2. In the bowl of your mixer add sugar and lemon zest. Mix for 1-2 minutes to infuse the sugar with the lemon flavor.
  3. Add melted butter to lemon sugar and combine. Mix in eggs and salt.
  4. In a separate bowl sift together flour and baking powder.
  5. In measuring cup mix together milk, lemon extract and vanilla extract.
  6. Mix in ⅓ of flour mixture to butter followed by ⅓ of milk mixture. Repeat process ending with milk and stirring until all ingredients are combined.
  7. Line baking sheets with non-stick baking mats or parchment paper. Roll dough in balls the size of walnuts. The dough may be sticky so make sure your hands are well floured. Leave about 2 inches between each cookie.
  8. Bake for 10-12 minutes until cookies are firm to touch. Let cool on wire rack.
  9. To make glaze- whisk together 1 cup of confectioners’ sugar and 1-2 tablespoons of lemon juice. Continue to whisk until smooth, adding more lemon juice as needed. If glaze gets too thin add additional confectioners’ sugar. Dip each cookie top in glaze and let excess drip back into bowl. Place on parchment paper and let dry completely before putting away. Can be store in air tight container for up to three days or frozen up to 3 months.
3.2.2199

sisterk (2)


Filed Under: K's Desserts, K's Recipes Tagged With: 12 days of christmas cookies, cookie recipe, cookies, holiday baking, lemon, lemon cookies

10 Cranberry Pistachio Shortbread Cookies

Posted by Keelin Hollenbeck on December 9, 2013

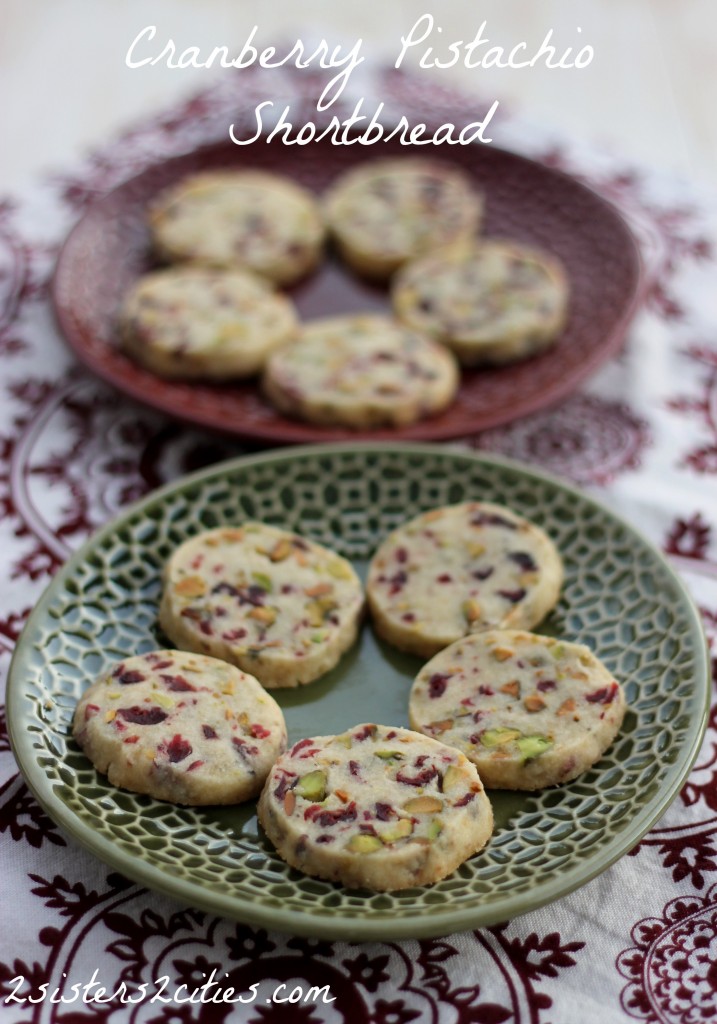
Cranberry Pistachio Shortbread

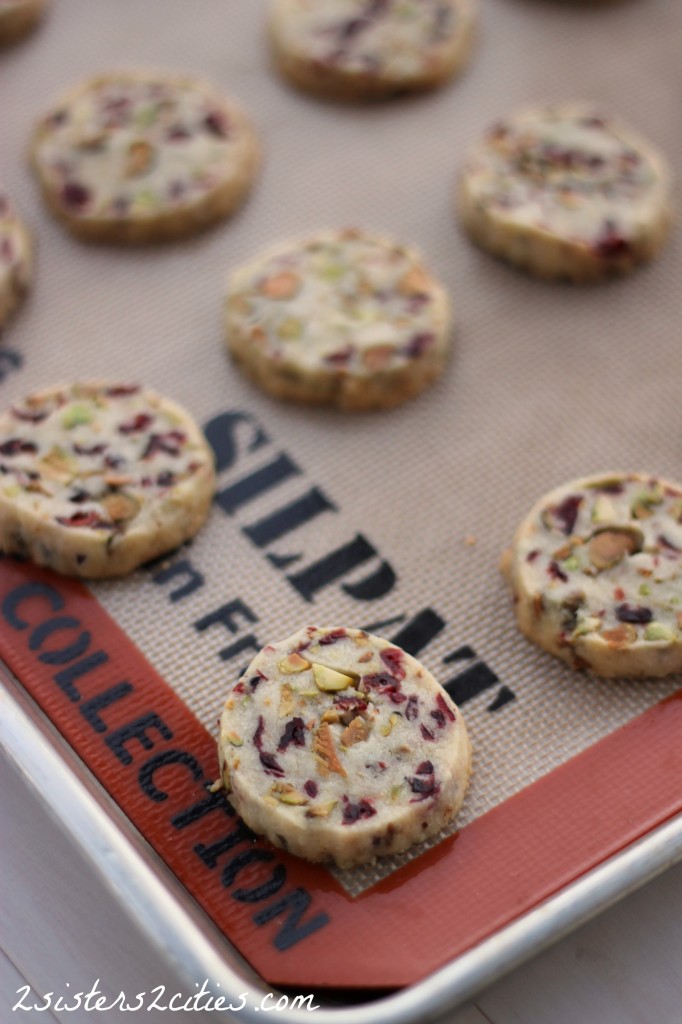
Today’s cookie is number ten on our cookie countdown: Cranberry Pistachio Shortbread cookies.  I was inspired to make these cookies by looking through my pantry to see what I had available to make for Christmas cookies this year. As you know, I love to bake so I already had many options before having to go out to buy ingredients. I had a bag of pistachios and dried cranberries sitting next to each other and the thought came to me of trying to find a recipe that contained both ingredients since they are natural Christmas colors. I then found a shortbread recipe that incorporated both ingredients and the results were just what I wanted.

These shortbread cookies were perfect, a light buttery cookies with punches of sweet cranberries and salty pistachios.  I brought the leftover cookies to work so I wouldn’t eat them all, and they were gone within an hour of putting them out.   Enjoy!

10 Cranberry Pistachio Shortbread

Print
10 Cranberry Pistachio Shortbread Cookies
 
Ingredients
  • 2⅓ cups all-purpose flour
  • ½ tsp. kosher salt
  • 1 cup unsalted butter (2 sticks), at room temperature
  • ⅔ cup granulated sugar
  • 1 tsp. vanilla extract
  • 1 cup unsalted pistachios, coarsely chopped
  • 1 cup dried cranberries, coarsely chopped
Instructions
  1. In the bowl of your mixer, beat the butter until smooth, about 1-2 minutes. Add sugar and continues to mix until smooth, about 3 minutes. Next beat in the vanilla extract.
  2. In a separate bowl whisk together flour and salt. Add flour mixture to butter until just incorporated. With a spatula, fold in the chopped pistachios and dried cranberries until evenly combined.
  3. Divide the dough in half and roll each dough half into 14 inch logs, so that the width is the same throughout . Wrap in parchment paper and twist the ends. Place in the refrigerator and chill for at least 2 hours but up to three days.
  4. Preheat oven to 325 degrees F. Line 2 baking sheets with parchment paper or silicone baking sheets.
  5. Using a sharp knife slice the logs into ¼ thick slices. Place cookies on baking sheet space at least 1½ inches away. Bake for 15-20 minutes until cookies just start to brown on edges. Let cool on wire rack. Store in an airtight container up to three days. Freeze cookies to keep them longer (up to 3 months.)
3.2.2124

Source- Adapted from The Grand Central Baking Book via JoyofBaking.com

sisterk (2)


Filed Under: K's Desserts, K's Recipes Tagged With: 12 days of christmas cookies, Christmas Cookies, cookies, cranberries, holiday baking, pistachios, shortbread

12 Chocolate Raspberry Thumbprints

Posted by Keelin Hollenbeck on December 4, 2013

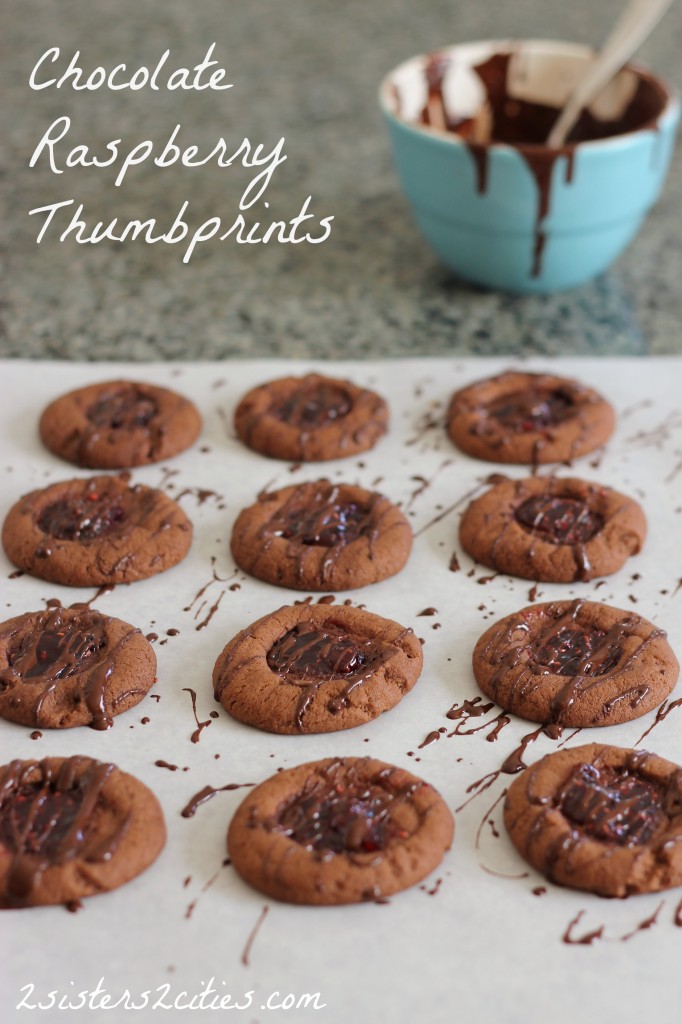
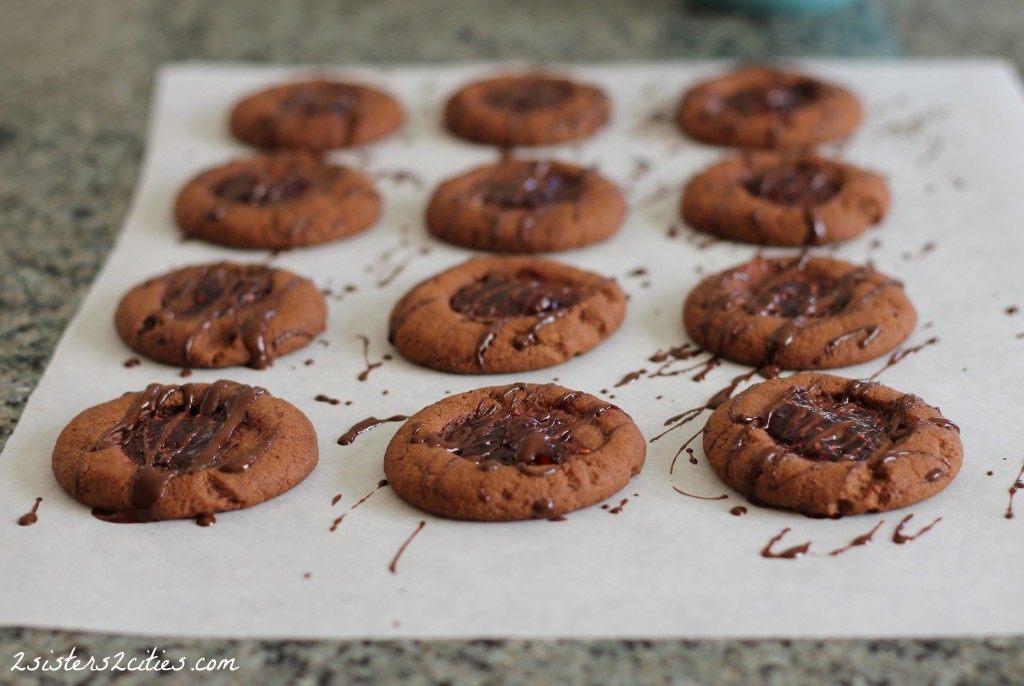
Chocolate Raspberry Thumbprints Cookies

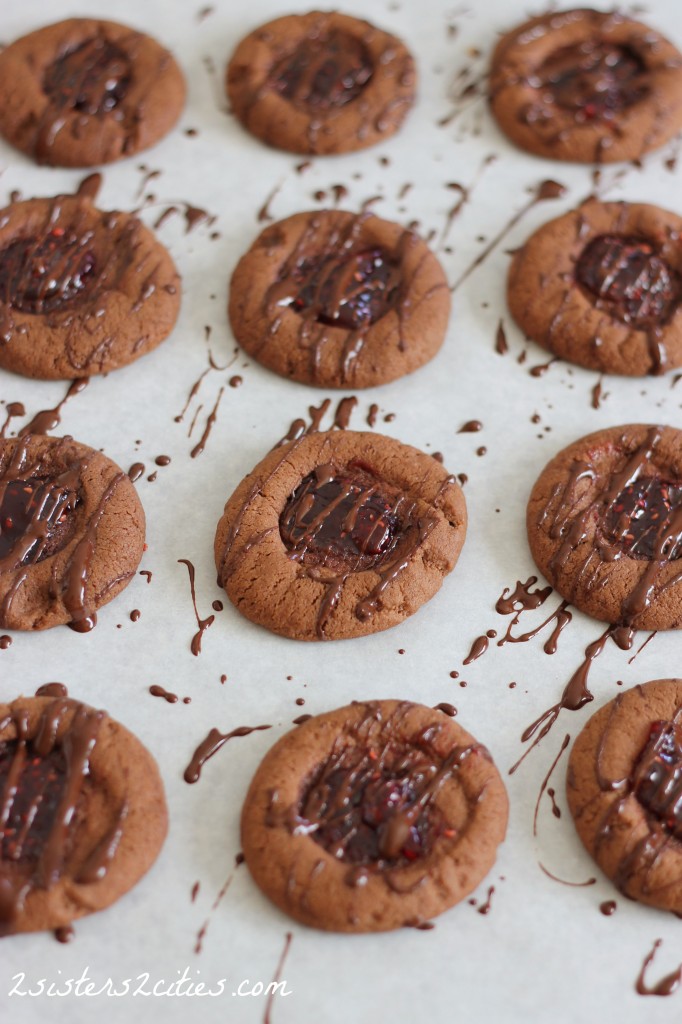
Well, here we are again!  It’s the most wonderful time of year- the 2 Sisters 2 Cities 12 Days of  Christmas Cookie Countdown!  We are going to start this party with a delicious classic holiday cookie with a new twist:  a chocolate thumbprint cookies with raspberry jam and drizzled with bittersweet chocolate!

12 Chocolate Raspberry Thumbprints

This year with my holiday cookies, I am going for more classic types of holiday cookies. When I think of Christmas cookies I think of small special cookies embellished with icing, chocolate, powdered sugar, frosting, glaze, jam, nuts, peppermints, or sprinkles. The great part about Christmas cookies is that you can grab a bunch of different kinds and and you get to try all the amazing flavors. Obviously you know what my favorite time of the year is!

My boyfriend loves thumbprint cookies, but he is not a big chocolate cookie fan.  I was hesitant to make this recipe because I thought he wouldn’t like them.  Boy was I wrong, he loved them! The deep chocolate flavors are perfect with the sweet tart raspberry jam.  Add them to your Christmas cookie to-do list today!

Chocolate Raspberry Thumbprints

Print
12 Chocolate Raspberry Thumbprints
Author: 2 Sisters 2 Cities
 
Ingredients
  • 1 cup plus 2 tablespoons butter (2 sticks + 2 tbsp),at room temperature
  • ¾ cup granulated sugar
  • ⅓ cup cocoa powder
  • 2 cups all purpose flour
  • ½ tsp. salt
  • ½ tsp. baking soda
  • 1 tsp. baking powder
  • Raspberry jam
  • 2-3 tbsp. bittersweet chocolate chips
Instructions
  1. Preheat the oven to 350 degrees.
  2. In the bowl of a mixer add butter and sugar, mixing until smooth.
  3. Add in cocoa powder until combined
  4. In a separate bowl, whisk together flour, salt, baking soda, and baking powder.
  5. Gradually add the flour mixture to the butter mixture until all is combined
  6. Line a baking sheet with a silicone baking mat or parchment paper.
  7. Roll dough into 1-inch balls. Place on baking mat at least 2 inches away from each other.
  8. With the tip of your thumb, press down in the middle of the cookie ball to make a well (don't press down all the way.)
  9. Fill each thumbprint with around ½ tsp of jam
  10. Bake for 9-10 minutes
  11. Cookies will spread out a little so if you need more jam in the center add some more before they cool.
  12. For Drizzle- In a small heat proof bowl, add chocolate chips. Microwave in 20 second intervals, stirring in between until melted. To drizzle, take a spoon of melted chocolate, tip the spoon to get a small stream of chocolate going and move back and forth over the cookies so you get zig zags over the cookies.
3.2.2124

Source–  Base cookie recipe adapted from Pinch of Yum, addition of raspberry jam and chocolate drizzle is a 2S2C original

sisterk (2)


Filed Under: K's Desserts, K's Recipes Tagged With: 12 days of christmas cookies, baking, chocolate, chocolate and raspberries, christmas, Christmas Cookies, cookie recipe, holiday baking, raspberries

12 Days of Christmas Cookies (The Past)

Posted by 2 Sisters 2 Cities on December 1, 2013

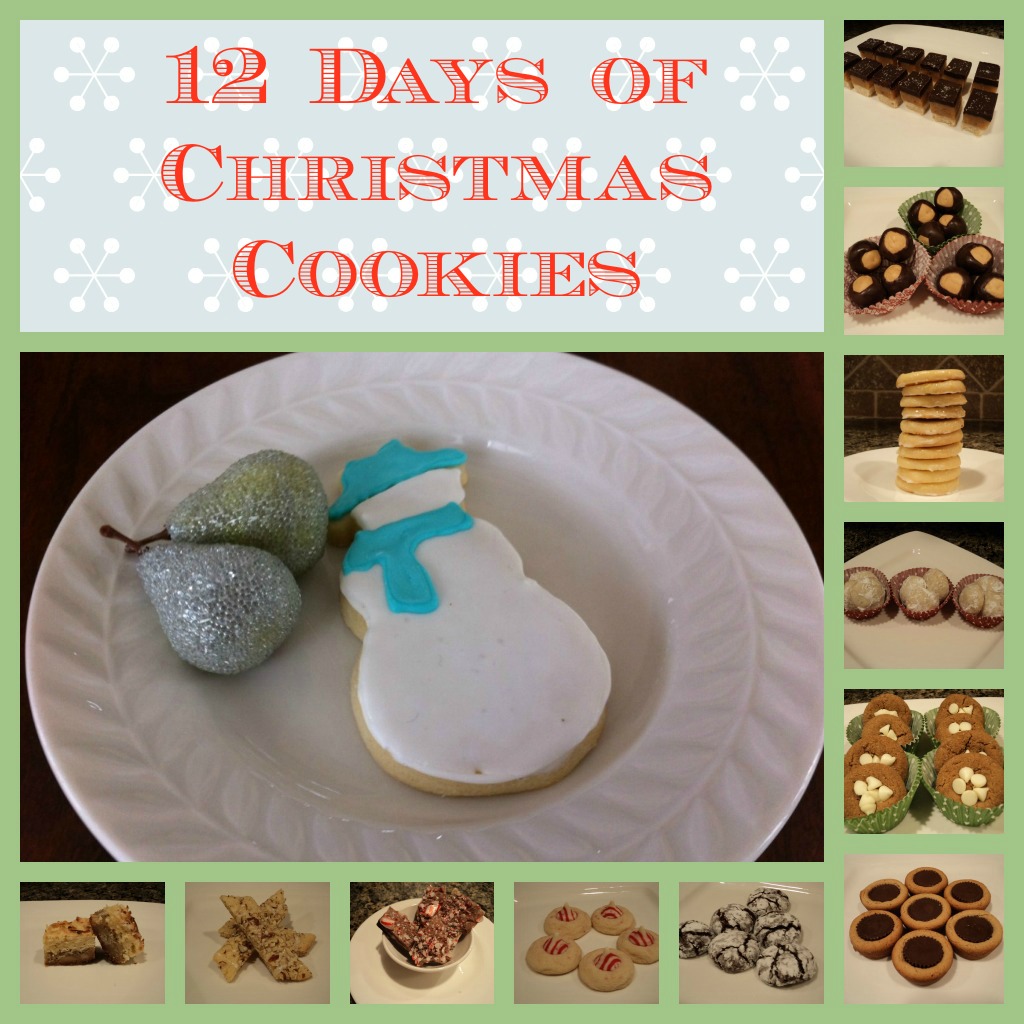
Why hello there December 1st!  I could have sworn Thanksgiving was a mere three days ago.  Time to put those pumpkin pie pans away and get ready for some Christmas baking!  We are so excited to kick-off our 3rd year of our annual 12 Days of Christmas Cookies.  Before we start our series for 2013, I wanted to highlight our 24 Christmas cookies from the past two years.

12 Days of Christmas Cookies {from 2 Sisters 2 Cities}

12 DAYS OF CHRISTMAS COOKIES 2012

  • Twelve Oreo Truffles
  • Eleven Mini Pecan Pie Bites
  • Ten Crisp Toffee Chocolate Bars
  • Nine Raspberry Linzer Cookies
  • Eight Kolacky
  • Seven Italian Butter Spritz Cookies
  • Six Chocolate Velvet Butter Balls
  • Five Peppermint Bark Cookies
  • Four Nutella and Sea Salt Stuffed Sugar Cookies
  • Three Heath Bar Butter Cookies
  • Two Mini Gingerbread Men with Cream Cheese Icing
  • One Salted Chocolate Chip Caramel Cookie Bars


12 days of Christmas cookies- 2011 {from 2 Sisters 2 Cities}

12 DAYS OF CHRISTMAS COOKIES 2011

  • Twelve Salted Caramel Chocolate Shortbread Bars
  • Eleven Buckeyes
  • Ten Glazed Lemon Cookies
  • Nine Mexican Wedding Cakes
  • Eight White Chocolate Ginger Drops
  • Seven Peanut Butter Temptations
  • Six Chocolate Crinkly Cookies
  • Five Candy Cane Kiss Cookies
  • Four Pieces of Salted Peppermint Bark
  • Three Scandinavian Almond Bars
  • Two Coconut-Lime Bars
  • One Cut-out Sugar Cookie

Happy Baking!

sister m signature


Filed Under: K's Desserts, K's Recipes, M's Desserts, M's recipes Tagged With: 12 days of christmas cookies, 2011, 2012, christmas, Christmas Cookies, christmas past, cookie recipes, cookies, holiday, holiday baking

Buttered Pecan Ice Cream

Posted by Keelin Hollenbeck on September 8, 2013

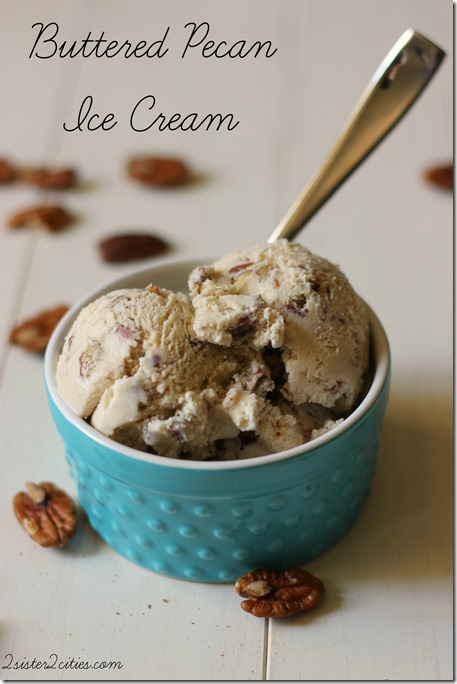
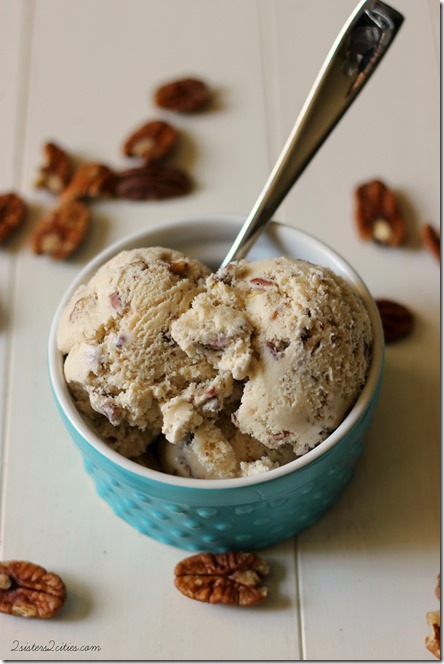
Buttered Pecan Ice Cream

Where did the summer go already?   We apologize for being MIA lately on 2 Sisters 2 Cities.  Things have certainly been busy around here.   I visited M last week for a few days to meet baby N and see most of my family.   We had a really great time and had a lot of delicious food (which is always the case when my family comes together.)  I got to catch a glimpse of M’s day-to-day life with two babies and was it ever exhausting!   I give her a lot of credit for what she does all day!  The weekends leading up to the visit, I worked on making a quilt for my new nephew that would match his nursery color theme.   I found a blog on how to make a simple crib quilt and created it in about 2 weekends.   The results were so cute and M really loved the quilt.   I took pictures as I was creating it and I’m planning on sharing them with you after M reveals the nursery.

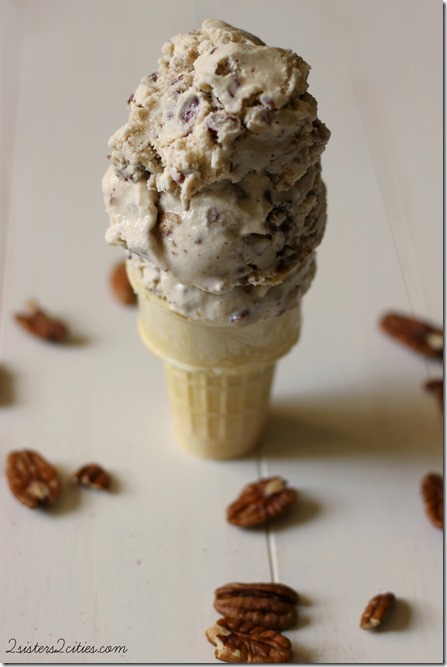
Cake Cone of Buttered Pecan Ice Cream

Before we go into pumpkin and soup recipes for fall, I wanted to share with you one more summer ice cream recipe I made with my ice cream maker.    After making the pistachio ice cream and  the s’more ice cream,   I decided it was time to make another nut-based ice cream.  Buttered pecan ice cream is one of my favorites and it was really easy to create in my ice cream maker.   I bought cake cones at the grocery store for this batch of ice cream and enjoyed a cone for dessert every few nights.   New to making ice cream?  Try this one first, it’s so easy!

Bowl of Buttered Pecan Ice Cream

Print
Buttered Pecan Ice Cream
Author: 2 Sisters 2 Cities
 
Ingredients
  • 1 cup packed light brown sugar
  • ½ cup water
  • ⅛ tsp. salt
  • 2 large eggs
  • 2 tbsp. unsalted butter
  • 1 cup whole milk
  • 1 tsp. vanilla extract
  • 1 cup heavy cream
  • 1 cup chopped toasted pecans
Instructions
  1. In a saucepan, mix together brown sugar, water, and salt and bring to a boil. Stir until sugar dissolves. Let syrup boil for 2 minutes.
  2. Next, in a medium heatproof bowl beat eggs together. Slow beat the syrup mixture in to the egg mixture.
  3. Add egg mixture to a double boiler or a heat proof bowl rested on a sauce pan with a few inches of water. Stir constantly until mixture reaches 175 degrees F and coats a spoon. Stir in unsalted butter and stir until melted.
  4. Strain the mixture into a medium bowl, cover with plastic wrap, and let cool in the refrigerator.
  5. Once cold, mix in milk and vanilla extract.
  6. In the bowl of a mixer fitted with whisk attachment, whisk the heavy cream until it forms soft peaks. Fold the whipped cream into the egg mixture.
  7. Pour the custard into an ice cream maker and follow the manufacturer’s instructions. Once the ice cream is done, fold in the chopped toasted pecans. Transfer to an ice cream container and place in the freezer to harden further. Enjoy!
3.2.1753

Source- Adapted from Brown Eyed Baker

sisterk (2)


Filed Under: K's Desserts, K's Recipes Tagged With: buttered pecan, buttered pecan ice cream, cold treats, homemade ice cream, ice cream, ice cream maker, ice cream recipes, nuts, pecans

Puppy Chow

Posted by Keelin Hollenbeck on July 28, 2013

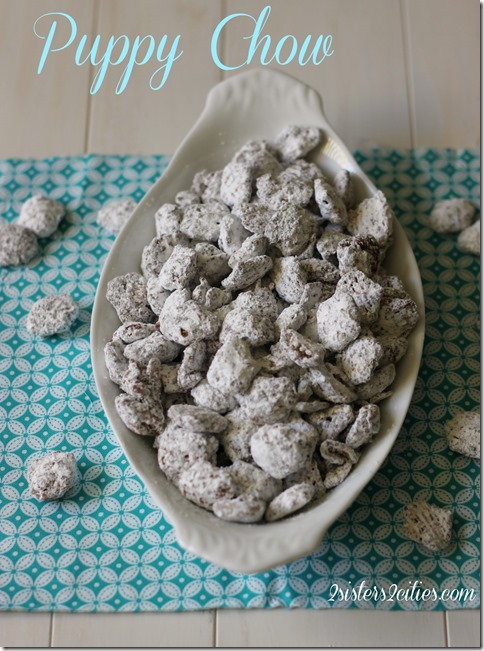
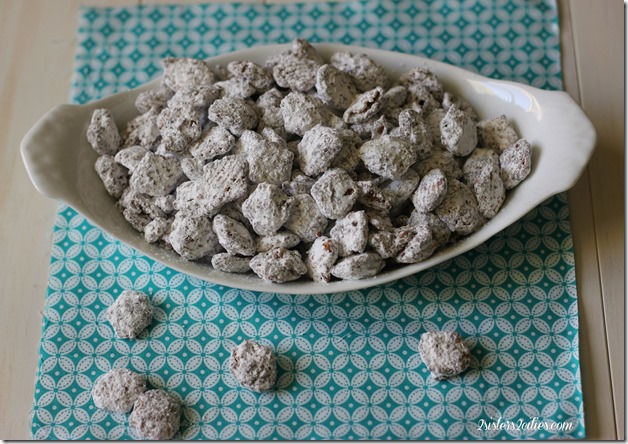
Puppy Chow

No, this isn’t a recipe for dog food!   This is a recipe for a snack dessert mix with corn/rice cereal covered in peanut butter, chocolate and powdered sugar for humans only.  Why is it called puppy chow?  I am not quite sure, maybe because it’s so addictive it makes you want to put your head in the bowl and just chow it down like a dog eating food.  I haven’t got to that point yet, but I wouldn’t put it past me!  Puppy chow is also sometimes called Muddy Buddies, which is the name Chex coined for it.

I was first introduced to puppy chow at my elementary school’s career day.  Yes, my elementary school had career day but it wasn’t like a college or high school career day.  It was more like fun activity day where you got to try things like cross country skiing, cake decorating, cooking, sewing, basket weaving, aerobics, and other fun crafty activities.   I don’t think it helped us to actually choose a career.  The activities I picked during the time I am remembering was cooking and making stained glass.   During our cooking class we learned how to make Puppy Chow.

*Note-Please do not feed this “puppy chow” to you pets.  Despite that name, this treat is not for dogs and could actually be harmful to your pets because it contains chocolate.

Puppy Chow

Print
Puppy Chow
Author: 2 Sisters 2 Cities
 
Ingredients
  • 9 cups of Crispix or 4½ cups of Corn Chex and 4½ cups Rice Chex
  • 1 cup semi sweet chocolate chips
  • ½ cup creamy peanut butter
  • ¼ cup butter (1/2 stick)
  • 1 teaspoon vanilla extract
  • 1½ cup of powdered sugar
Instructions
  1. In a large bowl, measure out cereal and set aside.
  2. In a medium sized heat proof bowl add chocolate chips, peanut butter, and butter. Cook in microwave for 1 minute and stir. Repeat in 30 second intervals, stirring in-between each turn until completely melted and smooth. Stir in vanilla extract.
  3. Pour the chocolate mixture over the cereal stir until all the cereal is evenly covered.
  4. Add coated cereal into a 2-gallon re-sealable bag and add in powdered sugar. Seal the bag and shake together until all the sugar has coated the cereal. This step can be done in two parts if you don’t have a large enough bag. Just make sure to split the cereal and the powdered sugar.
  5. Once the cereal is coated with sugar, pour out onto a waxed paper lined baking sheet. Let cool and enjoy. Keep in an airtight container.
3.2.1753

Source- Adapted from Chex
sisterk (2)


Filed Under: K's Desserts, K's Recipes, Party Ideas Tagged With: cereal, puppy chow, snack

Boxed Cake Mix Chocolate Chip Cookies

Posted by Keelin Hollenbeck on July 21, 2013

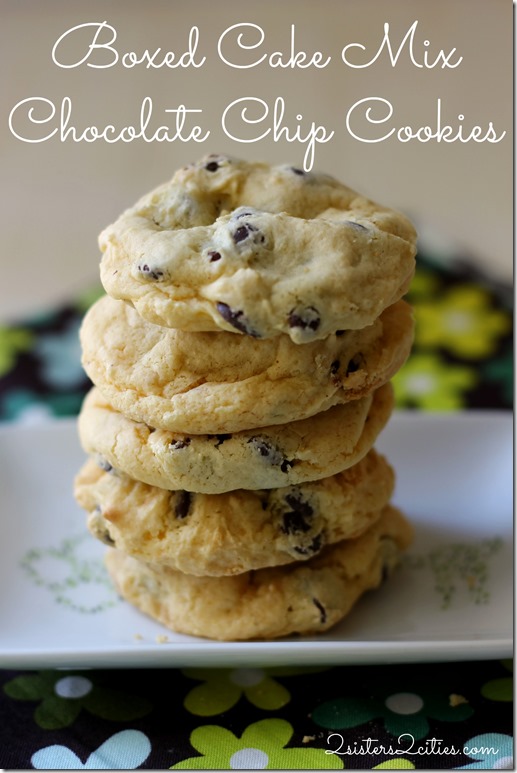
Boxed Cake Mix Chocolate Chip Cookies

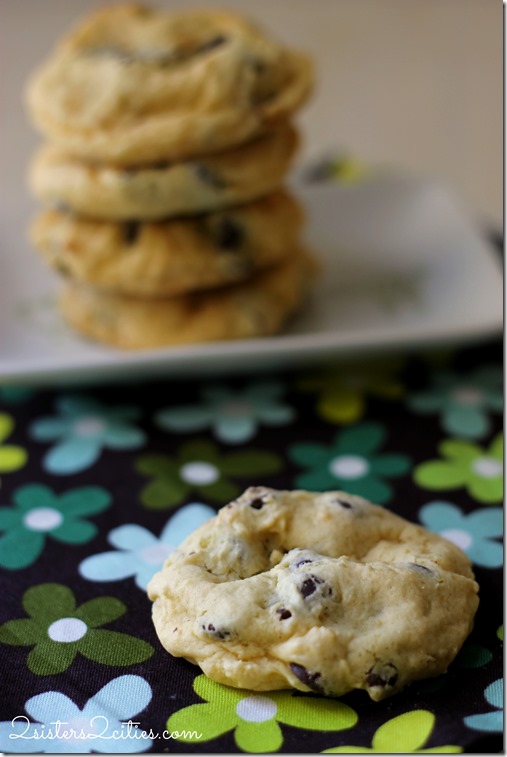
I am constantly looking for new recipes for chocolate chip cookies since they are my boyfriend’s all‐time favorite type of cookie.  I have an entire Pinterest board devoted to chocolate chip cookies that I would eventually like to try out.

In college, one of my roommates introduced me to making chocolate chip cookies with a box of yellow or white cake mix.   The cookies came out deliciously puffy and moist and were so easy to create.  Plus, when you are on a college budget you can’t beat the price of cake mix and cooking oil since butter and flour are usually the most expensive ingredients.  This recipe is also an “elbow grease” friendly recipe, therefore no need for a stand mixer!

It has been some time since I made this cookie recipe.  I have moved about 7-8 times since acquiring the recipe and if you can imagine, I had since lost and forgot about the recipe.  However, a few months ago I saw recipes for making cookies with boxed cake mix and it instantly reminded me of that long lost recipe. We happened to have a random box of cake mix on hand so I decided to give the recipe a try.   I say random because I rarely have cake mix sitting in my pantry, but my boyfriend had bought some when he was shopping on his own because he couldn’t believe how cheap it was.  There are a lot of items like this in our pantry…it is one of the pleasures of living with a food-enthusiast man, or what I like to lovingly call a “cookie monster.”

When I brought these boxed cake batter cookies into work they went extremely fast and so many people asked for the recipe.  Sorry,  it has taken me a few months to post this!

Boxed Cake Mix Cookies

Print
Boxed Cake Mix Chocolate Chip Cookies
Author: 2 Sisters 2 Cities
 
Ingredients
  • 1 single box of cake mix (Yellow or White)
  • 1 tsp. baking powder
  • 2 large eggs
  • ⅓ cup canola oil
  • ½ tsp. vanilla extract
  • 1 and ½ cup semi-sweet chocolate chips
Instructions
  1. Preheat the oven to 350 degrees and line baking sheets with parchment paper or a silicone baking mat.
  2. In a large bowl mix together the cake mix and baking powder. In a small bowl whisk together eggs, oil, and vanilla extract. Add the wet ingredients to the dry ingredients and stir until combined. Continue to mix batter until there are no more chunks of dry cake mix. Stir in chocolate chips.
  3. Drop rounded tablespoons of batter onto baking sheets with the medium-sized cookie scoop or measuring spoon. Make sure they balls are at least 2 inches away from each other because they will spread out a little when baking.
  4. Bake for 10 minutes and take out of the oven to let continue cooking on baking sheet. After a few minutes, transfer to a wire rack. Let cool and enjoy!
3.2.1753

Source- Adapted from Sally’s Baking Addiction

sisterk (2)


Filed Under: K's Desserts, K's Recipes Tagged With: boxed cake mix recipes, cake mix, cake mix cookies, chocolate chip, chocolate chip cookies, cookies, yellow cake mix

Salted Caramel Brownies

Posted by Keelin Hollenbeck on July 14, 2013

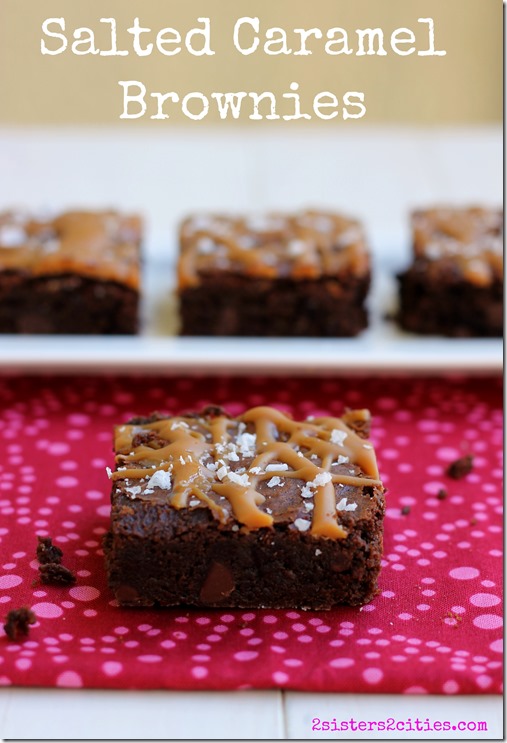
Delicious Salted Caramel Brownies

I realized as I was typing up this post that M and I have a few different recipes on our blog for Caramel Brownies (see here and here for the other recipes.) Can you blame us???  It really is okay because all the recipes are a little bit different and all make spectacular brownies. Salted caramel desserts are starting to become as regular as chocolate chips cookies.

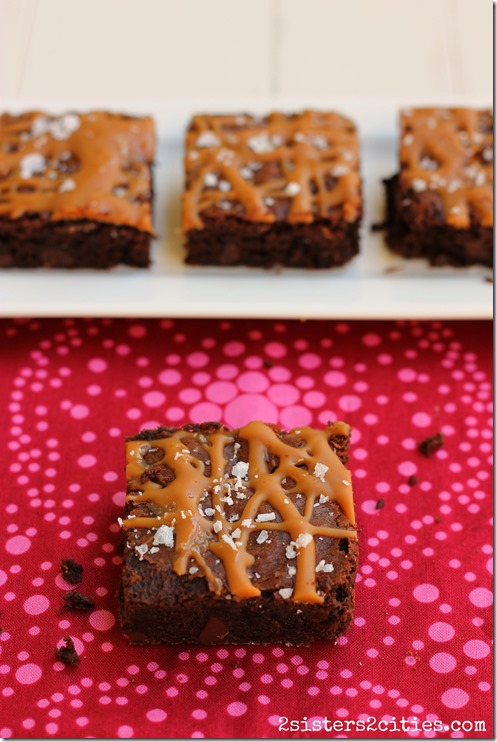
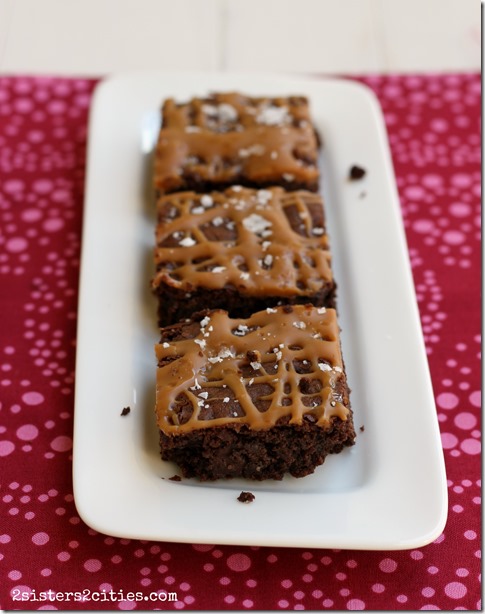
This recipe makes a chewy gooey brownie with chunks of chocolate chips inside, then covered with melted caramel and flaked sea salt.   As you may remember, last summer I made these Sea Salt Caramel Brownies, which were a huge hit at both my family reunion and a baby shower I made them for.   That particular recipe had a homemade caramel sauce baked into the center of brownie and then the top of the brownies were topped with fleur de sel.   The caramel gets baked into the brownie so it sort of soaks in throughout the brownie and makes for an incredibly rich and moist caramel brownie flavor.

For this recipe, I used Maldon flaked sea salt and I loved how big the flakes are.  They gave the brownies the perfect amount of saltiness.  Ina uses this salt a lot in topping her baked goods.  I bought some from Amazon, but since then I’ve also seen it at Whole Foods.

Salted Caramel Brownies

Print
Salted Caramel Brownies
Author: 2 Sisters 2 Cities
 
Ingredients
  • 1 cup butter (2 sticks)
  • 14 oz. semisweet chocolate chips (about 2 and ⅓ cups)
  • 3 oz. unsweetened chocolate
  • 3 large eggs
  • 1½ tbsp. instant coffee granules
  • 1 tbsp. vanilla extract
  • 1 cup, plus 2 tbsp. granulated sugar
  • ½ cup, plus 2 tbsp. AP flour, divided
  • 1½ tsp. baking powder
  • ½ tsp. kosher salt
  • 5-6 oz. caramel bits (such as Kraft’s)
  • 1-2 tbsp. half and half or milk
  • flaked sea salt, such as Maldon
Instructions
  1. Preheat the oven to 350 degrees.
  2. Grease and flour a 9x12x1½-inch baking pan.
  3. In a heat-proof bowl set over a sauce pan of simmering water, melt together butter, 8 oz. of the chocolate chips, and the unsweetened chocolate. Allow chocolate to cool for at least 15 minutes off of the heat.
  4. In a large bowl, stir eggs, coffee, vanilla and sugar together. No not beat the mix, just stir.
  5. Stir the the chocolate into egg mixture and let cool to room temperature.
  6. In a medium bowl, whisk together ½ cup flour, baking powder, and kosher salt. Mix into chocolate mixture.
  7. Toss the remaining 2 tablespoons of flour with the remainder of the chocolate chips. Once the batter mixture is at room temperature stir in the chocolate chips. Spread the batter in the pan.
  8. Bake for 35 minutes. A toothpick pressed in the center should come out clean.
  9. In a microwave safe bowl, add caramel candies and 1 tablespoon of half n’ half or milk. Gradually melt the caramel in the microwave in 15-20 second intervals being very careful it doesn’t burn. Repeat until caramel is melted, using the extra tablespoon of half n’ half or milk if needed.
  10. Once the brownies come out of oven, drizzle the caramel over the hot brownies an sprinkle with the flaked sea salt. Let the brownies cool completely before cutting.
3.2.1753

Source- Adapted from Ina Garten’s Barefoot Contessa Foolproof

Caramel Brownies

sisterk (2)


Filed Under: K's Desserts, K's Recipes Tagged With: barefoot contessa, brownie recipe, brownies, caramel, caramel recipe, chocolate dessert, maldon flaked sea salt, Salted caramel, salted caramel brownies, sea salt caramel brownies

S’more Ice Cream

Posted by Keelin Hollenbeck on July 3, 2013

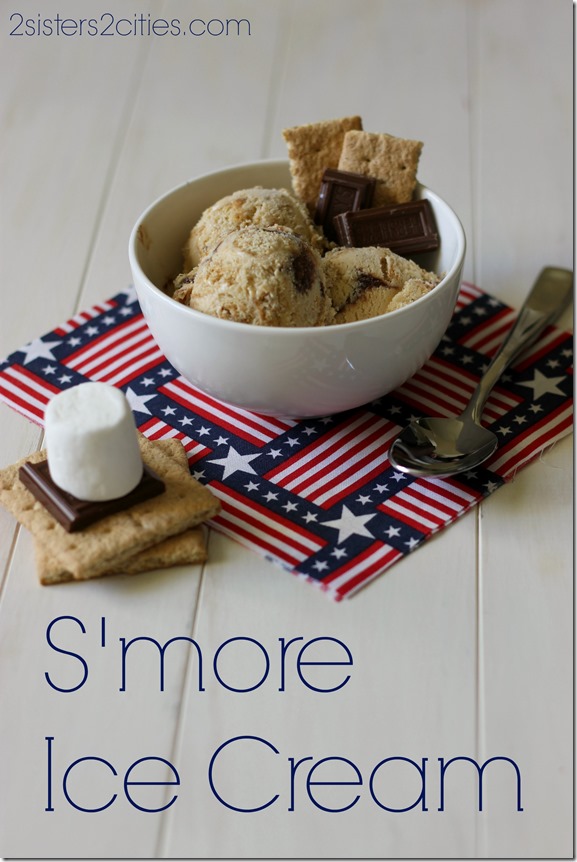
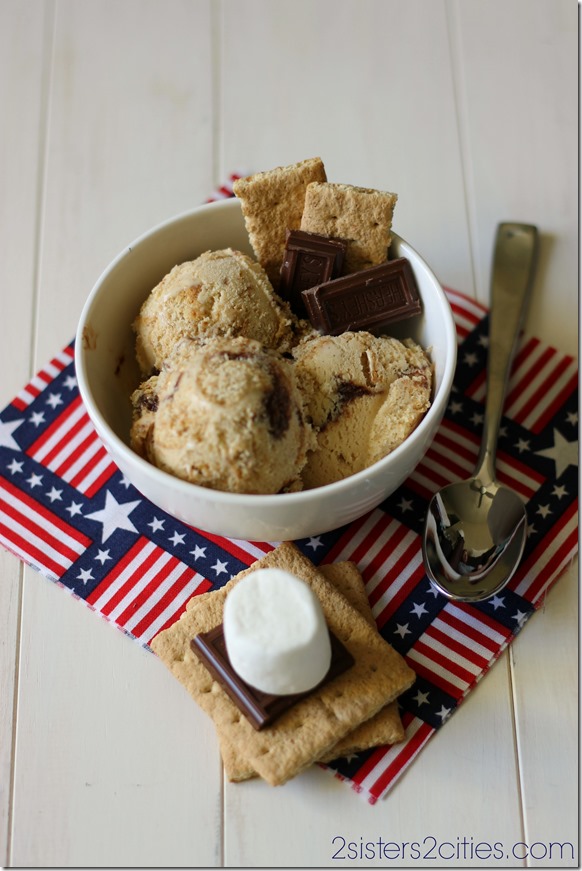
S'more Ice Cream for Dessert

Happy Fourth of July everyone!   I hope you have a great menu planned for your long weekend . I am sure with all this time off, my boyfriend and I will be cooking/baking up a storm.   Here is a last minute dessert idea to celebrate your Independence Day with.

Last weekend I tested out another new flavor of ice cream with my new ice cream maker.  The pistachio ice cream I made first had turned out so well I was excited to try another flavor. Since it is Fourth of July weekend,  I thought it would be the perfect opportunity to make some s’more ice cream.   This ice cream has toasted marshmallow-flavored ice cream with graham cracker pieces and fudgy layers, making it the perfect dessert for summer time.   I could have really just stopped at the toasted marshmallow ice cream because the flavor was incredible!  It would also be the perfect ice cream to make s’more ice cream sandwiches with, by layering the marshmallow ice cream between a layer of Hershey’s chocolate squares and graham cracker halves.  However you decide to make this ice cream, you will be happy with the results!  I scream, you scream, we all scream for ice cream!!  (If you look close enough to my picture you can see my boyfriend watching tv in the background..whooops!)

S'more Ice Cream

Print
S'more Ice Cream
Author: 2 Sisters 2 Cities
 
Ingredients
For Toasted Marshmallow Ice Cream:
  • 1 bag marshmallows, preferably large but small will do
  • 1 tbsp. vanilla bean paste
  • 2 cups whole milk
  • 5 egg yolks
  • ½ cup sugar
  • Pinch of salt
  • 1 cup heavy cream
  • 1 tsp. vanilla extract
For the Fudge Layers
  • ½ cup granulated sugar
  • ½ cup water
  • ⅓ cup light corn syrup
  • 6 tbsp. Dutch-process cocoa powder
  • ½ teaspoon vanilla extract
To add to Ice Cream:
  • 1½ cups coarsely chopped honey graham crackers
Instructions
  1. Line a baking sheet with parchment paper. Place marshmallows on baking sheet. Place the pan under the broiler for 30 seconds to 1 minute until toasted, watch closely because they will burn easily. Turn marshmallows over and toast the other side the same way. Once both sides are toasted, place marshmallows in a blender and set aside.
  2. Add milk to a medium saucepan, add in vanilla bean paste and slowly bring mixture to a simmer.
  3. In a large heatproof bowl beat the egg yolks, sugar and salt together with a whisk. Slowly add warmed milk to the egg mixture and return to saucepan. Heat mixture over medium-low heat stirring the entire time with a heat proof rubber spatula. Stir until the custard thickens and easily coats the spatula (around 170-175 degrees F.) Pour the custard through a metal strainer into a large bowl. Let cool for 15 minutes.
  4. Add the custard into the blender (where the toasted marshmallows are) and blend together until the marshmallows are completely broken down. Add heavy cream and vanilla extract to blender and blend for 10-15 second to combine. Pour the mixture into lidded container and refrigerate overnight.
  5. To make Fudge Layers: In a medium saucepan set over medium heat, whisk together sugar, water, corn syrup, and cocoa powder. Whisk the entire time, until the mixture comes to a low boil. Allow mixture to boil for one minute, continuing to whisk. Remove the chocolate sauce from heat and stir in vanilla extract. Add mixture to a jar or an air-tight container and let cool before covering. Place in the refrigerator and let cool for at least 2 hours before layering into ice cream.
  6. Before adding the custard to the ice cream maker, stir vigorously until mixture is smooth. Add custard to your ice cream maker and churn ice cream according to manufacturer’s instructions. When ice cream is done, gently fold in chopped graham crackers with a rubber spatula. On the bottom of the container you plan to store ice cream in, add a layer of fudge sauce to the bottom. Scoop the ice cream into the container, adding layers of the fudge sauce between layers of ice cream (do not stir the ice cream at this point since you will want the layers of fudge.) Continue layering ice cream and fudge sauce, ending with an ice cream layer. Cover container and freeze ice cream until firmer, about 2-3 hours.
3.2.1753

Source-  Adapted from Brown Eyed Baker

sisterk (2)


Filed Under: K's Desserts, K's Recipes Tagged With: fancy s'mores, fourth of july, fudge sauce, ice cream, ice cream recipes, S'more, s'more ice cream, s'mores, s'mores recipes, toasted marshmallow ice cream

Pistachio Ice Cream

Posted by Keelin Hollenbeck on July 1, 2013

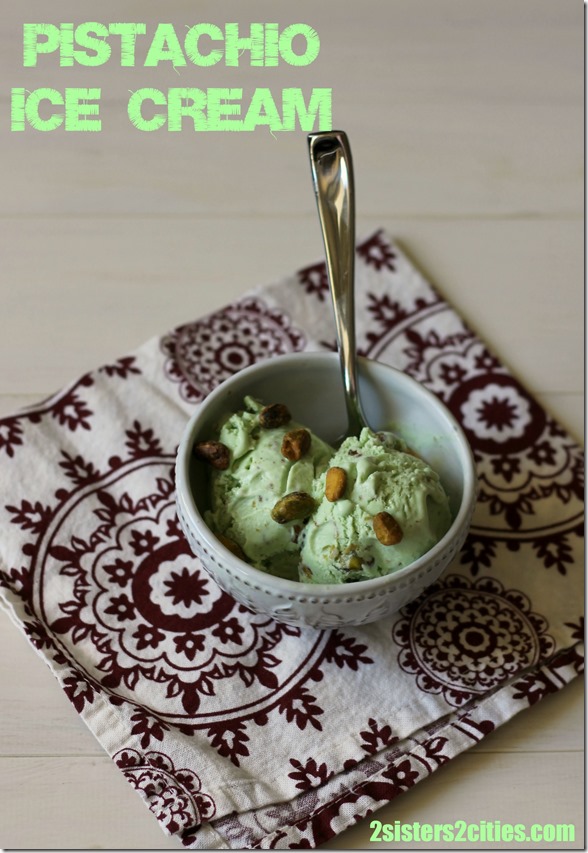
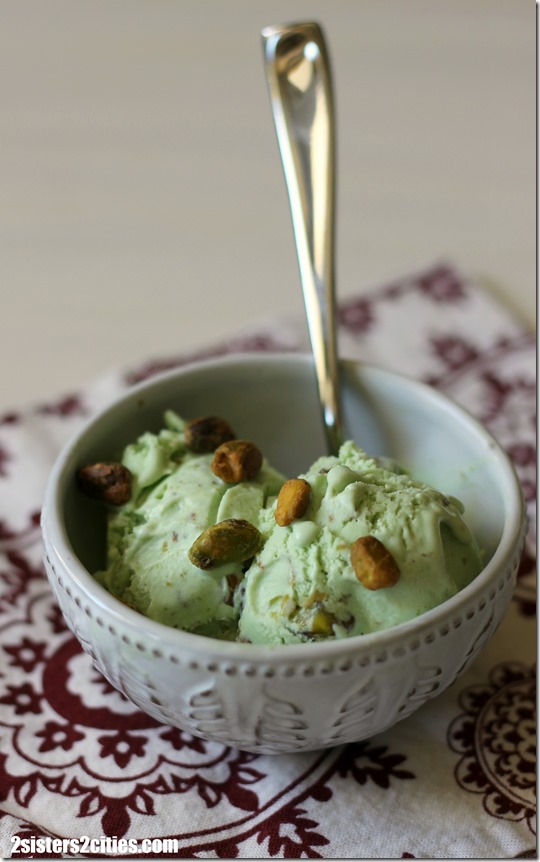
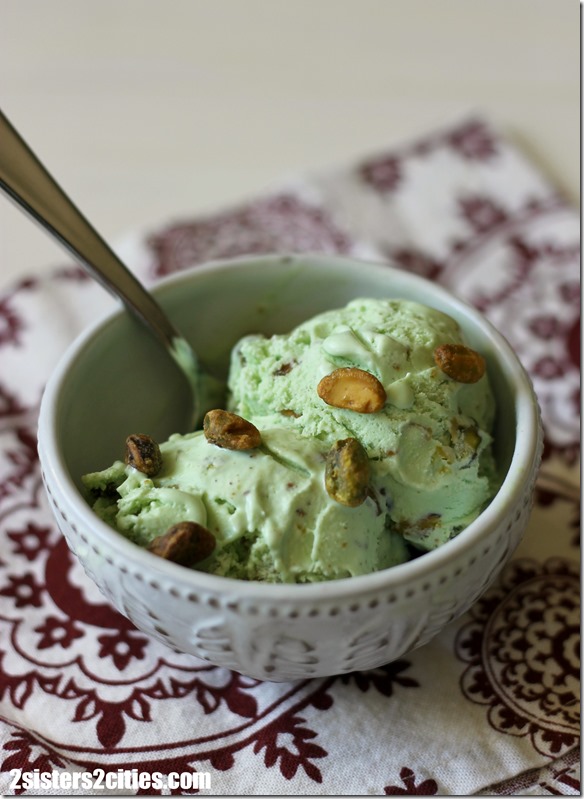
Pistachio Ice Cream

I finally indulged in a KitchenAid ice cream maker attachment for my mixer the other weekend.   I was planning to wait for my birthday that is in a few weeks, but I found a really great deal on one that I could not say no to.  It was extremely difficult to decide on what flavor ice cream I wanted to create first.    I read through lists and lists of flavors as my boyfriend and I drove to the grocery store.   My favorite type of hard ice cream is chocolate with peanut butter swirl, which we happened to have a pint of in the freezer.  We decided to go my boyfriend’s favorite flavor, pistachio nut.

I found an awesome recipe online and picked up the ingredients while we were grocery shopping.   I was able to find shelled pistachios which only came in salted.  I rinsed the salt off of the 1 and 1/3 cups of pistachios that were going to soak in the milk/cream mixture and then baked them for 5 minutes in the oven to dry them out.   I kept the other pistachios that were added to the ice cream salted and it seemed to work out perfectly.   I added a small amount of green dye to the ice cream to make it looks like the classic pistachio ice cream.  This is optional of course.

The custard tasted like delicious pistachio ice cream right away so we anxiously waited for it to chill, churn into ice cream and then freeze all the way in the freezer.  When we finally got to taste the end results, it was awesome!   I was very impressed with my first ice cream making experience.   I am not over-exaggerating when I say thi,s but it was the best pistachio ice cream I had ever tasted!

Homemade Ice Cream

Print
Pistachio Ice Cream
Author: 2 Sisters 2 Cities
 
Ingredients
  • 1⅓ cups shelled roasted pistachio nuts
  • ¾ cup sugar
  • 2 cups heavy cream
  • 1 cup whole milk
  • pinch of salt
  • 6 large egg yolks
  • 1 tsp. vanilla extract
  • ½ tsp. almond extract
  • Green food coloring
  • ¾ cups pistachios, roughly chopped
Instructions
  1. If your pistachios are salted- follow this first step. Rinse 1⅓ cup of pistachios with water in a colander. Dry nuts on a towel and spread out on a baking sheet lined with parchment papers. Place in oven heated to 350 degree and place in the over for five minutes to dry.
  2. Add nuts to a food processor and grind into small pieces. Set aside.
  3. In a medium sauce pan; add milk, sugar, 1 cup of cream, and salt. Heat on medium-low heat until warmed. Take off heat and stir in ground pistachios. Let soak for 30 minutes.
  4. Strain the nut mixture liquid with a mesh strainer, apply pressure to the nuts to make sure all the liquid comes out. Dispose the nuts and add milk mixture back into sauce pan.
  5. In a large heat proof bowl add the remaining 1 cup of cream to bowl and place cleaned mesh strainer on top.
  6. In a medium sized bowl beat 6 egg yolks with a whisk. Slowly whisk egg yolks into sauce pan with milk mixture. Heat mixture over medium heat stirring the entire time with a heat proof rubber spatula. Stir until the custard thickens and easily coats the spatula.
  7. Pour the custard through the strainer into the cream in the large bowl. Stir to combine.
  8. Mix in the vanilla and almond extract into custard.
  9. Add custard to an air-tight container and refrigerate until completely chilled.
  10. Add chilled custard to your ice cream maker and follow the manufacturer’s instructions. Once ice cream is churned add in green food coloring, adding a few drops at first and working up to the green color you prefer (this is optional, it does not add to the flavor.)
  11. Gently stir in roughly chopped pistachios and place back into an airtight container. Freeze for an addition 3-4 hours until complete frozen. Serve and enjoy!
3.2.1753

Bowl of Pistachio Ice Cream

 Source: slightly adapted from Brown Eyed Baker

sisterk (2)

Related Posts Plugin for WordPress, Blogger...


Filed Under: K's Desserts, K's Recipes Tagged With: dessert recipe, desserts, frozen dessert, homemade ice cream, hot weather treats, ice cream, ice cream maker, ice cream recipes, Pistachio Ice Cream, pistachios, summer recipes, summer treats

  • « Previous Page
  • 1
  • 2
  • 3
  • 4
  • …
  • 8
  • Next Page »

Recent Posts

  • Easy Holiday Office Party Tips
  • 5 Steps to an Easy Football Party
  • Gingerbread Biscotti
  • Holiday Coffee Bar and Thanksgiving Recipes
  • Soft Sugar Pumpkin Cookies
  • Cinnamon Sugar Apple Cake
  • Hello Pumpkin Season!
  • Make Your Own Milkshake Party!
  • Mama’s Pickles
  • S’more Cookies

Categories

  • About 2 Sisters 2 Cities (7)
  • Books (8)
  • Crafting & DIY (22)
  • Design & Decorating (15)
  • Gardening (5)
  • Giveaway (14)
  • Guest Bloggers (8)
  • K's post (46)
  • K's Recipes (191)
    • K's Desserts (75)
    • K's Entrees (23)
    • K's Sides (24)
  • M's post (72)
  • M's recipes (167)
    • M's Entrees (21)
    • M's Sides (14)
    • M's Desserts (30)
  • Organizing (7)
  • Party Ideas (49)
  • Uncategorized (1)
  • Vacation (12)
Stitch Fix

Archives

Blogroll

  • Annie's Eats
  • Bake at 350
  • Baked Bree
  • Boston Harbor Beacon
  • Confections of a Foodie Bride
  • Cook Like a Champion
  • Erin’s Food Files
  • Forever and a Recipe
  • Framed Cooks
  • Oh Happy Day
  • On Common Ground
  • Pennies on a Platter
  • Pink Parsley
  • Recipe Girl
  • Sally's Baking Addiction
  • Simply Scratch
  • The Curvy Carrot
  • The Pioneer Woman
  • Tidy Mom
  • Two Peas & Their Pod
  • What’s Gaby Cooking
  • Young House Love
Increase your website traffic with Attracta.com

grab a 2 sisters button!


Copyright © 2014 ~ 2 Sisters 2 Cities | Blog Design by Minx Design