2 Sisters 2 Cities

Image Map
  • About 2 Sisters 2 Cities
  • Recipe Index
  • Project Index
  • Contact Us
  • Like us on Facebook
  • Follow m on twitter
  • Follow k on twitter
  • Follow 2S2C on Pinterest
  • Follow 2S2C on G+
  • rss
  • e-mail 2S2C

Seafood Sensation- Linguine Frutti di Mare with Vodka Marinara Sauce

Posted by 2 Sisters 2 Cities on December 12, 2011

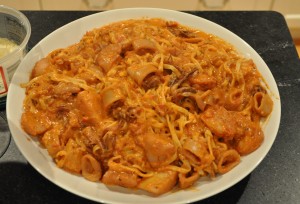
Every so often on Sunday evenings, Husband M likes to do the cooking for the night.  I sometimes get a little nervous about the idea as I don’t like to give up control of my kitchen (and his methods are a bit more messy than mine!)   A week or so after Baby T was born, he decided to re-create one of his favorite restaurant meals, Linguine Frutti di Mare.  It’s basically pasta with seafood.  Husband M prefers his with a lot of garlic (he uses a whole head of garlic) and a lot of seafood (no skimping here.)  He decided to make this dish again last night for dinner and took pictures this time.

Linguine Fruitti di Mare

Ingredients:
-Jar of vodka marinara sauce or make your own (see below for our “half-homemade” version)
-12 oz. fresh linguine (you can also used dried pasta if you can’t find fresh)
-5-6 cloves of garlic, minced
-1 small sweet onion, chopped
-8 oz of clams (chopped or whole)
-1/4-1/2 lb scallops
-1/4-1/2 lb calamari, chopped into bite size pieces
-12 large peeled and deveined shrimp
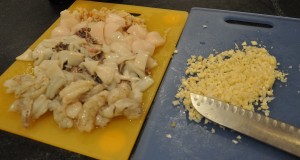
No skimping on seafood or garlic in this house!

Directions
Prepare or heat up the vodka marinara sauce in a saucepan and keep on low heat.

Prepare the fresh pasta according to the package directions.  Keep in mind that fresh pasta usually only needs 2-3 minutes of cooking time.  Drain and keep warm

In a large skillet, heat up the olive oil on medium high heat and add the garlic and onion.  Saute for 3-4 minutes until soft.  Meanwhile, have all your seafood prepared (peel and devein shrimp, drain clams if using a jar/can, etc).  Pat dry the seafood with a couple of paper towels.  Once garlic and onions are soft, throw in all the seafood into the skillet and stir to combine.  Cook the seafood mixture for 4-5 minutes until all ingredients are cooked to your desired level.

At this point, place the cooked pasta in a large serving bowl.  Add the seafood mixture and heated vodka marinara sauce.  Combine all ingredients and serve loudly singing an Italian song about how you just created the best pasta dish around.

Also, if you want to spruce up just a plain jar of marinara sauce, here is our  partially homemade version of vodka marinara sauce:

“Half Homemade” Vodka Marinara Sauce

Ingredients:
-25 oz jar of marinara sauce
-3/4 cup of vodka
-1/2 cup heavy cream (room temperature)
-salt and pepper
-1/4 cup parmesan cheese

Directions:
In a large saucepan, combine the marinara sauce and vodka.  Cook over low heat for 30 minutes, stirring every so often.  Once the sauce has been slightly reduced, add cream, salt, pepper, and parmesan.  Stir together and serve.

-m


Filed Under: M's Entrees, M's recipes Tagged With: Husband M's recipes, Italian, pasta, seafood, seafood pasta

Tale of the Two Turkeys

Posted by 2 Sisters 2 Cities on December 1, 2011

No…not us!  I was referring to the two different turkeys we made for Thanksgiving this year, but we have been a bit fowl (teehee) for not posting in so long!  The M family has recently moved to the burbs and it’s been a crazy few months of packing, unpacking, and settling into our new place with Baby T.  I think I was also on the sidelines deciding whether or not I wanted to continue this blog, but I’ve suddenly been motivated to get going again as we approach our two year anniversary of the 2 Sisters 2 Cities blog!  (It doesn’t hurt that Husband M also decided to write most of this blog entry to get me going…)

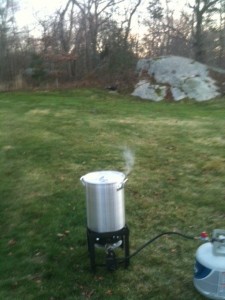
We hosted our first Thanksgiving in our new home this year with my parents and all 3 sisters making the trip to the Boston area (including Sister K!)  A few years ago, we had purchased a turkey fryer to keep a large batch of gumbo warm for a football tailgate.  It had sat sadly in storage for many years.  This year, we decided to bring it out for a battle of the two turkeys…fried vs. roasted!   Here is Husband M’s rendition of the fried turkey tale:

Frying a turkey for Thanksgiving was something we had always wanted to do because we heard how good fried turkey tastes. We had been somewhat cautious after hearing how dangerous this can be, as some serious accidents and fires have occurred as a result of improper turkey frying (search the internet for turkey frying.)  However, after following directions properly and using caution, we are happy to report that our fried turkey was a great success. We had one slight distraction- an unexpected and ironic guest, which we will discuss in a minute.

Ingredients:
1) One small to medium-size turkey, depending on pot size (we used 11 lbs).
2) Some type of dry spice rub to put on the turkey before frying (we used Paula Deen’s version found here)
3) Peanut oil (we bought a large vat at Costco)

Anyone doing this should consult the proper instructions that come with the proper equipment, but here is a description of the steps we undertook that lead to a successful outcome

-Using proper equipment and being located outside, at least twenty feet from any structure.
-Filling the oil only partially (measuring displacement with water first). You don’t want hot oil overflowing out of your pot and on to the flame- this will cause an explosion.
-Not letting the oil temperature exceed 350 degrees.
-Making sure the turkey was completely thawed and dry. This required four full days of defrosting. This is a key step as throwing a frozen turkey in boiling oil will result in a fiery explosion (see results of internet search mentioned above).
-Turning the heat off while placing the turkey in the pot. This way, if the oil were to boil over due to a mistake made in one of the points above, the overflowing oil would not fall on a hot flame and ignite.
-Letting the turkey fry for approximately 3.5 minutes per pound.

Again, these are just an illustrative description and not a complete set of instructions. This is a potentially dangerous process, and anyone looking to fry their own turkey should follow the full instructions that come with the equipment and/or speak with their local fire department. We are not responsible if you melt your face off or burn your house down.

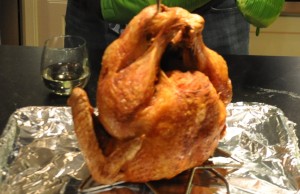
The result was a fast cooking time and a tender bird with great taste. It was not oily at all, contrary to what one might think. I guess the oil just seals in all the moisture.

Here is a picture of our guest….look carefully. A wild turkey ran by our yard while we were cooking our turkey. Perhaps he is thankful he is not in that pot.

Our new house has a lot of turkey visitors…we all found it very funny that they decided to show up as soon as we started frying up his cousin from Butterball County.  Sorry bird!

Here’s a final pic of the fried turkey…yum!:

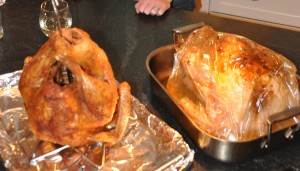
We also did a basic roast turkey just in case Husband M botched up the friend turkey, ergh, I mean in case we wanted more turkey.  We used this recipe in this year’s Cooking Light.  My mom brought the gravy so we did not make the version in the recipe.  We also used a Reynolds oven bag to cook the turkey in to seal in the moisture.  Here’s a picture of me with the two finished birds sitting side by side:

The final verdict: we loved both of them!  The skin on the fried turkey was amazing, but the oven bag really helped keep the roasted turkey moist.  It may be a tale of two turkeys every year for Thanksgiving going forward.

-m


Filed Under: M's Entrees, M's recipes Tagged With: fried turkey, Husband M post, roasted turkey, Thanksgiving

Farmers’ Market Recipe: Bacon Asparagus Quiche

Posted by 2 Sisters 2 Cities on June 8, 2011

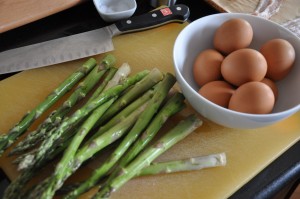
I went to the Southie farmers’ market for the first time that I have lived here for the past 5 years.  It occurs from 12-6 every Monday, but in the past I had always worked during these hours.  I picked up some additional plants for my porch, and also bought some asparagus and fresh eggs.


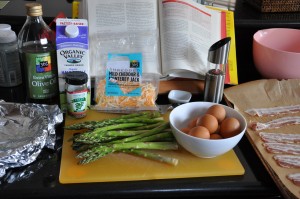
When I got home, I realized I had enough ingredients to make a whole meal out of my farmer’s market purchases…Bacon Asparagus Quiche!  I love to make a whole meal our of my farmers’ market finds.

Ingredients:
-1 pie shell (I used a frozen one)
-1 bunch asparagus
-1 tablespoon olive oil
-6 pieces of bacon
-6-8 eggs (I used 8 as the fresh ones were on the small side)
-thyme (dried or fresh)
-1 and 1/2 cups milk and/or half & half (I used a 50/50 combo, but use any combination you prefer)
-shredded cheese (I just used a cheddar and monterrey jack mix I had from a previous recipe)
-salt and pepper


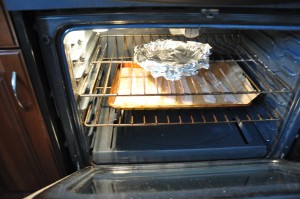
Preheat oven to 425 degrees F.  Cover the pie shell (in a pie pan) with foil.  Lay the bacon on a baking sheet covered with parchment paper.  Bake both in the oven for 12 minutes or until done.


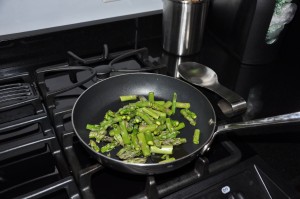
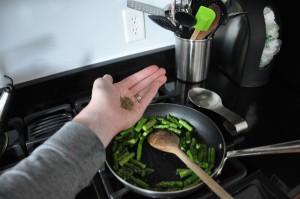
Meanwhile, wash and slice up the asparagus in 1-2 inch pieces.  Heat a small skillet to medium and add olive oil.  Add asparagus and saute 6-8 minutes.  Add a small dash of thyme and cook for 1-2 more minutes.


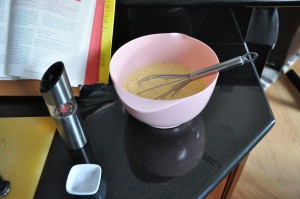
Combine the eggs, milk/half & half combination, and shredded cheese in a large mixing bowl.  Once the asparagus is done cooking and has cooled for a bit, add the asparagus to the egg mixture.  In addition, once the bacon has cooled, break it up into small pieces and add it to the egg mixture.  Add salt and pepper to taste.


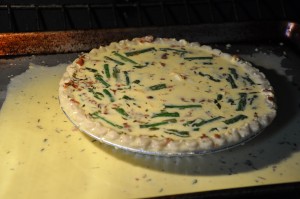
Lower the heat on the oven to 325 degrees F.  Put the pie shell on a baking sheet.  Pour the egg mixture into the pie shell (I originally put a little too much milk in the recipe at first so it overflowed, as seen in the picture below…recipe above adjusted for this!)  Cook for 30-40 minutes, or until set.  Let the quiche cool slightly before eating.


This recipe would be delicious with a mixed greens salad and a light dressing and a nice glass of white wine!

-m


Filed Under: M's recipes Tagged With: bacon asparagus quiche, Boston, buying local, Farmers Market, farmers market cooking, farmers market recipes, fresh, organic, organic food, southie, summer dinner

Warm Goat Cheese Dip

Posted by 2 Sisters 2 Cities on March 29, 2011

I’m usually not one to make recipes off the sides of boxes and cans (besides the occasional batch of Chex Mix), but I was looking at the back of a Whole Foods cracker box the other day and found one that looked really good.  I had all the ingredients already so I decided to make it as an appetizer for dinner last night.  Here is the recipe from the box (slightly modified):

Warm Goat Cheese Dip

Ingredients:
-1 tsp garlic, pressed
-1 package goat cheese
-2 sprigs fresh rosemary
-1/4 cup extra virgin olive oil
-kosher salt and freshly ground pepper

Preheat oven to 350 degrees F.  Spread garlic on the bottom of a 5×9 casserole dish (I used the all-clad oval baker).  Crumble cheese over garlic.  Place rosemary sprigs between cheese and side of dish, following the curve of the dish.  Press cheese down with the back of a spoon.  Top with the olive oil, salt, and pepper (to taste).  Bake for 10 minutes, until bubbling.

They recommend serving it with the woven whole wheat crackers (the box it was printed on).  I had some leftover pitas and had finished the crackers the night before, so I toasted the pitas up.  This would be a great dish to serve or bring to a party as it can be made beforehand and only takes 10 minutes to heat up.

-m


Filed Under: M's recipes Tagged With: appetizer, appetizers, party dish, warm goat cheese dip

Something fishy…

Posted by 2 Sisters 2 Cities on March 3, 2011

We just returned from our first vacation with Baby T!  We went to Grand Cayman for the trip and it was much easier to travel with him that I thought it would be.  I think he loved the warm air- he took great naps down there.  T was excellent on the plane rides as well.  American Airlines even gave him a certificate to mark his first flight and the captain announced it to the whole plane.

One day for lunch, we stopped at a restaurant known for their fish tacos…the Sunshine Grill.  They were excellent!  When we returned home, I’ve been craving to have them again.  Over Christmas, I had seen the Food Network show Aarti Party and I was drooling over the fish tacos she was making.  She also recommended pairing them with Allagash White beer, which is easy to find around here as it is from Portland, Maine.  I made them last night and served it with the beer pairing- they were amazing.  I definitely recommend trying out this fish taco recipe!  (For a quick shortcut, I recommend just buying some coleslaw mix instead of chopping up a head of cabbage.)

-m


Filed Under: M's recipes, Vacation Tagged With: aarti party, beer pairing, fish tacos, Food Network, grand cayman, sunshine grill, travel

Southie Steak Tips

Posted by 2 Sisters 2 Cities on February 10, 2011

I had never heard of steak tips before I moved to Boston…not sure if it’s a geographical thing or if we just never had them in our house growing up.  Since living here, I have come to really enjoy them.  In Southie, I highly recommend trying them out at the K & 8th Market.  Or, try out my recipe I came up with:

M’s Southie Steak Tips-

Ingredients:
-1-2 lbs of chuck steak (or any other “tougher” cut of steak that would do well with a marinade”
-1 cup BBQ sauce (I recommend Dinosaur BBQ sauce)
-1/4 cup worchestshire sauce
-1/2 cup olive oil
-1/4 cup white wine vinegar
-5 garlic cloves, chopped
-dried parsley and oregano (or fresh if in season)
-salt and pepper

Cut the steak(s) into 1 inch pieces.  Mix together all other ingredients in a large bowl.  Put steak into marinade and cover.  Keep refrigerated for at least a couple hours.  Once you are ready to cook it, you can grill or broil the steak tips to your desired doneness.  I like to serve the steak tips with rice and a vegetable.

-m


Filed Under: M's recipes Tagged With: southie steak tips, steak tips

Winter Warmer Recipe: Tropical Fruit Salad

Posted by Meaghan Barry on January 6, 2011

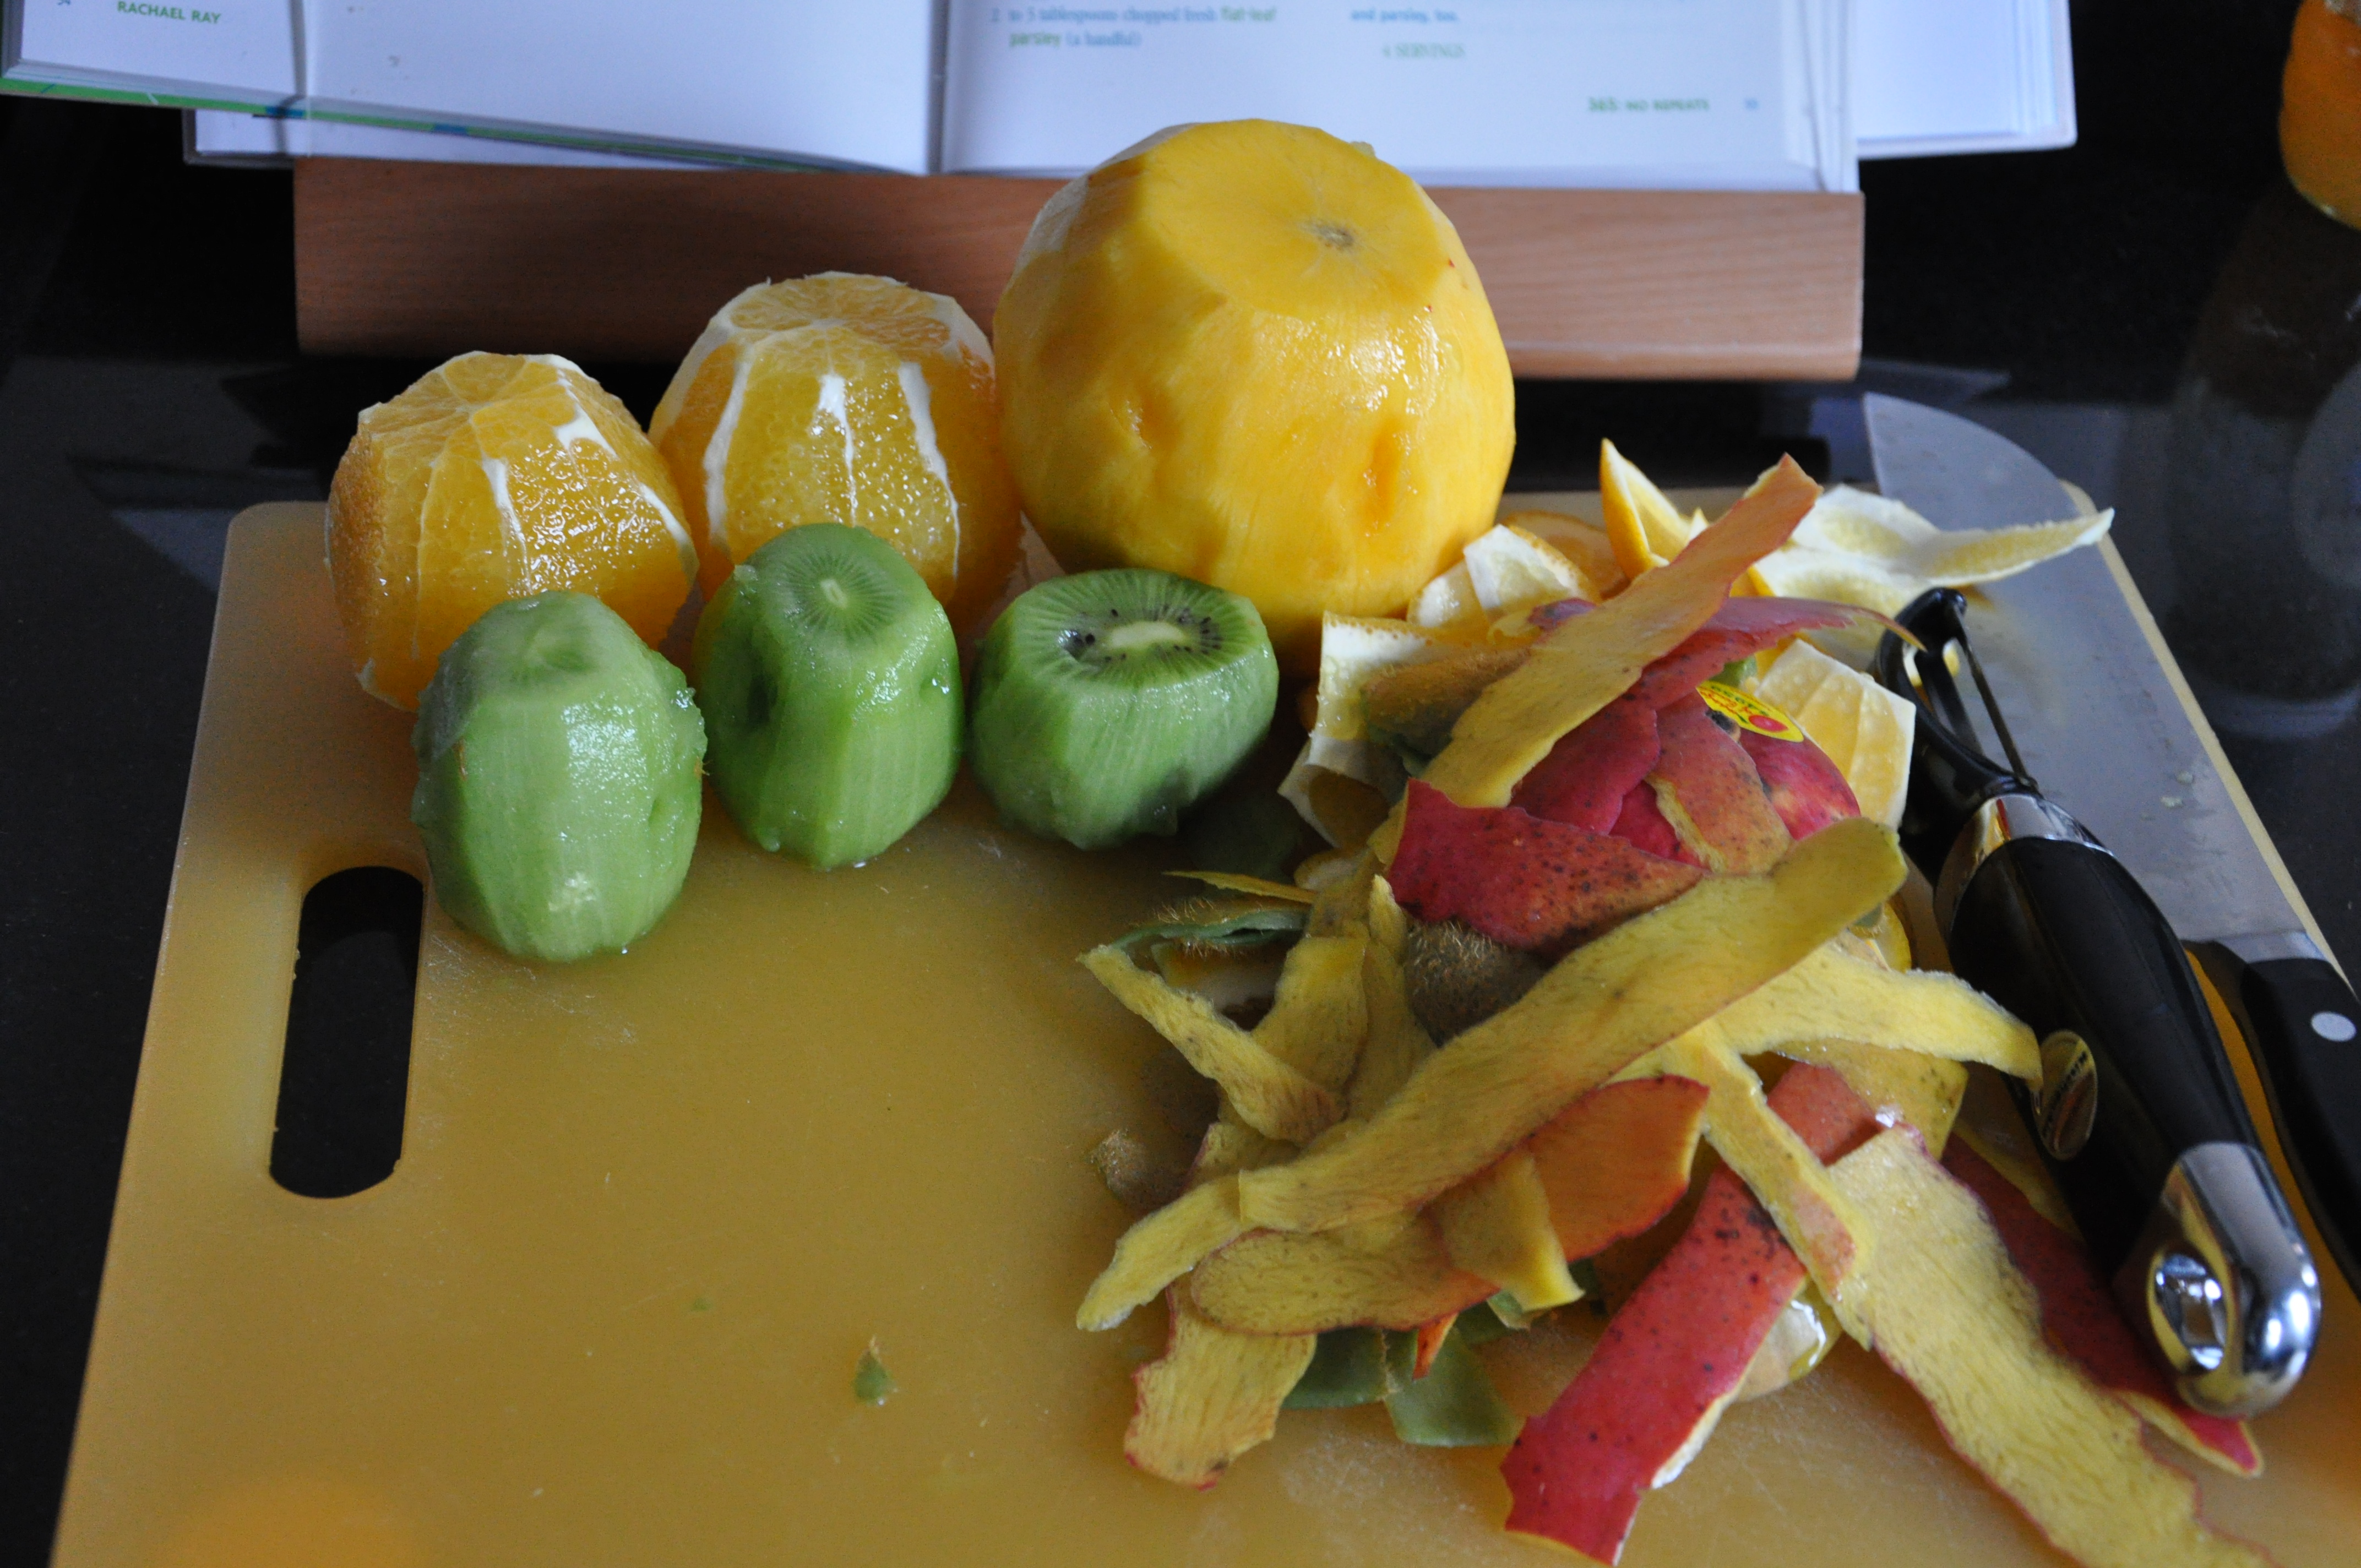
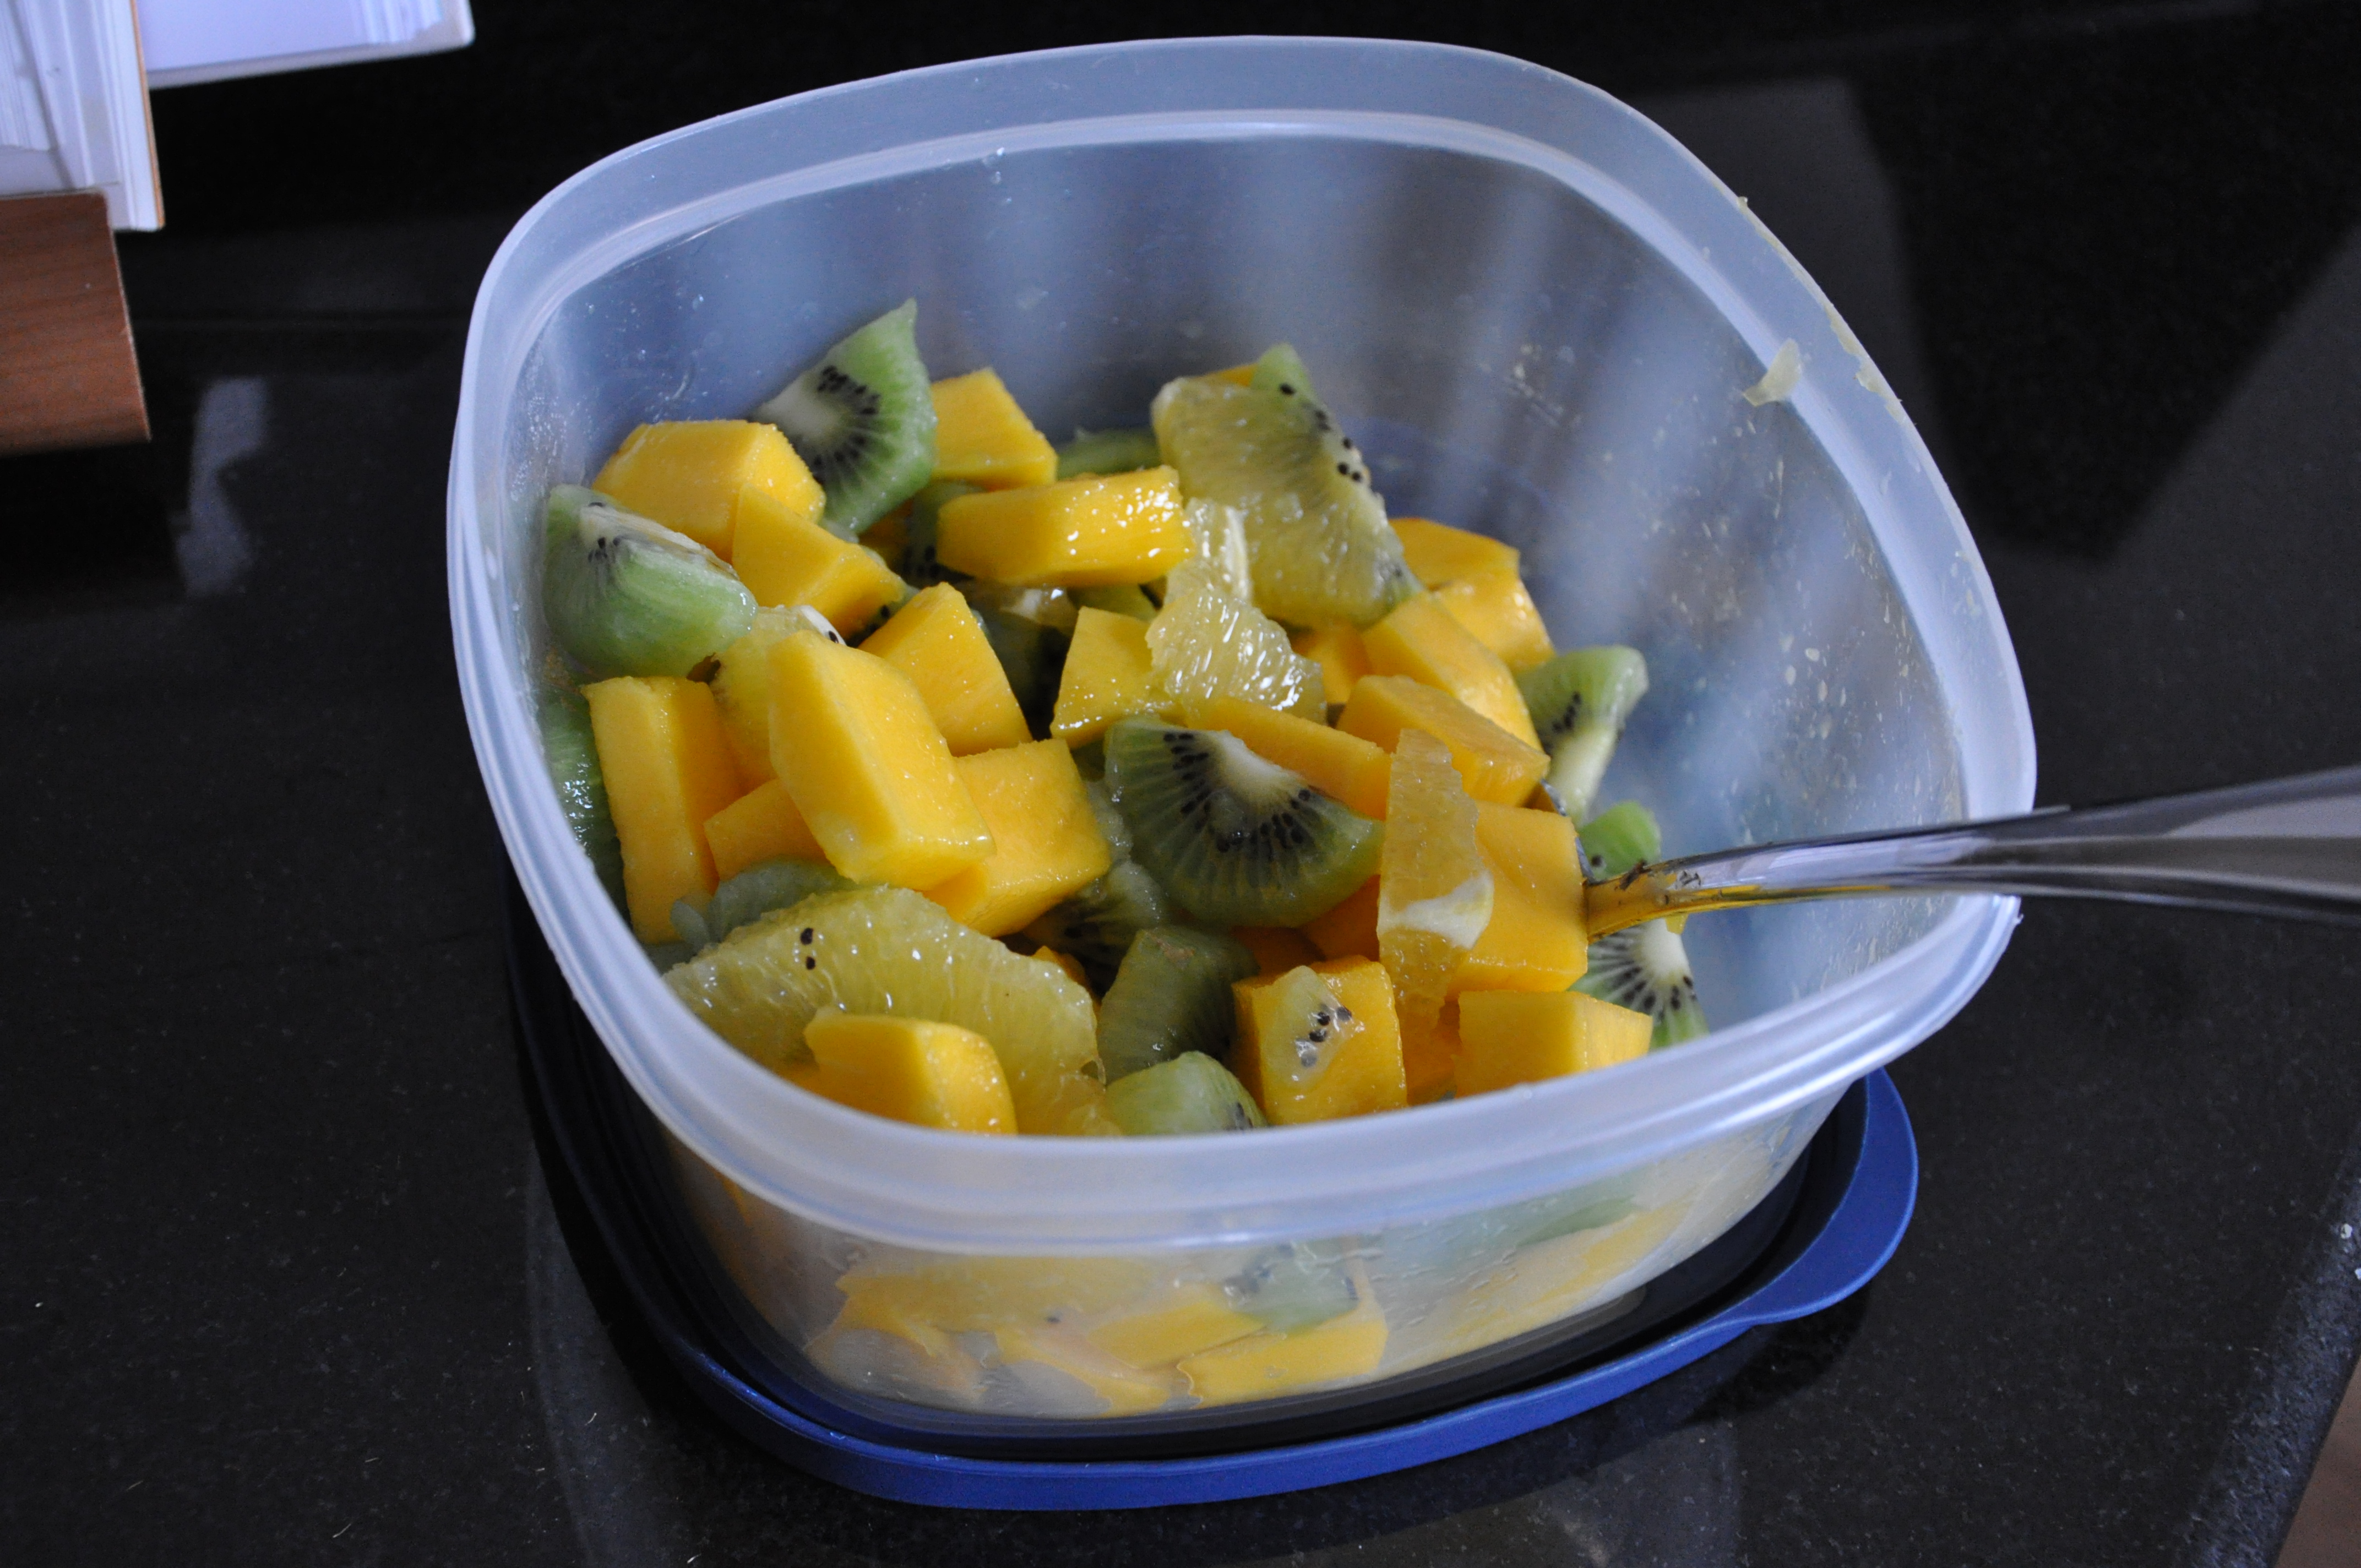
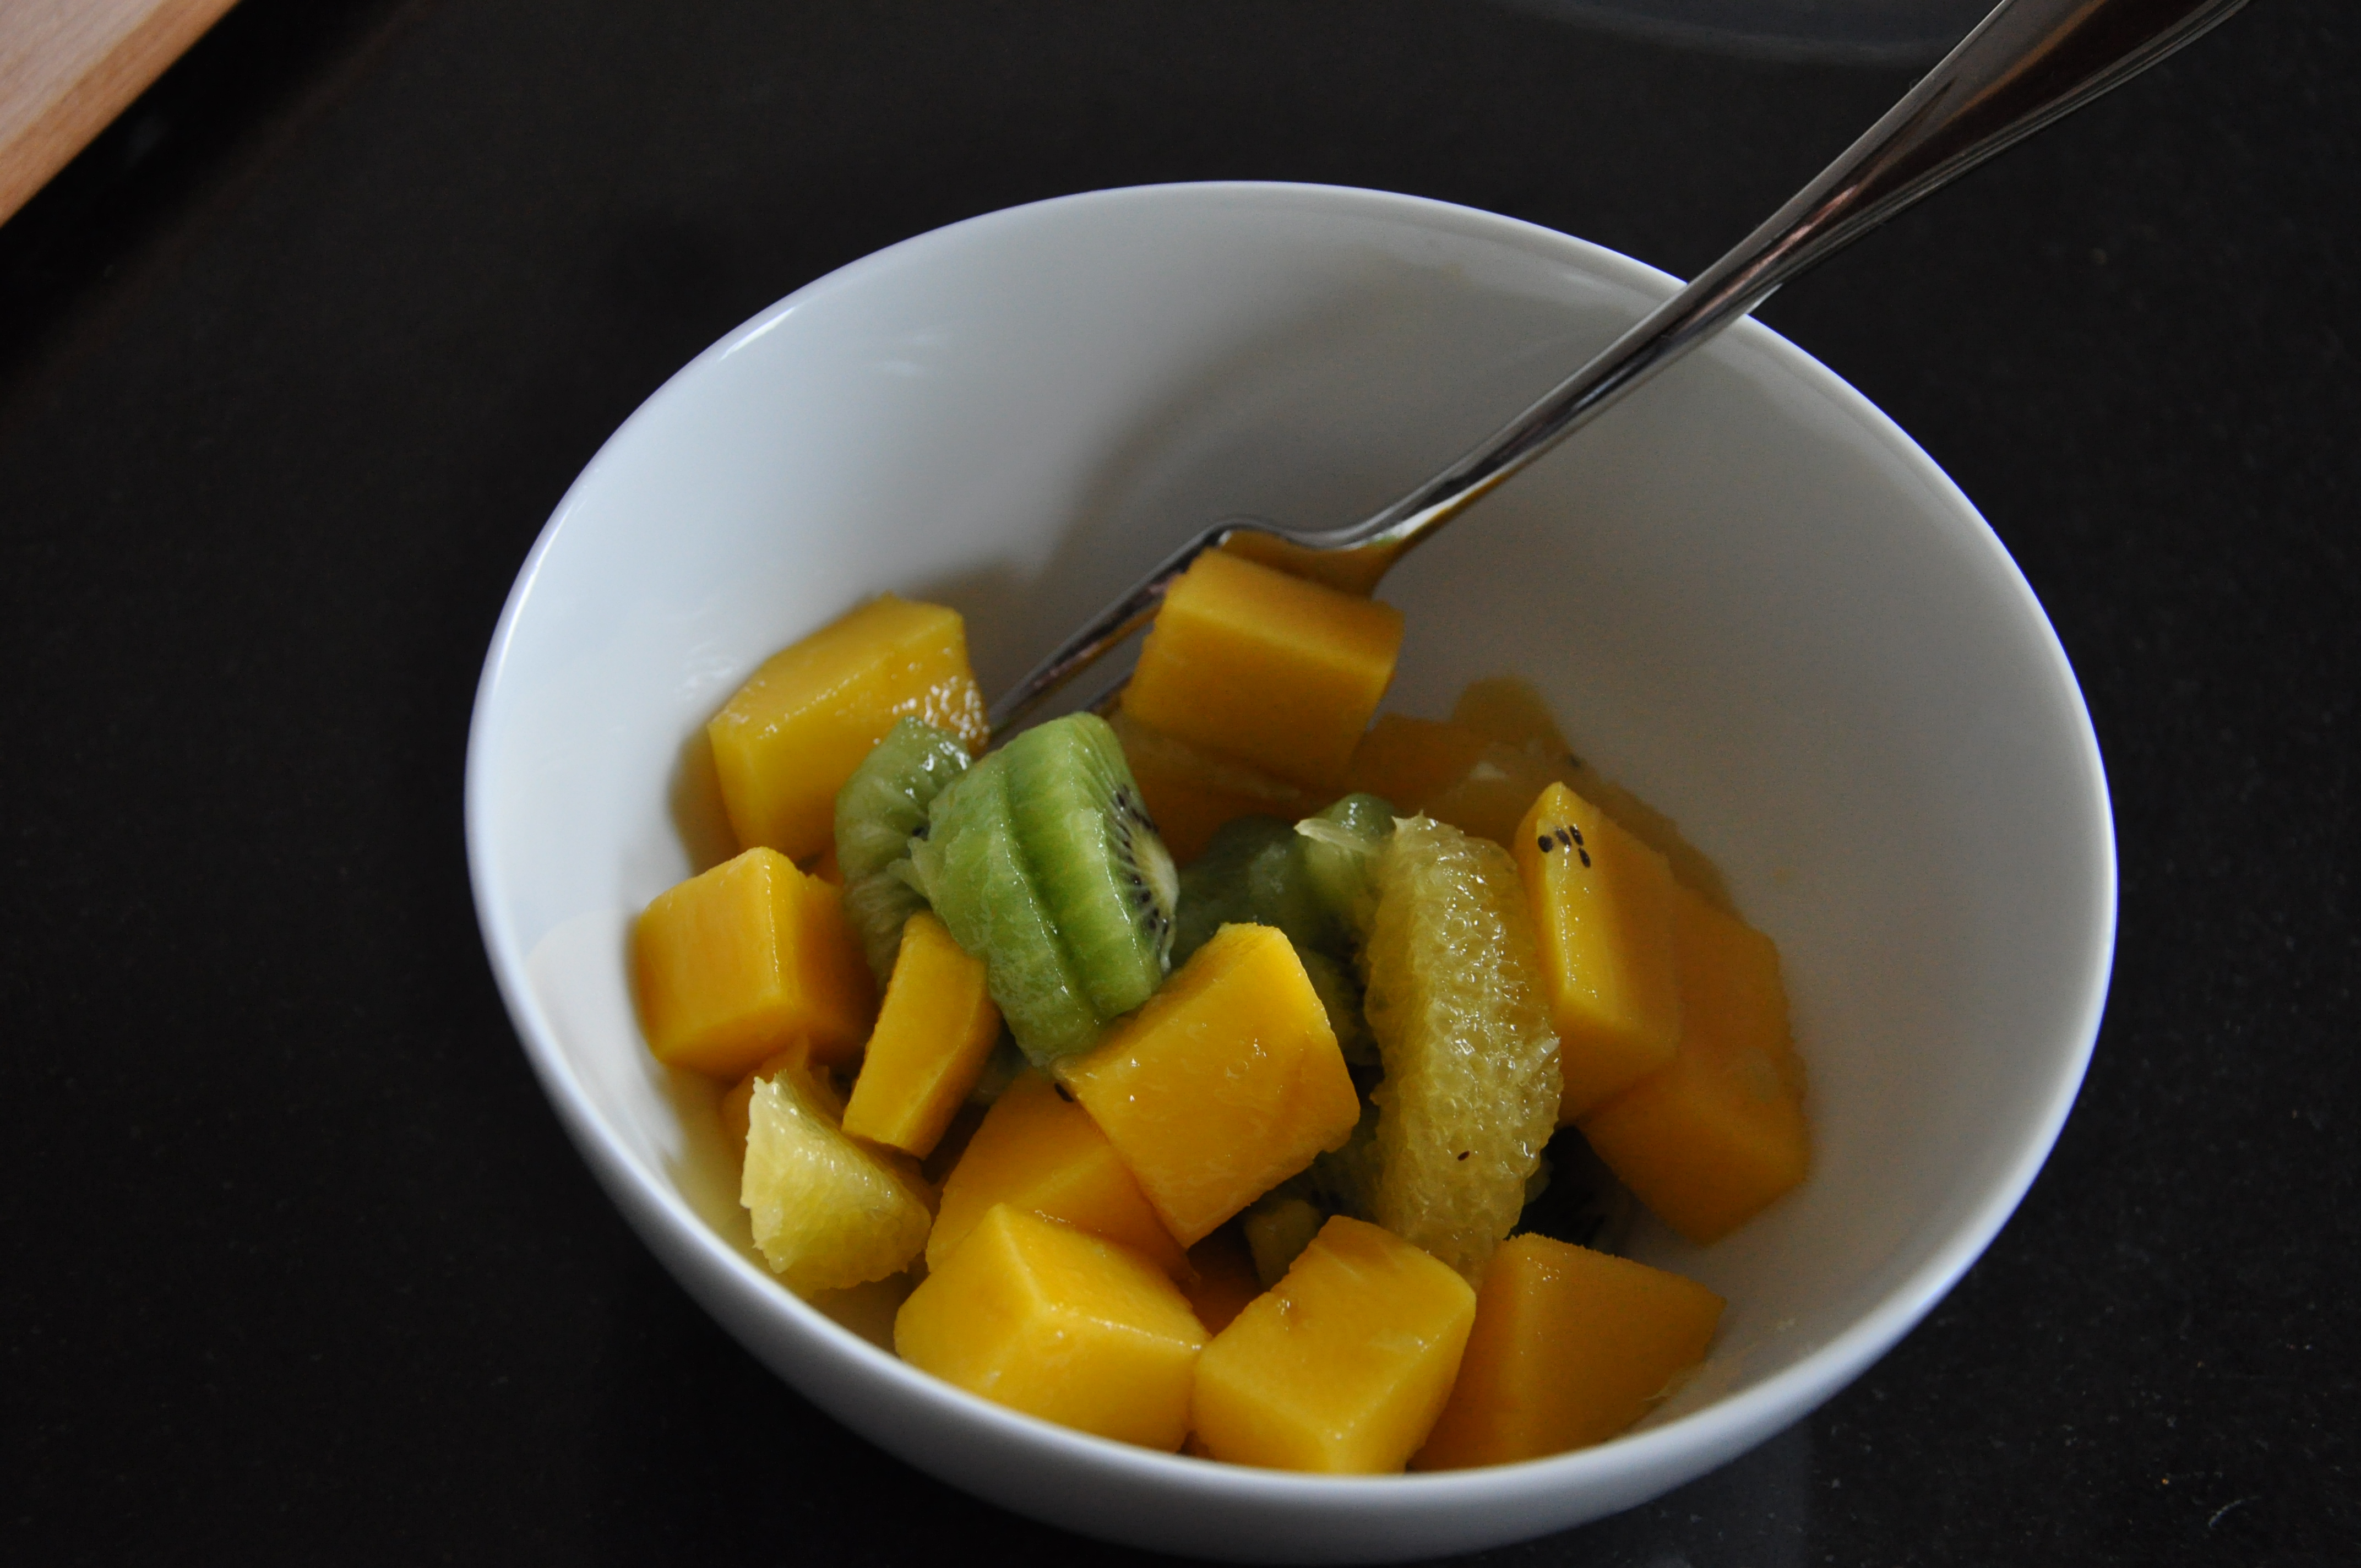
Since we are in midst of winter with no end in sight, I decided to make a tropical fruit salad today.  This recipe is super easy, but will help beat out some of the winter doldrums!

Tropical Fruit Salad

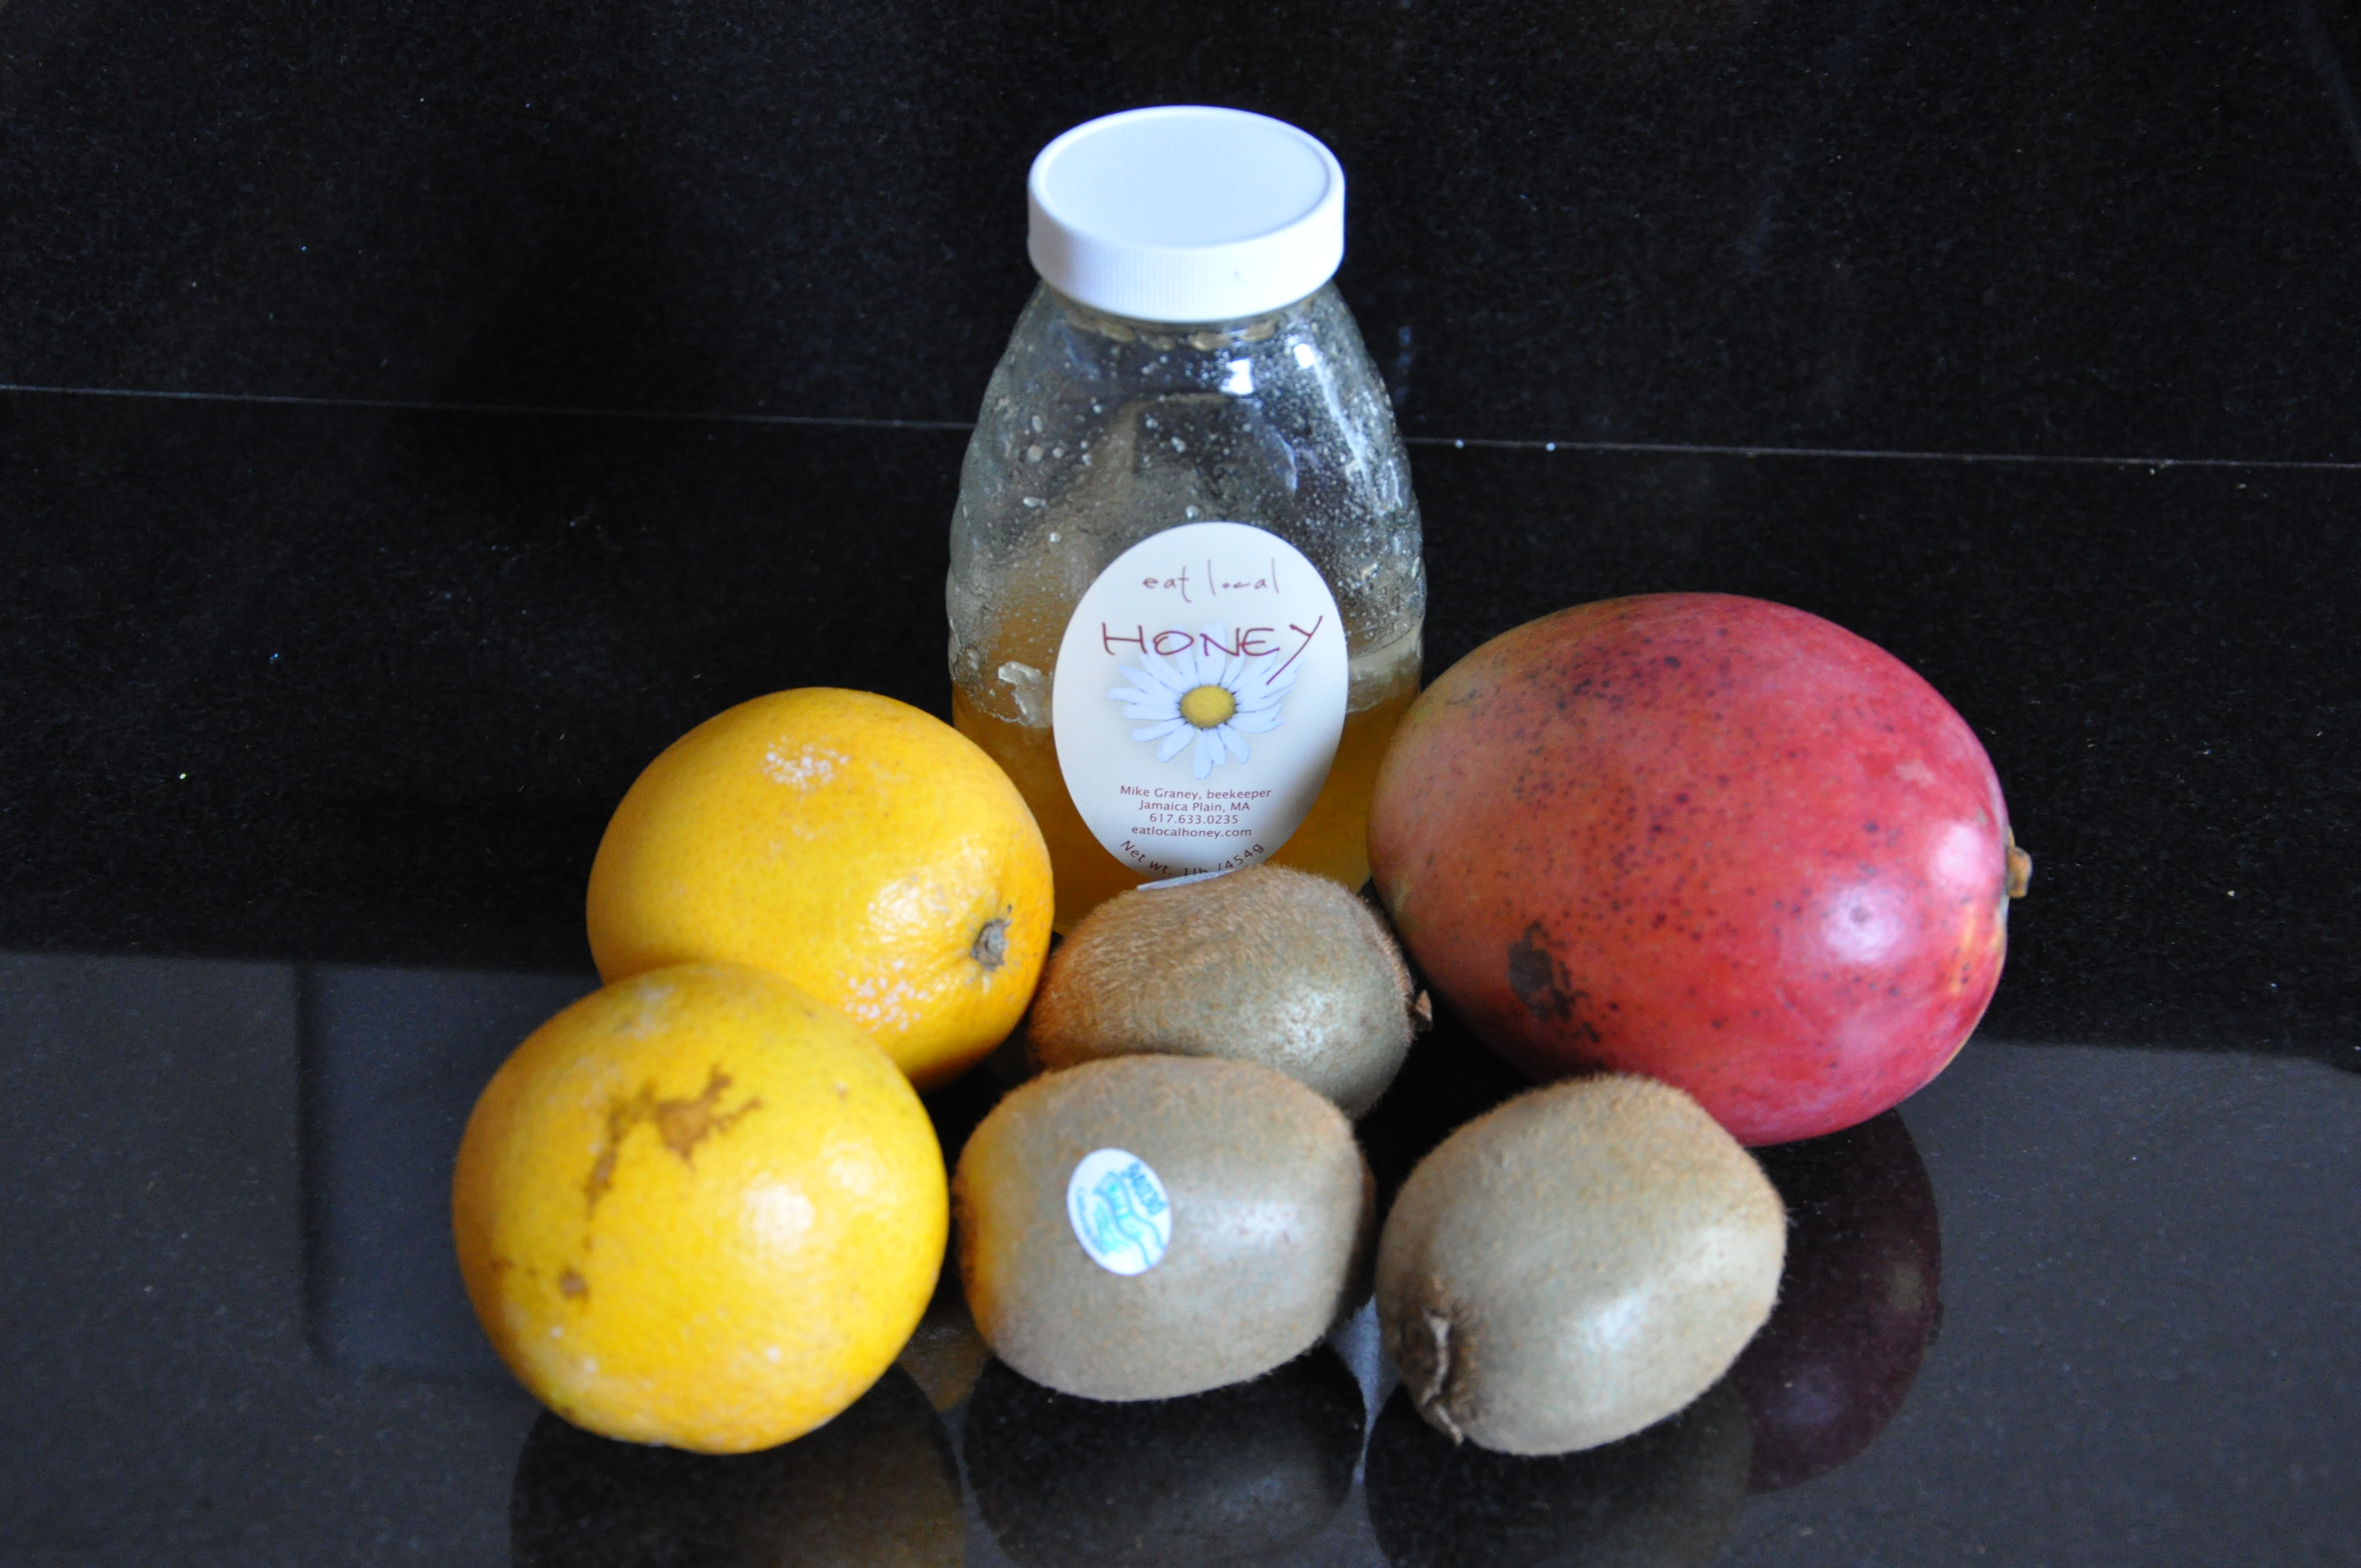
Ingredients:
-3 kiwis
-1 mango
-2 oranges
-1 tablespoon honey

Peel and slice up the fruit.

Put the fruit in a bowl and stir in the honey.

Sit back and enjoy your tropical fruit salad.  Close your eyes and picture yourself on a warm island somewhere!  (And tune out all meteorologists who keep talking about two upcoming snow storms.)

-m


Filed Under: M's Sides, M's recipes Tagged With: fruit salad, Healthy Living, tropical fruit salad, winter

No-Knead Artisan Bread

Posted by Meaghan Barry on January 5, 2011

Edited from earlier post- sorry for any confusion!

Baby T and I have headed to my parents’ house early for the Christmas holiday so his nanna and grandpa could spend some quality time with him. Husband M will be joining us later this week- presumably well rested after a few baby-free night! Last night, my mom, sister M, and I enjoyed a ladies night in meal- soup, salad, and delicious artisan bread! The bread was so crusty and tasty- I loved it.

My mom’s decorator had shared this no-knead artisan bread with her and had told her how easy it was to make. After a little more research and experimenting, my mom has come up with the following recipe:

No-Knead Artisan Bread:

Ingredients:
-1/4 tsp yeast
-1 and a 1/2 cup warm water
-3 cups flour
-1 and 1/2 tsp salt

Combine the yeast and warm water. In a separate bowl, mix the flour and salt together. Add the yeast and water mixture to the flour mixture and combine. Cover with a dish towel and leave in bowl. Place the bowl in the oven (not on) or a warm place for 6-12 hours.

Take bowl out and preheat oven to 425 degrees,  as well as an enamel cast iron steel pan (such as Le Creuset). Once hot, toss in a small amount of flour to coat the pan then quickly throw in the dough.  Toss a little extra flour on top of the dough.

Re-cover dough immediately with the pot cover and put in oven. Leave cover on for 30-40 minutes depending on how crispy you would like the bread (the less you keep the cover on, the more crispy it will be. Bake for a total of 45 minutes. Remove the pan from oven, take bread out of pan, and put bread on cooling rack. Wait 30 minutes before slicing. Delicious served with olive oil!

I will definitely be trying this out at my house soon. This is one of those recipes that could easily be made on a work day as well if you did the first few steps in the morning and allowed the bread to rise while you were at work. I am looking forward to a week of delicious meals and hope to share some additional recipes soon!

-m


Filed Under: M's recipes Tagged With: Artisan bread, Bread, Bread recipe, Mom's recipe, No Knead Artisan Bread

Great Fall Dinner Idea: Chicken Chili

Posted by Meaghan Barry on October 25, 2010

Photo courtesy of lucianvenutian via the Creative Commons license

Just wanted to share a recipe that I have recently fallen in love with.  In October’s Martha Stewart Living Magazine, a chicken chili recipe by Lucinda Scala Quinn was published.  I can confirm that it’s delicious after making it two times already!  It can be found on this link on the Martha Stewart website.  The recipe also recommends using any leftover to make nachos the next day.  I have not yet tried this, but I imagine that would be very tasty as well.

A few tips- don’t broil the onion and garlic cloves.  Once charred, I found it very difficult to chop and mince them.  Also, this recipe is extremely spicy (but in a flavorful way).  If you are not a fan of spiciness, I recommend cutting down on the jalapeno, chili powder, or chipotle chiles in adobe sauce.  I cut the amount of chili powder down to 3 tablespoons (the recipe recommends 1/4 cup or 4 tablespoons).  Top with the corn-muffin croutons, cheddar cheese, and sour cream/plain greek yogurt.

-m


Filed Under: M's Entrees, M's recipes Tagged With: chicken chili, chicken chili recipe, chili, chili recipe, fall dinner, Martha Stewart recipe, winter dinner

Nantucket Birthday Clam Chowder

Posted by Meaghan Barry on August 21, 2010

The day before we left for our 10 day vacation in Nantucket, Husband M had his 30th birthday.  Since we were pretty busy packing and tying up loose ends before we left, we were only able to have a small celebration.  I made one of his favorite easy summer recipes…Martha Stewart Everyday’s Grilled Steak with tomatoes and scallions and a brownie from the farmer’s market.  His Aunt T had thrown him a big birthday party in Maine the weekend prior and I also had plans for a lobster bake while we in Nantucket.  His work also threw him a afternoon party with freshly baked cookies, so all in all, he had 4 birthday parties this year.

For the Nantucket lobster bake, we ordered pre-cooked lobsters and steamers from Sayle’s fish market.  Our little cottage did not have air-conditiong and the day of the party happened to the hottest day we were in Nantucket.  Thank goodness we bought pre-cooked lobsters…I can’t imagine how much hotter the place would have been if I had been cooking lobsters for hours.  They did a great job packing them and they stayed warm for quite awhile.

For a starter, I decided to make a batch of clam chowder.  We were having 10 people over in all and this recipe I put together made well over this amount (if served as an appetizer).  I used Mark Bittman’s How to Cook Everything No-Holds-Barred Clam Chowder recipe as the base and tweaked it based on a few other recipes I have made in the past.

Nantucket Birthday Clam Chowder

Serves 10+ as an appetizer

Ingredients:
-1/2 pound applewood smoked bacon (or similar high quality), chopped
-2 cups minced onions
-5 cups peeled and chopped baking potatoe
-4 tablespoons flour (I used wheat)
-2 teaspoons dried thyme
-7 five-ounce cans of clams
-4  eight-ounce bottles of clam juice
-S&P
-2 cups milk
-2 cups heavy cream
-2 tablespoons butter
-fresh chopped parsley
-oyster crackers

Directions:
Fry the bacon in a large stock pot or dutch oven over medium-high heat until crisp.  Remove the bacon with a with slotted spoon and put aside.  Cook the onion and potatoes in the bacon fat until the onion softens and is translucent (10-15 minutes).  While they are cooking, drain the canned clams and reserve the drained clam juice.  Add the flour and thyme to the onion and potatoes, and combine.  Add the 4 bottles of clam juice and the reserved clam juice from the cans.  Cook until the potatoes are tender (an additional 10-15 minutes).  At this point, I turned off the heat and put the lid on the pot to keep it warm until the guests arrived.

About 5 minutes before I was ready to serve the chowder, I added the salt, pepper, milk, and cream (put the milk and cream out for about 20-30 minutes to get to room temperature so it does not curdle when you add it).  Add the drained clams and bring to a low simmer.  Add the butter on top of the chowder- the clams will be finished cooking once the butter melts.  I served the chowder with the chopped parsley and oyster crackers on the side.

-m

Related Posts Plugin for WordPress, Blogger...


Filed Under: M's recipes, Vacation Tagged With: appetizer, birthday, clam chowder, lobster bake, Nantucket, New England, outdoor birthday party, party dish, summer

  • « Previous Page
  • 1
  • …
  • 13
  • 14
  • 15
  • 16
  • 17
  • Next Page »

Recent Posts

  • Easy Holiday Office Party Tips
  • 5 Steps to an Easy Football Party
  • Gingerbread Biscotti
  • Holiday Coffee Bar and Thanksgiving Recipes
  • Soft Sugar Pumpkin Cookies
  • Cinnamon Sugar Apple Cake
  • Hello Pumpkin Season!
  • Make Your Own Milkshake Party!
  • Mama’s Pickles
  • S’more Cookies

Categories

  • About 2 Sisters 2 Cities (7)
  • Books (8)
  • Crafting & DIY (22)
  • Design & Decorating (15)
  • Gardening (5)
  • Giveaway (14)
  • Guest Bloggers (8)
  • K's post (46)
  • K's Recipes (191)
    • K's Desserts (75)
    • K's Entrees (23)
    • K's Sides (24)
  • M's post (72)
  • M's recipes (167)
    • M's Entrees (21)
    • M's Sides (14)
    • M's Desserts (30)
  • Organizing (7)
  • Party Ideas (49)
  • Uncategorized (1)
  • Vacation (12)
Stitch Fix

Archives

Blogroll

  • Annie's Eats
  • Bake at 350
  • Baked Bree
  • Boston Harbor Beacon
  • Confections of a Foodie Bride
  • Cook Like a Champion
  • Erin’s Food Files
  • Forever and a Recipe
  • Framed Cooks
  • Oh Happy Day
  • On Common Ground
  • Pennies on a Platter
  • Pink Parsley
  • Recipe Girl
  • Sally's Baking Addiction
  • Simply Scratch
  • The Curvy Carrot
  • The Pioneer Woman
  • Tidy Mom
  • Two Peas & Their Pod
  • What’s Gaby Cooking
  • Young House Love
Increase your website traffic with Attracta.com

grab a 2 sisters button!


Copyright © 2014 ~ 2 Sisters 2 Cities | Blog Design by Minx Design