2 Sisters 2 Cities

Image Map
  • About 2 Sisters 2 Cities
  • Recipe Index
  • Project Index
  • Contact Us
  • Like us on Facebook
  • Follow m on twitter
  • Follow k on twitter
  • Follow 2S2C on Pinterest
  • Follow 2S2C on G+
  • rss
  • e-mail 2S2C

11 Christmas Snickerdoodles

Posted by Meaghan Barry on December 6, 2013

Christmas Snickerdoodles (from 2 Sisters 2 Cities)

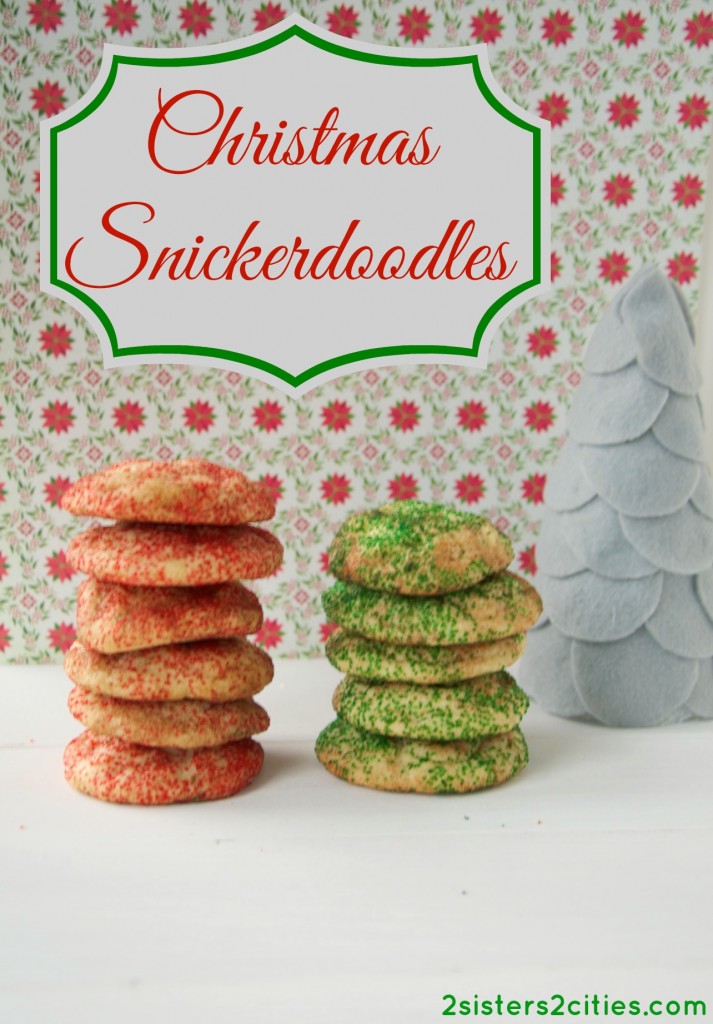
For my first Christmas cookie recipe of the season, I decided to turn a traditional year-round cookie into a Christmas version of itself.  I used red and green sugar crystals in the recipe to turn these Snickerdoodles into Christmas Snickerdoodles!

This recipe was super simple and it was the perfect cookie recipe to make with a 3-year old and 5-month old.  After I formed a ball of cookie dough, I handed it to T and he would roll it in either the red or green sugar & cinnamon mixture, then place it on the pan.  We got a good laugh as Baby N sat in his Bumbo chair and kept trying to grab for the red cookies…you can have cookies soon baby!  I hope you have as much fun as I did making these Christmas Snickerdoodles this holiday season. (Just keep in mind that the dough needs to be refrigerated for one hour before baking- the perfect amount of time to grab a quick afternoon nap or watch a Christmas movie by the fire!)
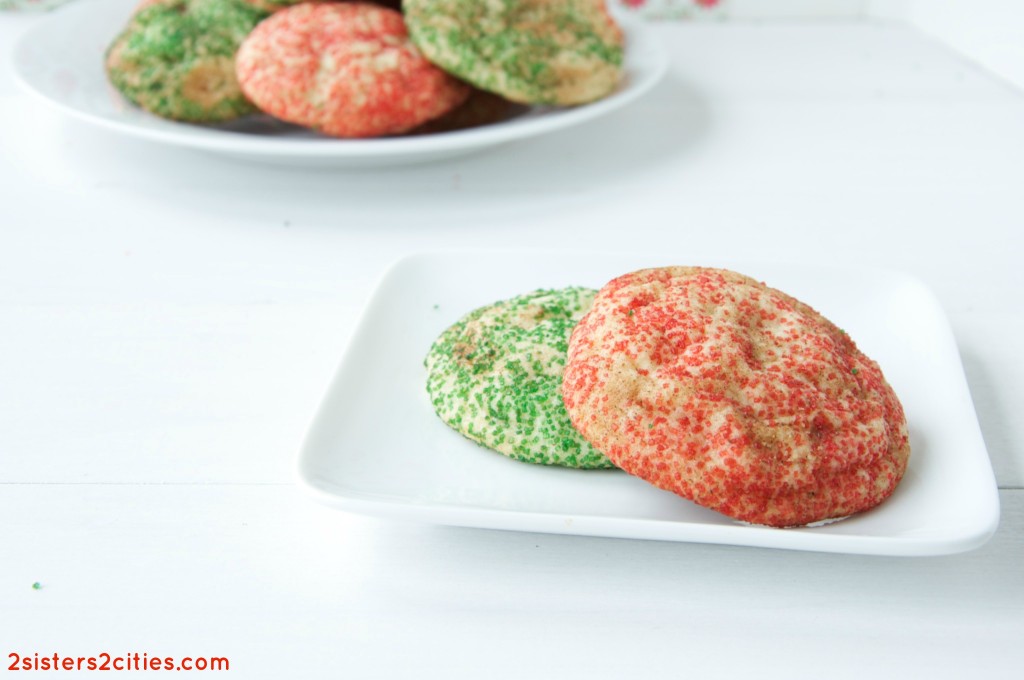
Christmas Snickerdoodles (from 2 Sisters 2 Cities)

Print
11 Christmas Snickerdoodles
Prep time:  1 hour 30 mins
Cook time:  10 mins
Total time:  1 hour 40 mins
 
Turn this classic cookie recipe into a Christmas one by using green and red-colored sugars.
Ingredients
  • 1 cup butter, softened
  • 1 and ½ cups sugar
  • 1 teaspoon baking soda
  • 1 teaspoon cream of tartar
  • ¼ teaspoon salt
  • 2 eggs
  • 1 teaspoon vanilla
  • 3 cups all-purpose flour
  • 2 tablespoons red sanding sugar or sugar crystals
  • 2 tablespoons green sanding sugar or sugar crystals
  • 2 teaspoons ground cinnamon
Instructions
  1. Add the softened butter to a mixing bowl and use an electric mixer to beat butter on high for 30 seconds. Add the 1 and ½ cups sugar, baking soda, cream of tartar, and salt and mix until combined. Use a spatula to scrape the side of the mixing bowl if necessary. Turn off mixer and add in eggs and vanilla- mix for 30 more seconds until combined. Turn off mixer and add 1 cup of flour at a time, beating after each addition until flour is incorporated. Cover bowl with plastic wrap and chill for 1 hour or more.
  2. Preheat oven to 375 degrees F and prepare cookie sheets with parchment paper. Add the red sugar into a small bowl and the green sugar into a second small bowl. Add 1 teaspoon cinnamon into each bowl and mix. Shape dough into ~1 balls (you can make the balls smaller or larger based on how what size cookie you prefer. I ended up making 36 cookies from this batch of dough.)
  3. Roll balls in either the red or green sugar mixture until dough is coated. Place 2 inches apart on the parchment paper.
  4. Bake for 12-13 minutes or until bottoms are light brown. Transfer to wire racks and allow to cool.
3.2.2124

Source: BHG.com
sister m signature


Filed Under: M's Desserts, M's recipes Tagged With: 12 days of christmas cookies, baking, christmas, Christmas Cookies, cinnamon, cookie recipe, cookies, holiday baking, holiday cookies, snickerdoodles

12 Chocolate Raspberry Thumbprints

Posted by Keelin Hollenbeck on December 4, 2013

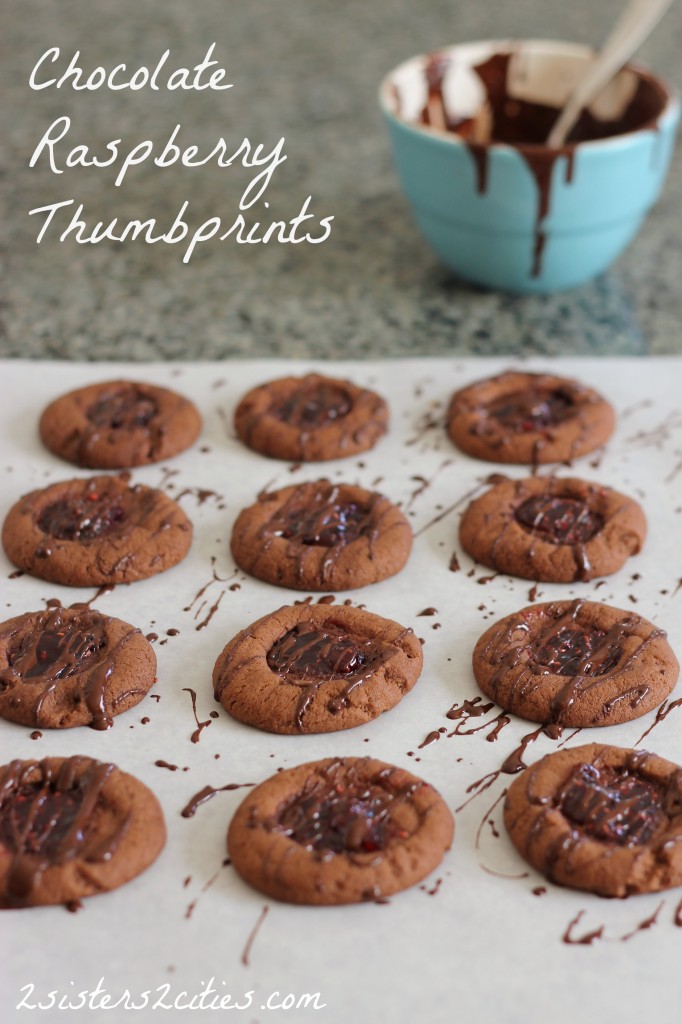
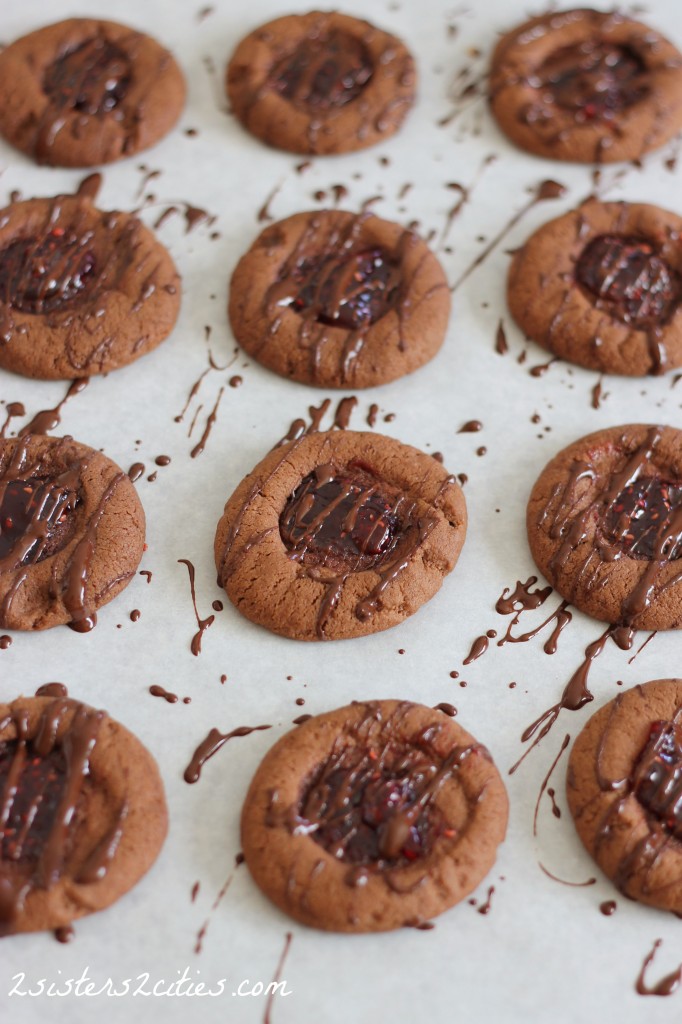
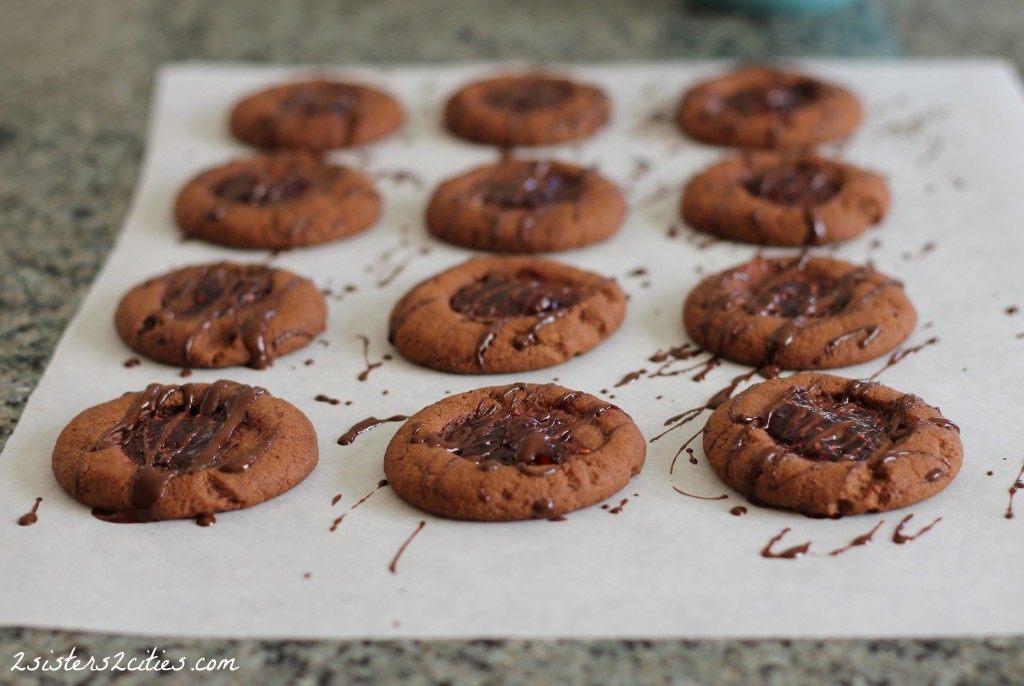
Chocolate Raspberry Thumbprints Cookies

Well, here we are again!  It’s the most wonderful time of year- the 2 Sisters 2 Cities 12 Days of  Christmas Cookie Countdown!  We are going to start this party with a delicious classic holiday cookie with a new twist:  a chocolate thumbprint cookies with raspberry jam and drizzled with bittersweet chocolate!

12 Chocolate Raspberry Thumbprints

This year with my holiday cookies, I am going for more classic types of holiday cookies. When I think of Christmas cookies I think of small special cookies embellished with icing, chocolate, powdered sugar, frosting, glaze, jam, nuts, peppermints, or sprinkles. The great part about Christmas cookies is that you can grab a bunch of different kinds and and you get to try all the amazing flavors. Obviously you know what my favorite time of the year is!

My boyfriend loves thumbprint cookies, but he is not a big chocolate cookie fan.  I was hesitant to make this recipe because I thought he wouldn’t like them.  Boy was I wrong, he loved them! The deep chocolate flavors are perfect with the sweet tart raspberry jam.  Add them to your Christmas cookie to-do list today!

Chocolate Raspberry Thumbprints

Print
12 Chocolate Raspberry Thumbprints
Author: 2 Sisters 2 Cities
 
Ingredients
  • 1 cup plus 2 tablespoons butter (2 sticks + 2 tbsp),at room temperature
  • ¾ cup granulated sugar
  • ⅓ cup cocoa powder
  • 2 cups all purpose flour
  • ½ tsp. salt
  • ½ tsp. baking soda
  • 1 tsp. baking powder
  • Raspberry jam
  • 2-3 tbsp. bittersweet chocolate chips
Instructions
  1. Preheat the oven to 350 degrees.
  2. In the bowl of a mixer add butter and sugar, mixing until smooth.
  3. Add in cocoa powder until combined
  4. In a separate bowl, whisk together flour, salt, baking soda, and baking powder.
  5. Gradually add the flour mixture to the butter mixture until all is combined
  6. Line a baking sheet with a silicone baking mat or parchment paper.
  7. Roll dough into 1-inch balls. Place on baking mat at least 2 inches away from each other.
  8. With the tip of your thumb, press down in the middle of the cookie ball to make a well (don't press down all the way.)
  9. Fill each thumbprint with around ½ tsp of jam
  10. Bake for 9-10 minutes
  11. Cookies will spread out a little so if you need more jam in the center add some more before they cool.
  12. For Drizzle- In a small heat proof bowl, add chocolate chips. Microwave in 20 second intervals, stirring in between until melted. To drizzle, take a spoon of melted chocolate, tip the spoon to get a small stream of chocolate going and move back and forth over the cookies so you get zig zags over the cookies.
3.2.2124

Source–  Base cookie recipe adapted from Pinch of Yum, addition of raspberry jam and chocolate drizzle is a 2S2C original

sisterk (2)


Filed Under: K's Desserts, K's Recipes Tagged With: 12 days of christmas cookies, baking, chocolate, chocolate and raspberries, christmas, Christmas Cookies, cookie recipe, holiday baking, raspberries

Chocolate Chip Blondies

Posted by 2 Sisters 2 Cities on February 20, 2013

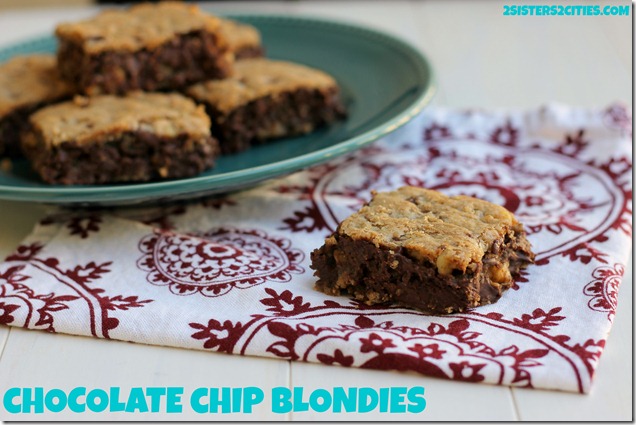
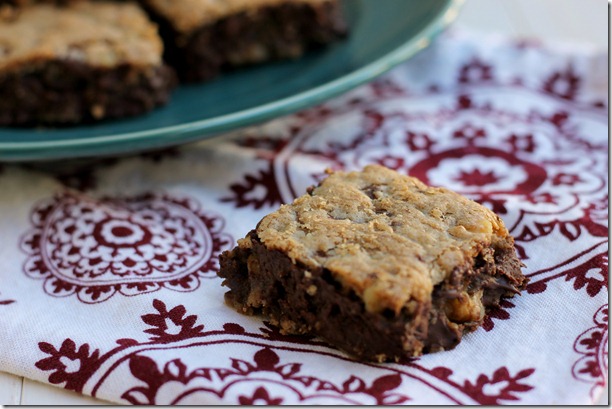
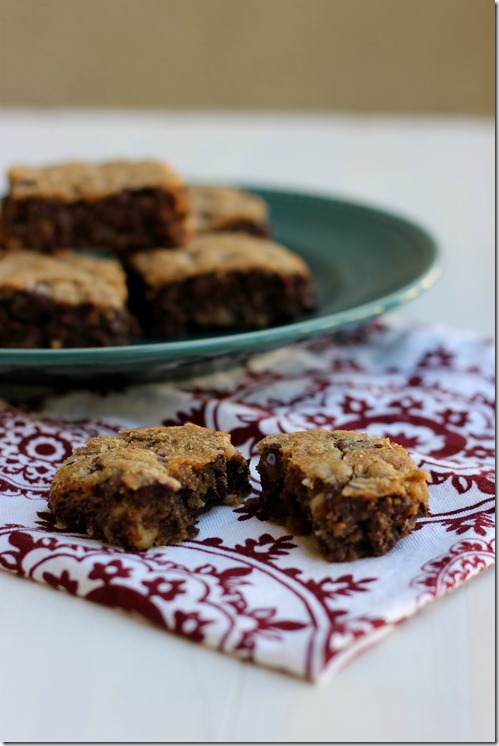
Do you know what happens when I tell my boyfriend that we need to take a break from baking?  He puts on his apron and takes it upon himself to learn how to bake.  Yes, that’s right- I didn’t make this recipe, but I did show him the recipe in my cookbook and mentioned that I planned on making it in the future.  I came home on Valentine’s Day after resisting all the yummy temptations at work that day to find my boyfriend making these delicious chocolate chip blondies.  It would have seriously been okay it this was just an average chocolate chip cookies, but no, these were the oooiest gooiest chocolaty chip overload blondie bars ever made.

Chocolate Chip Blondies {from 2 Sisters 2 Cities}

Needless to say, I ate a bunch!  How could I resist?  I wish I could say it stopped there, but it didn’t.  The whole weekend was a slew of baking up all the most delicious treats in the world.  I have loved baking my whole life because it makes me happy and relieves stress and frustration.  I also love eating dessert and sharing them with others.  My boyfriend must have recently figured how amazing this feeling is.

On Monday, President’s Day,  he had the day off and I didn’t.  I received texts all day in between meetings that went like this:

  • Do we have coconut?
  • Are we out of cinnamon?
  • Do we own ground cloves?

The baking madness was not over and I could only imagine what I was coming home to.  So last night, he pinky swore me that we would both stop baking for three weeks.  Don’t worry you will hardly even notice I am not baking because I have so many recipes to post now!

Chocolate Chip Blondies {from 2 Sisters 2 Cities}

Print
Chocolate Chip Blondies
Author: 2 Sisters 2 Cities
 
Ingredients
  • 1 cup unsalted butter (2 sticks), at room temperature
  • 1 cup light brown sugar, lightly packed
  • ½ cup granulated sugar
  • 2 tsp. vanilla extract
  • 2 large eggs
  • 2 cups AP flour
  • 1 tsp. baking soda
  • 1 tsp. kosher salt
  • 1½ cups chopped walnuts
  • 1¼ lbs. semi sweet chocolate chips (about 1⅔ bag of a 12oz. bag)
Instructions
  1. Preheat oven to 350 degrees.
  2. Using the paper from the sticks of butter, grease a 8½x12x2 inch baking pan and then dust with flour.
  3. In the bowl of an electric mixer cream butter and sugars on high speed until light and fluffy.
  4. Scrape down the sides of the bowl, turn mixer to low and then add in vanilla extract. Next add in egg one at a time mix until all combined.
  5. In a medium sized bowl sift together the flour, baking soda, and kosher salt.
  6. Gradually add in dry ingredients with the mixer on low speed until all combined.
  7. Fold in the chocolate chips and walnuts.
  8. Spread the dough onto baking pan until smooth
  9. Bake for 30 minutes. Stick a toothpick into the middle of blondies and if there is no batter on the toothpick they are done.
  10. Let cool and then slice into squares.
3.2.1652

Source– Adapted from Ina Garten’s Cookbook Barefoot Contessa Foolproof

Ooey Gooey Chocolate Chip Blondies {from 2 Sisters 2 Cities}
sisterk (2)


Filed Under: K's Desserts, K's Recipes Tagged With: baking, barefoot contessa, blondies, chocolate chip blondies, chocolate chips, cookie bar recipe, cookie recipe, president's day

The Ultimate Chocolate Chip Cookie

Posted by 2 Sisters 2 Cities on May 21, 2012

With all the cookies I make,  I would have to say my all-time favorite cookie is the chocolate chip.  My first baking experience was when my sister M taught me how to make the classic Nestle Toll-house Chocolate Chip Cookie recipe (just like she is teaching my nephew here,  although I was a little older!)  M was babysitting and decided to teach me how to bake.   She showed me the difference between granulated sugar and confectioner’s sugar, as well as when to use baking soda or baking powder.  M also showed me how to scrape off the top of the flour and sugar in a measuring cup with the backside of a butter knife.  I have probably made the Nestle Toll-house recipe 100+ times since then,  and I always think back to that first time.

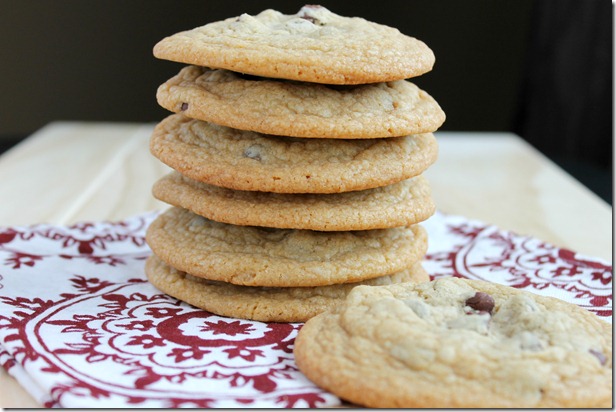
When I started getting Cooks Illustrated, I found an article about how the American Test Kitchen found flaws in the classic chocolate chip recipe and created a recipe that is what they consider the best chocolate chip cookie.  The recipe makes about 16 large cookies and they are seriously amazing. They have a deeper caramel flavor than the classic recipe of chocolate chip cookies. Although I love this recipe, I will still make the Nestle Toll-house version from time to time because it does hold a place in my heart.  Do you have a first memory of baking?

chocolate chip cookies

5.0 from 1 reviews
Print
The Ultimate Chocolate Chip Cookie
Author: K
Recipe type: Dessert
Serves: 16
 
Ingredients
  • 1¾ cup AP flour
  • ½ teaspoons baking soda
  • 14 tbsp. unsalted butter
  • ¾ cup packed dark brown sugar
  • ½ cup granulated sugar
  • 1 tsp. salt
  • 2 tsp. vanilla
  • 1 large egg plus 1 egg yolk
  • 1½ cup semisweet chocolate chips
Instructions
  1. Preheat the oven to 375 degrees.
  2. In a medium mixing bowl mix together flour and baking soda.
  3. Line 2 baking sheets with parchment paper or silicone non-stick mats.
  4. In a skillet melt 10 tbsp. of butter over medium high heat. Cook until butter turns golden brown and starts to smell a little nutty. This will take about 2-3 minutes. Be careful not to burn the butter. Pour the melted butter in a heat-proof mixing bowl and add in the rest of the butter, stirring until melted.
  5. Whisk in sugars, salt and vanilla. Next add in egg and extra egg yolk. Whisk until smooth, for about 30 seconds. Let sugar/butter mixture rest for 3 minutes, and then whisk again for 30 seconds. Repeat this process 2 more times. The mixture should be smooth and shiny after the 10 minutes or on and off mixing.
  6. Stir in flour mixture until combined.
  7. Stir in chocolate chips.
  8. Scooping a little under ¼ cup of dough, roll into a ball and place on baking sheet with 2 inches between each cookie (should make 16 even cookie.)
  9. Bake for 10-14 minutes (rotating cookie sheet halfway through), one tray at a time until cookies are golden brown on the side but still puffy in the middle.
  10. Allow cookies to cool and enjoy!
2.2.6

Source– adapted slightly from Cooks Illustrated Cookbook


Filed Under: K's Desserts, K's Recipes Tagged With: baking, baking memories, chocolate chip cookies, cookie recipe, cookies, cookies recipe, ultimate chocolate chip cookie recipe

5 Minute Artisan Bread

Posted by 2 Sisters 2 Cities on January 10, 2012

On Sunday, we took a stroll through our new town to check out some of the little shops, restaurants, and bakeries.  Most of them were unfortunately closed since it was late Sunday afternoon, but I’m looking forward to visiting them during business hours.  Peeking in the bakery windows, I suddenly became overcome with the need to make bread!  I am not a huge baker (as seen in the 12 Cookies of Christmas posts, sister K is way more into baking than I am.)  I did a quick google search on my phone and found this popular recipe called 5 Minute Artisan Bread Recipe.  I decided to give it a try that night.

On Sunday, I made the actual dough and let it rise for a few hours.  I kept it in a large plastic storage container in the fridge overnight.  I cut off a grapefruit-sized portion on Monday evening, let it rise for about 40 minutes and then baked it for 30 minutes.  (The “5 minute” part of this recipe’s title needs a huge asterisk next to it as it may only be about 5 minutes prep time, but the actual time is much, much longer!)

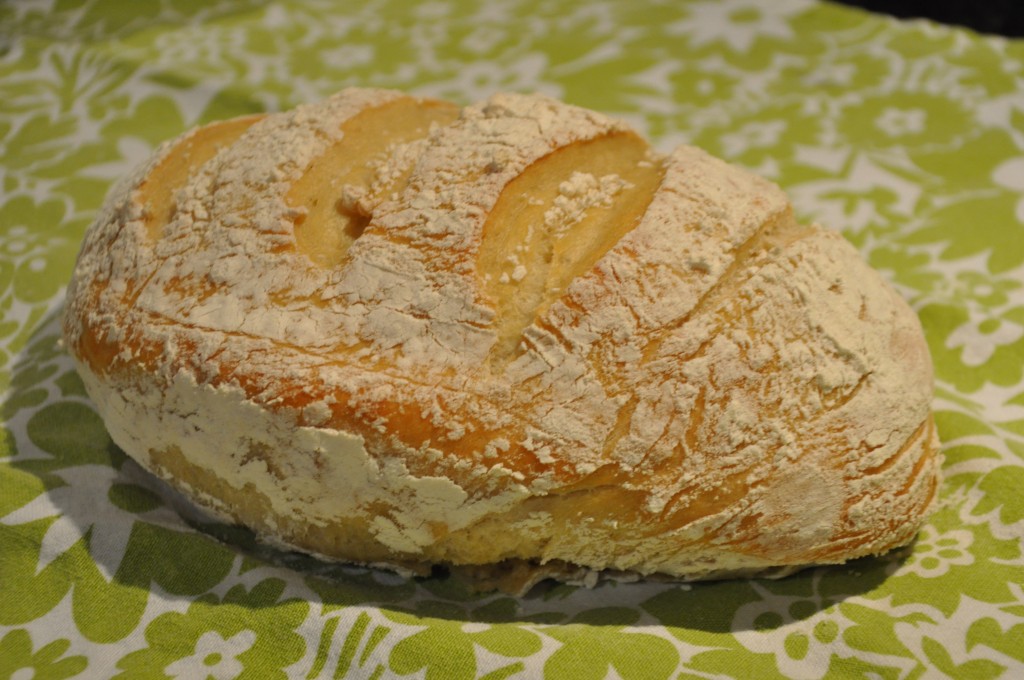
Check how it turned out- I’m an actual baker who can bake bread!

It was really good bread as well- very crusty on the outside, but chewy on the inside.  In fact, I had it with a salad for dinner last night and toast for breakfast this morning!

The thing I really like about this recipe is that I still have enough to make 3 more loaves in my fridge and it keeps up to 14 days.  The recipe says the flavor and texture even improves over time.  I hope to keep making this bread as it certainly can save money over time.  I don’t know the exact cost of 6 and 1/2 cups of flour and two yeast packets, but it is certainly cheaper than four $5 loaves of bread.  I’m also looking forward to trying out some different variations of this bread with some mix-ins (rosemary & garlic, whole-wheat, sea-salt crust…)

-m
Pin It


Filed Under: M's recipes Tagged With: 5 minute artisan bread, Artisan bread, baking, Bread

Happy Halloween- Black Cat Cookies

Posted by 2 Sisters 2 Cities on October 30, 2011

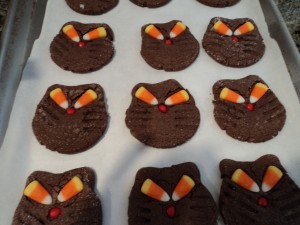
These cookies are the cookie I remember growing up with on Halloween.   It was in our family cookbook and for some reason these cookies always stood out to me as the go-to Halloween cookie.

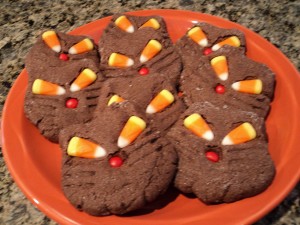
Maybe I am so partial to these cookies because of our  late cat Cricket,  a stray long-haired black cat,  whom we had taken in and quickly found a place in all of our hearts.  These cookies became even more important to our holiday traditions after owning a black cat.  We often thought Cricket was an alien because he tried to act like our dogs and could sort of talk to us.  I swear he would say “hellllwwoooo”  when we walked into a room or “whaaaaaaaat” when you called his name (maybe not pronouncing the “t,”  but you get my point.)     A few years ago Cricket died from a bad heart and my mom made these cookies in honor of him.  Every year since, we have made these cookies at Halloween time to honor Cricket (possibly our dog too because he once ate a whole tray of these cookies off the cupboard).  These are some black cat cookies that you won’t mind crossing paths with (no bad luck here!)

Black Cat Cookies

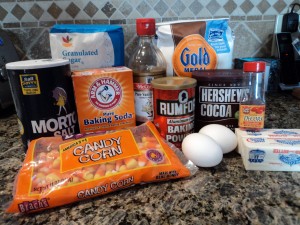
Ingredients

1 cup butter (2 sticks) at room temperature

2 cups sugar

2 eggs

1 tablespoon vanilla extract

3 cups  all-purpose flour

1 cup unsweetened cocoa

1/2 tsp. salt

1/2 tsp. baking powder

1/2 tsp. baking soda

candy corn and red hots

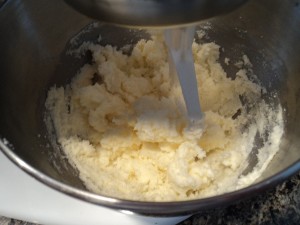
Preheat oven to 350 F.   Place butter in mixer and cream together with sugar.


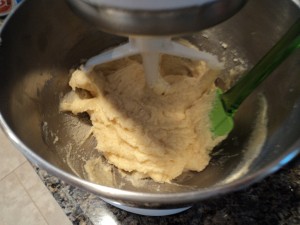
Add eggs and vanilla, until all ingredients are incorporated. 


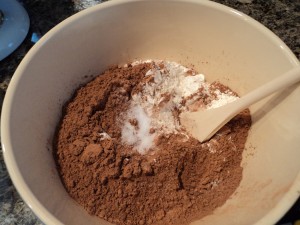
In a medium bowl on the side,  mix together  flour, cocoa, salt, baking powder, and baking soda. 


Gradually stir in dry ingredients into the butter mixture and mix well.


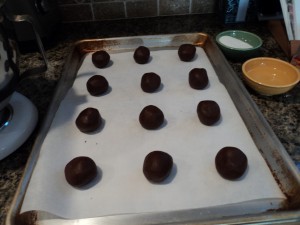
With the dough, form 2 inch balls, and place on a parchment paper lined cookie sheet.  


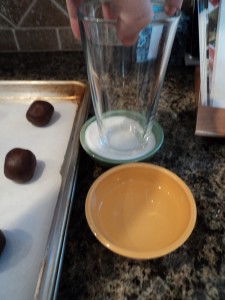
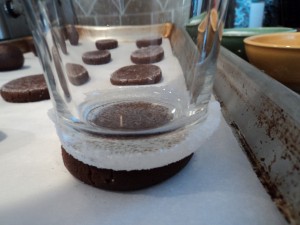
Take a glass, a small bowl of water, and a small bowl of granulated sugar, dip the glasses bottom in water and then dip in sugar. 


Take the sugar covered glass and flatten the cookie balls, keeping  the bottom of the glass well sugared, repeat for all the cookies. 


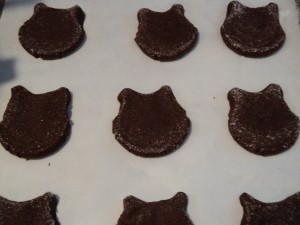
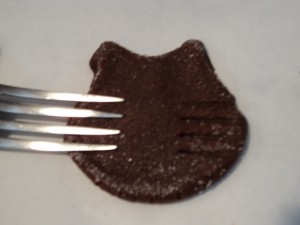
Next pinch 2 “ears” at the top of the cookies, so they look like cat ears.


Then with a fork, press into the sides of the cookies to form whiskers on either sides of where the nose will be.  


Bake for 10-12 minutes.   Remove from the oven and immediately add the candy corn for eyes (whites of the candy corn facing in) and a red hot for the nose.  Let cool.

Makes about 3 dozen cats

Enjoy!

-Sister K


Related Posts Plugin for WordPress, Blogger...


Filed Under: K's Desserts, K's Recipes Tagged With: baking, cat, cookies, halloween, halloween cat cookies, holidays

Recent Posts

  • Easy Holiday Office Party Tips
  • 5 Steps to an Easy Football Party
  • Gingerbread Biscotti
  • Holiday Coffee Bar and Thanksgiving Recipes
  • Soft Sugar Pumpkin Cookies
  • Cinnamon Sugar Apple Cake
  • Hello Pumpkin Season!
  • Make Your Own Milkshake Party!
  • Mama’s Pickles
  • S’more Cookies

Categories

  • About 2 Sisters 2 Cities (7)
  • Books (8)
  • Crafting & DIY (22)
  • Design & Decorating (15)
  • Gardening (5)
  • Giveaway (14)
  • Guest Bloggers (8)
  • K's post (46)
  • K's Recipes (191)
    • K's Desserts (75)
    • K's Entrees (23)
    • K's Sides (24)
  • M's post (72)
  • M's recipes (167)
    • M's Entrees (21)
    • M's Sides (14)
    • M's Desserts (30)
  • Organizing (7)
  • Party Ideas (49)
  • Uncategorized (1)
  • Vacation (12)
Stitch Fix

Archives

Blogroll

  • Annie's Eats
  • Bake at 350
  • Baked Bree
  • Boston Harbor Beacon
  • Confections of a Foodie Bride
  • Cook Like a Champion
  • Erin’s Food Files
  • Forever and a Recipe
  • Framed Cooks
  • Oh Happy Day
  • On Common Ground
  • Pennies on a Platter
  • Pink Parsley
  • Recipe Girl
  • Sally's Baking Addiction
  • Simply Scratch
  • The Curvy Carrot
  • The Pioneer Woman
  • Tidy Mom
  • Two Peas & Their Pod
  • What’s Gaby Cooking
  • Young House Love
Increase your website traffic with Attracta.com

grab a 2 sisters button!


Copyright © 2014 ~ 2 Sisters 2 Cities | Blog Design by Minx Design