2 Sisters 2 Cities

Image Map
  • About 2 Sisters 2 Cities
  • Recipe Index
  • Project Index
  • Contact Us
  • Like us on Facebook
  • Follow m on twitter
  • Follow k on twitter
  • Follow 2S2C on Pinterest
  • Follow 2S2C on G+
  • rss
  • e-mail 2S2C

Double Chocolate Guinness Ice Cream

Posted by Meaghan Barry on March 13, 2014

Double Chocolate Guinness Ice Cream

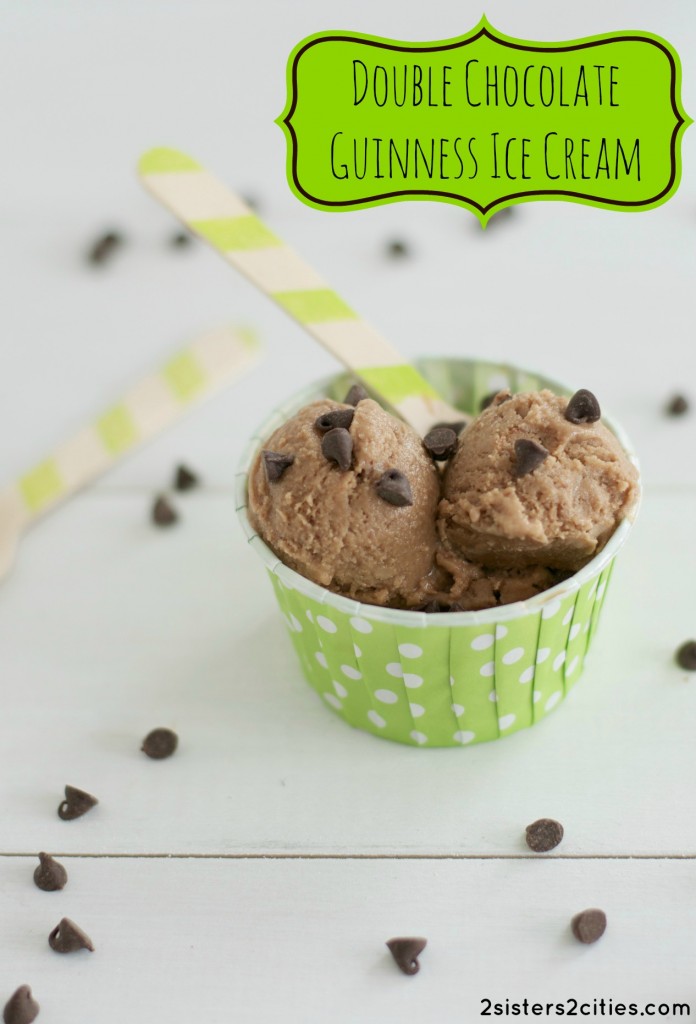
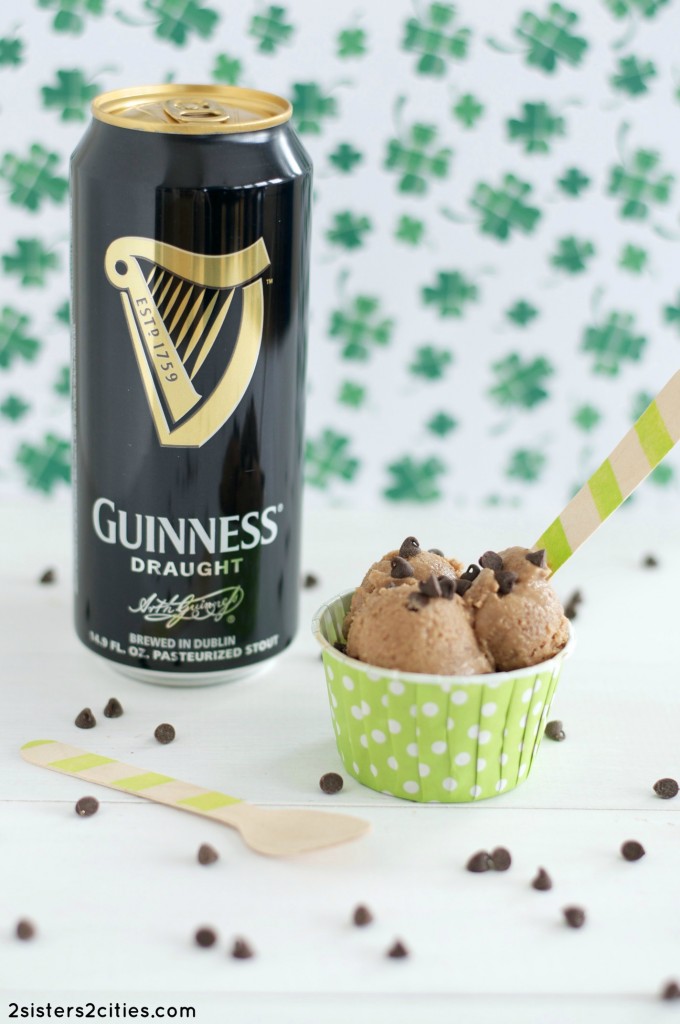
Even though it’s snowing today (ugh ugh ugh), I still wanted to make a batch of this Double Chocolate Guinness Ice Cream in anticipation of St. Patrick’s Day.  I found this recipe in David Lebovitz’s The Perfect Scoop ice cream cookbook and knew I had to make it for this weekend.  My husband and I both love Guinness, chocolate, and ice cream and this recipes incorporates all three!
Double Chocolate Guinness Ice Cream

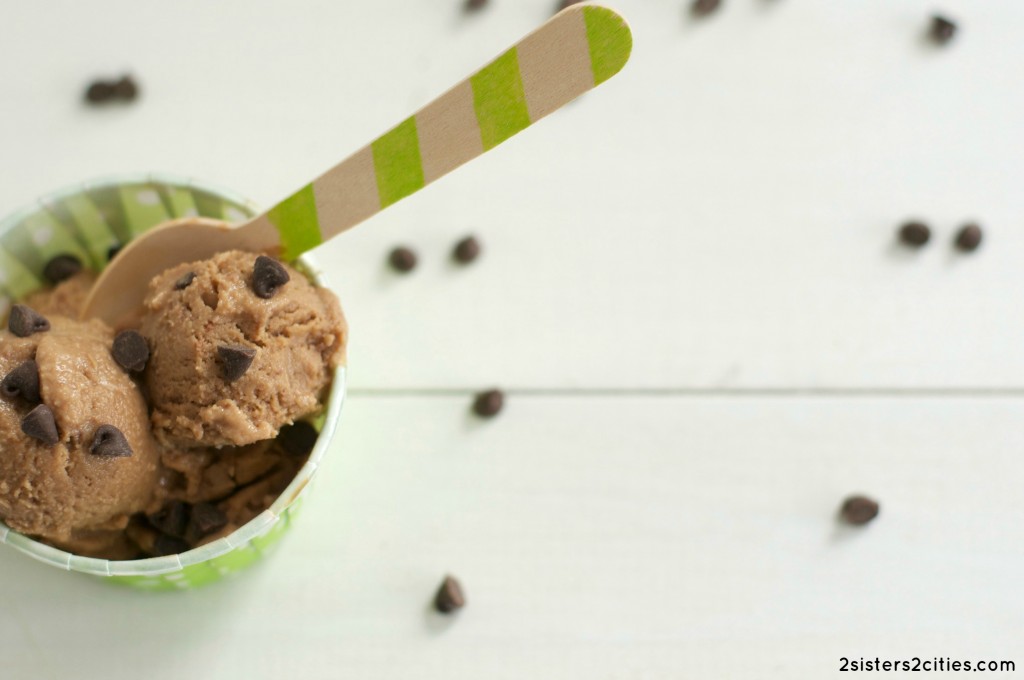
This ice cream recipe incorporates milk chocolate and Guinness in its base flavor.  The milk chocolate balances well with the Guinness and neither one overpowers the other in terms of flavor.  I kicked the chocolate flavor up a notch by adding in mini chocolate chips towards the end of the mixing process to add a bit more chocolate goodness.  Plus, as K has mentioned before, the best part about cooking with Guinness is that there is always a bit left over to have a little sip for yourself!  If you are looking for a slightly different St. Patrick’s Day recipe this year, I highly recommend this Double Chocolate Guinness Ice Cream.

I’ve been so focused on organizing and working on a few house projects since the new year that I haven’t prioritized making new recipes and blogging about them.  I’m hoping  to share a few more of my favorite recipes that I’ve made recently soon.  It was a lot of fun to finally get back into it!  Now that baby N is almost 9(!) months old, I feel like things are finally starting to get a little easier around here…until he starts walking anyway!
Double Chocolate Guinness Ice Cream

Print
Double Chocolate Guinness Ice Cream
Author: 2 Sisters 2 Cities
Recipe type: ice cream
Serves: 6
 
Ingredients
  • 8 ounces milk chocolate chips
  • 1 cup whole or 2% milk
  • ½ cup sugar
  • pinch of salt
  • 4 large egg yolks
  • 1 cup heavy cream
  • ¾ cup Guinness (the rest is for you to sip!)
  • 1 teaspoon vanilla extract
  • ½ cup mini chocolate chips
Instructions
  1. Place the milk chocolate chips into a large bowl and set a mesh strainer over the top.
  2. Mix together the milk, sugar, and salt in a medium saucepan and warm over low heat. Whisk together the egg yolks in a medium-sized bowl. Pour the warm milk mixture into the egg yolks, whisking constantly, then scrape the entire mixture back into the saucepan.
  3. Stir the mixture constantly over medium heat with a wooden spoon, scraping the bottom as you stir, until the mixture thickens and coats the spoon. I recommend using a thermometer and removing the mixture from the heat when it reaches between 170-175 degrees Fahrenheit.
  4. Pour the custard through the strainer over the milk chocolate chips, then stir until the chocolate is melted. Once the mixture is smooth, whisk in the cream, Guinness, and vanilla. Stir until cool over an ice bath.
  5. Chill the mixture thoroughly in the refrigerator, then freeze it in your ice cream maker according to the manufacturer's instructions. Add the mini chocolate chips in the last few minutes of the mixing process.
3.2.2265

Source: Slightly adapted from The Perfect Scoop* by David Lebovitz (*Disclosure: This link is an affiliate link.)

Looking for more St. Patrick’s day recipes?  Try these below!
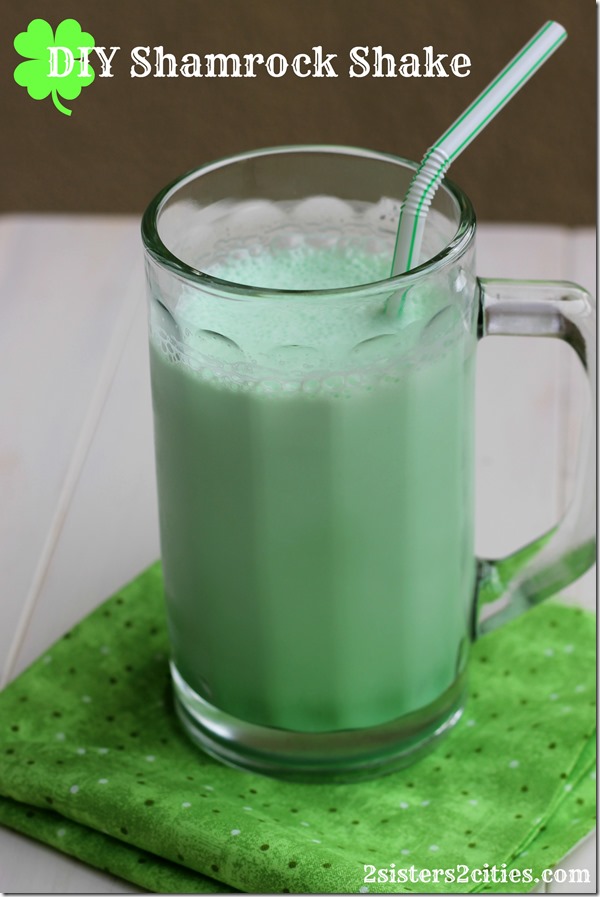
DIY Shamrock Shake

Shamrock-Shake_thumb.jpg

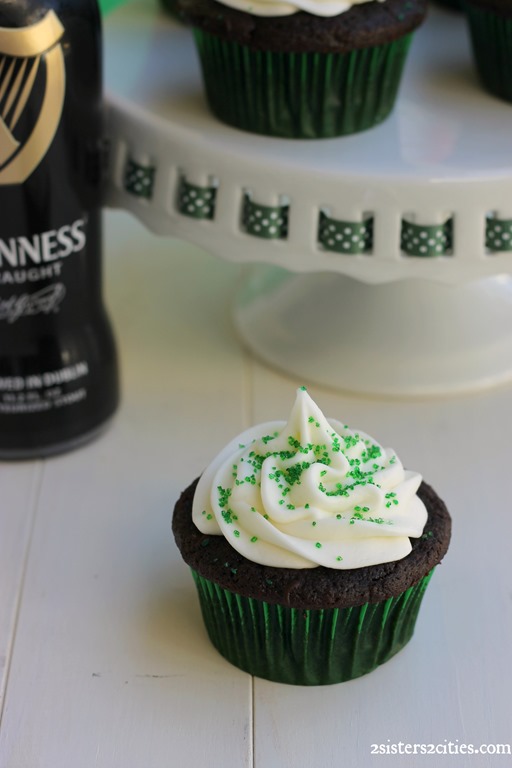
Guinness Chocolate Cupcakes Filled Chocolate Ganache and Topped With Cream Cheese Frosting
Guinness-Chocolate-Cupcakes.jpg

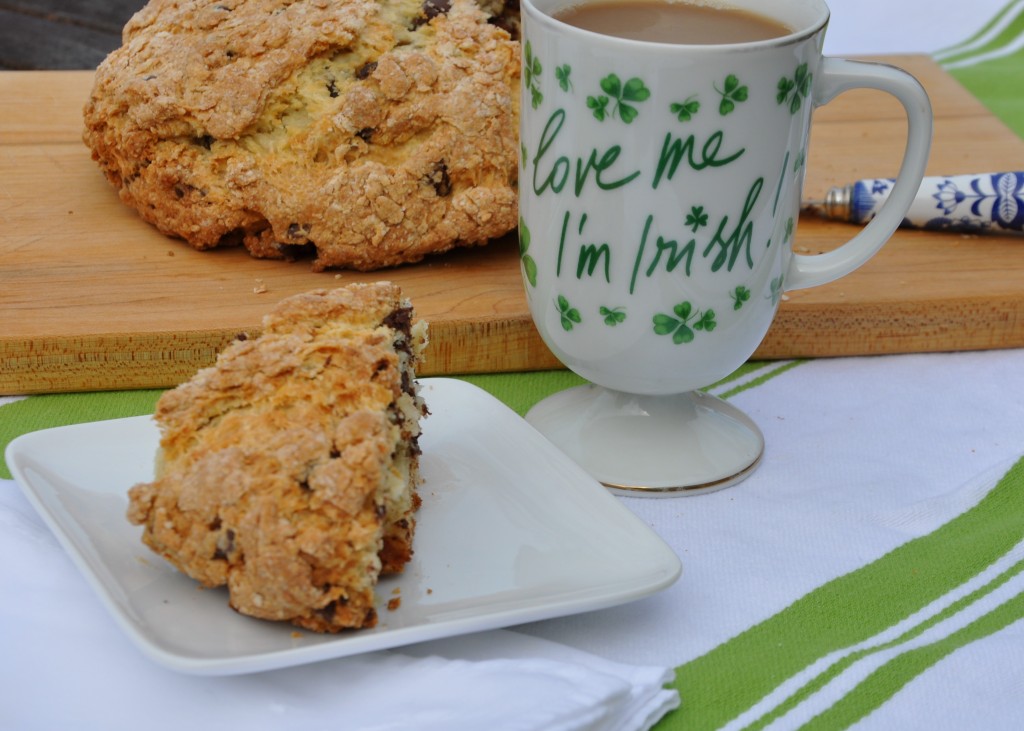
Chocolate Chip Soda Bread

st_patricks_day_chocolate_chip_soda_bread

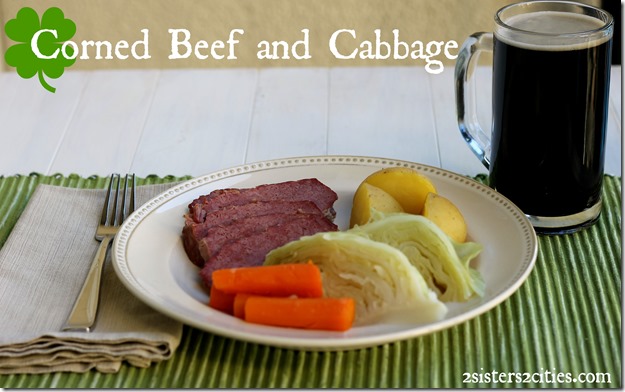
Corned Beef and Cabbage

Corned-Beef-and-Cabbage-Dinner_thumb.jpg

Happy St. Patrick’s Day!
sister m signature


Filed Under: M's Desserts, M's recipes Tagged With: chocolate, guinness, homemade ice cream, ice cream, March, St Patrick's Day

4 Oatmeal Chocolate Mint Cookies

Posted by Keelin Hollenbeck on December 18, 2013

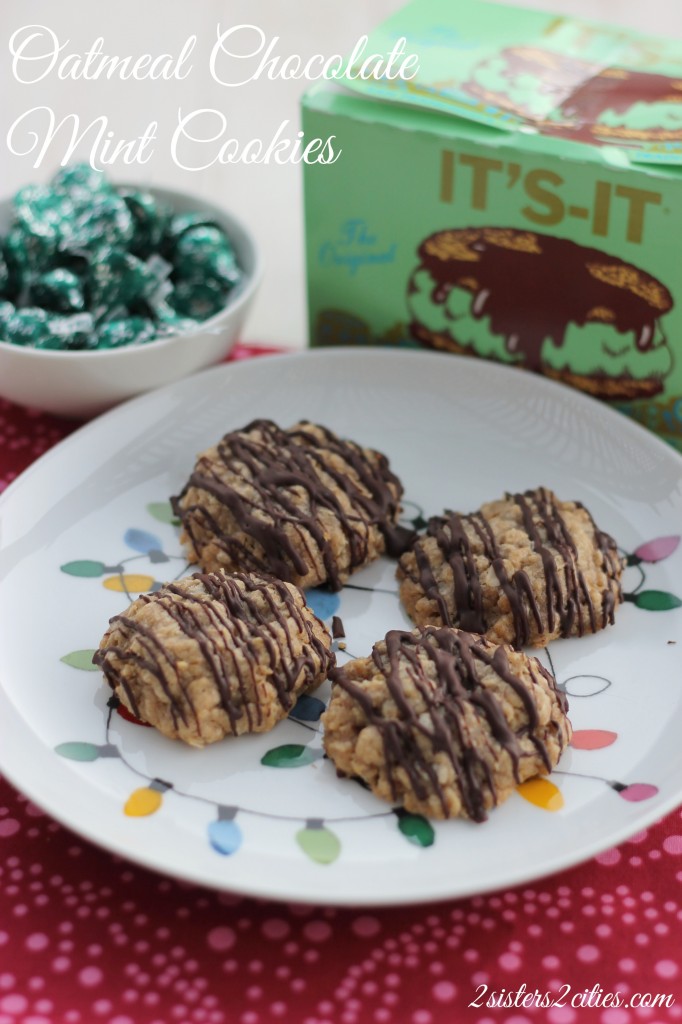
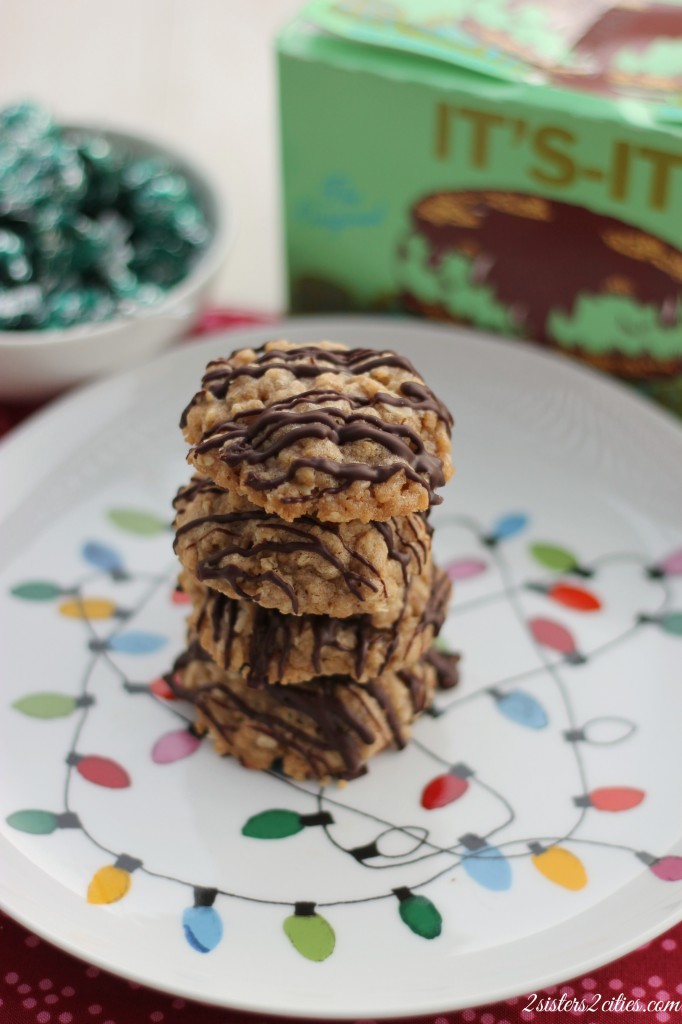
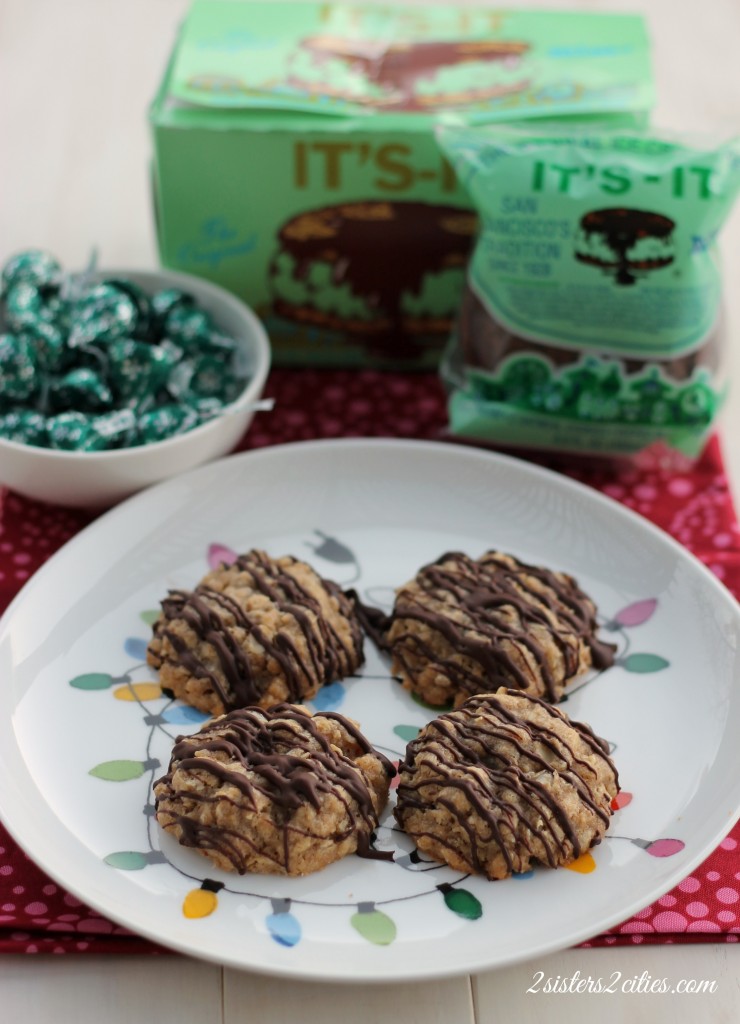
Oatmeal Chocolate Mint Cookies

Was that a misprint?  An oatmeal cookie with mint?  No mistake here, these two flavors are a hidden treasure.  San Francisco is know for an ice cream sandwich from IT’s-IT Ice Cream which is vanilla, mint, chocolate, or cappuccino ice cream in between two old-fashioned oatmeal cookies and then dipped in dark chocolate.  We found them at the grocery store recently and have tried both the vanilla and mint sandwiches.  I have to say my favorite is the mint.  The classic oatmeal cookie with the cool refreshing taste of mint ice cream all pulled together with the bitter dark chocolate is something truly to write home about.

IT'S-IT Inspired Cookies

I was inspired to try to make a cookie version of this ice cream sandwich after eating some of Hershey’s Holiday Mint Truffle Kisses.  I searched through my cookbooks for a basic oatmeal cookie recipe and decided to tuck the kiss inside the cookie versus placing on top.  When the cookies came out of the oven, the flavor was almost perfect but missing something.  I had leftover melted chocolate from the chocolate-dipped shortbread cookie recipe so I drizzled some chocolate on top.  With the addition of the chocolate, the cookie instantly tasted just like the ice cream sandwich.

My boyfriend told me that they were best of all the holiday cookies I created, which is a huge feat after our favorite shortbread recipe.  I was a little worried about bringing them into work because of the weird combo, but my co-workers went nuts over them and they were gone quickly.   Take a chance this holiday season and make these cookies before those truffle kisses run out!

4 Oatmeal Chocolate Mint Cookies

Print
4 Oatmeal Chocolate Mint Cookies
Author: 2 Sisters 2 Cities
 
Ingredients
  • 1 cup of unsalted butter (2 sticks), at room temperature
  • 1 cup packed light brown sugar
  • 1 egg
  • 1 tsp. vanilla extract
  • 1 ¾ cup all purpose flour
  • 1 tsp. Cinnamon
  • ½ tsp. salt
  • 2 ½ cups old fashioned oats
  • 30-36 Hershey’s Mint Truffle Kisses, unwrapped
  • ¼ cup Bittersweet chocolate chips
Instructions
  1. In the bowl of you mixer, beat together butter and brown sugar until its fluffy and light yellow in color. Scrape down the sides of the bowl and add in egg and vanilla extract, mix for about 1 minute.
  2. In a separate bowl mix together flour, cinnamon, and salt. Add in oats.
  3. With mixer on low speed add dry ingredients to butter mixture. Mix for about 30 seconds and then finish the rest with a rubber spatula.
  4. Cover bowl with plastic wrap and place in the refrigerator for at least 1 hour or up to 12 hours.
  5. After at least an hour of chilling, preheat oven to 350 degrees
  6. Taking about 2 teaspoon of dough in your hand, flatten into a disk and place a mint kiss in the middle. Fold sides up around the kiss and top with an additional teaspoon of dough so that the kiss is completely sealed in the dough ball. Place on a baking sheet lined with a silicone baking mat or parchment paper, leaving at least 2 inches between each cookie.
  7. Bake for 14-16 minutes or until set. Let cool on baking sheet a couple of minutes before moving to a wire cooling rack.
  8. Once cookies have cooled top with chocolate drizzle.
  9. For Drizzle- In a small heat proof bowl, add chocolate chips. Microwave in 20 second intervals, stirring in between until melted. To drizzle, take a spoon of melted chocolate, tip the spoon to get a small stream of chocolate going and move back and forth over the cookies so you get zig zags over the cookies.
3.2.2199

Have you been following our entire 2013 Cookie Countdown?  Catch up below if you have missed any!

5 Sprinkle Cookies
6 Chocolate-Dipped Shortbread Cutouts
7 Chocolate Hazelnut Coins
8 Italian Lemon Drops
9 Chocolate Toffee Crackers
10 Cranberry Pistachio Shortbread Cookies
11 Christmas Snickerdoodles
12 Chocolate Raspberry Thumbprints

sisterk (2)


Filed Under: K's Desserts, K's Recipes Tagged With: 12 days of christmas cookies, baby shower brunch, chocolate, cookie recipe, cookies, holiday baking, it's it, mint, oatmeal, san francisco

6 Chocolate-Dipped Shortbread Cutouts

Posted by Keelin Hollenbeck on December 14, 2013

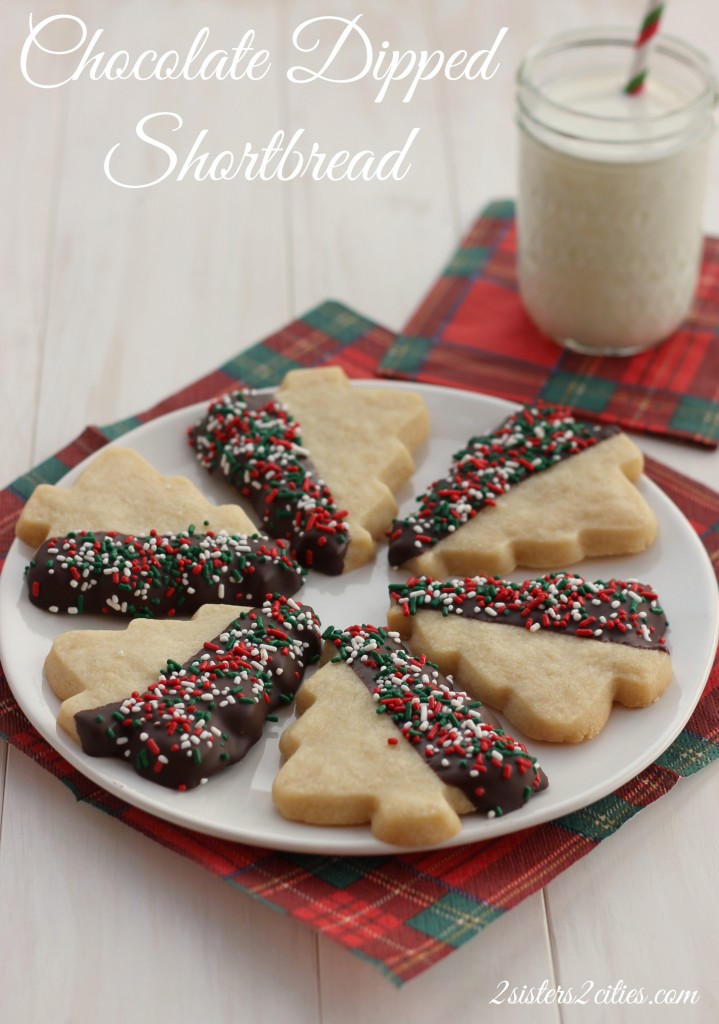
Chocolate Dipped Shortbread Cutouts

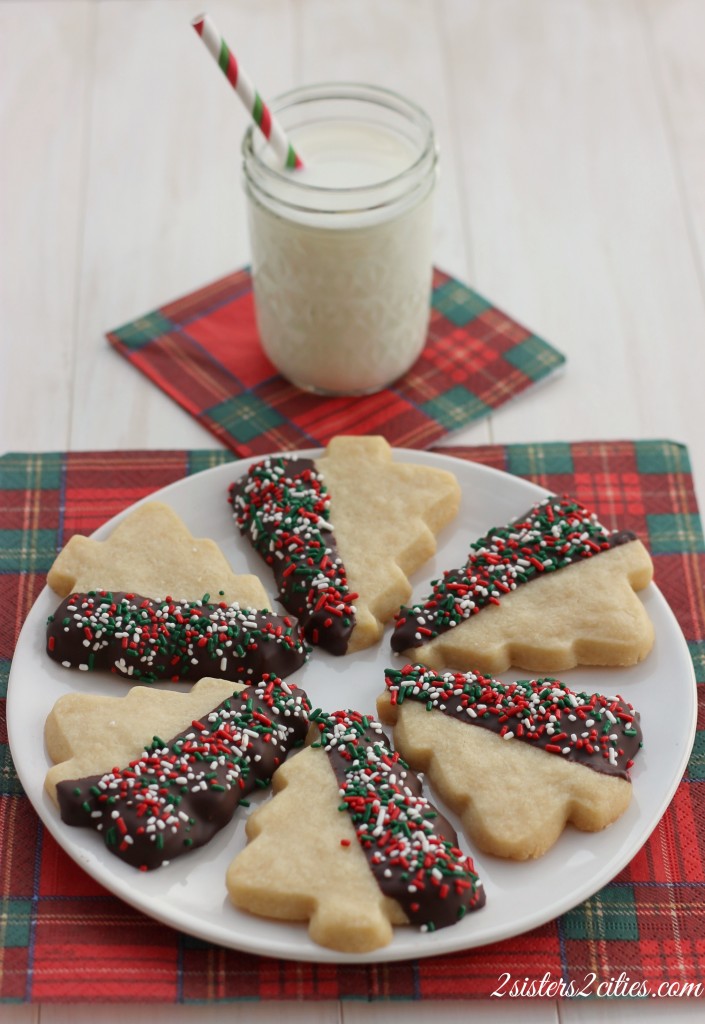
On the sixth day of Christmas cookies my true love gave to me… 6 chocolate-dipped shortbread cutouts!   Aww, thanks!  I love love this recipe for shortbread.  It is one of my favorite cookies.  I feel like I say that a lot, but what can I say, I love me some cookies.  My boyfriend and I make them year-round in different shapes based on the season.  He will make the dough and put it in the refrigerator, and do the dishes, and then I will roll it out, cut them out, bake them and dip them in chocolate.   When I am feeling festive, I add sprinkles!  I love the longer “jimmie” sprinkles rather than the nonpareil sprinkles.

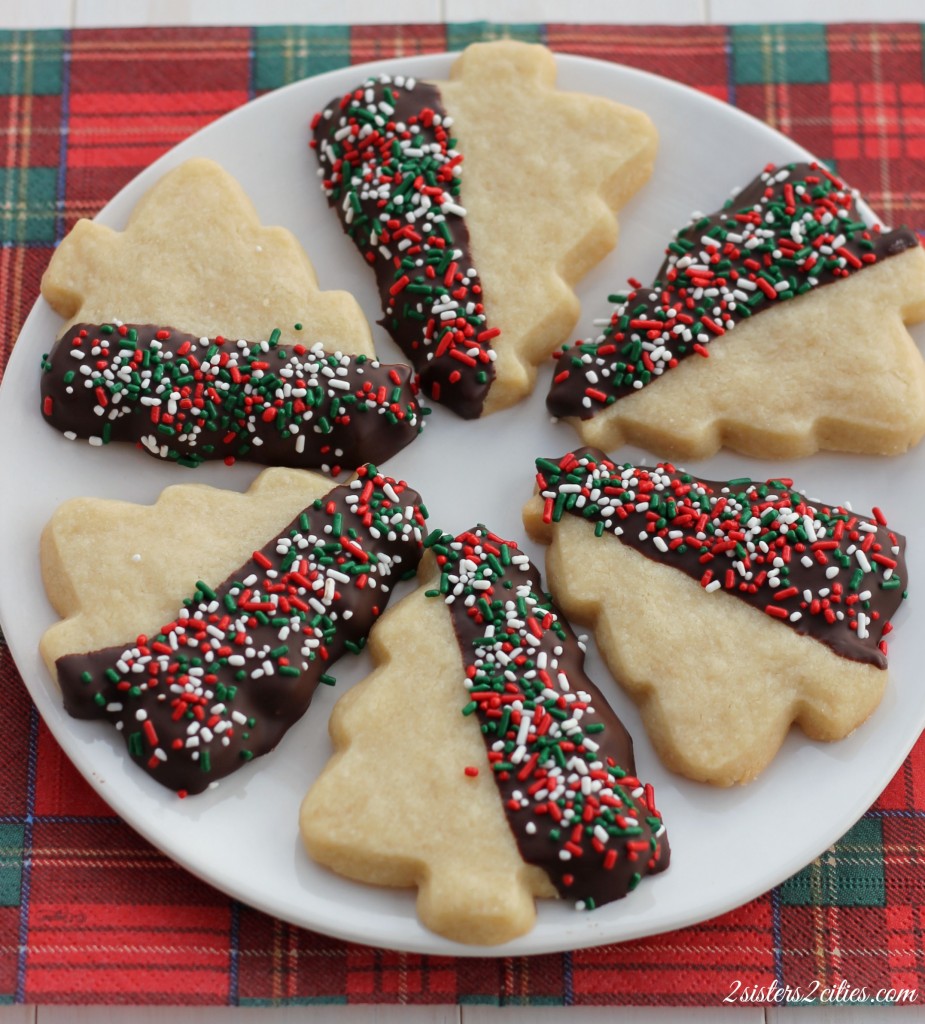
Chocolate Dipped Shortbread Cutouts

I happened to only have the later when I was making these cookies so I ran out the grocery store to get some  more.  I later discovered that I also had no confectioners’ sugar left to make my next cookie!  Don’t you hate when that happens!  I had every type of sugar – granulated, light brown, dark brown, and even superfine!  I had to change my next cookie recipe up because I was not about to go back to the store.  Sprinkles and chocolate are optional and if this recipe looks familiar to you, it’s just a variation of the recipe I use for linzer cookies.

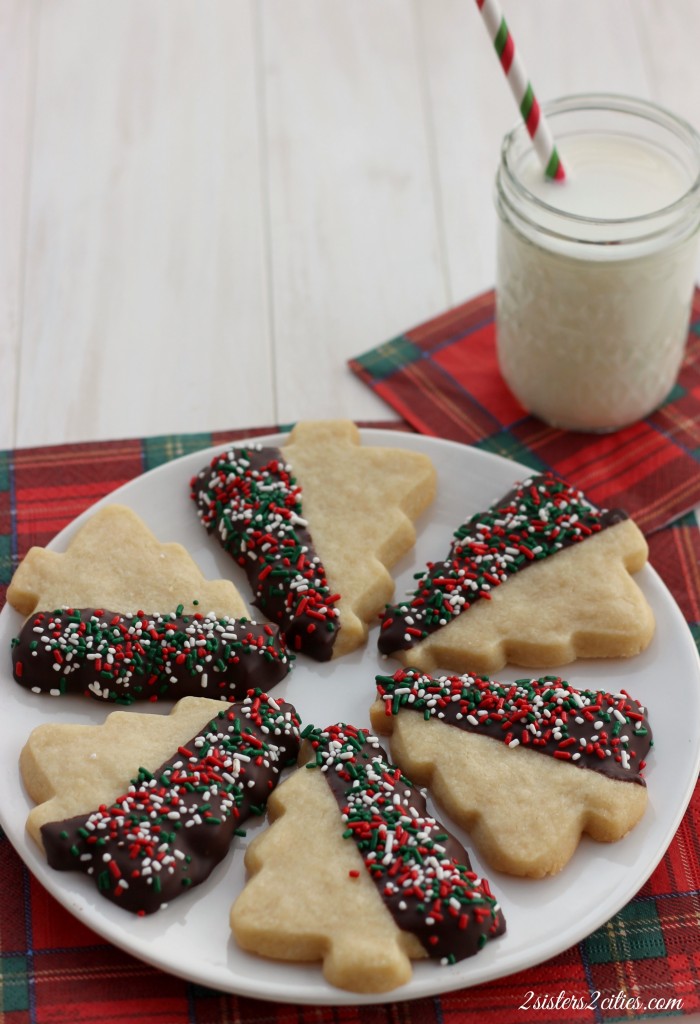
Chocolate Dipped Shortbread Cookies

These cookies are great to come home to after a long day of last-minute shopping.  Not to toot my own horn, but I don’t have any last minute shopping to do because I bought everything on-line last week…Toot TOOT!  I do have some serious baking to do this weekend though!
Chocolate Dipped Shortbread Cutouts
Print
6 Chocolate Dipped Shortbread Cutouts
 
Ingredients
  • 1½ cups of Butter (3 sticks), at room temperature
  • 1 cup granulated sugar
  • 1 teaspoon vanilla extract
  • 3½ cups AP flour
  • ¼ teaspoon salt
  • 2 cups bittersweet or semi-sweet chocolate chips
  • 1 cup sprinkles (optional)
Instructions
  1. In the bowl of a mixer, add in butter and sugar and mix until combined (using the paddle attachment.) Mix in vanilla extract.
  2. In a separate bowl whisk together flour and salt.
  3. With mixer on low, add the dry ingredients into the butter and mix until combined.
  4. Take dough out on to a floured surface and form into a disk. Wrap in plastic wrap and place in the refrigerator for 30 minutes.
  5. Preheat oven to 350 degrees F.
  6. On a floured surface, roll out dough with a rolling pin to ¼-1/2 inch thickness.
  7. Using a 3 inch cookie cutter, cut out shapes and place them on a silicone baking mat or parchment paper lined baking sheet. Space cookies at least 2 inches away from one another.
  8. Bake for 15-20 minutes until cookies start to brown on edges.
  9. To melt chocolate-- In a microwave safe bowl place chocolate chips. On a 50% power setting on the microwave heat the chocolate for 1-1½ minutes. Stir chocolate then continue to heat until melted in 20 seconds intervals until completely smooth or melted.
  10. Dip cookies in melted chocolate, using a off-set spatula to scrape the chocolate off the bottom of the cookie. Lie on parchment paper. Add sprinkles immediately before chocolate starts to dried. Repeat for all cookies. Let dry before repacking cookies. Eat within three days or freeze.
  11. *I would recommend higher quality chocolate chips for this process because although I am a huge fan of Nestle chips and Costco chips in cookies, they have added more wax in their chips in the last few years and they do not melt as smoothly. I used Ghiradelli Bittersweet Chocolate chips and they melted perfectly. For smoother chocolate you can even used baking bars of chocolate which have even less wax in them resulting in smoother chocolate.
3.2.2199
sisterk (2)


Filed Under: K's Desserts, K's Recipes Tagged With: 12 days of christmas cookies, chocolate, chocolate dipped cookies, christmas cookie, cookie recipe, cookies, holiday baking, shortbread, sprinkles

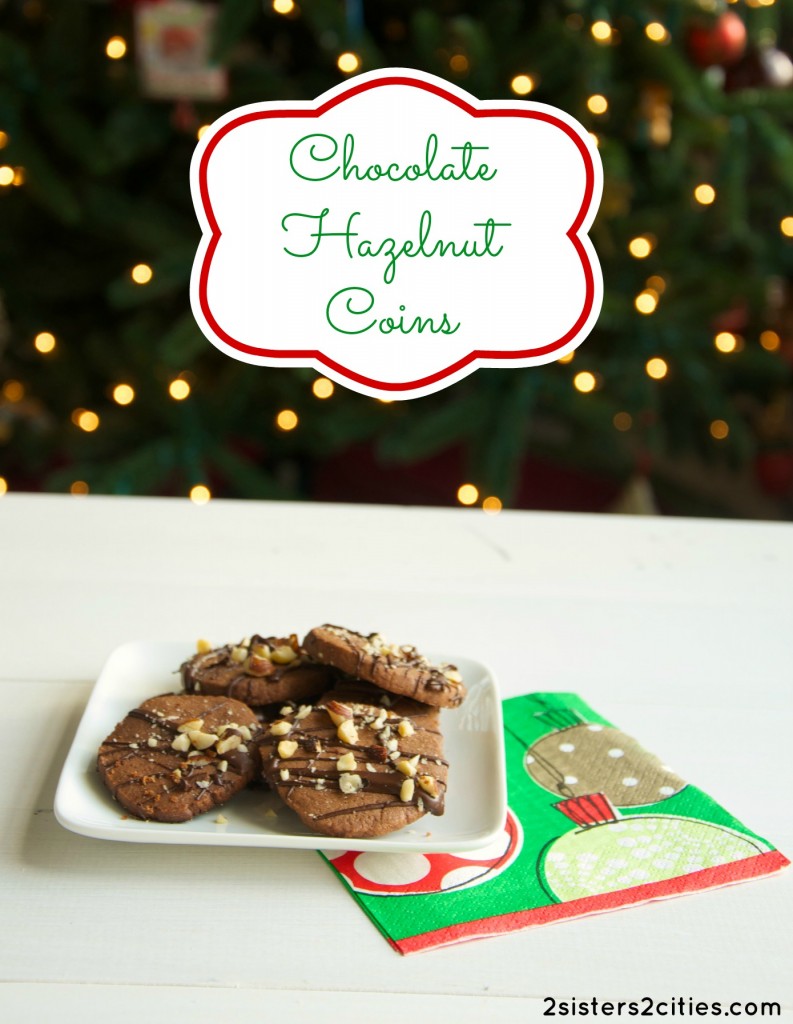
7 Chocolate Hazelnut Coins

Posted by Keelin Hollenbeck on December 13, 2013

Chocolate Hazelnut Coins (from 2 Sisters 2 Cities)

Oh my gosh…I have been having the worst time following recipes lately!  I was making a cookie recipe earlier in the week and I could not figure out why the dough was so dry.  I re-read through the recipe and realized I forgot to add three eggs and two sticks of butter…think that could have been it?  Fortunately, the dough was still salvageable as I was still able to mix them in.

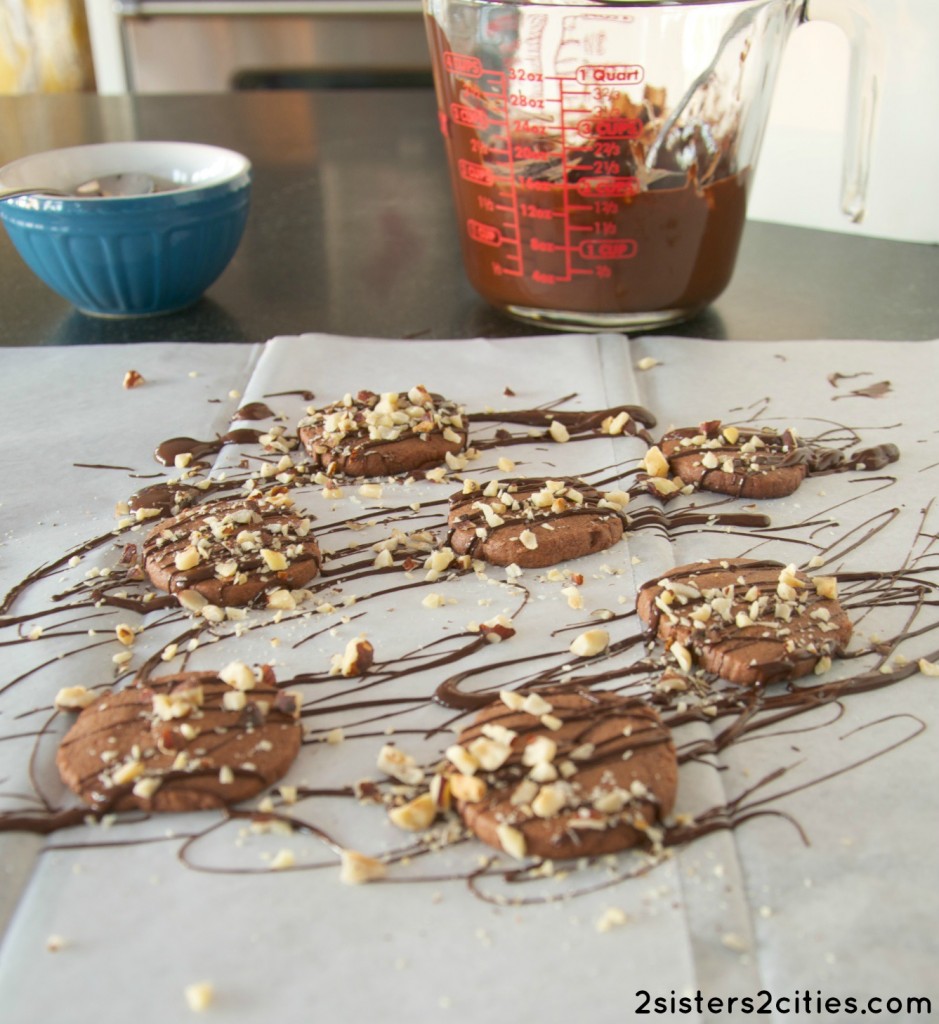
I had another mishap yesterday as I was trying to make these Chocolate Hazelnut Coins.  The cookies were all baked and I was drizzling the chocolate on.  I went to read the directions to figure out what point to garnish them with hazelnut and then I realized the hazelnuts were supposed to be baked into the cookie…oops!  I also burnt the the dark chocolate while I was melting it on the stovetop.  I used the microwave for my second attempt and it turned out much better.

I was going to scrap these and make them again today with the hazelnuts added to the dough this time, but everyone who has tried them so far really likes them with hazelnuts as the garnish.  You could also use walnuts in a pinch.

This recipe is a refrigerator cookie- you refrigerate the dough for an hour or so, slice them, and bake them.  If you are looking to get some cookies prepared ahead of time before Christmas, you could easily whip up this cookie dough and store it in the fridge until the 25th gets closer.  Or, you can bake them the same day and just freeze the finished cookies.  Or you could just eat them right away.

So, here is my recipe for Chocolate Hazelnut Coins in which hazelnuts serve as a lovely garnish.  If you are looking for a recipe where hazelnuts are incorporated into the cookie dough, check out the lovely source link below!

Chocolate Hazelnut Coins (from 2 Sisters 2 Cities)

Print
Chocolate Hazelnut Coins
Prep time:  1 hour 10 mins
Cook time:  6 mins
Total time:  1 hour 16 mins
 
Ingredients
  • 1 cup butter, softened
  • ½ cup sugar
  • ¼ teaspoon salt
  • 1 egg
  • 3 tablespoons unsweetened cocoa powder
  • 1 and ¾ cups all-purpose flour
  • ¼ cups finely chopped hazelnuts, lightly toasted
  • 6 ounces dark chocolate, chopped or dark chocolate chips (1-2 cups)
  • ½ teaspoon shortening
Instructions
  1. Add the butter to a bowl of an electric mixer. Using the paddle attachment, mix butter on medium speed for 30 seconds. Add sugar and salt and mix until thoroughly combined. Then, add in egg and cocoa powder. Use a spatula to clean off sides of bowl and continue to mix all ingredients until once again combined. Add in the flour in ½ cup increments and mix until incorporated.
  2. Lay out 2 large sheet of plastic wrap. Divide dough in half and place on top of each sheet of plastic wrap. Wrap the plastic wrap around dough and roll into an 11-inch log. Repeat for other half of dough. Refrigerate the two dough logs for 1 to 2 hours.
  3. Preheat the oven to 375 degrees Fahrenheit and prepare baking sheets with parchment paper. Cut the dough into thin slices (about ¼".) I was able to get about 25 cookies from each log, so there will be ~50 cookies in total. Bake for 6-8 minutes or until cookie tops are firm. Remove from oven and let cookies cool on a wire rack.
  4. Meanwhile, melt the chocolate and shortening together in the microwave in 30-second increments (I used a Pyrex glass.) Stir after each increment until melted. Place cooled cookies on wax paper and use a spoon to drizzle melted chocolate on top. Before chocolate hardens, sprinkle on chopped hazelnuts. Allow chocolate to set and then serve, store in an airtight container, or freeze.
3.2.2199

Source: Adapted from BHG.com

I’ve also shared my cornbread baking mishap…what holiday baking blunders have you ever made?

sister m signature


Filed Under: M's Desserts, M's recipes Tagged With: 12 days of christmas cookies, chocolate, chocolate cookies, Christmas Cookies, cookie recipes, hazelnut, holiday baking, recipe mishaps, refrigerator cookies

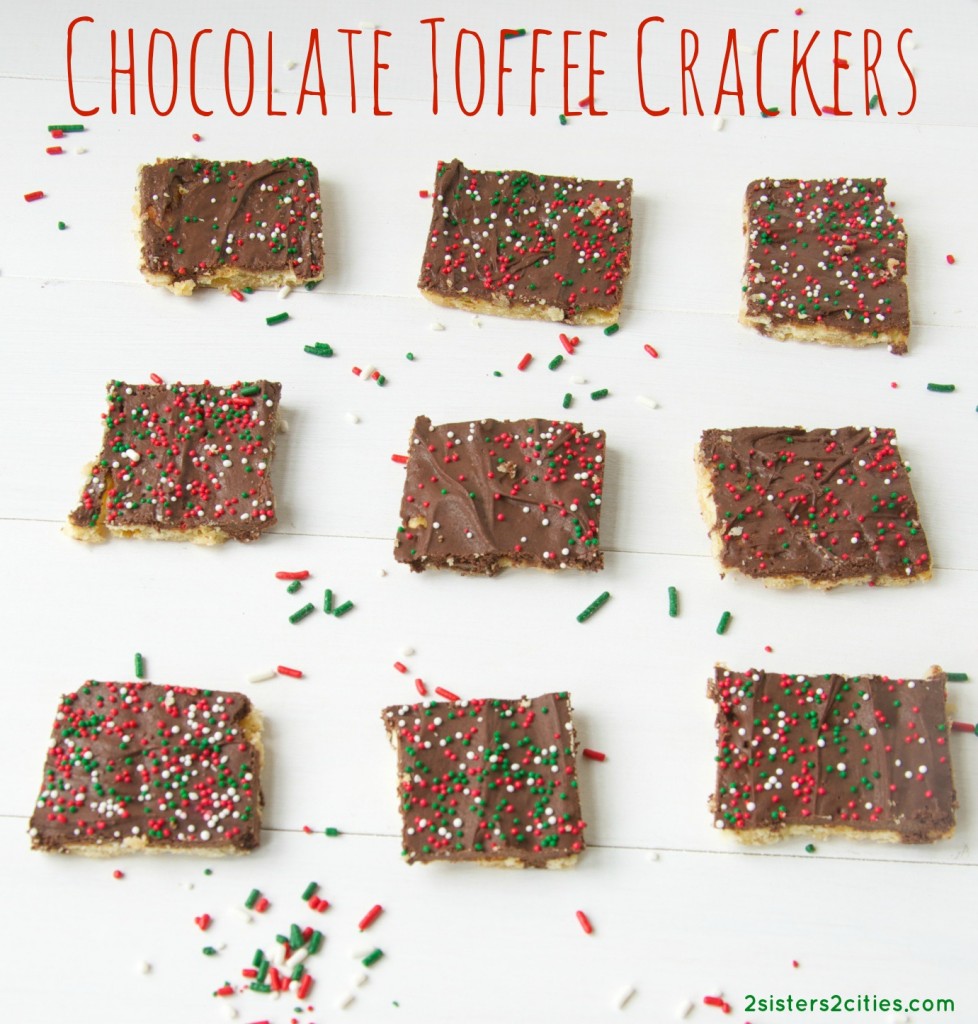
9 Chocolate Toffee Crackers

Posted by Meaghan Barry on December 10, 2013

Chocolate Toffee Crackers (from 2 Sisters 2 Cities)

I have seen this recipe for Chocolate Toffee Crackers so many times on Pinterest and I have been wanting to make it for such a long time.  It goes by a lot of different names- Christmas Crack, Chocolate Saltine Toffee, Sweet & Saltines, Saltine Toffee Candy, etc.  I knew I could not refer to this recipe as Christmas Crack as my son picks up on everything we say lately.  I really do not want a note from his nursery school asking why T made “crack” with his mother over the weekend.

{Side story: we made a joke about having raccoon and coyote steak this past summer while we were having a regular (cow) steak dinner.  T still requests raccoon and coyote steak to this day…it makes me snicker out loud when I think about him telling his teachers that his favorite meal consists of raccoon and coyote meat.}

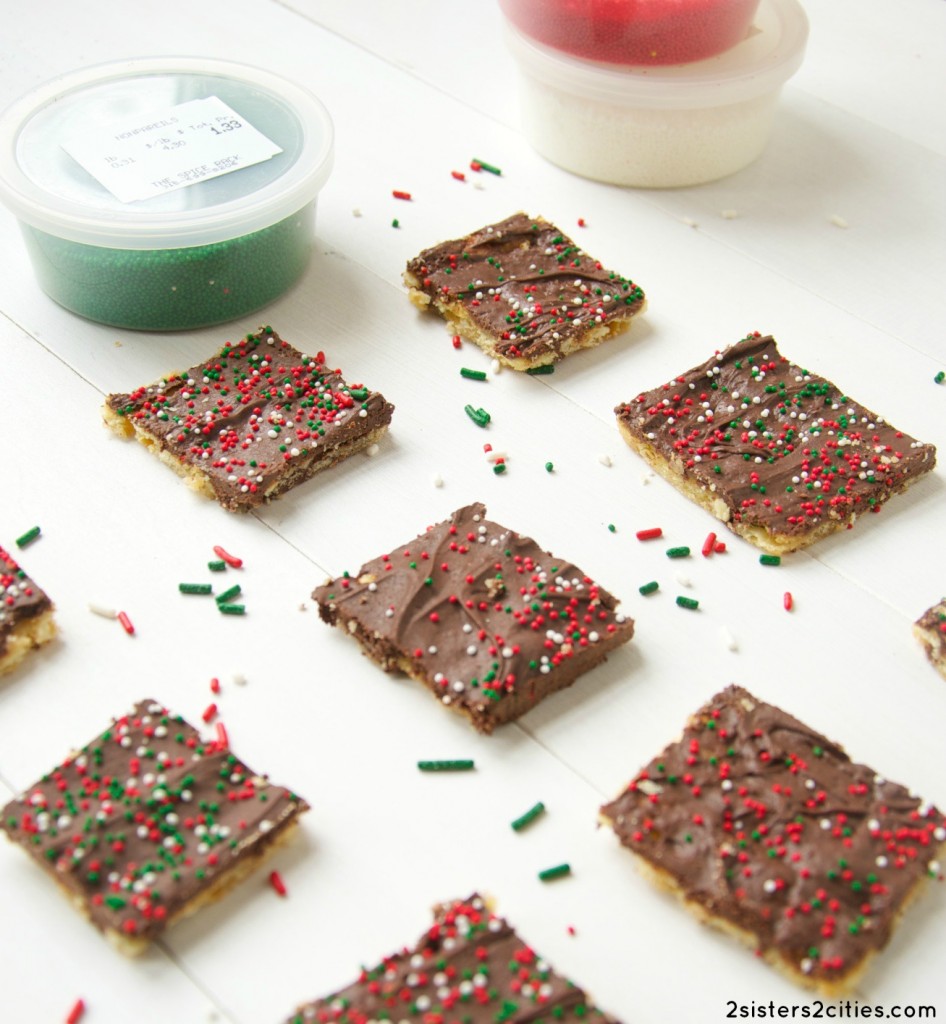
Anywhoo…it’s a super easy recipe to make.  I once again attempted a cookie recipe while T & N were both awake.  I even made this one during the “witching hour”…basically anytime between 4:30-7:30pm in our house.  I let T add the nonpareil sprinkles to the top of the chocolate toffee crackers as they were cooling.  He was grabbing them by the fistful and throwing them on top.  We had a fun time making this recipe, but I tell you, my kitchen may never be the same after I brought out those nonpareil sprinkles.  I’m trying very hard this holiday season to let go of my need for everything to be clean all the time and to just have fun making memories with the kids!

Chocolate Toffee Crackers (from 2 Sisters 2 Cities)

Print
9 Chocolate Toffee Crackers
Prep time:  10 mins
Cook time:  4 mins
Total time:  14 mins
 
Ingredients
  • cooking spray
  • 40 saltine crackers
  • 1 cup unsalted butter
  • 1 cup light brown sugar
  • ½ teaspoon vanilla
  • 2 cups chocolate chips
  • nonpareil sprinkles or any other type of decorative candy (optional)
Instructions
  1. Preheat oven to 400 degrees Fahrenheit. Line a jelly roll pan with foil and spray it with cooking spray. Lay down a single layer of 40 saltines on the foil surface.
  2. Meanwhile, melt together the butter and brown sugar in a medium-sized sauce pan. Allow it to reach a boil, then lower the temperature and allow it to simmer for about 5 minutes. Stir the butter & sugar mixture occasionally and remove from the heat once it has thickened.
  3. Stir in the vanilla to the saucepan and pour the mixture over the crackers on the jelly pan. Use a spatula to spread the mixture over any crackers that are dry. Put in the oven and bake for 3-4 minutes, or until it gets bubbly. Remove pan from oven.
  4. Sprinkle chocolate chips over crackers evenly. Allow the chocolate chips to melt for a few minutes and use a spatula to smooth it out over the crackers. Then, sprinkle on nonpareil sprinkles or any other decorative candy (this step is optional). Place the pan in the fridge for 30-45 minutes or until chocolate is hard. Break up into pieces and serve. Store at room temperature in an airtight container.
3.2.2124

Source: Adapted from Trisha Yearwood and Averie Cooks

sister m signature


Filed Under: M's Desserts, M's recipes Tagged With: 12 days of christmas cookies, chocolate, chocolate chips, Christmas Cookies, cookie recipes, cookies, crackers, holiday baking, saltines, toffee

12 Chocolate Raspberry Thumbprints

Posted by Keelin Hollenbeck on December 4, 2013

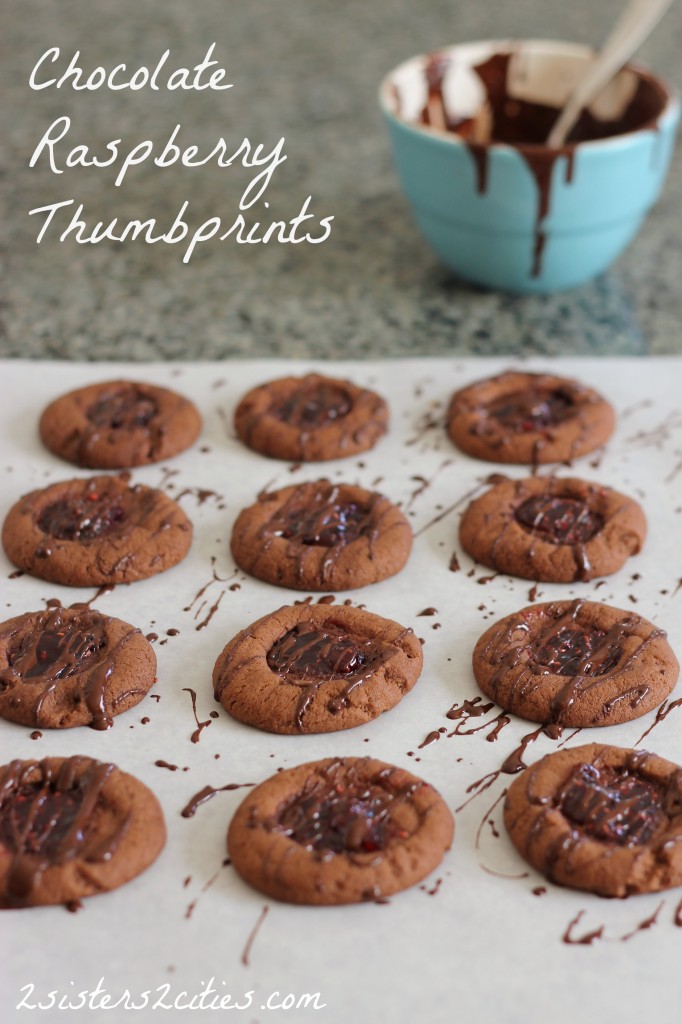
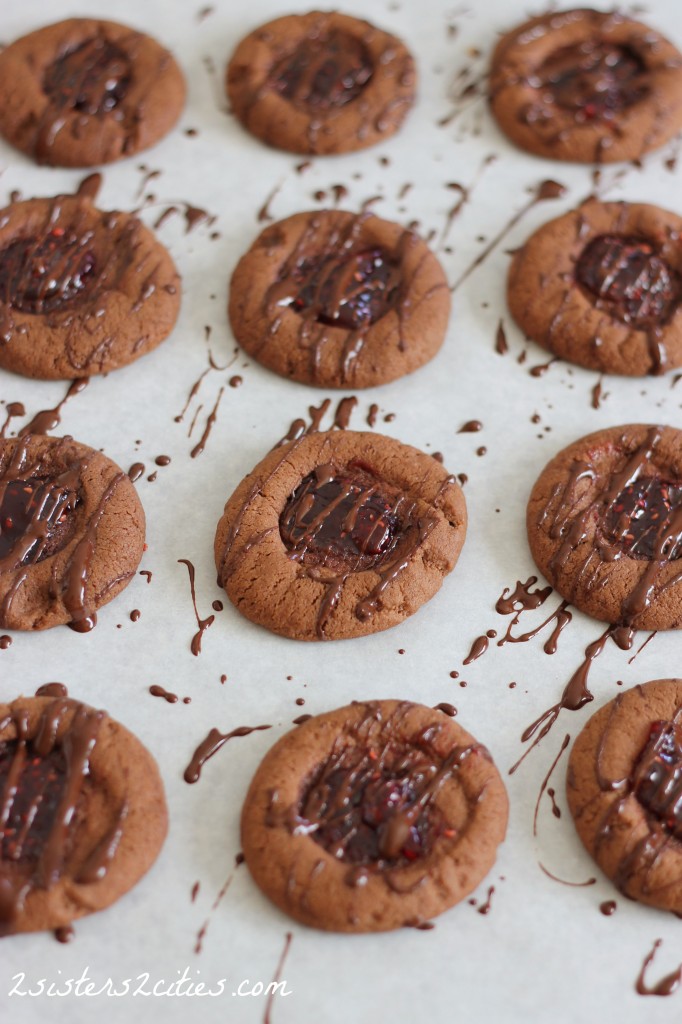
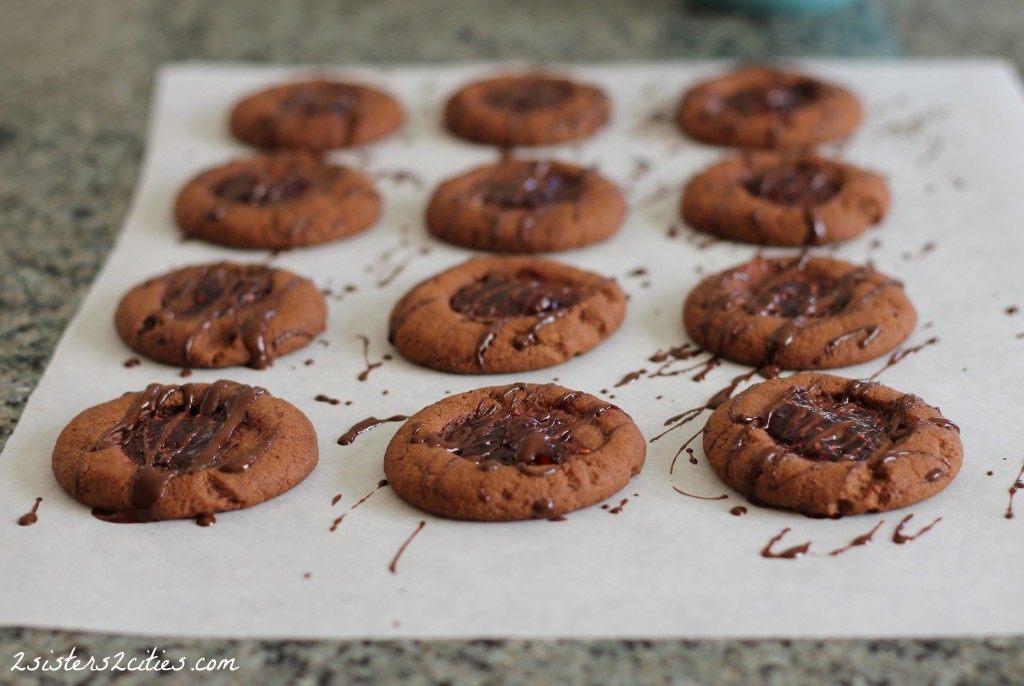
Chocolate Raspberry Thumbprints Cookies

Well, here we are again!  It’s the most wonderful time of year- the 2 Sisters 2 Cities 12 Days of  Christmas Cookie Countdown!  We are going to start this party with a delicious classic holiday cookie with a new twist:  a chocolate thumbprint cookies with raspberry jam and drizzled with bittersweet chocolate!

12 Chocolate Raspberry Thumbprints

This year with my holiday cookies, I am going for more classic types of holiday cookies. When I think of Christmas cookies I think of small special cookies embellished with icing, chocolate, powdered sugar, frosting, glaze, jam, nuts, peppermints, or sprinkles. The great part about Christmas cookies is that you can grab a bunch of different kinds and and you get to try all the amazing flavors. Obviously you know what my favorite time of the year is!

My boyfriend loves thumbprint cookies, but he is not a big chocolate cookie fan.  I was hesitant to make this recipe because I thought he wouldn’t like them.  Boy was I wrong, he loved them! The deep chocolate flavors are perfect with the sweet tart raspberry jam.  Add them to your Christmas cookie to-do list today!

Chocolate Raspberry Thumbprints

Print
12 Chocolate Raspberry Thumbprints
Author: 2 Sisters 2 Cities
 
Ingredients
  • 1 cup plus 2 tablespoons butter (2 sticks + 2 tbsp),at room temperature
  • ¾ cup granulated sugar
  • ⅓ cup cocoa powder
  • 2 cups all purpose flour
  • ½ tsp. salt
  • ½ tsp. baking soda
  • 1 tsp. baking powder
  • Raspberry jam
  • 2-3 tbsp. bittersweet chocolate chips
Instructions
  1. Preheat the oven to 350 degrees.
  2. In the bowl of a mixer add butter and sugar, mixing until smooth.
  3. Add in cocoa powder until combined
  4. In a separate bowl, whisk together flour, salt, baking soda, and baking powder.
  5. Gradually add the flour mixture to the butter mixture until all is combined
  6. Line a baking sheet with a silicone baking mat or parchment paper.
  7. Roll dough into 1-inch balls. Place on baking mat at least 2 inches away from each other.
  8. With the tip of your thumb, press down in the middle of the cookie ball to make a well (don't press down all the way.)
  9. Fill each thumbprint with around ½ tsp of jam
  10. Bake for 9-10 minutes
  11. Cookies will spread out a little so if you need more jam in the center add some more before they cool.
  12. For Drizzle- In a small heat proof bowl, add chocolate chips. Microwave in 20 second intervals, stirring in between until melted. To drizzle, take a spoon of melted chocolate, tip the spoon to get a small stream of chocolate going and move back and forth over the cookies so you get zig zags over the cookies.
3.2.2124

Source–  Base cookie recipe adapted from Pinch of Yum, addition of raspberry jam and chocolate drizzle is a 2S2C original

sisterk (2)


Filed Under: K's Desserts, K's Recipes Tagged With: 12 days of christmas cookies, baking, chocolate, chocolate and raspberries, christmas, Christmas Cookies, cookie recipe, holiday baking, raspberries

Chocolate Peanut Butter Banana Muffins

Posted by Meaghan Barry on April 4, 2013

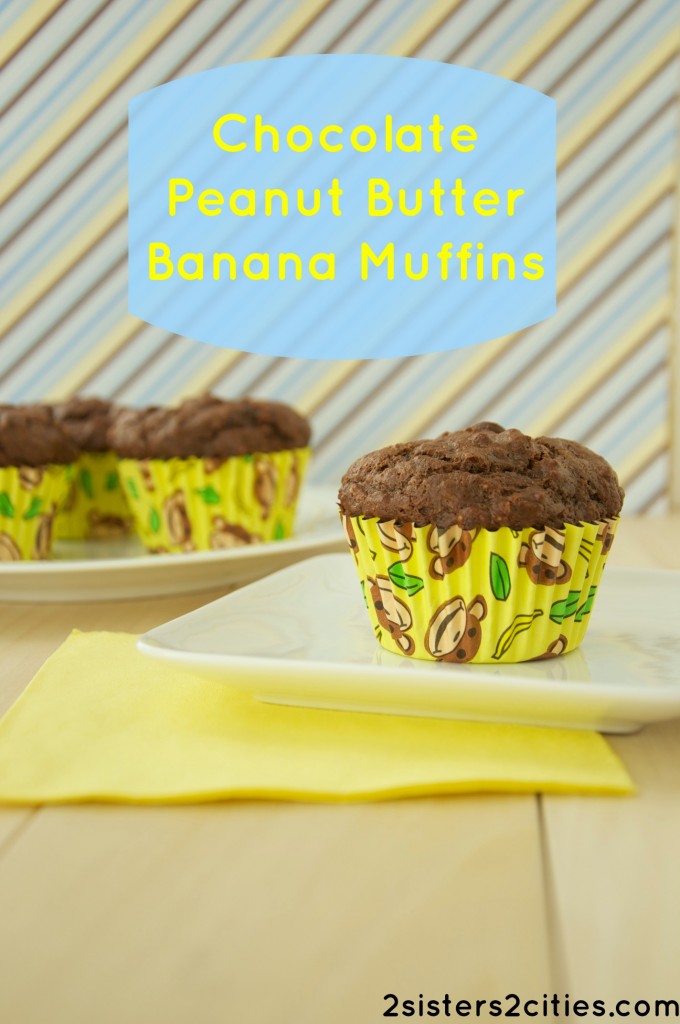
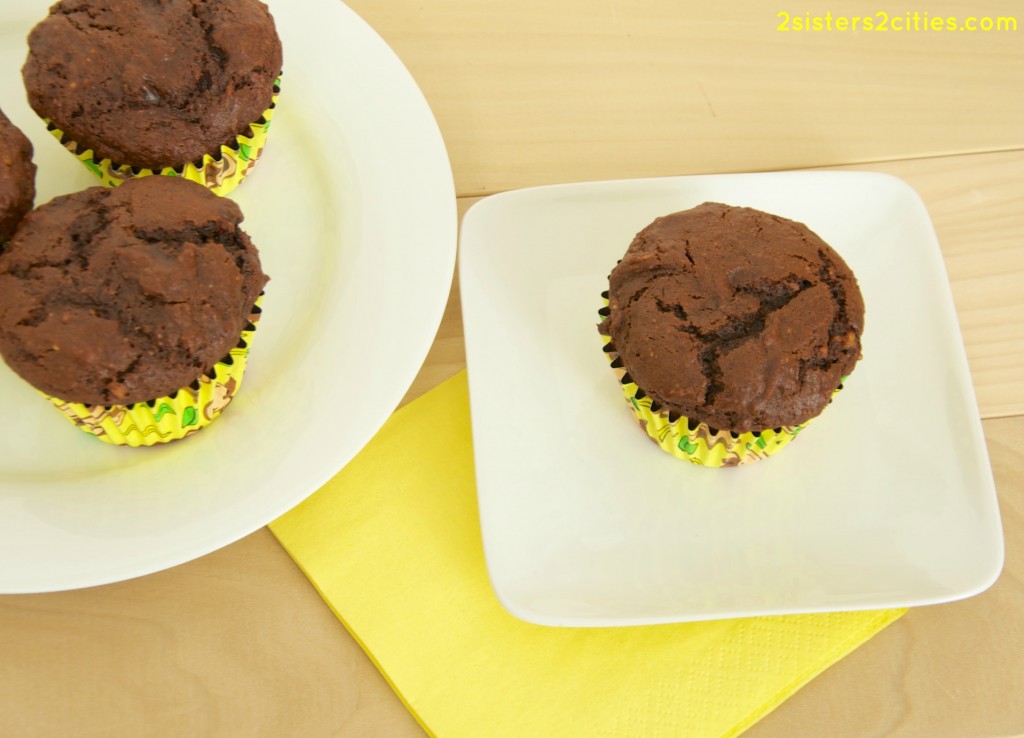
chocolate peanut butter banana muffins

Ready for some non-Easter recipes yet?  We’ve taken a brief hiatus this week after Easter to recuperate and to start getting into spring-mode!  We have been brainstorming a lot of new recipes ideas and can’t wait to share them.  In the meanwhile, I wanted to share the recipe for these chocolate peanut butter banana muffins that I made for the first time about six months ago and have made several times since.  T loves them and I really don’t mind eating them myself ;)

chocolate peanut butter muffins

The original recipe is from Jessica Seinfeld’s cookbook Deceptively Delicious.  In her cookbook, she incorporates a lot of pureed fruits and vegetables into recipes so that kids (especially picky eaters) get more nutrients into their diet.  The original recipe calls for a 1/2 cup of pureed carrots or cauliflower, but I haven’t yet tried making them with this.  The recipe I have tried does incorporate a bananas, peanut butter, and applesauce- they are amazingly moist considering they only have one egg white and no oil or butter in them.

Print
Chocolate Peanut Butter Banana Muffins
Prep time:  10 mins
Cook time:  20 mins
Total time:  30 mins
 
Ingredients
  • 1 cup firmly packed brown sugar, divided
  • ½ cup creamy peanut butter
  • ½ cup unsweetened applesauce
  • 1 banana, mashed
  • 1 egg white
  • 1 cup all purpose flour (alternatively, you could use ½ cup whole wheat flour and ½ cup all purpose flour)
  • 1 teaspoon baking powder
  • 1 teaspoon baking soda
  • ½ teaspoon salt
  • ⅓ cup cocoa powder
  • ¼ cup chocolate chips
Instructions
  1. Preheat oven to 350 degrees Fahrenheit. Meanwhile, line a muffin tin with paper baking cups.
  2. In a large mixing bowl, mix ½ cup of the brown sugar with the peanut butter, applesauce, mashed banana and egg white. In a separate mixing bowl, combine the flour(s), baking powder, baking soda, salt, and cocoa powder. Add the mixed dry ingredients with the peanut butter mixture and stir to combine. Add the chocolate chips until fully mixed. Add the remaining ½ of brown sugar and stir once or twice.
  3. Use a spoon to pour the batter in 12 muffin cups (the batter may be a bit thicker than a regular muffin recipe.) Bake for 18-20 minutes or until tops of the muffins are set and a toothpick comes out clean.
  4. Remove from oven and allow the muffins to cool in the muffin tin for a few minutes. Remove muffins from tin and cool on a wire rack.
3.2.1682

Source: Adapted from Deceptively Delicious and Once a Month Mom

sister m signature


Filed Under: M's recipes Tagged With: applesauce, bananas, breakfast, breakfast recipe, chocolate, kid-friendly recipes, muffin recipe, muffins, peanut butter, snack recipes, toddler-friendly recipes

Peanut Butter-Filled Chocolate Bunny Pops

Posted by 2 Sisters 2 Cities on March 26, 2013

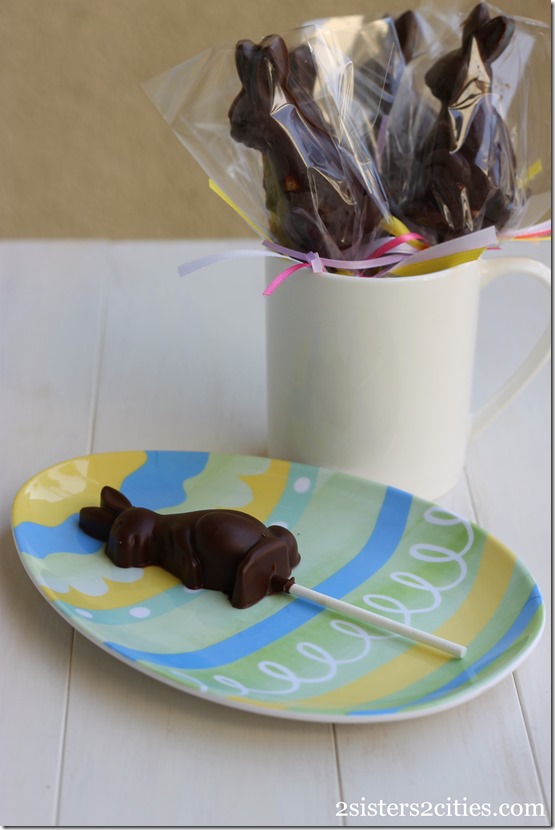
Peanut Butter-Filled Chocolate Bunny Pops

I found this bunny mold at Target and I thought I could do something fun with it for a Easter gift to give to friends.   I wanted to try something different then a solid chocolate bunny., such as a peanut butter-filled bunny!   I made the peanut butter filling similar to how I make buckeye cookies, but with a little bit more peanut butter consistency.   These peanut butter-filled chocolate bunny pops would be a perfect gift to put in your children’s Easter basket.  If I was going to be with my nephew T during Easter weekend,  I would give him one!  It’s worth noting that these bunny pops are not just for kid’s- my boyfriend loved them!  He even said they tasted better than Reese’s Peanut Butter Cups!!  Whatt Whatt!!

I bought the small plastic bags at Michaels that I used to wrap the bunnies.  I then tied a ribbon around the stick.  I used Ghirardelli Chips for the chocolate because I have noticed that Nestle chips lately are really waxy and don’t melt smoothly.   You could also use melting chocolate, such as Bakers.

Print
Peanut Butter-Filled Chocolate Bunny Pops
Author: 2 Sisters 2 Cities
Serves: 6-8
 
Ingredients
Peanut Butter Filling
  • 2 oz. confectioners’ sugar
  • ¼ cup peanut butter
  • 1 tbsp. butter, room temp
  • ⅛ tsp. vanilla extract
  • pinch of salt
Chocolate
  • 10 oz. semi-sweet chocolate chips (I used Ghirardelli)
  • 2 Tbsp. Crisco
Instructions
  1. In a medium sized bowl, mix together peanut butter, butter, vanilla extract, and salt. Add in confectioners’ sugar and stir until combined. The dough will be dry but work together with your hands. Set aside.
  2. Melt chocolate by either a double boiler method or the microwave method;
  3. Double Boiler- Place chocolate in a double-boiler or a metal or glass bowl above a saucepan with a couple inches of water. Heat up water. Add in 2 tbsp. of Crisco and stir into chocolate. Stir chocolate until completely melted and smooth. Microwave- Place chocolate and Crisco in a microwave safe bowl. Heat up in 30 second intervals stirring in-between each interval. Repeat until smooth.
  4. To ease with candy making pour chocolate into a plastic squeeze bottle (from Amazon or a craft store in the candy making section.)
  5. Fill mold halfway with melted chocolate.
  6. Take 2 tsp. peanut butter filling and roll in-between hands to create a long piece. Pinch the top so it will fit in the bunnies neck/head area. Gently place filling in chocolate but don’t push all the way in (you want it to stay in the middle.)
  7. Fill remainder of mold with melted chocolate, making sure that the peanut butter is covered.
  8. Take lollipop stick and lie in middle of the chocolate. Twist the stick into the chocolate until covered and stick fits into mold.
  9. Tap the tray on work surface to knock out air bubbles. Repeat for remainder of molds. Place tray in the freezer on a flat surface for 1-2 hours until hardened.
  10. Once the candy is hardened pop chocolate pops out of mold and enjoy!
  11. Wrap chocolate top in small plastic bag and tie with ribbon.
3.2.1682

How-to-Make-a-PB-Filled-Chocolate-Bunny-Pops_thumb

sisterk (2)


Filed Under: K's Desserts, K's Recipes Tagged With: bunny, candy making, chocolate, Chocolate making, easter, easter chocolate, easter dessert, easter treat, peanut butter, peanut butter filled chocolate, pops

Chocolate Dipped Coconut Macaroons

Posted by 2 Sisters 2 Cities on March 25, 2013

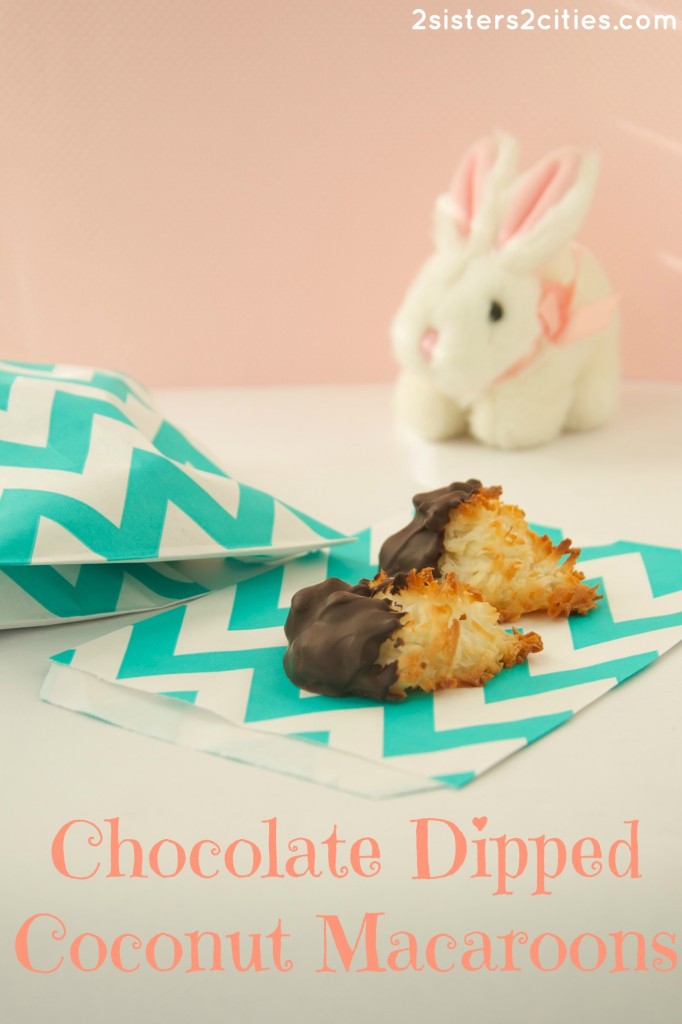
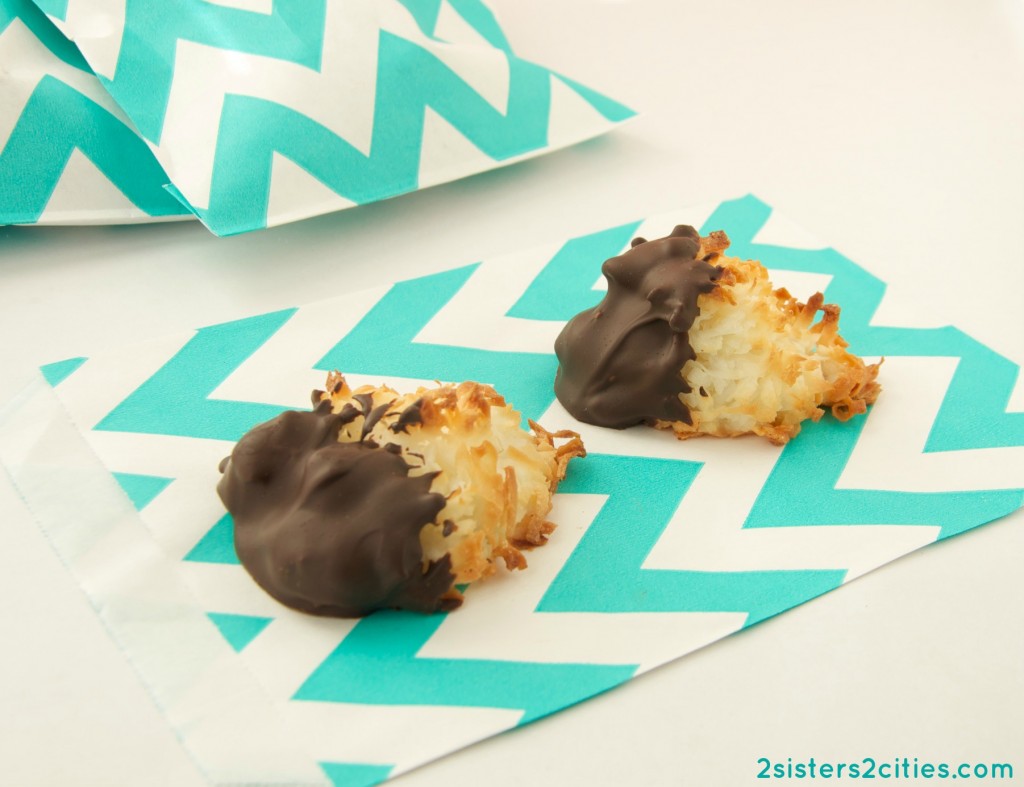
Chocolate Dipped Coconut Macaroons {from 2 Sisters 2 Cities}

Continuing on with our Easter recipe series today, I thought I would skip right to dessert!  These chocolate dipped coconut macaroons are a very simple cookie recipe to make and can be made up to five days ahead of time (just be sure to store them in an airtight container.)  Since coconut macaroons have no leavening agents or wheat in them, they are also perfect for Passover or for serving to family and friends who are gluten-free.

{As a side note, I apologize for my lack of posts last week.  Luckily, K has been on a holiday cooking spree lately!  We were on vacation in St. John the week before and I’ve been playing a bit of catch-up around the house since we got back.  I suddenly realized I have less than 14 weeks to go until my due date and went into full-blown nesting mode.  I’ve been working on baby #2’s nursery and finishing up a number of organizing projects around the house.  I’m feeling a bit more prepared now and I’m hoping to share a few more Easter-related recipes this week!} 

Chocolate Dipped Coconut Macaroons {from 2 Sisters 2 Cities}

Print
Chocolate Dipped Coconut Macaroons
Prep time:  15 mins
Cook time:  20 mins
Total time:  35 mins
 
Ingredients
  • 3 large egg whites
  • ½ cup sugar
  • ½ teaspoon vanilla extract
  • ¼ teaspoon kosher salt
  • 1 14-ounce package sweetened shredded coconut (~5 cups)
  • 4 oz. good-quality dark/semi-sweet chocolate
Instructions
  1. Heat oven to 325° F. Line 2 baking sheets with parchment paper.
  2. Whisk together the egg whites, sugar, vanilla, and salt in a medium bowl until the sugar is almost dissolved. Stir in the coconut with a spatula until all ingredients are thoroughly combined.
  3. Use a small ice cream scoop to drop the coconut mixture into mounds on the parchment sheets (about 2 tablespoons each.) Bake the macaroons for 20 to 25 minutes, keeping a close eye on them toward the end- these cookies are very easy to burn! Remove from oven once they start to turn golden brown. Allow to cool on the baking sheets for a few minutes and transfer them to cooling racks.
  4. Meanwhile, place the chocolate in a microwave-safe container (I use a large Pyrex glass) and cook in the microwave for 30 second increments. Stir between each increment and continue to cook until chocolate is fully melted and smooth.
  5. Dip each cooled macaroon into the melted chocolate and place back onto the parchment paper. You can either dip side half the macaroon in the chocolate (as seen in my photos) or dip the bottom half into the chocolate. Alternatively, you could also drizzle chocolate on top of the macaroons if you want a lighter touch of chocolate. Once you fill up a baking sheet with the dipped macaroons, place the sheet in the refrigerator for 5 minutes or until chocolate is set.
  6. Store in an airtight container for up to five days.
3.2.1682

Source: Adapted from Real Simple, March 2013

sister m signature


Filed Under: M's Desserts, M's recipes Tagged With: chocolate, coconut, coconut macaroons, cookie recipes, cookies, easter, Easter cookies, easter desserts, easter recipes, gluten-free, gluten-free cookies, passover, passover cookies

One Salted Chocolate Chip Caramel Cookie Bars

Posted by 2 Sisters 2 Cities on December 23, 2012

Then there was one!

We are down to our last cookie already and wow, has this month flown by!  I am starting to get excited for the upcoming holiday and spending some time with the family.  I haven’t really had any time off since my move so a few days to breathe and relax will be nice too.  M and I were discussing how much we have to do for the holidays and she told me how she has yet to wrap a gift.  I, on the other hand haven’t even seen a gift I have bought because I shipped it to everywhere I am going so I don’t have to bring them on the plane.

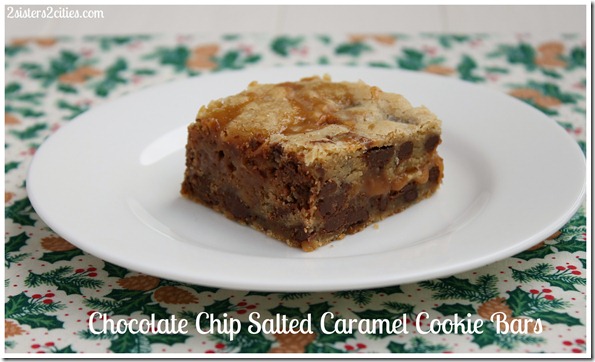
The last cookie is a cookie bar, and a delicious one at that.  I have to admit that I don’t like make chocolate chip cookies for Christmas cookies because they are an everyday cookie to me. My boyfriend begged for this recipe and actually was head chef on these.   I just helped melt the caramel and he did most of the baking.   Guess which cookie has been the most popular so far?  Yup, this one!

Chocolate Chip Salted Caramel Cookie Bars

Print
One Salted Chocolate Chip Caramel Cookie Bars
Author: 2 Sisters 2 Cities
 
Ingredients
  • 2⅛ cups AP flour
  • ½ tsp. salt
  • ½ tsp. baking soda
  • 12 tbsp. butter, at room temperature, plus a small amount for greasing baking pan
  • 1 cup light brown sugar
  • ½ cup granulated sugar
  • 1 large egg
  • 1 large egg yolk
  • 2 tsp. vanilla extract
  • 2 cups chocolate chips
  • 10 oz. caramel candy squares, unwrapped
  • 3 tbsp. heavy cream
  • Sea salt, for sprinkling over caramel and bars
Instructions
  1. Preheat oven to 325 degrees F
  2. Grease a 2-quart baking pan (11x7 baking dish) by spreading a small amount of butter on a paper towel.
  3. In a medium bowl, whisk together flour, salt, and baking soda.
  4. Next, in bowl of a stand mixer, mix softened butter and both sugars.
  5. Add the egg, egg yolk, and vanilla extract and mix until combined and smooth.
  6. Slowly stir in dry ingredients and mix until combined. Add in chocolate chips.
  7. In a large microwave safe bowl, combine the caramel and heavy cream
  8. Microwave caramel on high until caramel are melted, stirring every 30 seconds for about 2-3 minutes, until mixture is smooth.
  9. Divide the cookie dough into two. Place one half of the cookie dough into the pan, smoothing with a spatula.
  10. Pour hot caramel over the dough in the pan. Sprinkle with sea salt.
  11. Drop remaining cookie dough by the spoonful over the caramel layer. Spread cookie dough with a spatula until the caramel is covered. Sprinkle with additional sea salt.
  12. Bake for 30 minutes or until the top of the cookie bars are light golden brown and the edges start to pull away from the pan.
  13. Remove from oven and allow bars to cool on a wire rack. Cut into squares and serve.
3.1.09

Source- Adapted from Two Peas and Their Pod
sisterk (2)

Related Posts Plugin for WordPress, Blogger...


Filed Under: K's Desserts, K's post, K's Recipes Tagged With: 12 cookies of Christmas, 12 days of christmas cookies, caramel, chocolate, chocolate chip, christmas, cookie bar, cookie recipe, holiday baking, Salted caramel, salted caramel recipe

  • 1
  • 2
  • Next Page »

Recent Posts

  • Easy Holiday Office Party Tips
  • 5 Steps to an Easy Football Party
  • Gingerbread Biscotti
  • Holiday Coffee Bar and Thanksgiving Recipes
  • Soft Sugar Pumpkin Cookies
  • Cinnamon Sugar Apple Cake
  • Hello Pumpkin Season!
  • Make Your Own Milkshake Party!
  • Mama’s Pickles
  • S’more Cookies

Categories

  • About 2 Sisters 2 Cities (7)
  • Books (8)
  • Crafting & DIY (22)
  • Design & Decorating (15)
  • Gardening (5)
  • Giveaway (14)
  • Guest Bloggers (8)
  • K's post (46)
  • K's Recipes (191)
    • K's Desserts (75)
    • K's Entrees (23)
    • K's Sides (24)
  • M's post (72)
  • M's recipes (167)
    • M's Entrees (21)
    • M's Sides (14)
    • M's Desserts (30)
  • Organizing (7)
  • Party Ideas (49)
  • Uncategorized (1)
  • Vacation (12)
Stitch Fix

Archives

Blogroll

  • Annie's Eats
  • Bake at 350
  • Baked Bree
  • Boston Harbor Beacon
  • Confections of a Foodie Bride
  • Cook Like a Champion
  • Erin’s Food Files
  • Forever and a Recipe
  • Framed Cooks
  • Oh Happy Day
  • On Common Ground
  • Pennies on a Platter
  • Pink Parsley
  • Recipe Girl
  • Sally's Baking Addiction
  • Simply Scratch
  • The Curvy Carrot
  • The Pioneer Woman
  • Tidy Mom
  • Two Peas & Their Pod
  • What’s Gaby Cooking
  • Young House Love
Increase your website traffic with Attracta.com

grab a 2 sisters button!


Copyright © 2014 ~ 2 Sisters 2 Cities | Blog Design by Minx Design