2 Sisters 2 Cities

Image Map
  • About 2 Sisters 2 Cities
  • Recipe Index
  • Project Index
  • Contact Us
  • Like us on Facebook
  • Follow m on twitter
  • Follow k on twitter
  • Follow 2S2C on Pinterest
  • Follow 2S2C on G+
  • rss
  • e-mail 2S2C

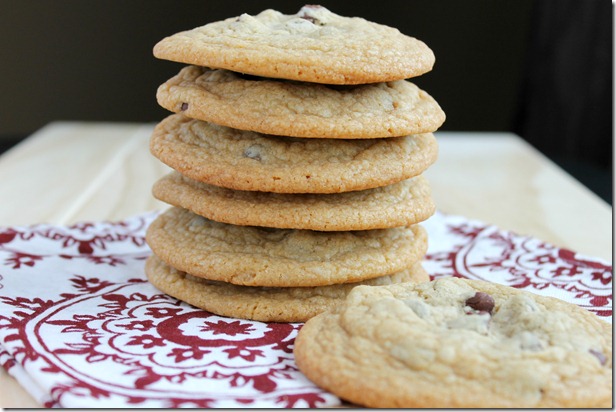
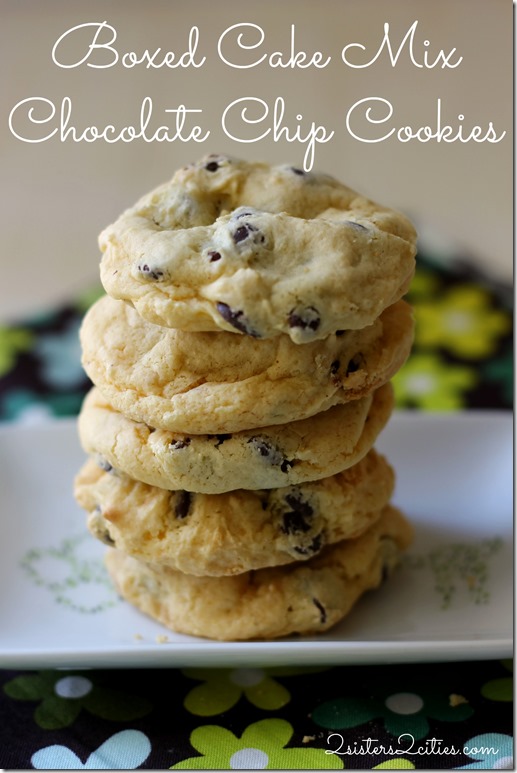
Boxed Cake Mix Chocolate Chip Cookies

Posted by Keelin Hollenbeck on July 21, 2013

Boxed Cake Mix Chocolate Chip Cookies

I am constantly looking for new recipes for chocolate chip cookies since they are my boyfriend’s all‐time favorite type of cookie.  I have an entire Pinterest board devoted to chocolate chip cookies that I would eventually like to try out.

In college, one of my roommates introduced me to making chocolate chip cookies with a box of yellow or white cake mix.   The cookies came out deliciously puffy and moist and were so easy to create.  Plus, when you are on a college budget you can’t beat the price of cake mix and cooking oil since butter and flour are usually the most expensive ingredients.  This recipe is also an “elbow grease” friendly recipe, therefore no need for a stand mixer!

It has been some time since I made this cookie recipe.  I have moved about 7-8 times since acquiring the recipe and if you can imagine, I had since lost and forgot about the recipe.  However, a few months ago I saw recipes for making cookies with boxed cake mix and it instantly reminded me of that long lost recipe. We happened to have a random box of cake mix on hand so I decided to give the recipe a try.   I say random because I rarely have cake mix sitting in my pantry, but my boyfriend had bought some when he was shopping on his own because he couldn’t believe how cheap it was.  There are a lot of items like this in our pantry…it is one of the pleasures of living with a food-enthusiast man, or what I like to lovingly call a “cookie monster.”

When I brought these boxed cake batter cookies into work they went extremely fast and so many people asked for the recipe.  Sorry,  it has taken me a few months to post this!
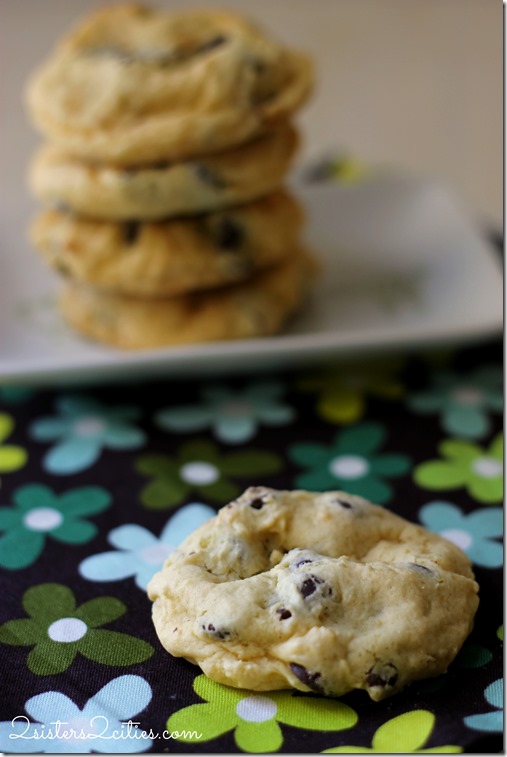
Boxed Cake Mix Cookies

Print
Boxed Cake Mix Chocolate Chip Cookies
Author: 2 Sisters 2 Cities
 
Ingredients
  • 1 single box of cake mix (Yellow or White)
  • 1 tsp. baking powder
  • 2 large eggs
  • ⅓ cup canola oil
  • ½ tsp. vanilla extract
  • 1 and ½ cup semi-sweet chocolate chips
Instructions
  1. Preheat the oven to 350 degrees and line baking sheets with parchment paper or a silicone baking mat.
  2. In a large bowl mix together the cake mix and baking powder. In a small bowl whisk together eggs, oil, and vanilla extract. Add the wet ingredients to the dry ingredients and stir until combined. Continue to mix batter until there are no more chunks of dry cake mix. Stir in chocolate chips.
  3. Drop rounded tablespoons of batter onto baking sheets with the medium-sized cookie scoop or measuring spoon. Make sure they balls are at least 2 inches away from each other because they will spread out a little when baking.
  4. Bake for 10 minutes and take out of the oven to let continue cooking on baking sheet. After a few minutes, transfer to a wire rack. Let cool and enjoy!
3.2.1753

Source- Adapted from Sally’s Baking Addiction

sisterk (2)


Filed Under: K's Desserts, K's Recipes Tagged With: boxed cake mix recipes, cake mix, cake mix cookies, chocolate chip, chocolate chip cookies, cookies, yellow cake mix

The Ultimate Chocolate Chip Cookie

Posted by 2 Sisters 2 Cities on May 21, 2012

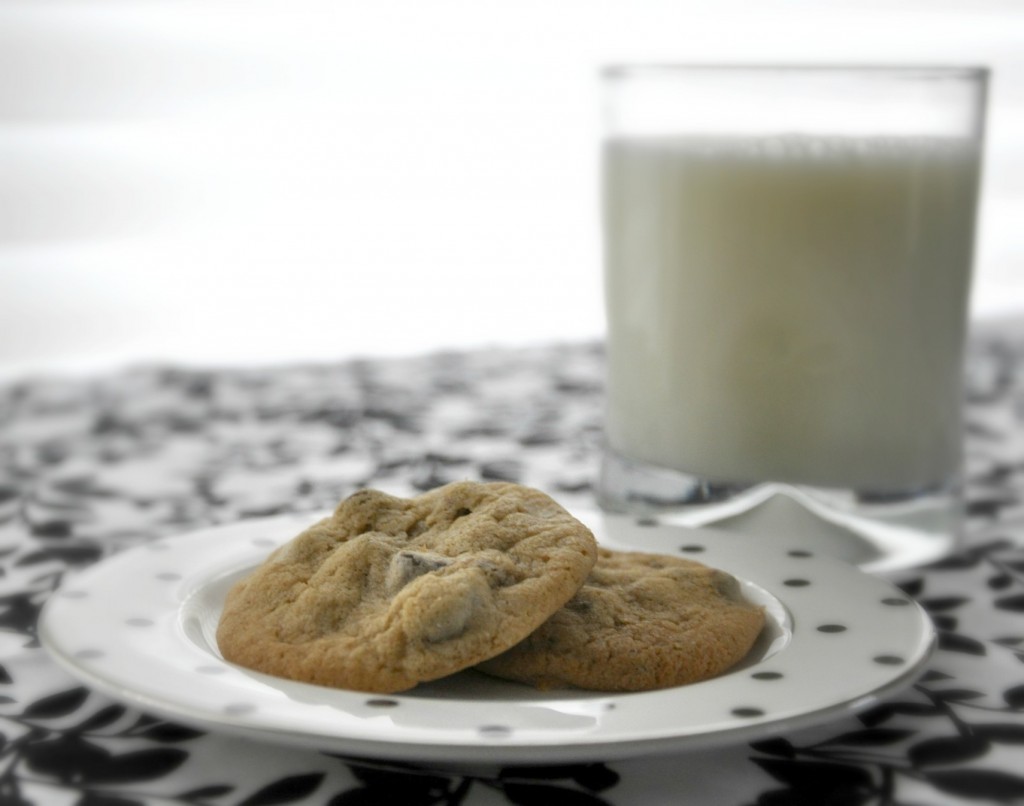
With all the cookies I make,  I would have to say my all-time favorite cookie is the chocolate chip.  My first baking experience was when my sister M taught me how to make the classic Nestle Toll-house Chocolate Chip Cookie recipe (just like she is teaching my nephew here,  although I was a little older!)  M was babysitting and decided to teach me how to bake.   She showed me the difference between granulated sugar and confectioner’s sugar, as well as when to use baking soda or baking powder.  M also showed me how to scrape off the top of the flour and sugar in a measuring cup with the backside of a butter knife.  I have probably made the Nestle Toll-house recipe 100+ times since then,  and I always think back to that first time.

When I started getting Cooks Illustrated, I found an article about how the American Test Kitchen found flaws in the classic chocolate chip recipe and created a recipe that is what they consider the best chocolate chip cookie.  The recipe makes about 16 large cookies and they are seriously amazing. They have a deeper caramel flavor than the classic recipe of chocolate chip cookies. Although I love this recipe, I will still make the Nestle Toll-house version from time to time because it does hold a place in my heart.  Do you have a first memory of baking?

chocolate chip cookies

5.0 from 1 reviews
Print
The Ultimate Chocolate Chip Cookie
Author: K
Recipe type: Dessert
Serves: 16
 
Ingredients
  • 1¾ cup AP flour
  • ½ teaspoons baking soda
  • 14 tbsp. unsalted butter
  • ¾ cup packed dark brown sugar
  • ½ cup granulated sugar
  • 1 tsp. salt
  • 2 tsp. vanilla
  • 1 large egg plus 1 egg yolk
  • 1½ cup semisweet chocolate chips
Instructions
  1. Preheat the oven to 375 degrees.
  2. In a medium mixing bowl mix together flour and baking soda.
  3. Line 2 baking sheets with parchment paper or silicone non-stick mats.
  4. In a skillet melt 10 tbsp. of butter over medium high heat. Cook until butter turns golden brown and starts to smell a little nutty. This will take about 2-3 minutes. Be careful not to burn the butter. Pour the melted butter in a heat-proof mixing bowl and add in the rest of the butter, stirring until melted.
  5. Whisk in sugars, salt and vanilla. Next add in egg and extra egg yolk. Whisk until smooth, for about 30 seconds. Let sugar/butter mixture rest for 3 minutes, and then whisk again for 30 seconds. Repeat this process 2 more times. The mixture should be smooth and shiny after the 10 minutes or on and off mixing.
  6. Stir in flour mixture until combined.
  7. Stir in chocolate chips.
  8. Scooping a little under ¼ cup of dough, roll into a ball and place on baking sheet with 2 inches between each cookie (should make 16 even cookie.)
  9. Bake for 10-14 minutes (rotating cookie sheet halfway through), one tray at a time until cookies are golden brown on the side but still puffy in the middle.
  10. Allow cookies to cool and enjoy!
2.2.6

Source– adapted slightly from Cooks Illustrated Cookbook


Filed Under: K's Desserts, K's Recipes Tagged With: baking, baking memories, chocolate chip cookies, cookie recipe, cookies, cookies recipe, ultimate chocolate chip cookie recipe

Pig + Sangria = Backyard Pig Roast

Posted by 2 Sisters 2 Cities on May 14, 2012

We have been working on our backyard for several weekends in a row to get it ready for summer and for a pig roast we hosted this past weekend.  It had rained for much of last week, but we lucked out with beautiful weather on Saturday.  My husband has wanted to do a pig roast for years, but the logistics in our city condo just didn’t work out.  Now that we have moved out to the ‘burbs, we have a pretty good set-up in our backyard for it.  After pricing out a few “pig-roasters” in the Boston area, we hired Big Pig Barbecue & Catering.

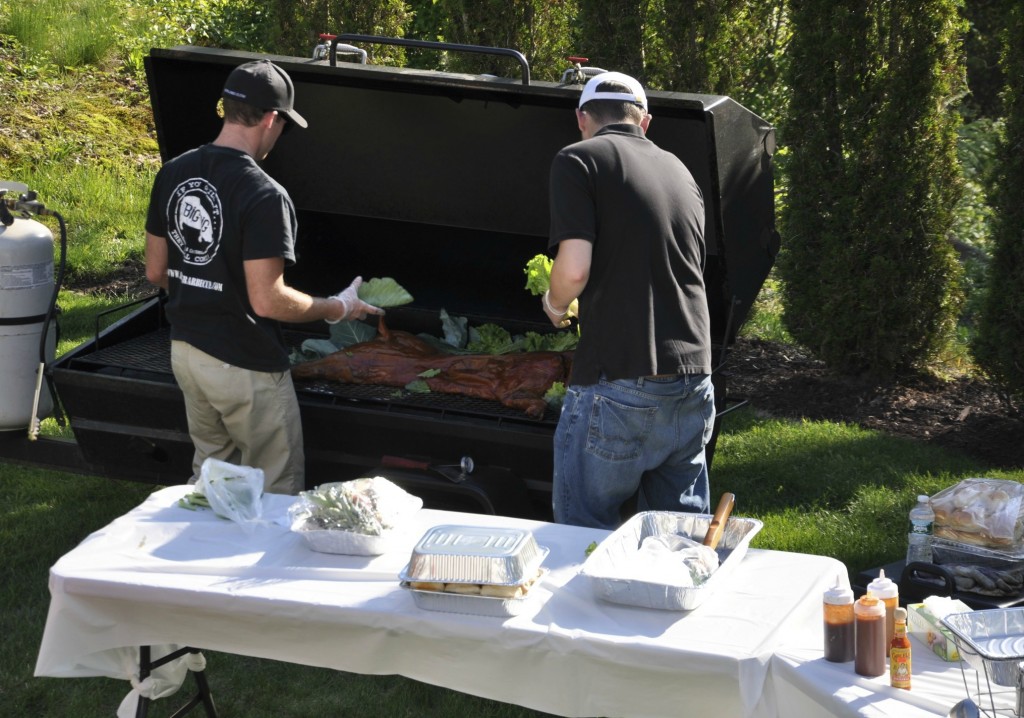
An hour or so before the event began, a big van pulled up with a large grill in tow and this slogan stamped on the side:

If you grill it, they will come!

The guys did a great job of setting up the large grill and banquet tables while we continued to prepare for the party.  Little Sister M was visiting us for a few days and she was really helpful with watching Baby T and helping us set up everything.  She also made all the cute blue and green signs in the pictures below.

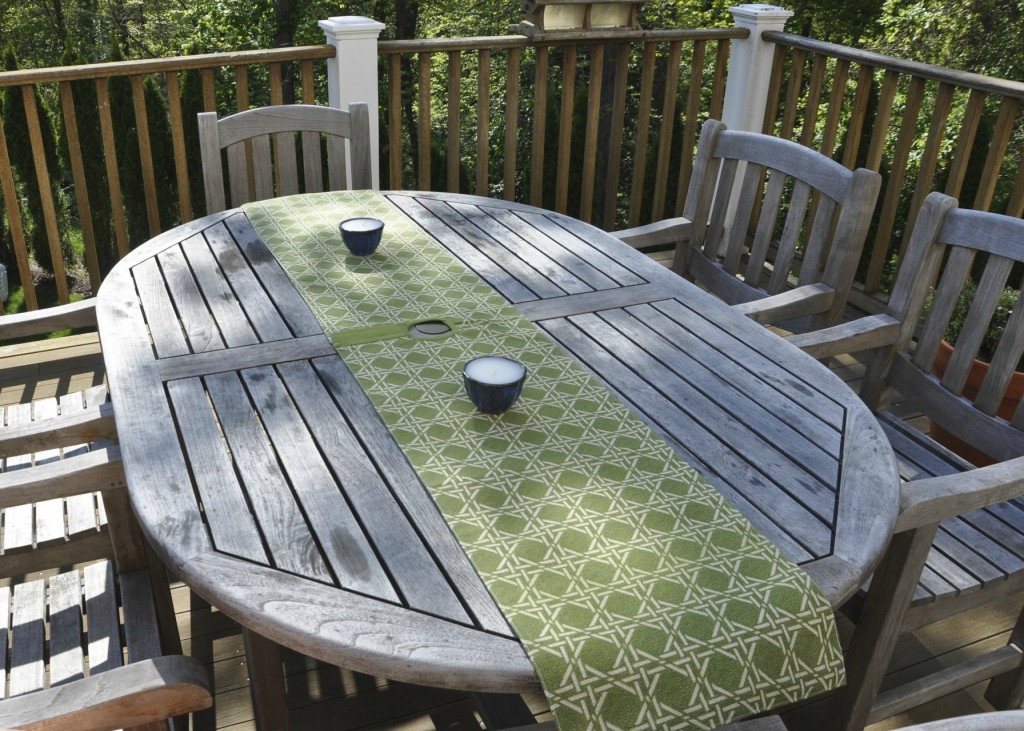
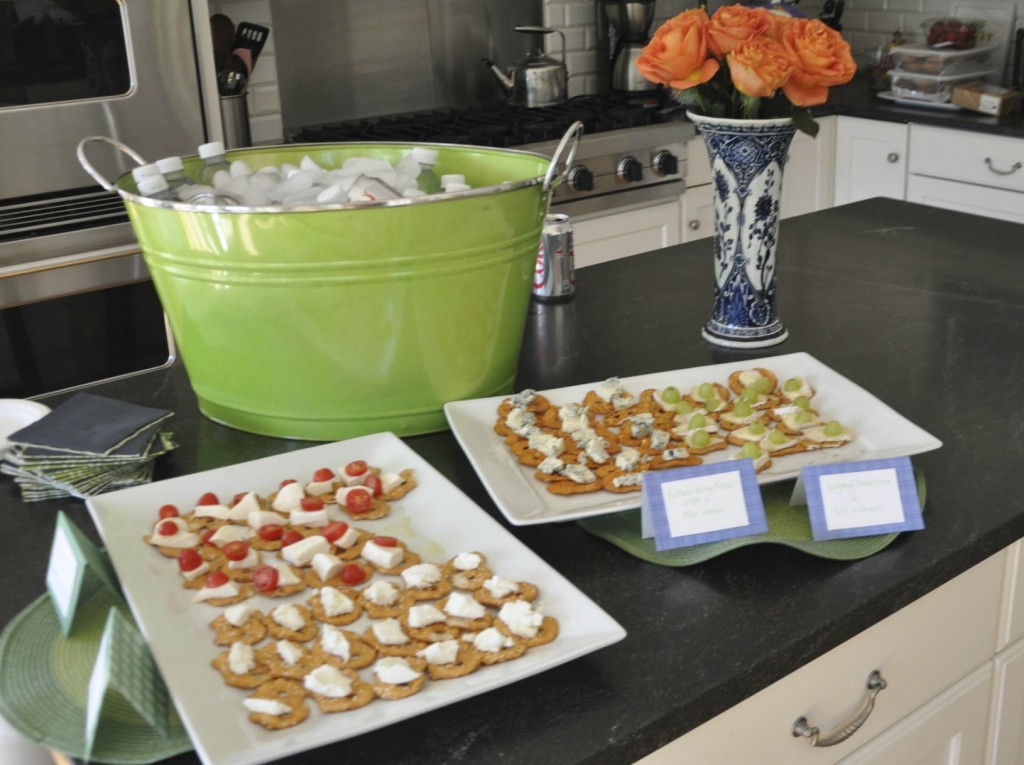
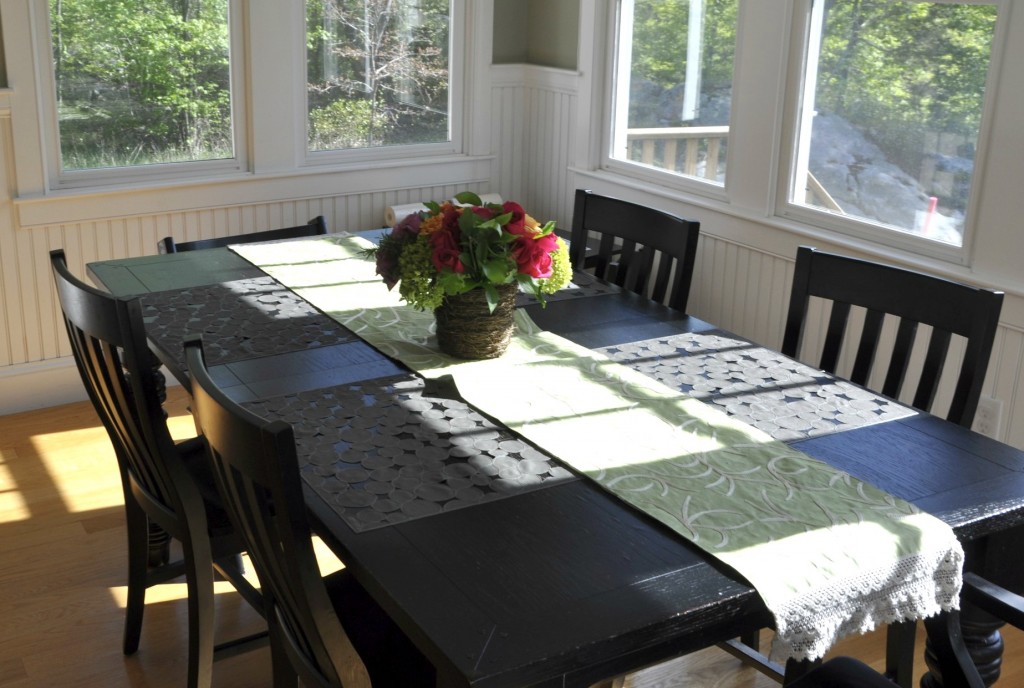
I bought a few outdoor party decorations at Home Goods…they had a great selection of table runners, table clothes, galvanized buckets, outdoor pillows, cocktail napkins, and citronella candles.  I tried to stick to a blue and green theme.  My husband also bought me some Mother’s Day flowers a day early so they served double duty as party decor and my present.

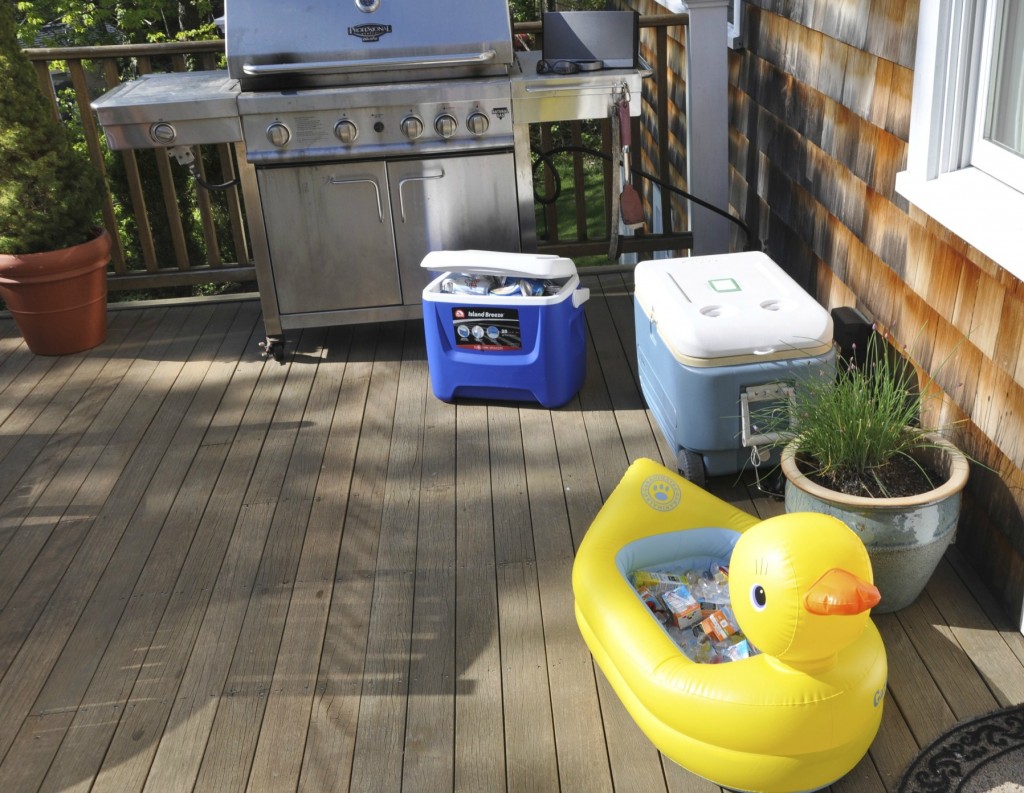
When guests arrived, the kids played in the backyard with some toys I had set-up (balls, pool noodles, bubbles, etc).  One of our guests brought a bouncy house that they owned, which was a huge hit with all the kids.  I put out juice boxes on ice for the kids using K’s duck she used for her hurricane party (that duck sure does get around!):

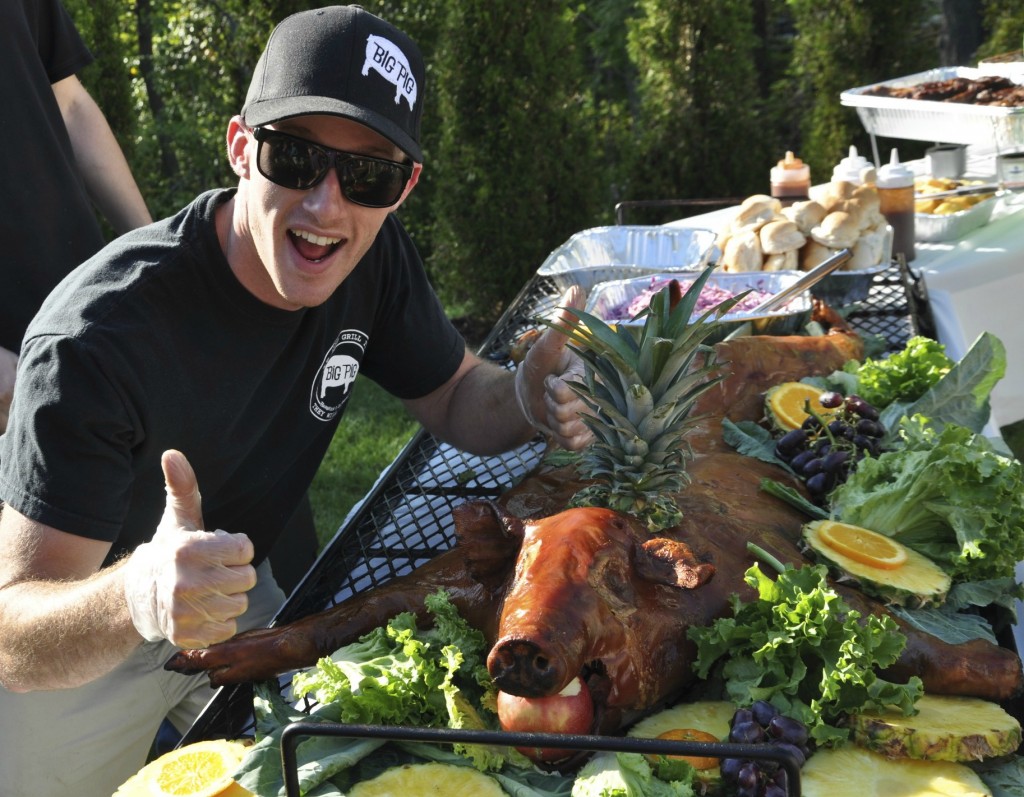
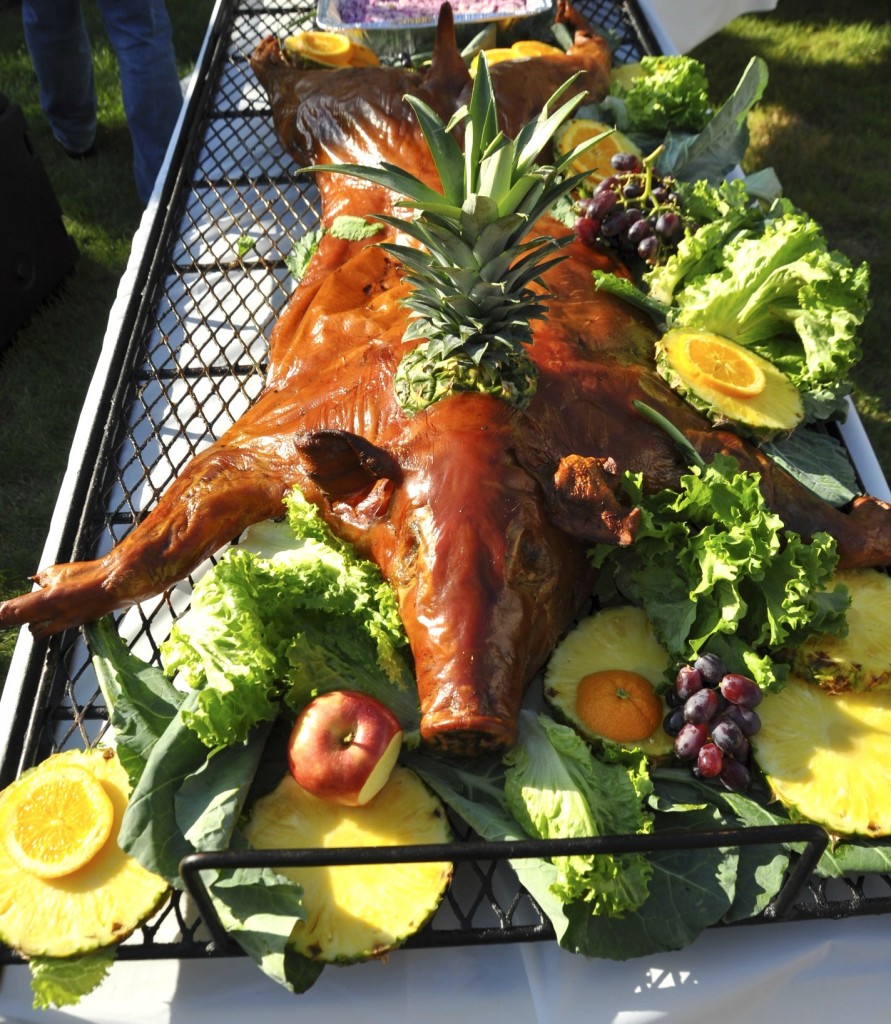
We had the Big Pig guys serve the food about an hour after guests arrived and it was all ready to go after a small presentation of the pig (which my husband loved):

I had hoped the roasted pig would be delicious, but I was blown away by all food – the baked beans, pasta salad, coleslaw, cornbread, and of course, the pork were all amazing.  I didn’t get a chance to try the barbecue chicken on the day of the party, but I had some leftovers of it yesterday and it was also extremely tasty.  I was able to freeze some of the leftover pork from our little piggie so we can continue to enjoy the meat a few more times.

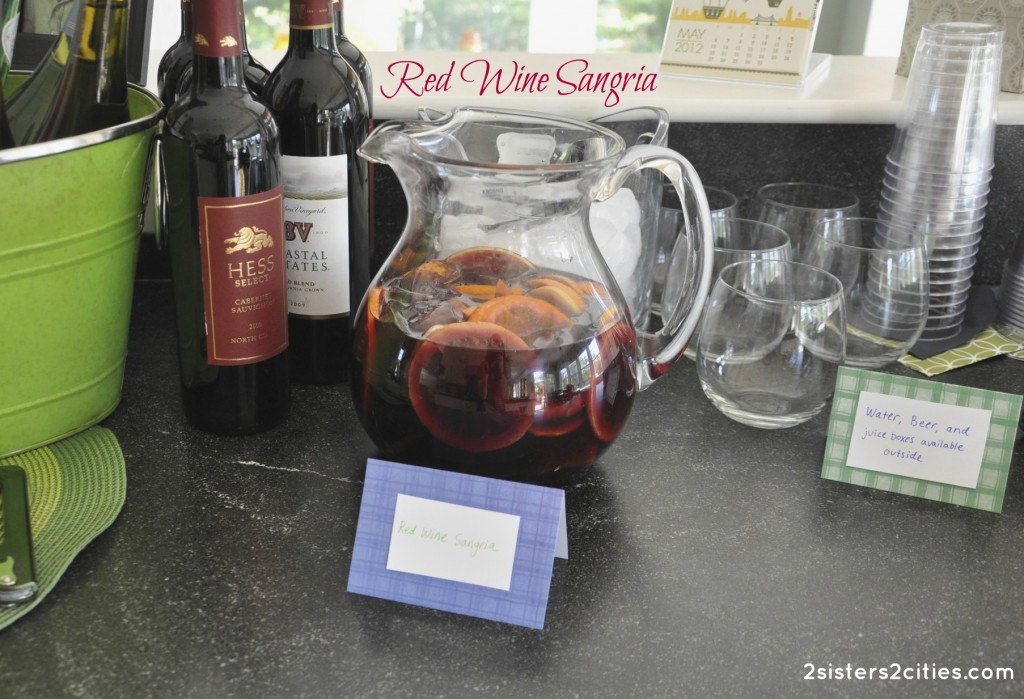
Since most of the food was already being taken care of by the Big Pig guys, I wanted to just make a few small things for the party.  I decided to make a signature cocktail and chocolate chip cookies for dessert.  The weather was pretty warm out so I decided to make a red wine sangria for the event’s signature cocktail.  I searched for a quite a few recipes to find one that was similar to an authentic Spanish sangria and adapted it to make this recipe:

Print
Red Wine Sangria
Author: m
Recipe type: Cocktail
Prep time:  15 mins
Total time:  15 mins
Serves: 15
 
A great warm-weather drink
Ingredients
  • 5 large juice oranges, washed; three oranges sliced; remaining oranges juiced
  • 3 large lemons, washed and sliced
  • 1 cup granulated white sugar
  • 1 cup Triple Sec
  • 4 (750 ml.) bottles of Spanish red wine, chilled (I used a rioja with tempranillo grapes)
Instructions
  1. Start to prepare the sangria 2-8 hours before serving so the flavors begin to meld together.
  2. Divided evenly, add sliced orange and lemon slices and and sugar to two large pitchers. Use a wooden spoon to mash the fruit slices and sugar for about 1 minute. Stir in orange juice from juiced oranges, Triple Sec, and wine (again, divided evenly between the two pitchers). Refrigerate until ready to serve.
  3. Add some ice cubes and stir to redistribute fruit before serving.
2.2.6

Source: Adapted from Recipe Girl


Filed Under: M's recipes, Party Ideas Tagged With: backyard bbq, backyard pig roast, big pig barbecue, big pig barbecue pig roast, chocolate chip cookies, mother's day flowers, navy and green themed party, outdoor decorations at Home Goods, outdoor party, party ideas, pig roast, pig roast boston, pig roast presentation, pig roast signature cocktail, red wine sangria, red wine sangria recipe

Baking with Baby: Chocolate Chip Cookies

Posted by 2 Sisters 2 Cities on March 29, 2012

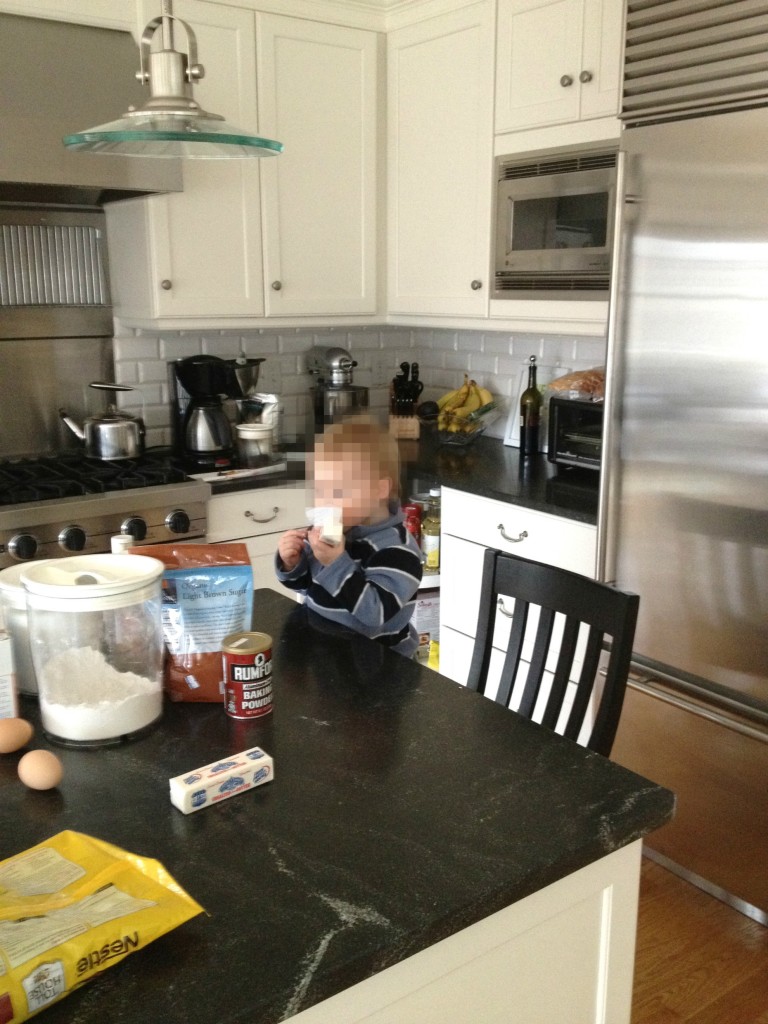
This weather this week has been a bit of a shock to the system after the mild weather we had experienced the past few weeks.  Yesterday afternoon, Baby T and I had nowhere to go so I decided to make a batch of chocolate chip cookies.  The recipe I follow is nothing special- it’s pretty much from the back of the Nestle Toll-House chocolate chip bag.  It was my first time letting T stand up on a chair next to the counter to “help.”  I knew it wasn’t going to be incident-free (he may or may not be licking a stick of butter in the following picture), but we had a fun time:

Print
Chocolate Chip Cookies
Author: m
Recipe type: dessert
Prep time:  30 mins
Cook time:  10 mins
Total time:  40 mins
Serves: 30
 
The classic recipe for chocolate chip cookies
Ingredients
  • 2¼ cups all-purpose flour
  • 1 teaspoon baking soda
  • 1 teaspoon salt
  • 1 cup (2 sticks) butter, softened
  • ¾ cup granulated sugar
  • ¾ cup packed brown sugar (I used dark)
  • 1 teaspoon vanilla extract
  • 2 large eggs (bring to room temperature)
  • 2 cups semi-sweet chocolate chip cookies
Instructions
  1. Preheat oven to 375° F.
  2. Combine flour, baking soda and salt in small bowl. Beat butter, granulated sugar, brown sugar and vanilla extract in large mixer bowl until creamy. Add eggs, one at a time, beating well after each addition. Gradually beat in flour mixture. Stir in chocolate chips. Use a spoon or melon scooper to form small balls of dough and place onto ungreased baking sheets (I use parchment paper on top of the baking sheets to help prevent sticking and assist with clean-up).
  3. Bake for 9 to 11 minutes or until golden brown. Cool on baking sheets for 2 minutes; remove to wire racks to cool completely. Serve to smiling baby boy with a washcloth nearby for instantaneous messy, chocolatey hands.
Notes
Source: Slightly adapted from Original NESTLÉ® TOLL HOUSE® Chocolate Chip Cookies recipe
2.2.6


Filed Under: M's Desserts, M's recipes Tagged With: baking with a toddler, baking with baby, chocolate chip cookie recipe, chocolate chip cookies, Mom's recipe, mommy blogging, nestle toll house chocolate chip cookie recipe

Happy Valentine’s Day with Three Layer Brownies

Posted by 2 Sisters 2 Cities on February 13, 2012

Happy Valentine’s Day Everyone!   Hope you all have a great day today and do something special with the ones you love.  My boyfriend and I have nothing official planned,  just going to the gym and then having a homemade dinner together.  We exchanged gifts over the weekend.   He took me to Staples and let me pick out whatever I wanted from the new Martha Stewart by Avery line.   Doesn’t he know me so well?   It was such a perfect gift and I am so excited about the items I picked out (more to come about that!)

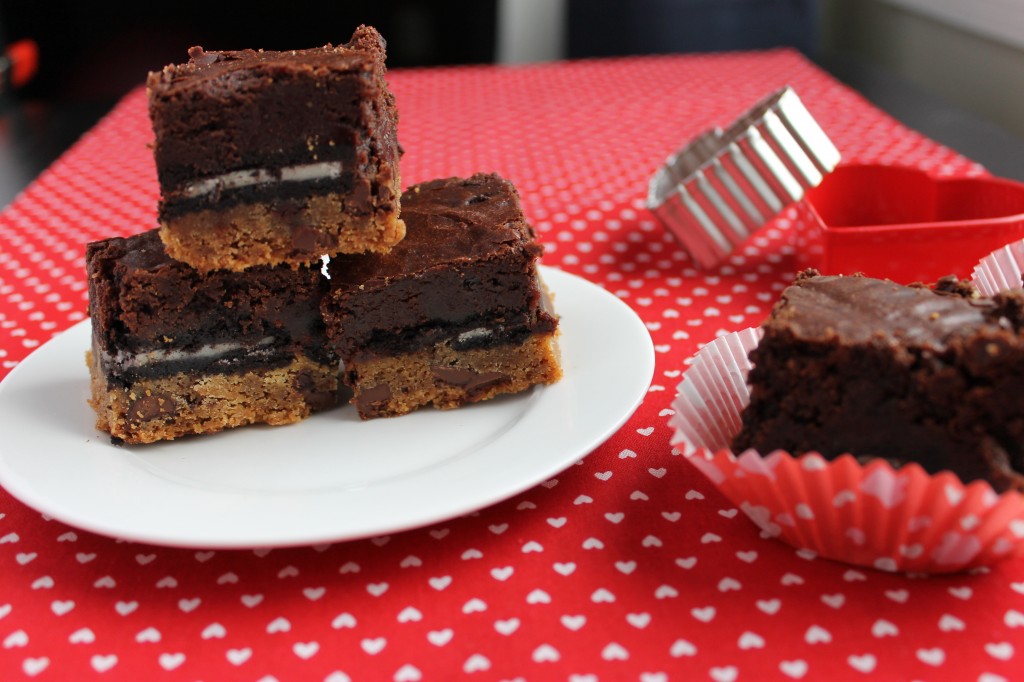
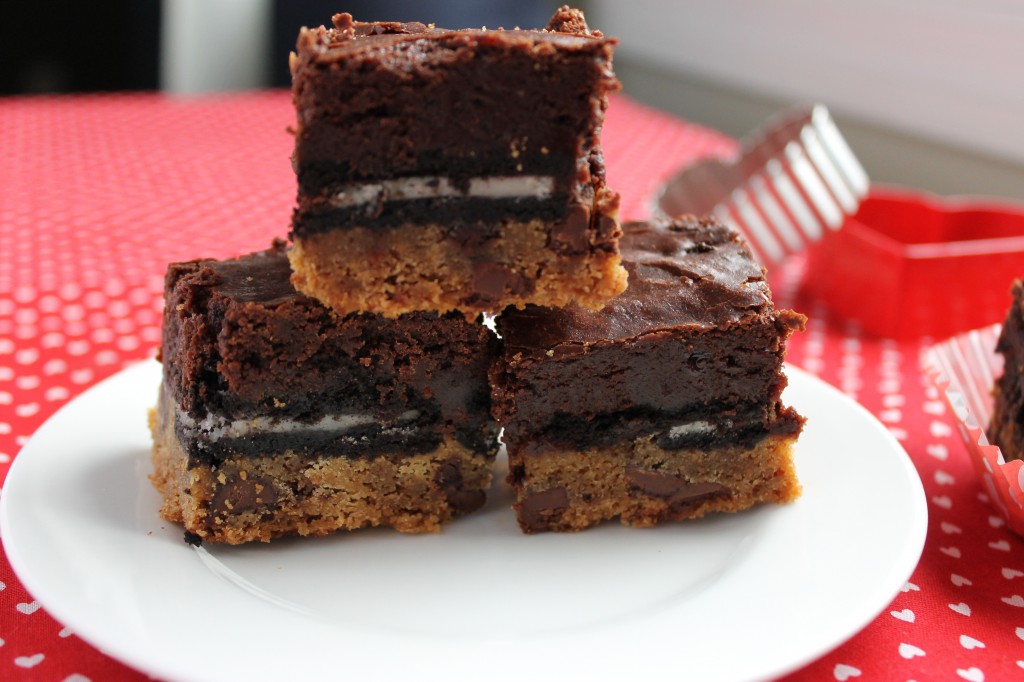
I like to bring in treats for my co-workers for holidays so for Valentine’s Day this year I decided to make these very special brownies I had seen on one of the blogs I follow.   These brownies are from Gaby’s blog What’s Gaby Cooking and originally called “slutty brownies.”  They are layered with chocolate-chip cookies, Oreos and brownies…obviously worthy of their name.  Gaby posted them about a month ago and I knew that I would need to make these as soon as possible.  I planned on bringing them to work so I renamed them Extreme 3-Layer Brownies for professional purposes (obviously not as fun of a name.)

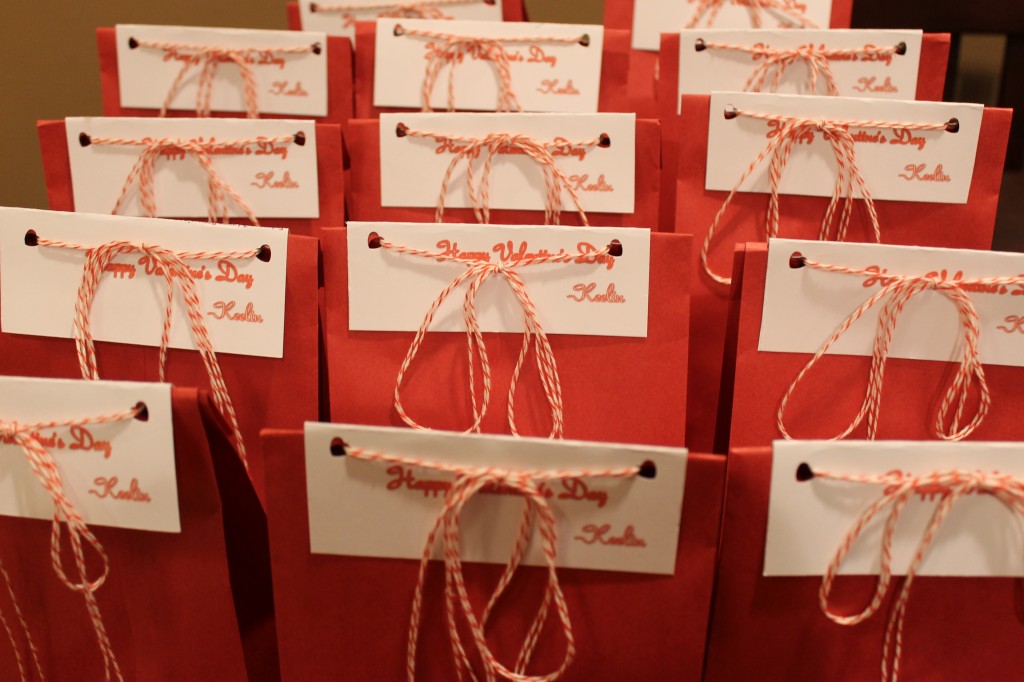
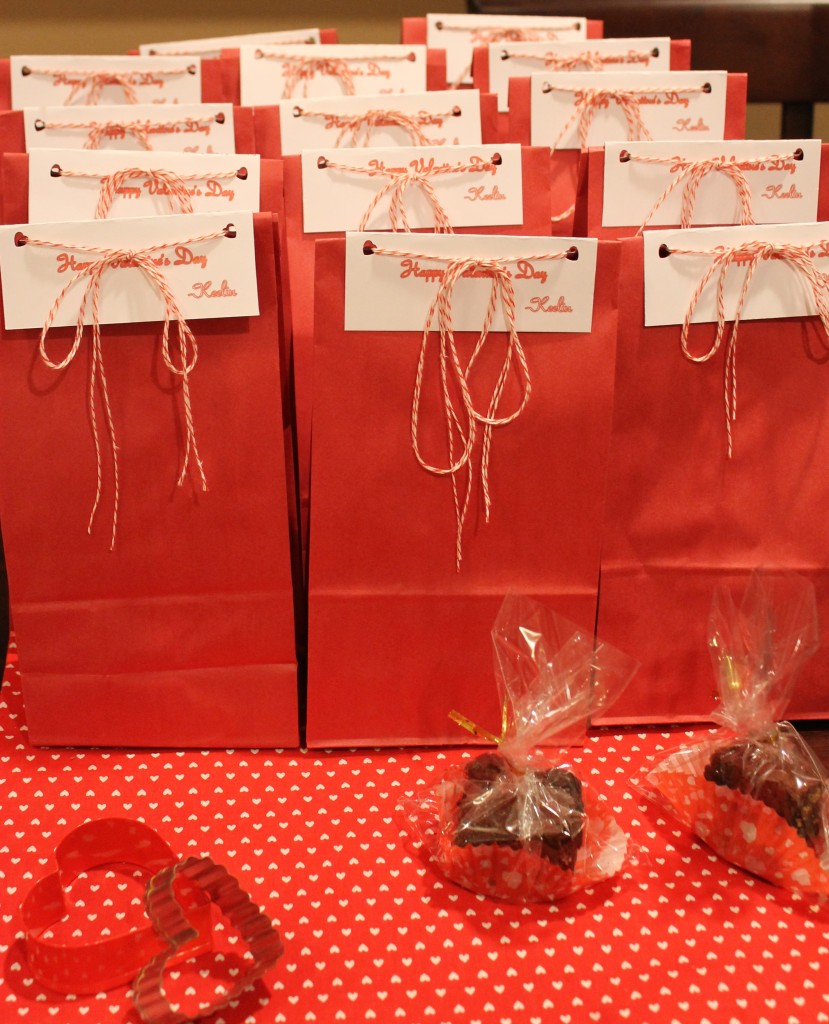
I cut the brownies into squares and placed each one in a heart-patterned cupcake paper.  Then I wrapped each brownie in a plastic bag so they would stay fresh.   I had red paper lunch bags I found at Target that I thought would be perfect to give out for Valentine’s Day gift bags.   I took each each wrapped brownie and placed them in the red bag,  folded over the top of the bag and then attached a tag that says “Happy Valentine’s Day”  and gave the recipe for these extremely tasty brownies on the other side of the tag.  I tied on the tag with red & white baker’s twine I had bought from Ebay.

Extreme 3-Layer Brownies

*A chocolate chip cookie, Oreo and brownie bar*

Ingredients:
Brownie layer:
10 tbsp. unsalted butter (1 ¼ stick of butter)
1 1/4 cups white sugar
3/4 cup cocoa powder
1/2 tsp. salt
2 tsp. vanilla extract
2 large eggs
1/2 cup all-purpose flour
Oreo layer:
1 package of Oreo
Cookie Dough layer:
1/2 cup unsalted butter (at room temp)
1/4 cup brown sugar
3/4 cup white sugar
1 egg
1 1/4 tsp. vanilla extract
1 1/4 cup all-purpose flour
1/2 tsp. salt
1/2 tsp. baking soda
1/2 tsp. baking powder
1 cup semi-sweet chocolate chips

Instructions:
For brownie layer:
Melt butter in a medium sauce pan over medium high heat. Add in sugar and cocoa powder and whisk into melted butter. Take off heat and mix in salt, vanilla, and eggs. Mix in flour and set brownie batter aside.

For cookie layer:
Cream the butter and sugar together with mixer. Add in the egg and vanilla, scraping down the sides of the bowl. In a separate bowl mix together flour, salt, baking soda, and baking powder. Mix in dry ingredients into wet ingredients until combined. Mix in chocolate chips.

Assembly:
Preheat oven to 350 degrees F. Line the bottom of a 9×9 baking pan with tin foil and spray with baking spray. Starting with the cookie dough layer, lay down the cookie dough and flatten. Make sure the dough is spread out in an even layer. Next layer Oreos in a single layer. Finally pour brownie batter on top of Oreo layer and spread so batter evenly covered. Bake for 30-35 minutes until toothpick comes out clean from center. Add an additional 5 minutes on if needed.  Allow to cool before cutting.

Source- Adapted from What’s Gaby CookingI did figure out the Weight Watchers PointsPlus for these.  I am not sure if you want to know.  It really depends on how many pieces you cut them into.  My plan was to just eat one, but my boyfriend and I failed miserably at that so make them at you own risk.  Pass them off to your friends and co-workers as soon as possible!!

Happy Valentine’s Day Lovelies!

-K

These post is linked at:

Dear Lillie's Valentine's Link Party

momnivore's dilemma


Filed Under: K's Desserts, K's Recipes Tagged With: Brownie Bars, brownies, chocolate chip cookies, gift ideas, Oreos, valentine's day

The Best (Gluten-Free) Chocolate Chip Cookies

Posted by 2 Sisters 2 Cities on January 14, 2012

I am not sure if we have told you this before, but Sister M and I are not each others only siblings.  We actually have 2 other sisters,  sister C and another sister M.  M and M are the youngest and oldest of the sisters while C and I fall in the middle.  I am number three,   although you all know I am number one Smile.   As we have told you in our intro, we grew up with our mom always cooking our dinners,  baking new things,  sewing the occasional outfit for us,  quilting, and scrapbooking.   She definitely is the reason behind all of our creative energy, and we all do have a lot of it.  Today I would like to introduce you to our other sister M, our little sister M!  People always ask me how old she is when I call her my little sister.  Okay she is actually in college so she not that little, but to us she will always our little sister.   Little sister M will occasionally be a guest blogger for us,  when she can take the time away from her busy school schedule.   Also little sister M will be our gluten free contributor, since she was diagnosed with a gluten intolerance last summer.  Take it away little M.

The Best (Gluten-Free) Chocolate Chip Cookies

Whether you have Celiac Disease or just gluten sensitivity, adapting to a gluten-free diet can be pretty difficult. When my doctor recommended I try going gluten-free last summer, I was pretty overwhelmed at first. As a college student, I can’t really afford to buy my bread and flour from the organic section of the store all the time. As I learned more about the diet, I learned to adjust and find inexpensive substitutes to the sources of gluten I had taken for granted in my diet before I went gluten-free. However, every once in a while it’s fun to try out a new gluten-free recipe such as this one.

If you have ever tried baking gluten-free before, you know that it is no easy task. Because the several types of GF flours don’t have the same binding quality as wheat flour, you also need to include a binding agent such as Xanthan Gum or Guar Gum in baking to make up for the lack of gluten. These can be found in the gluten-free section near the gluten-free flours.

cookies

Printer-Friendly Recipe

Ingredients:

½ cup plus 2 tablespoons brown rice flour
½ cup plus 2 tablespoons white rice flour
½ cup tapioca flour
½ cup sweet rice flour
1 teaspoon xanthan gum (a little under)
1 teaspoon baking soda
1 ½ teaspoon baking powder
1 teaspoon salt
2 large eggs
1 tablespoon milk
¾ cup unsalted butter
1 ¼ cups light brown sugar
¼ cup granulated sugar
1 teaspoon vanilla
12-ounce bag of semisweet chocolate chips (2 cups)

Directions:

Preheat the oven to 375 degrees. Combine the dry ingredients (flours, xanthan gum, baking soda, baking powder, and salt). In a separate bowl, mix together eggs, milk, butter, sugars, and vanilla on medium speed for about three minutes until well blended. Gradually add the dry ingredients and mix until just combined. Stir in the chocolate chips.

Line the baking sheets with parchment paper or a nonstick spray. Place rounded, overflowing tablespoons of dough about two inches apart on the sheet. Bake for 9-10 minutes or until just browned. Let cool and enjoy!

Source: Adapted from RecipeGirl.com
Pin It

Related Posts Plugin for WordPress, Blogger...


Filed Under: Guest Bloggers Tagged With: chocolate chip cookies, gluten-free, gluten-free cookies

Recent Posts

  • Easy Holiday Office Party Tips
  • 5 Steps to an Easy Football Party
  • Gingerbread Biscotti
  • Holiday Coffee Bar and Thanksgiving Recipes
  • Soft Sugar Pumpkin Cookies
  • Cinnamon Sugar Apple Cake
  • Hello Pumpkin Season!
  • Make Your Own Milkshake Party!
  • Mama’s Pickles
  • S’more Cookies

Categories

  • About 2 Sisters 2 Cities (7)
  • Books (8)
  • Crafting & DIY (22)
  • Design & Decorating (15)
  • Gardening (5)
  • Giveaway (14)
  • Guest Bloggers (8)
  • K's post (46)
  • K's Recipes (191)
    • K's Desserts (75)
    • K's Entrees (23)
    • K's Sides (24)
  • M's post (72)
  • M's recipes (167)
    • M's Entrees (21)
    • M's Sides (14)
    • M's Desserts (30)
  • Organizing (7)
  • Party Ideas (49)
  • Uncategorized (1)
  • Vacation (12)
Stitch Fix

Archives

Blogroll

  • Annie's Eats
  • Bake at 350
  • Baked Bree
  • Boston Harbor Beacon
  • Confections of a Foodie Bride
  • Cook Like a Champion
  • Erin’s Food Files
  • Forever and a Recipe
  • Framed Cooks
  • Oh Happy Day
  • On Common Ground
  • Pennies on a Platter
  • Pink Parsley
  • Recipe Girl
  • Sally's Baking Addiction
  • Simply Scratch
  • The Curvy Carrot
  • The Pioneer Woman
  • Tidy Mom
  • Two Peas & Their Pod
  • What’s Gaby Cooking
  • Young House Love
Increase your website traffic with Attracta.com

grab a 2 sisters button!


Copyright © 2014 ~ 2 Sisters 2 Cities | Blog Design by Minx Design