2 Sisters 2 Cities

Image Map
  • About 2 Sisters 2 Cities
  • Recipe Index
  • Project Index
  • Contact Us
  • Like us on Facebook
  • Follow m on twitter
  • Follow k on twitter
  • Follow 2S2C on Pinterest
  • Follow 2S2C on G+
  • rss
  • e-mail 2S2C

Pistachio Ice Cream

Posted by Keelin Hollenbeck on July 1, 2013

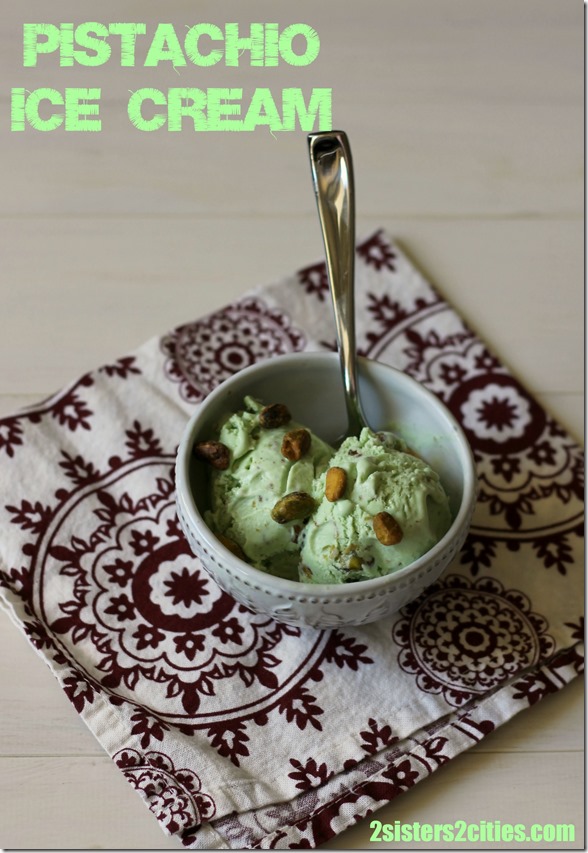
Pistachio Ice Cream

I finally indulged in a KitchenAid ice cream maker attachment for my mixer the other weekend.   I was planning to wait for my birthday that is in a few weeks, but I found a really great deal on one that I could not say no to.  It was extremely difficult to decide on what flavor ice cream I wanted to create first.    I read through lists and lists of flavors as my boyfriend and I drove to the grocery store.   My favorite type of hard ice cream is chocolate with peanut butter swirl, which we happened to have a pint of in the freezer.  We decided to go my boyfriend’s favorite flavor, pistachio nut.

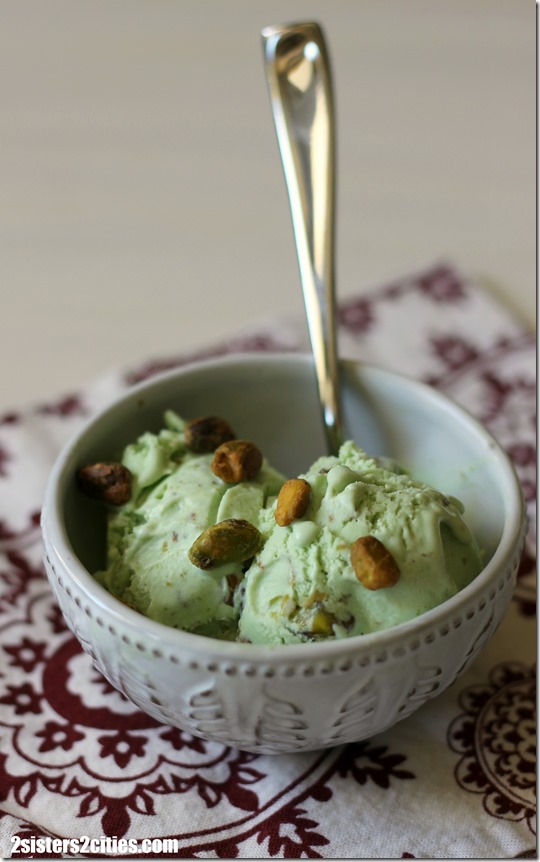
I found an awesome recipe online and picked up the ingredients while we were grocery shopping.   I was able to find shelled pistachios which only came in salted.  I rinsed the salt off of the 1 and 1/3 cups of pistachios that were going to soak in the milk/cream mixture and then baked them for 5 minutes in the oven to dry them out.   I kept the other pistachios that were added to the ice cream salted and it seemed to work out perfectly.   I added a small amount of green dye to the ice cream to make it looks like the classic pistachio ice cream.  This is optional of course.

The custard tasted like delicious pistachio ice cream right away so we anxiously waited for it to chill, churn into ice cream and then freeze all the way in the freezer.  When we finally got to taste the end results, it was awesome!   I was very impressed with my first ice cream making experience.   I am not over-exaggerating when I say thi,s but it was the best pistachio ice cream I had ever tasted!
Homemade Ice Cream

Print
Pistachio Ice Cream
Author: 2 Sisters 2 Cities
 
Ingredients
  • 1⅓ cups shelled roasted pistachio nuts
  • ¾ cup sugar
  • 2 cups heavy cream
  • 1 cup whole milk
  • pinch of salt
  • 6 large egg yolks
  • 1 tsp. vanilla extract
  • ½ tsp. almond extract
  • Green food coloring
  • ¾ cups pistachios, roughly chopped
Instructions
  1. If your pistachios are salted- follow this first step. Rinse 1⅓ cup of pistachios with water in a colander. Dry nuts on a towel and spread out on a baking sheet lined with parchment papers. Place in oven heated to 350 degree and place in the over for five minutes to dry.
  2. Add nuts to a food processor and grind into small pieces. Set aside.
  3. In a medium sauce pan; add milk, sugar, 1 cup of cream, and salt. Heat on medium-low heat until warmed. Take off heat and stir in ground pistachios. Let soak for 30 minutes.
  4. Strain the nut mixture liquid with a mesh strainer, apply pressure to the nuts to make sure all the liquid comes out. Dispose the nuts and add milk mixture back into sauce pan.
  5. In a large heat proof bowl add the remaining 1 cup of cream to bowl and place cleaned mesh strainer on top.
  6. In a medium sized bowl beat 6 egg yolks with a whisk. Slowly whisk egg yolks into sauce pan with milk mixture. Heat mixture over medium heat stirring the entire time with a heat proof rubber spatula. Stir until the custard thickens and easily coats the spatula.
  7. Pour the custard through the strainer into the cream in the large bowl. Stir to combine.
  8. Mix in the vanilla and almond extract into custard.
  9. Add custard to an air-tight container and refrigerate until completely chilled.
  10. Add chilled custard to your ice cream maker and follow the manufacturer’s instructions. Once ice cream is churned add in green food coloring, adding a few drops at first and working up to the green color you prefer (this is optional, it does not add to the flavor.)
  11. Gently stir in roughly chopped pistachios and place back into an airtight container. Freeze for an addition 3-4 hours until complete frozen. Serve and enjoy!
3.2.1753

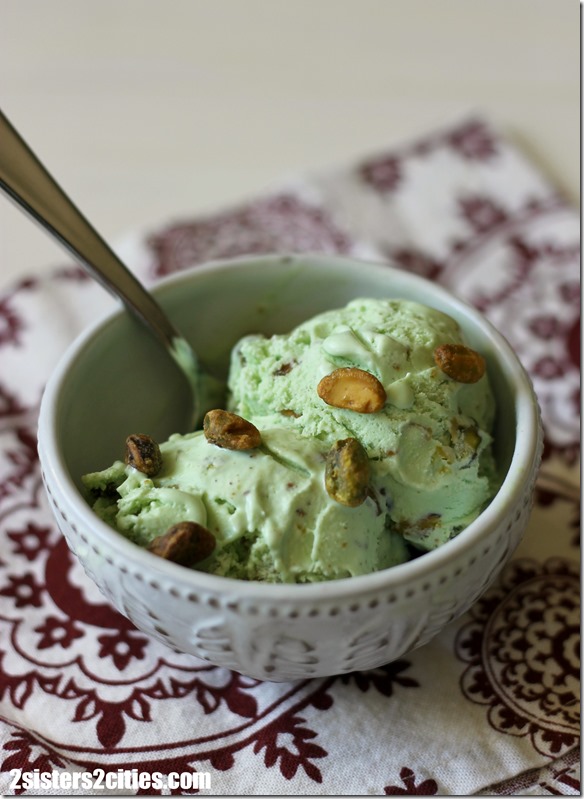
Bowl of Pistachio Ice Cream

 Source: slightly adapted from Brown Eyed Baker

sisterk (2)


Filed Under: K's Desserts, K's Recipes Tagged With: dessert recipe, desserts, frozen dessert, homemade ice cream, hot weather treats, ice cream, ice cream maker, ice cream recipes, Pistachio Ice Cream, pistachios, summer recipes, summer treats

Pie Crust

Posted by 2 Sisters 2 Cities on July 29, 2012

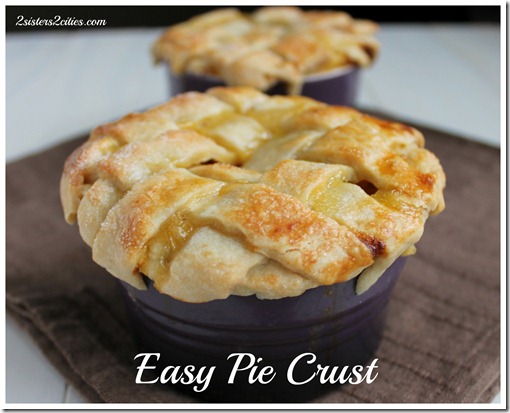
Here is a really simple recipe for a food processor pie crust.   This recipe makes 1 full-sized pie crust bottom, so if making a pie with a top, make 2 batches.  For mini pies, this recipe makes enough pie crust for 3 mini pies with tops.  Check out my mini peach pies I made here!
Easy Pie Crust

Print
Pie Crust
Author: K
 
Ingredients
  • 1½ cup of AP flour
  • ½ teaspoon sugar
  • ¼ teaspoon salt
  • ½ cup cold unsalted butter (1 stick), cut into small pieces
  • 2-3 tablespoons of ice cold water
Instructions
  1. In food processor fitted with a steel blade, add flour, sugar and salt.
  2. Pulse 2-3 times until all the ingredients are combined.
  3. Drop in the small pieces of butter so that they are evenly spread out in the food processor bowl.
  4. Pulse 7-8 times until the mixture looks like coarse meal.
  5. Add in 2 tbsp. of ice cold water and pulse another 7-8 times until dough is crumbly and holds together when pushed together with your hands (making sure the motor is off and being careful of the blade.)
  6. If the mixture is too dry and does not easily stick together, mix in another tablespoon of water and pulse 2-3 more times.
  7. With floured hands turn out dough onto a floured surface and work together to make one ball of dough.
  8. Flatten dough to a disk and cover in plastic wrap.
  9. Place in refrigerator until firm. (The dough can be refrigerated for up to 2 days)
  10. One dough is firm, roll out on a floured surface.
2.2.8

Source– Adapted from the What Can I Bring? Cookbook


Filed Under: K's Desserts, K's Recipes Tagged With: dessert recipe, desserts, pie, pie crust, summer dessert

Chocolate-Chip Skinny Scones

Posted by 2 Sisters 2 Cities on March 25, 2012

I love to bake. It is a stress reliever for me to bake something up and to be able to share it with my friends, family and co-workers. There is only one problem to this though: I love desserts way too much. I was about to say I love dessert like a fat kid likes cake… but think about the end result of that saying! Don’t worry I am not calling myself fat, but I do have to control what I eat and how much dessert I make because it could easily lead to that. So you can see why I get excited to find desserts that are somewhat healthier.

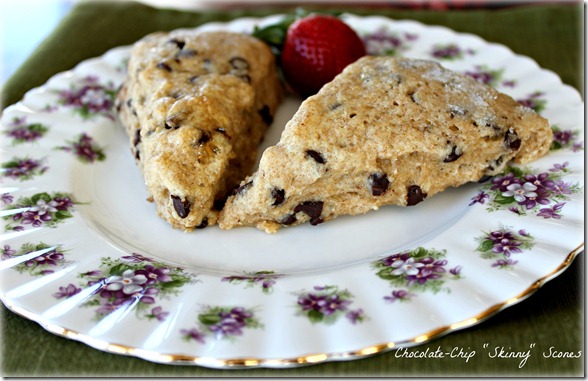
I found this recipe on the blog Skinnytaste and was so excited to make them. Gina calls these “Skinny Chocolate Chip Buttermilk Scones,” but somewhere along the line my family and coworkers just starting calling them skinny scones. I have made them twice already, once for a meeting at work and then another time to bring with me when I visited my parents over the weekend. They are really easy to whip up so you have to try to make them.

Chocolate-Chip Skinny Scones
Chocolate-Chip “Skinny Scones”
Ingredients
3/4 cup reduced fat buttermilk
1/4 cup sugar
2 tsp. vanilla extract
1 large egg
1 cup AP flour
1 cup whole wheat flour
1 tbsp. baking powder
1/2 tsp. salt
3 tbsp. chilled butter
3/4 cup mini chocolate chips
Cooking spray
1 egg white
1 tbsp. sugar

Directions
Preheat the oven to 375 degrees. Combine first four ingredients with a whisk in a medium-sized bowl. Set aside. Spray baking sheet with cooking spray or like a baking sheet with a silicone non-stick mat.

In a large bowl, combine flour, baking powder, and salt with a whisk. Take cold butter and cut up into small pieces and put into flour mixture and cut into flour with pastry blender, until mixture resembles coarse meal. Fold in chocolate chips and then add in wet mixture. Stir gently until combined.

Place dough on a floured surface and knead lightly four times. Form the dough into a 9 inch circle that is 3/4” thick and place on baking sheet. Cut into 12 triangles all the way through. Take an egg white and whisk lightly. Brush the egg white on top of the dough and sprinkle with sugar. Place in the oven and bake for 18-20 minutes until golden. Serve warm.

Source– Adapted slightly from Skinnytaste.

Weight Watchers PointsPlus- 5 pointsplus per scone.


Filed Under: K's Recipes Tagged With: breakfast, breakfast recipe, chocolate chip scones, dessert recipe, desserts, scones

Pumpkin Chocolate Chip Cookies

Posted by Keelin Hollenbeck on October 9, 2010

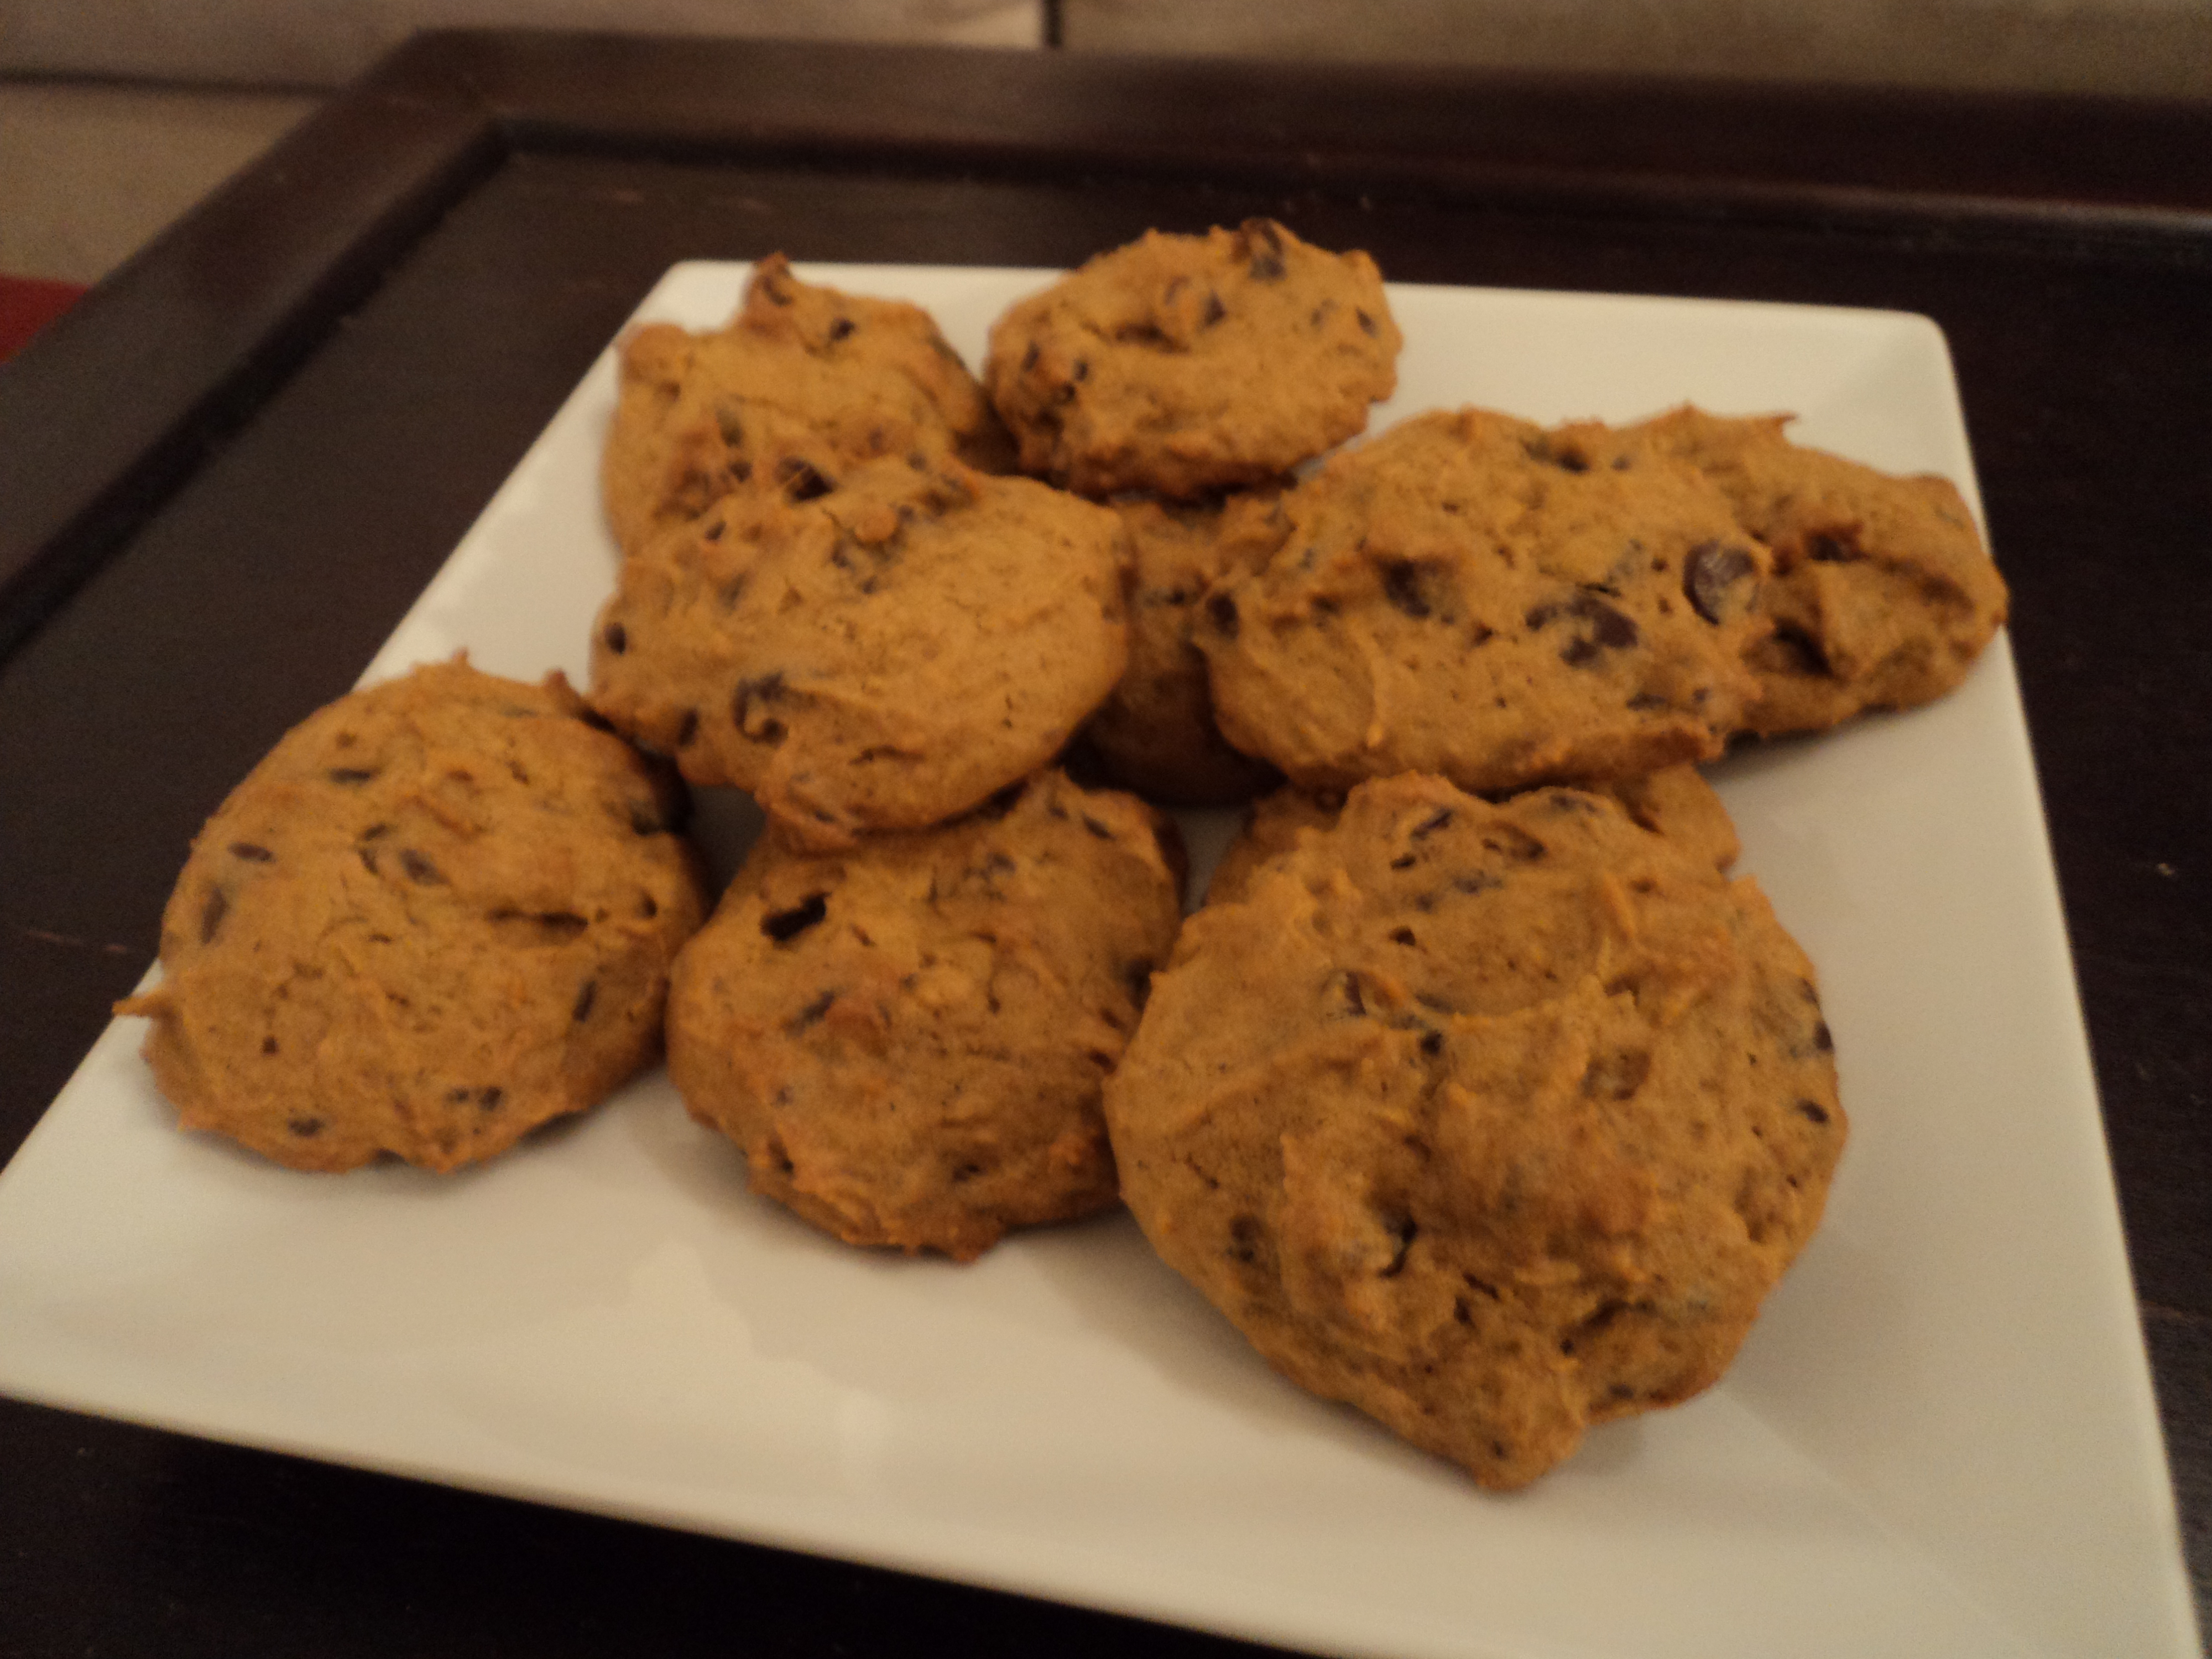
It is officially fall!  I have made one of my favorite fall desserts… Pumpkin Chocolate Chip Cookies.   Everyone is always asking me for my recipe,  so here it is!  I have changed it over the years to make the best pumpkin cookies ever!

Pumpkin Chocolate-Chip Cookies
Makes about 3 dozen.

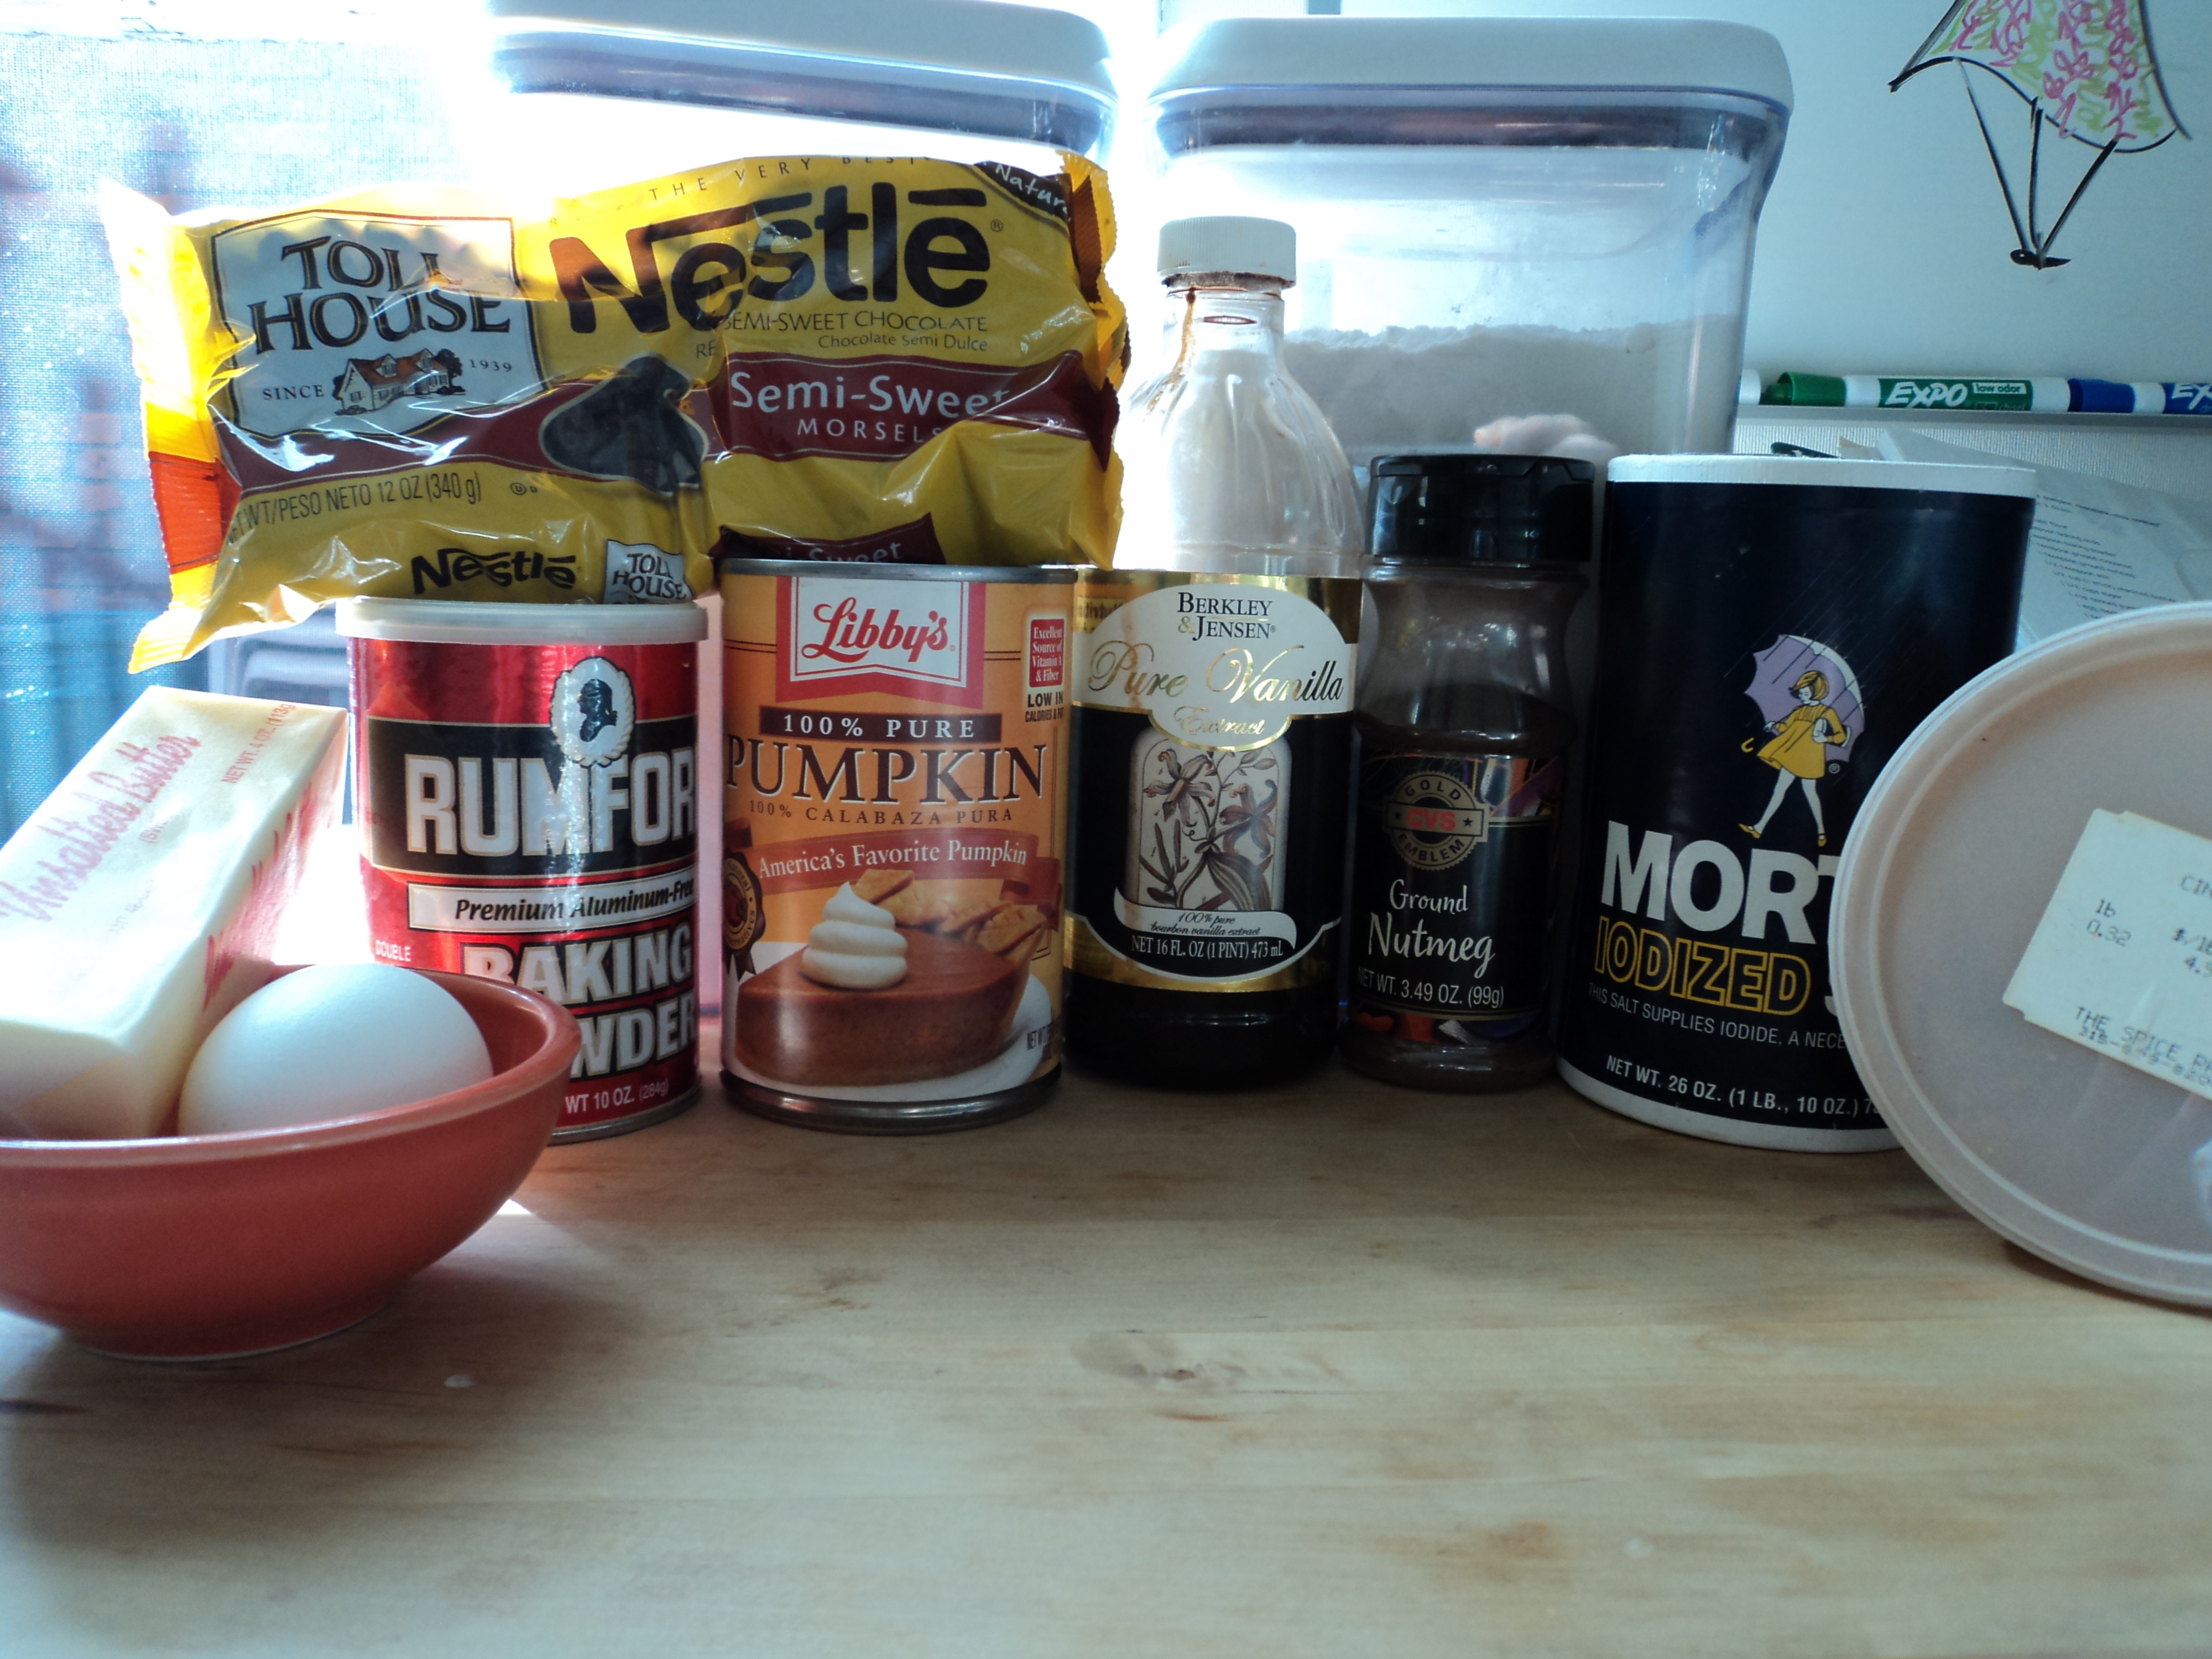
Ingredients:

2 1/2 cups flour

1 teaspoon baking soda

1 teaspoon baking powder

1 teaspoon ground cinnamon

1/2 teaspoon ground nutmeg

1/2 teaspoon salt

1/2 cup (1 stick) unsalted butter, at room temperature

1 1/2 cups sugar

1 cup canned pumpkin puree

1 egg, beaten

1 teaspoon vanilla extract

1 package (12 ounces) semisweet chocolate chips or chunks

Directions:

1. Preheat oven to 350 degrees and line two baking sheets with parchment paper.

2. In a medium bowl combine flour, baking soda, baking powder, cinnamon, nutmeg, and salt. Set aside.

3. In an electric mixer cream the butter and sugar on medium speed until fluffy. Add the pumpkin, egg, and vanilla and beat just until blended.

4. Mix in the dry ingredients.

5. Stir in the chocolate chips.

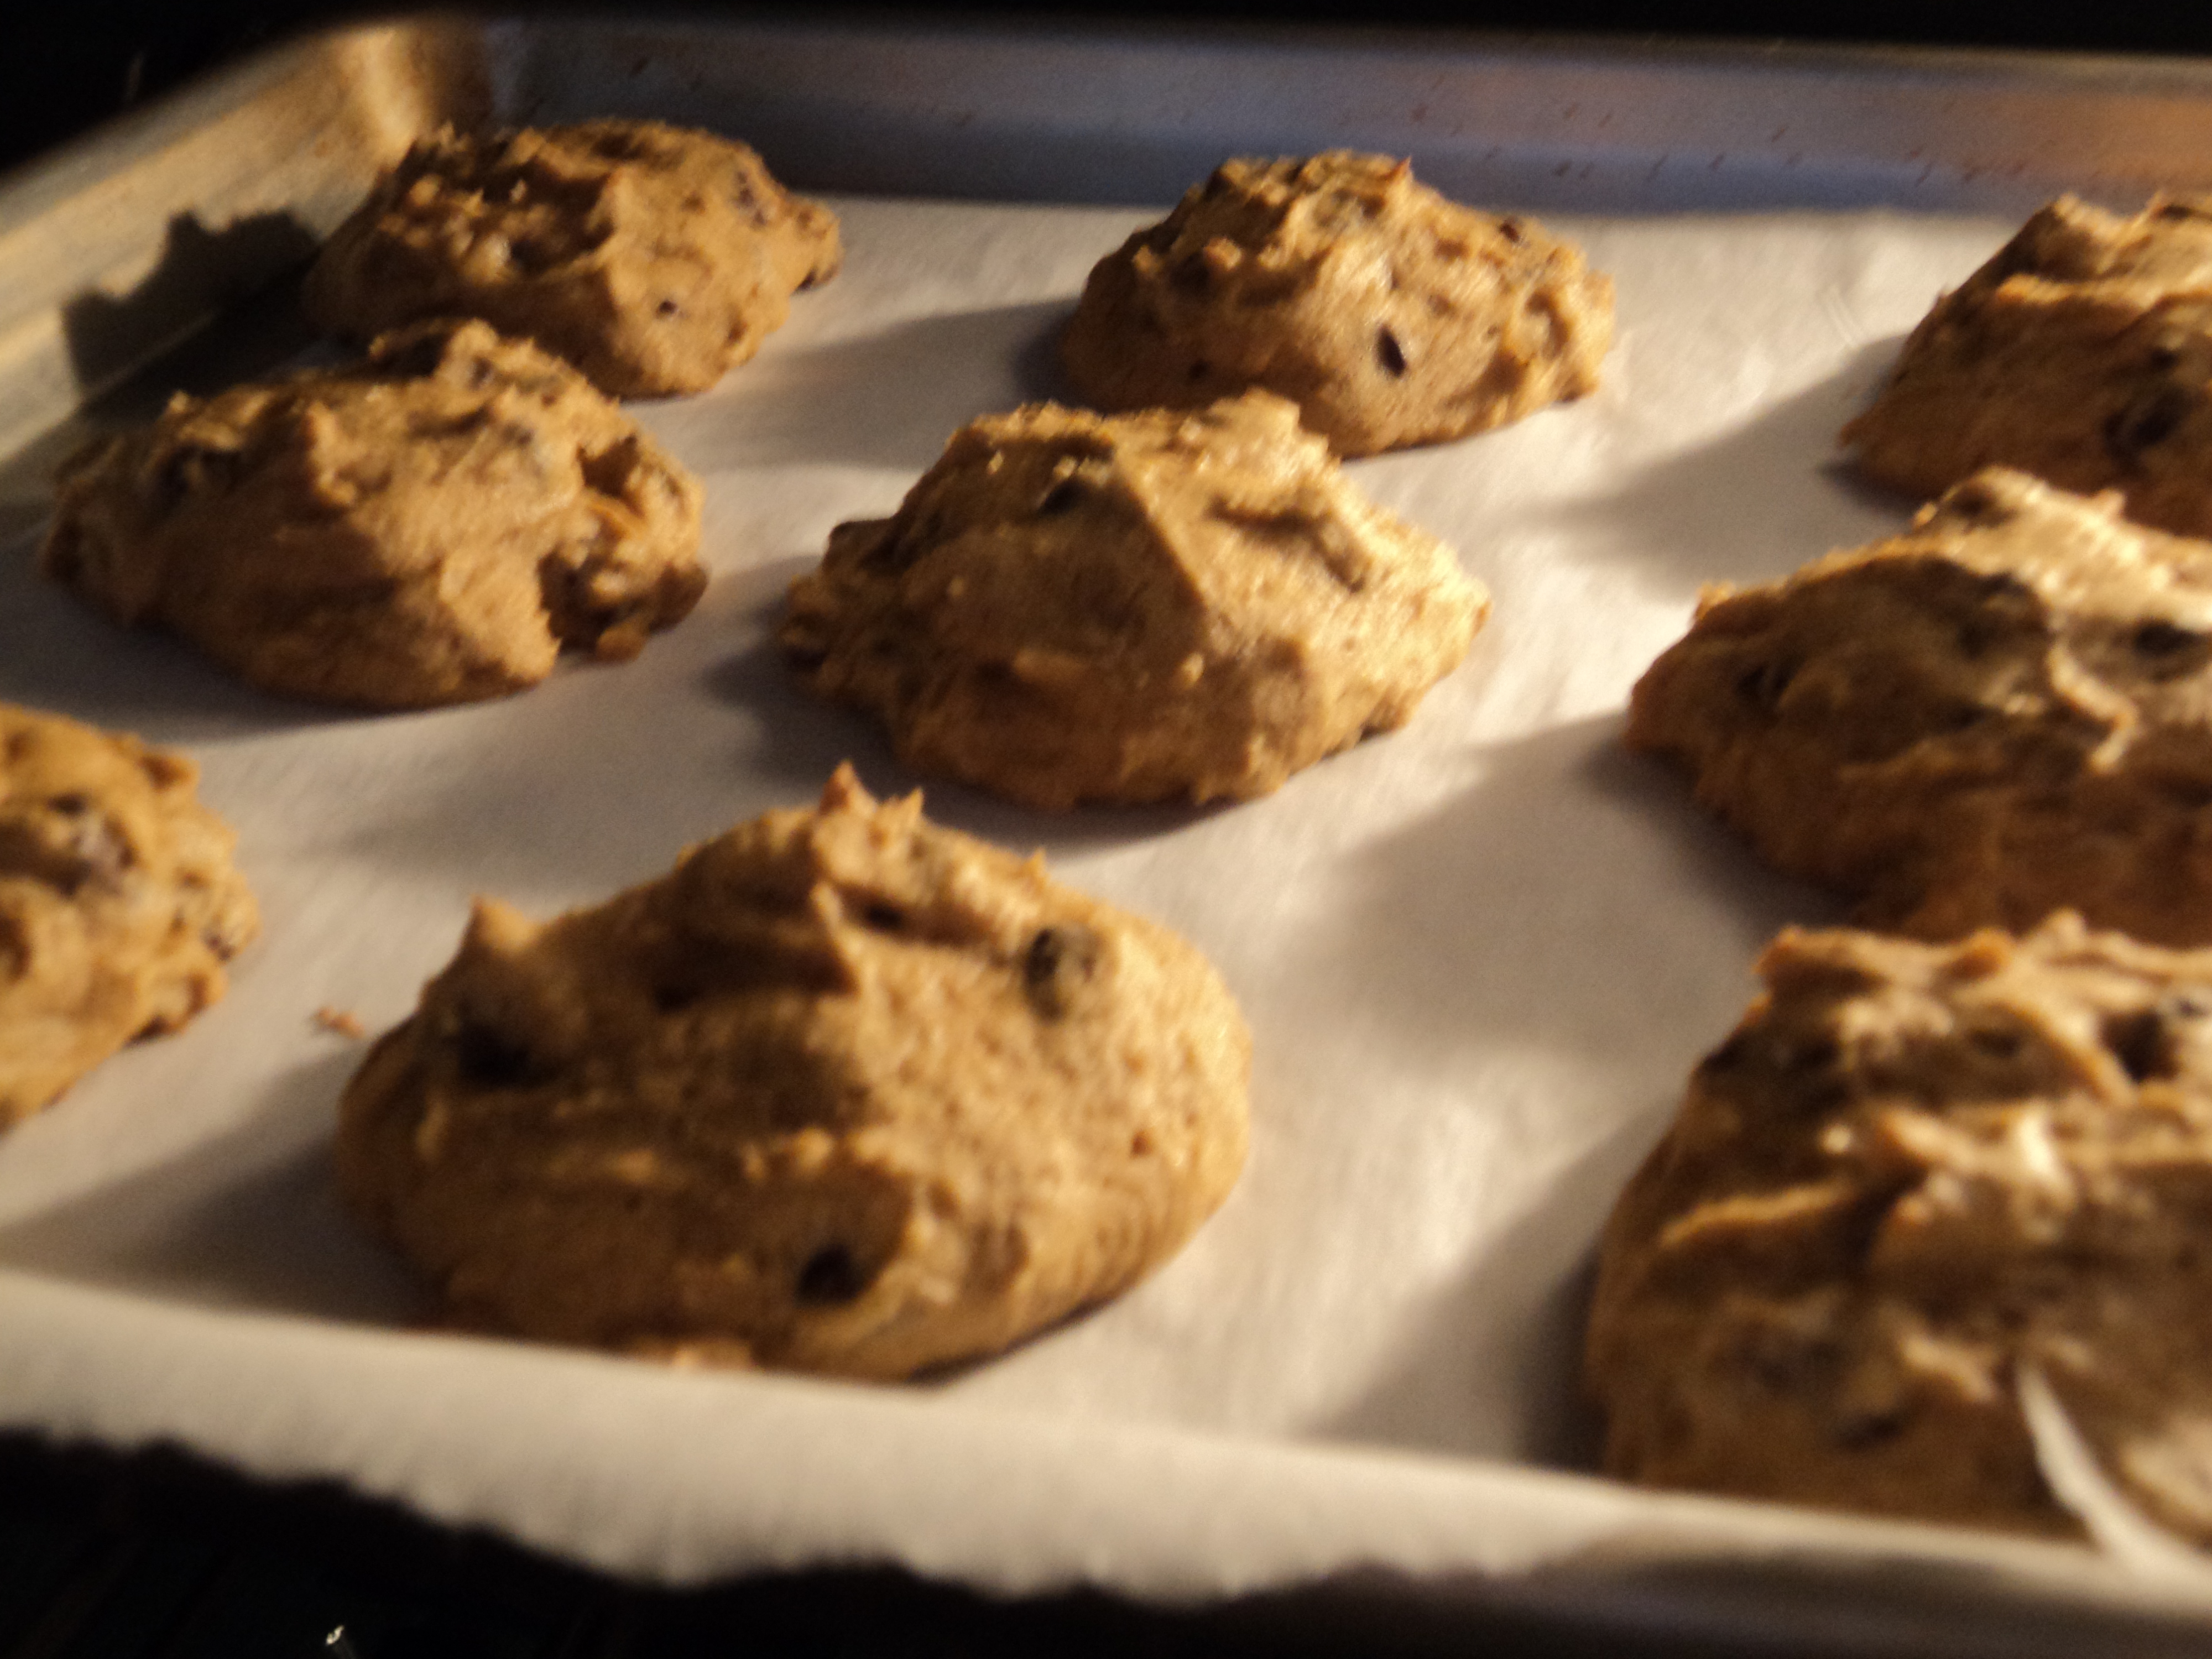
6. Drop the batter by heaping tablespoons 1 inch apart on the baking sheets.

7. Bake the cookies for 15 to 18 minutes or until lightly browned.  Transfer to wire racks to cool completely.

Enjoy!!!!  Happy Fall!

Sister K

Related Posts Plugin for WordPress, Blogger...


Filed Under: K's Desserts, K's Recipes Tagged With: cookie recipe, dessert recipe, dessert to bring to party, fall dessert recipe, fall recipe, pumpkin chocolate chip cookies

Recent Posts

  • Easy Holiday Office Party Tips
  • 5 Steps to an Easy Football Party
  • Gingerbread Biscotti
  • Holiday Coffee Bar and Thanksgiving Recipes
  • Soft Sugar Pumpkin Cookies
  • Cinnamon Sugar Apple Cake
  • Hello Pumpkin Season!
  • Make Your Own Milkshake Party!
  • Mama’s Pickles
  • S’more Cookies

Categories

  • About 2 Sisters 2 Cities (7)
  • Books (8)
  • Crafting & DIY (22)
  • Design & Decorating (15)
  • Gardening (5)
  • Giveaway (14)
  • Guest Bloggers (8)
  • K's post (46)
  • K's Recipes (191)
    • K's Desserts (75)
    • K's Entrees (23)
    • K's Sides (24)
  • M's post (72)
  • M's recipes (167)
    • M's Entrees (21)
    • M's Sides (14)
    • M's Desserts (30)
  • Organizing (7)
  • Party Ideas (49)
  • Uncategorized (1)
  • Vacation (12)
Stitch Fix

Archives

Blogroll

  • Annie's Eats
  • Bake at 350
  • Baked Bree
  • Boston Harbor Beacon
  • Confections of a Foodie Bride
  • Cook Like a Champion
  • Erin’s Food Files
  • Forever and a Recipe
  • Framed Cooks
  • Oh Happy Day
  • On Common Ground
  • Pennies on a Platter
  • Pink Parsley
  • Recipe Girl
  • Sally's Baking Addiction
  • Simply Scratch
  • The Curvy Carrot
  • The Pioneer Woman
  • Tidy Mom
  • Two Peas & Their Pod
  • What’s Gaby Cooking
  • Young House Love
Increase your website traffic with Attracta.com

grab a 2 sisters button!


Copyright © 2014 ~ 2 Sisters 2 Cities | Blog Design by Minx Design