2 Sisters 2 Cities

Image Map
  • About 2 Sisters 2 Cities
  • Recipe Index
  • Project Index
  • Contact Us
  • Like us on Facebook
  • Follow m on twitter
  • Follow k on twitter
  • Follow 2S2C on Pinterest
  • Follow 2S2C on G+
  • rss
  • e-mail 2S2C

Homemade Funfetti Cupcakes

Posted by 2 Sisters 2 Cities on March 29, 2013

Homemade Funfetti Cupcakes

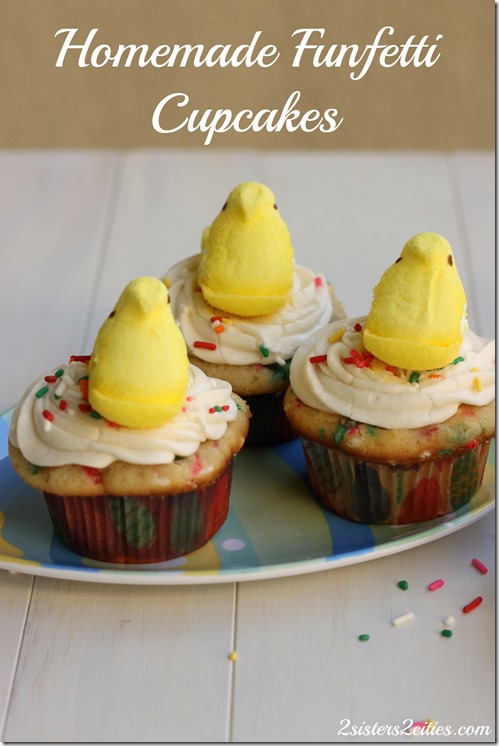
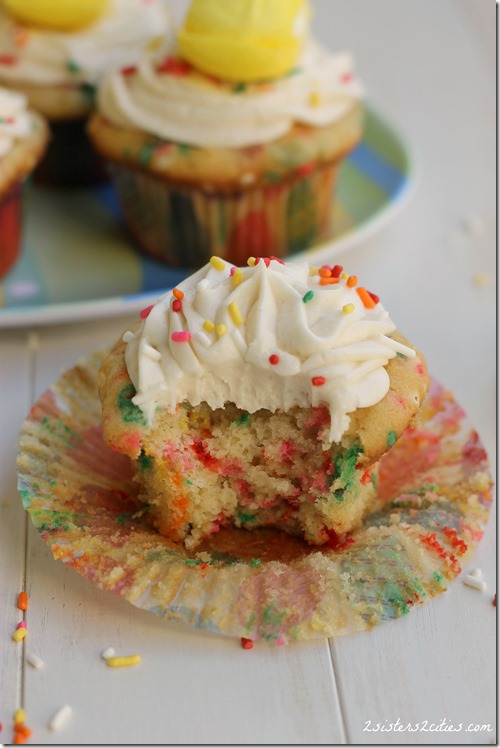
Since Easter is usually timed with the start of spring, it is often associated with bright and pastel colors.  Oh, and of course bunnies and chicks!  I was trying to think of a cupcake that could be Easter-themed.  I know I could have gone with a carrot cake cupcake, but truthfully my all time favorite cupcake is vanilla with buttercream frosting.
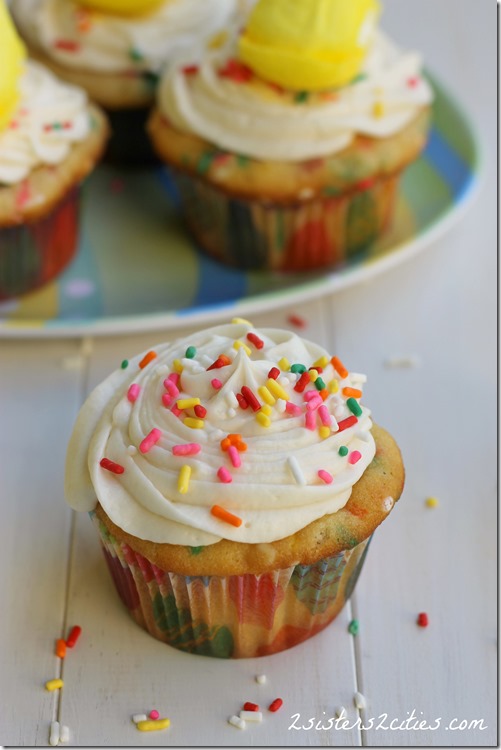
Funfetti Cupcakes

Homemade funfetti cupcakes have been on my list of recipes I have been wanting to try for awhile.  After finding the cutest Easter egg cupcake liners at Target- okay, I may be a little obsessed with Target- I decided to give this recipe a try.  A fun way to top these colorful cupcakes is with a bright-colored marshmallow peep.  My favorite peeps are the yellow ones of course!   Make these cupcakes for your Easter weekend!
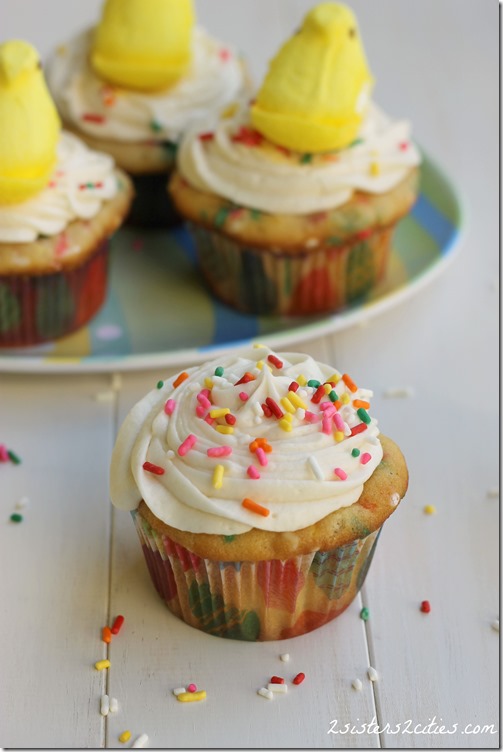
Easter Funfetti Cupcakes

Print
Homemade Funfetti Cupcakes
Author: 2 Sisters 2 Cities
Serves: 12
 
Ingredients
Funfetti Cupcakes
  • 1 + ⅔ cup AP flour
  • ½ tsp. baking powder
  • ¼ tsp.baking soda
  • ½ tsp. salt
  • 1 cup sugar
  • ½ cup unsalted butter, at room temperature (1 Stick)
  • 1 egg
  • ¼ cup sour cream
  • ¾ cup milk
  • 2 tsp. vanilla extract
  • ½ cup sprinkles
Buttercream Frosting:
  • ½ cup butter (1 stick)
  • 3-4 cups confectioner’s sugar, sifted
  • ¼ cup milk
  • 1 tsp. vanilla extract
  • Sprinkles, for topping
  • Peeps, for topping
Instructions
Funfetti Cupcakes
  1. Preheat oven to 350 degrees and line a cupcake pan with liners.
  2. In a medium bowl mix together flour, baking powder, baking soda, and salt. Whisk together until combined.
  3. In the bowl of your mixer add butter and sugar. Mix until fluffy.
  4. Add in eggs and mix together.
  5. In a measuring cup mix together sour cream, milk and vanilla.
  6. Add dry ingredients into mixer bowl in 3 parts alternating with sour cream/milk mixture.
  7. Mix until smooth. Gently fold in sprinkles into batter with a rubber spatula.
  8. Divide the batter into the 12 cupcake pans. Place in oven and bake for 18-20 minutes
Buttercream Frosting:
  1. Cream butter in bowl of mixer, add in 2 cups of confectioners’ sugar, milk and vanilla on medium speed. Beat until smooth and creamy, making sure to scrape down the sides to incorporate all of the ingredients. Gradually add in remaining confectioners’ sugar until the frosting is a good spreading consistency. Beat on medium high speed until light and fluffy, making sure not to over beat.
Assembly:
  1. Once cupcakes are cooled, prepare a pastry bag with a large star tip. Fill with frosting and swirl onto cupcakes. If you don’t have pastry bags or tips, glob a spoonful of frosting in the middle of cupcake and take a knife and smooth around. Top with sprinkles and peeps.
3.2.1682

Source:  Cupcakes adapted from Sally’s Baking Addiction, Frosting is a 2 Sisters 2 Cities original
Home Easter Funfetti Cupcakes
sisterk (2)


Filed Under: K's Desserts, K's Recipes Tagged With: buttercream frosting, cupcake recipes, cupcakes, easter, easter dessert, easter recipes, funfetti, funfetti cupcakes, peeps, sprinkles

Peanut Butter-Filled Chocolate Bunny Pops

Posted by 2 Sisters 2 Cities on March 26, 2013

Peanut Butter-Filled Chocolate Bunny Pops

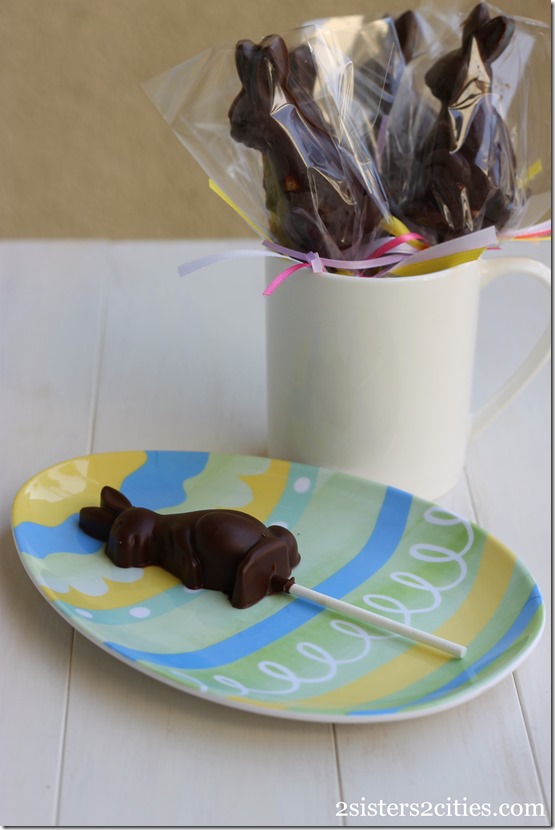
I found this bunny mold at Target and I thought I could do something fun with it for a Easter gift to give to friends.   I wanted to try something different then a solid chocolate bunny., such as a peanut butter-filled bunny!   I made the peanut butter filling similar to how I make buckeye cookies, but with a little bit more peanut butter consistency.   These peanut butter-filled chocolate bunny pops would be a perfect gift to put in your children’s Easter basket.  If I was going to be with my nephew T during Easter weekend,  I would give him one!  It’s worth noting that these bunny pops are not just for kid’s- my boyfriend loved them!  He even said they tasted better than Reese’s Peanut Butter Cups!!  Whatt Whatt!!

I bought the small plastic bags at Michaels that I used to wrap the bunnies.  I then tied a ribbon around the stick.  I used Ghirardelli Chips for the chocolate because I have noticed that Nestle chips lately are really waxy and don’t melt smoothly.   You could also use melting chocolate, such as Bakers.

Print
Peanut Butter-Filled Chocolate Bunny Pops
Author: 2 Sisters 2 Cities
Serves: 6-8
 
Ingredients
Peanut Butter Filling
  • 2 oz. confectioners’ sugar
  • ¼ cup peanut butter
  • 1 tbsp. butter, room temp
  • ⅛ tsp. vanilla extract
  • pinch of salt
Chocolate
  • 10 oz. semi-sweet chocolate chips (I used Ghirardelli)
  • 2 Tbsp. Crisco
Instructions
  1. In a medium sized bowl, mix together peanut butter, butter, vanilla extract, and salt. Add in confectioners’ sugar and stir until combined. The dough will be dry but work together with your hands. Set aside.
  2. Melt chocolate by either a double boiler method or the microwave method;
  3. Double Boiler- Place chocolate in a double-boiler or a metal or glass bowl above a saucepan with a couple inches of water. Heat up water. Add in 2 tbsp. of Crisco and stir into chocolate. Stir chocolate until completely melted and smooth. Microwave- Place chocolate and Crisco in a microwave safe bowl. Heat up in 30 second intervals stirring in-between each interval. Repeat until smooth.
  4. To ease with candy making pour chocolate into a plastic squeeze bottle (from Amazon or a craft store in the candy making section.)
  5. Fill mold halfway with melted chocolate.
  6. Take 2 tsp. peanut butter filling and roll in-between hands to create a long piece. Pinch the top so it will fit in the bunnies neck/head area. Gently place filling in chocolate but don’t push all the way in (you want it to stay in the middle.)
  7. Fill remainder of mold with melted chocolate, making sure that the peanut butter is covered.
  8. Take lollipop stick and lie in middle of the chocolate. Twist the stick into the chocolate until covered and stick fits into mold.
  9. Tap the tray on work surface to knock out air bubbles. Repeat for remainder of molds. Place tray in the freezer on a flat surface for 1-2 hours until hardened.
  10. Once the candy is hardened pop chocolate pops out of mold and enjoy!
  11. Wrap chocolate top in small plastic bag and tie with ribbon.
3.2.1682

How-to-Make-a-PB-Filled-Chocolate-Bunny-Pops_thumb

sisterk (2)

Related Posts Plugin for WordPress, Blogger...


Filed Under: K's Desserts, K's Recipes Tagged With: bunny, candy making, chocolate, Chocolate making, easter, easter chocolate, easter dessert, easter treat, peanut butter, peanut butter filled chocolate, pops

Recent Posts

  • Easy Holiday Office Party Tips
  • 5 Steps to an Easy Football Party
  • Gingerbread Biscotti
  • Holiday Coffee Bar and Thanksgiving Recipes
  • Soft Sugar Pumpkin Cookies
  • Cinnamon Sugar Apple Cake
  • Hello Pumpkin Season!
  • Make Your Own Milkshake Party!
  • Mama’s Pickles
  • S’more Cookies

Categories

  • About 2 Sisters 2 Cities (7)
  • Books (8)
  • Crafting & DIY (22)
  • Design & Decorating (15)
  • Gardening (5)
  • Giveaway (14)
  • Guest Bloggers (8)
  • K's post (46)
  • K's Recipes (191)
    • K's Desserts (75)
    • K's Entrees (23)
    • K's Sides (24)
  • M's post (72)
  • M's recipes (167)
    • M's Entrees (21)
    • M's Sides (14)
    • M's Desserts (30)
  • Organizing (7)
  • Party Ideas (49)
  • Uncategorized (1)
  • Vacation (12)
Stitch Fix

Archives

Blogroll

  • Annie's Eats
  • Bake at 350
  • Baked Bree
  • Boston Harbor Beacon
  • Confections of a Foodie Bride
  • Cook Like a Champion
  • Erin’s Food Files
  • Forever and a Recipe
  • Framed Cooks
  • Oh Happy Day
  • On Common Ground
  • Pennies on a Platter
  • Pink Parsley
  • Recipe Girl
  • Sally's Baking Addiction
  • Simply Scratch
  • The Curvy Carrot
  • The Pioneer Woman
  • Tidy Mom
  • Two Peas & Their Pod
  • What’s Gaby Cooking
  • Young House Love
Increase your website traffic with Attracta.com

grab a 2 sisters button!


Copyright © 2014 ~ 2 Sisters 2 Cities | Blog Design by Minx Design