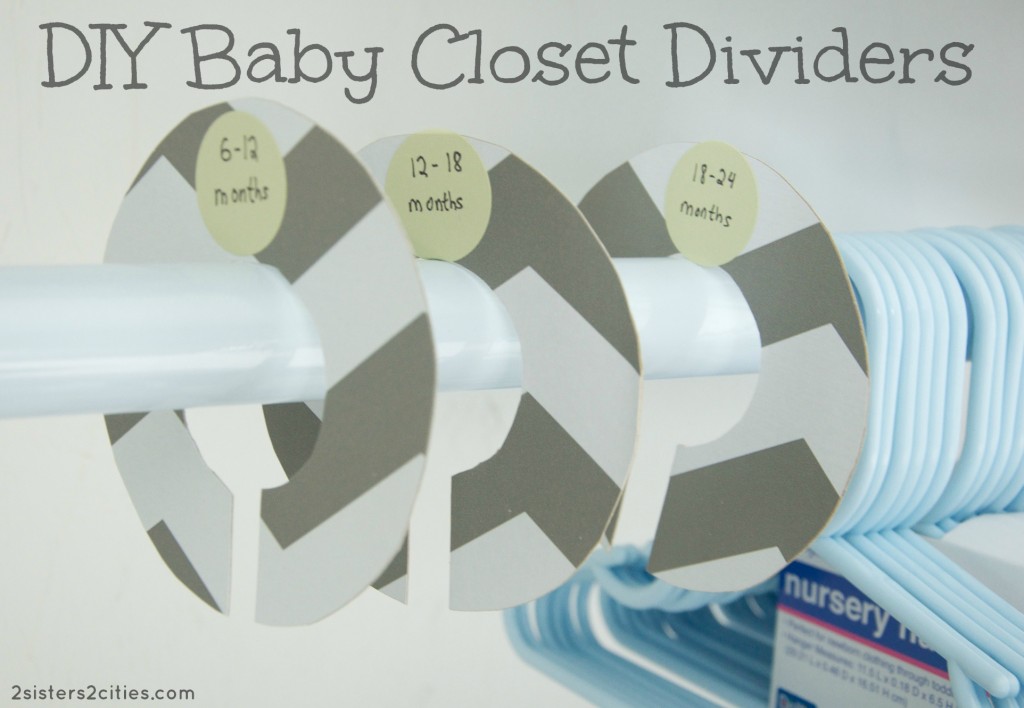
I’ve mentioned in a lot of my last posts that I have been busy nesting and getting ready for baby #2’s arrival. This time around, I realize that the nursery does not need to be finished by the time the baby comes since he will be in a bassinet next to our bed most nights, but time will likely be a rare commodity with two little munchkins. I’m trying to get as many things done ahead of time with just T around.
I wanted to share one of the latest baby projects that I just finished- DIY baby closet dividers. These baby closet dividers are all the rage on etsy and I was originally going to just buy some. I realized they would be fairly easy to make myself however so I decided to give it a try. I had a few rolls of gray chevron contact paper that I picked up at Marshall’s a few months ago and I had put them aside for any projects that might come up. I decided this paper would be perfect for making my own baby closet dividers. {Side note: I’m not sure I’ve mentioned this in a past post, I decided to decorate this baby’s nursery in dark gray, bright green, and white. Check out this post for a peek at baby T’s airplane-themed nursery that I did a few years ago.}
DIY Baby Closet Dividers
Materials
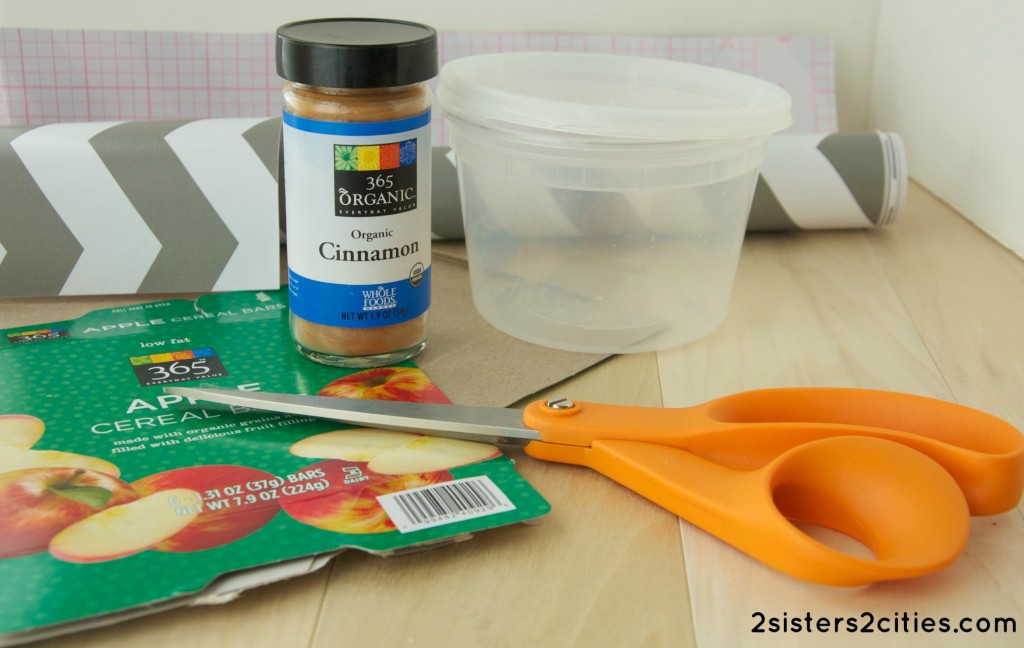
- empty cereal, cracker, or snack cardboard boxes
- large circle trace (I used a plastic take-out container)
- small circle trace (I used a spice jar)
- pencil
- scissors
- decorative contact paper
- stickers or labels
Instructions
- Use the scissors to cut two large squares out of the decorative contact paper (make sure the squares are larger than the large circle trace you plan on using.)
- Remove the backing from the contact paper and place on both sides of a flat piece of cardboard. The squares should match up so that when you cut a circle out of the cardboard, the contact paper will fully cover the circle on both sides.
- Using a pencil and large circle trace, trace a circle on one side of the square contact paper. Then, using the small circle trace, trace a small circle in the middle of the large circle that you just traced.
- With your scissors, follow the large circle trace and cut the large circle from the piece of cardboard. Then, cut two small even slits to cut out the small circle trace from the center. Neaten any edges so that both circles appear even and smooth.
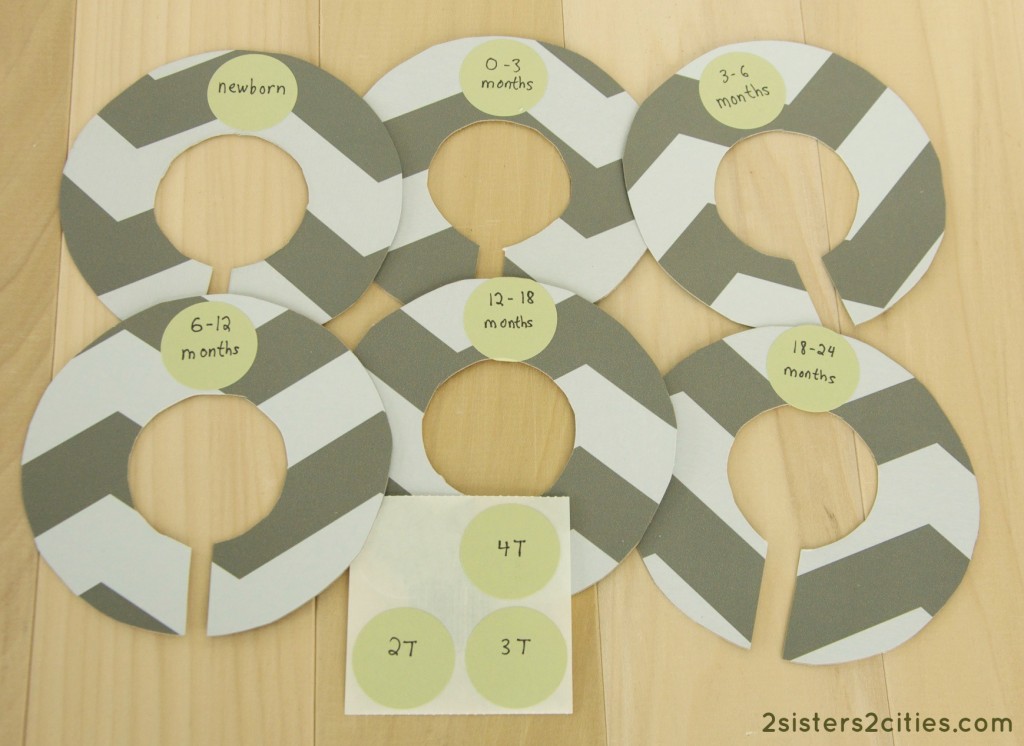
- Repeat this process 5-8 times depending on how many baby closet dividers you want to make. (I made six of them since I will likely be storing away the baby clothes once the baby grows out of them. I will then change the sticker out on the divider for a larger clothes size.)
- Label 6-9 stickers with common baby clothes sizes: newborn, 0-3 months, 3-6 months, 6-12 months, 12-18 months, 18-24 months, 2T, 3T, and 4T. Apply sticker or label to top of clothes dividers.
- Hang in closet and organize baby’s clothes by size!
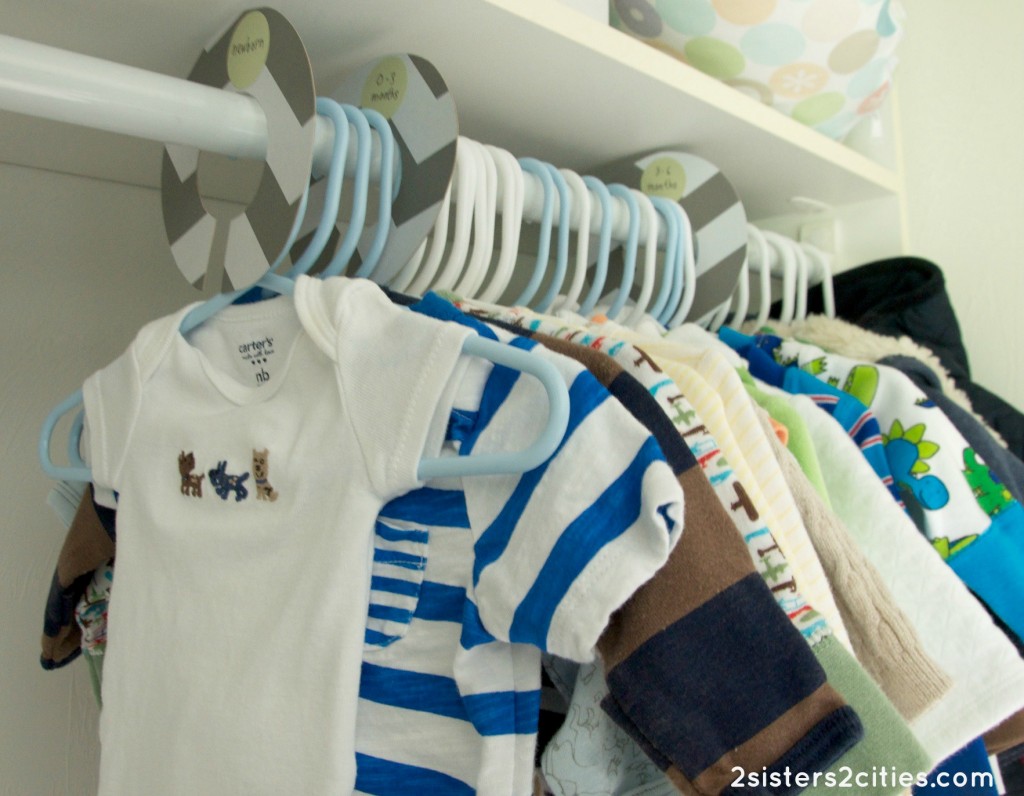
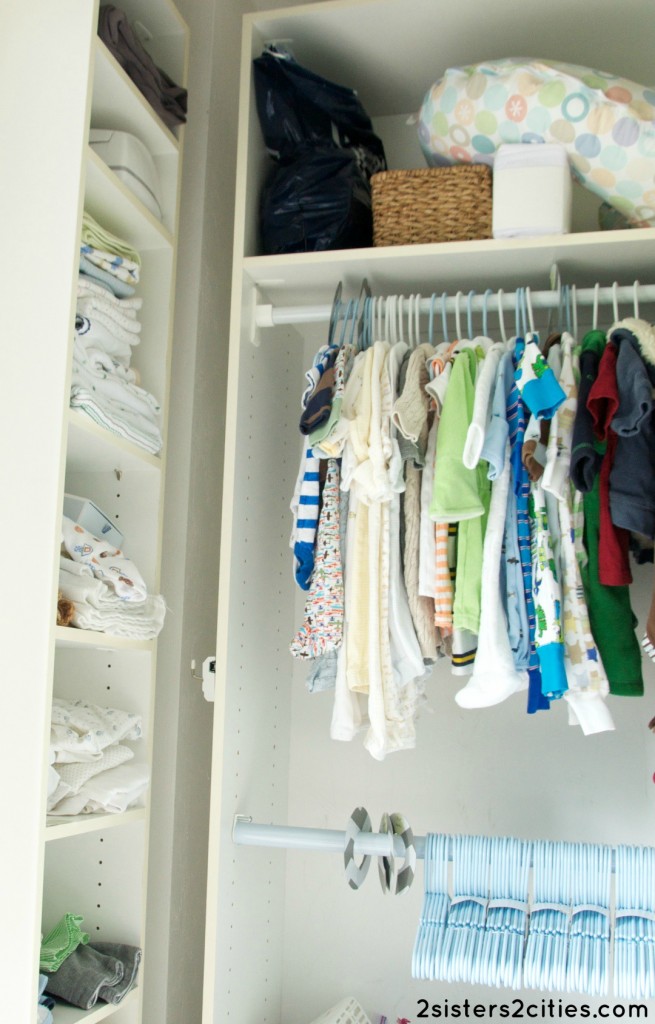
I love how this project turned out! Plus, I love being able to look at that first newborn onesie every time I open the closet door- I can never get over how little and cute newborn clothes are. It barely even fits on the mini hanger!
T never had a closet in our city condo since the closet in his nursery served as my husband’s main closet. I used a lot of baskets to divide his clothes by size and type and stored them on a bookshelf. While that system worked well, I really like having everything organized and hanging in a closet this time around. It’s much easier to visualize what I have by size with everything in sight. I still need to do a little more organizing once I move the dresser and changing table into this room, but it’s come a long way from the catch-all closet it used to be.
Have you ever seen an idea on Etsy or a retail store that you decided to make yourself?


