2 Sisters 2 Cities

Image Map
  • About 2 Sisters 2 Cities
  • Recipe Index
  • Project Index
  • Contact Us
  • Like us on Facebook
  • Follow m on twitter
  • Follow k on twitter
  • Follow 2S2C on Pinterest
  • Follow 2S2C on G+
  • rss
  • e-mail 2S2C

Rolling Storage Crate DIY Tutorial

Posted by 2 Sisters 2 Cities on October 16, 2012

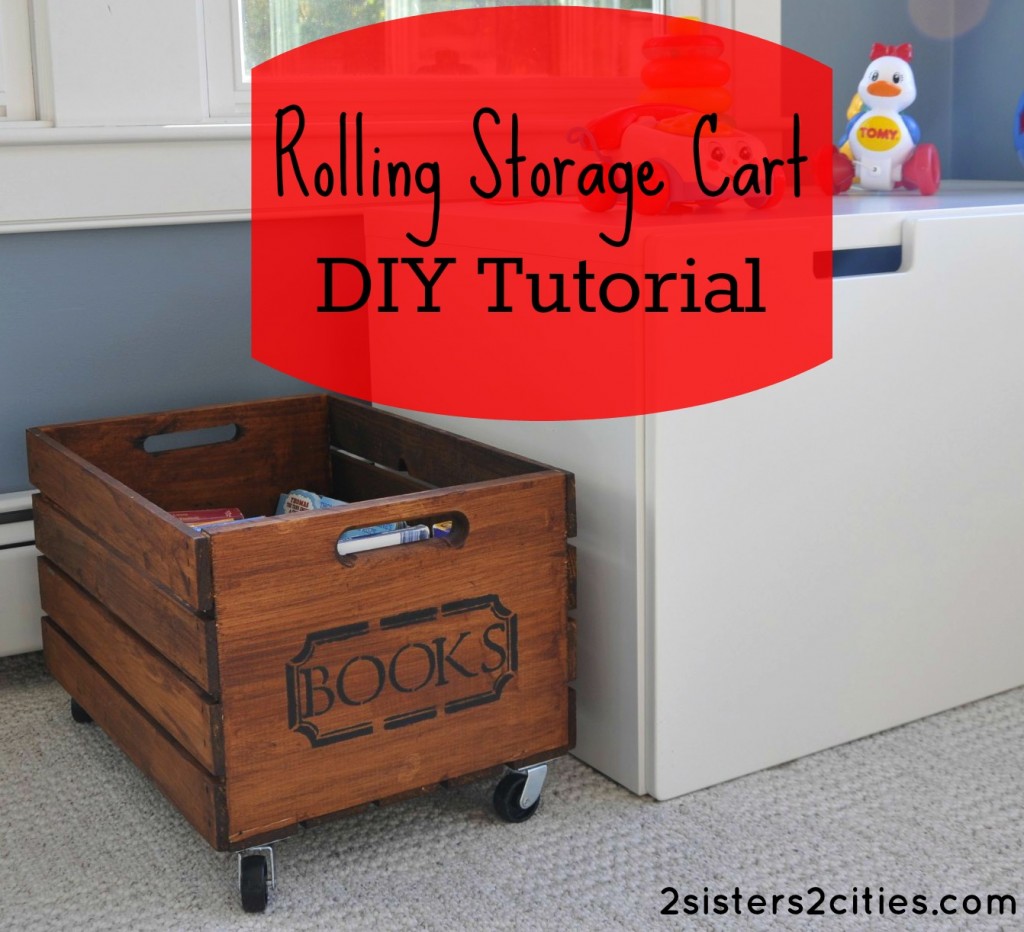
rolling storage cart do-it-yourself tutorial

One of my favorite retailers, Serena & Lily, is selling these adorable vintage-looking rolling storage crates in their baby section.  I fell in love with the little carts.  I realized I already had unfinished crates very similar to the ones featured in the S&L catalog, as well as some ball bearing casters leftover from a previous project.  I decided to turn this into a little DIY project and made one for less than $15 since I had some of the materials on hand.  If you have none of the materials, it will cost you about $30 to make a rolling storage crate.
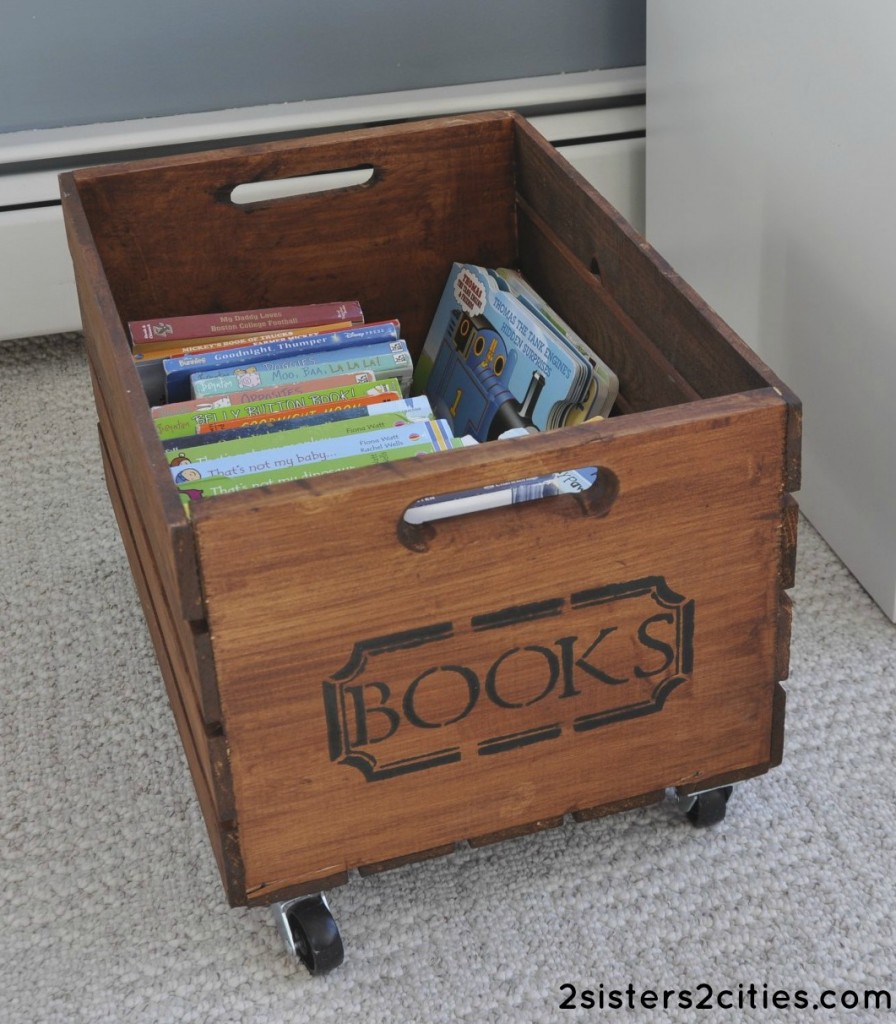
rolling storage crate

The rolling storage crate is perfect for storing the many books we have in our household.  My son loves pushing it from room to room.
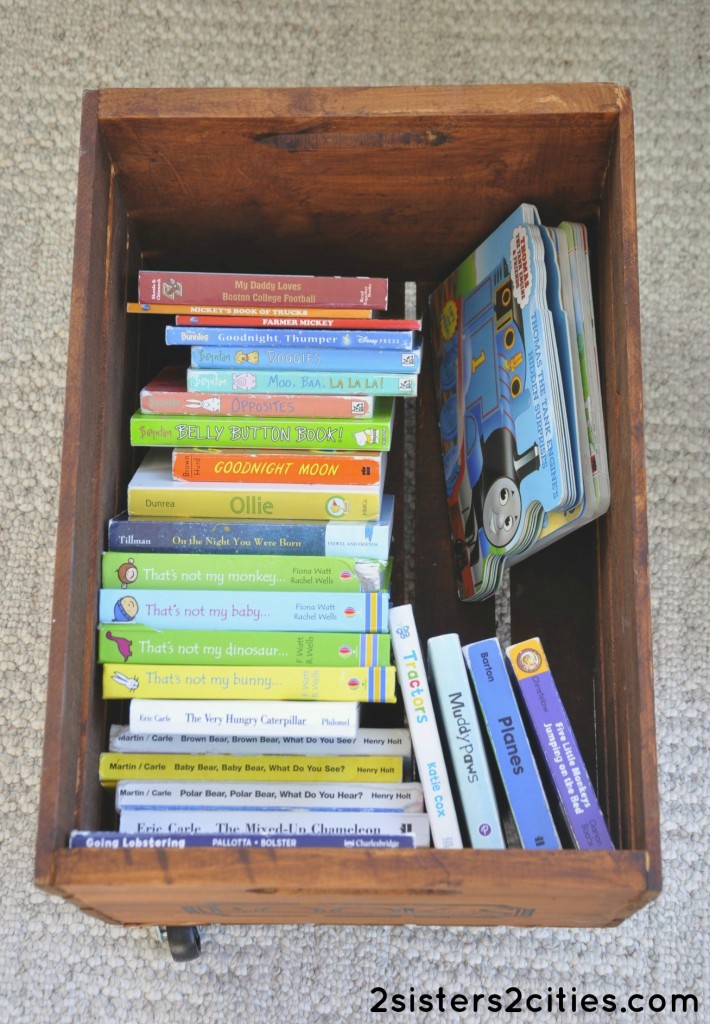
rolling storage cart books

Alternatively, it also makes great toy storage bin as well.  Here is the cart filled with trucks, cars, trains, and plains:
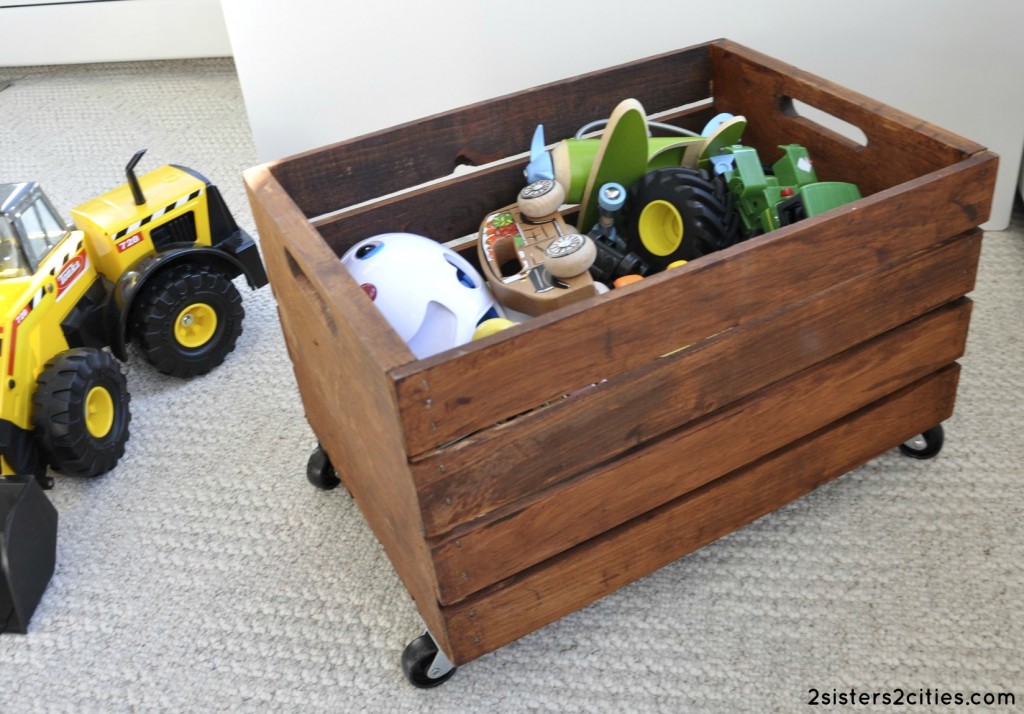
rolling storage cart toys

Here are the materials I used on this project:
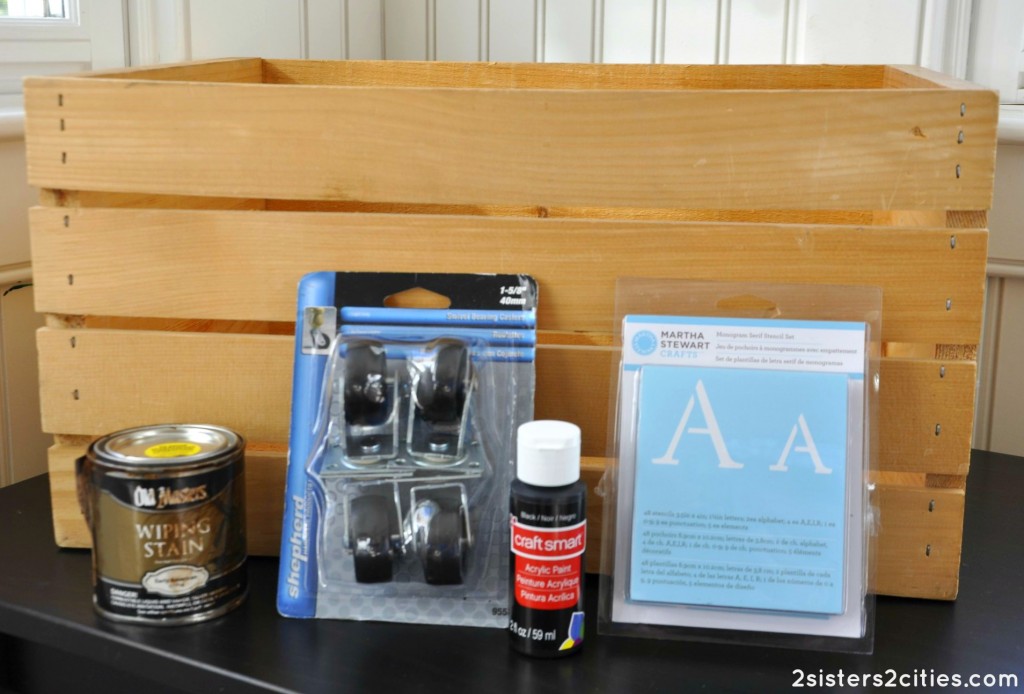
rolling storage crates materials

  • Unfinished wooden crate– approximately $9.99 (be sure to use a coupon if you buy it at Michaels)
  • 1/2 pint Old Masters Wiping stain (I used Early American 11716)
  • Four 1″ ball-bearing swivel casters
  • Letter stencils
  • Stencil paint
  • Stencil brush
  • Cloth or rag to apply wood stain
  • 8 small screws
  • Drill
  • Screwdriver

I started off by applying the stencil to the crate.  I chose to write “Books,” but you can be more creative with your wording if you like (the Serena & Lily crates say Soft Drinks, Lemonade, Super Seven or White Star.)  I was going for a retro font from the Mad Men era, but I think the font ended up feeling a bit more old west saloon.  I still like how it turned out, but it wasn’t what I originally had in mind.

Once the stencil was dried, I applied a wood stain.  I used a cloth to apply it.  Since I wanted the rolling storage crate to have a distressed feel to it, I pretty much slapped the stain on and didn’t worry about making the coverage exactly even.

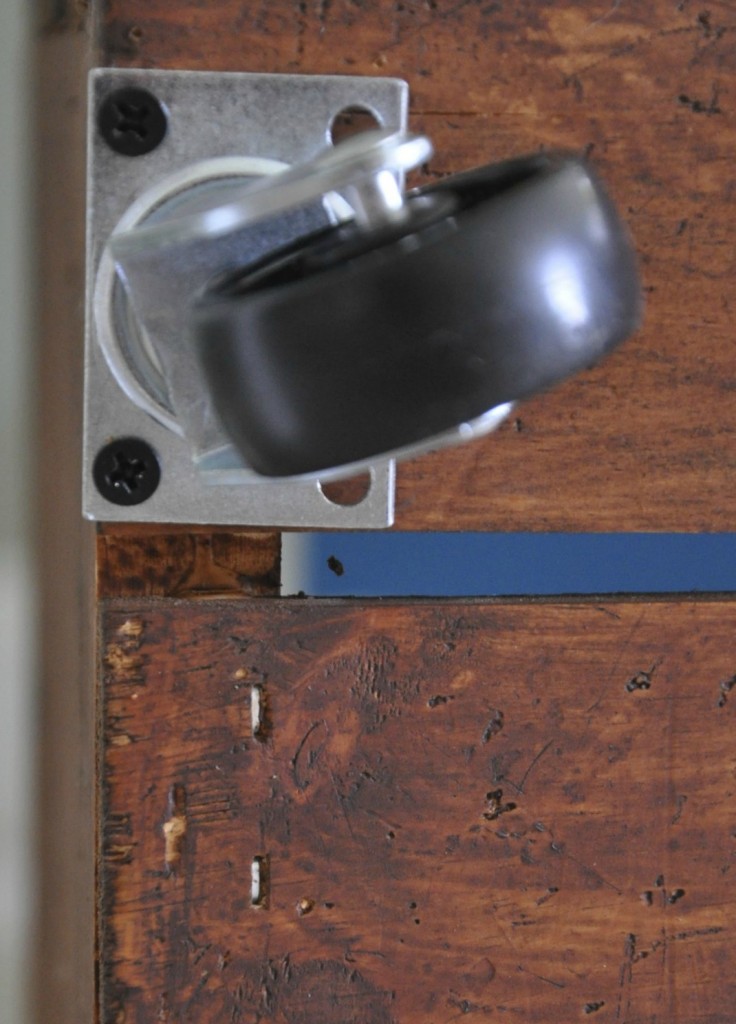
The wood stain took about 24 hours to dry.  I recommend putting it outside if it’s nice out or in a room you are not using- the fumes were a bit strong while it dried.  Once dry, I used a screwdriver to screw the ball-bearing swivel casters on.  Each caster had room for 4 screws, but I only used the two outer wholes (photo below.) If I used all four screws on each caster, the screws on the inside of the crate would poke through the bottom of the crate.  Since the casters are not being used to support a person’s body weight, I think two screws on each caster would be sufficient.  You could use a drill to put eight starter holes (two per each caster) in the crate, but I ended up putting the screws in with just a screwdriver.
wheel

I love how this DIY project turned out!  Have you ever been inspired by something you saw in a catalog and decided to make it yourself?


This post was shared at:

Today's Creative Blog

Related Posts Plugin for WordPress, Blogger...


Filed Under: Crafting & DIY Tagged With: baby storage, book storage, DIY, diy project, diy tutorial, nursery storage, rolling storage crate, serena & lily, storage crate, toy storage, vintage

what people are saying...

  1. Viviane Bauquet Farre says

    October 16, 2012 at 4:04 pm

    Adorable! This gives a really unique, homey feeling to storage. Nevermind IKEA, it’s novel ideas like this that help to make a happier home!

    • 2sisters2cities says

      October 17, 2012 at 10:01 pm

      Thanks Viviane! The other part I liked about this project is that my husband had this crate in his college dorm room to hold stuff. It already has some history to it!

      -m

Trackbacks

  1. Rolling Storage Crate says:
    October 18, 2012 at 8:00 am

    […] a must. And, if you’re like me, you know it’s nice if that toy storage is cute to boot {wink}! Meaghan from 2sisters2cities gave an unfinished craft store crate a designer look with some stain, casters, and a stencil. Using […]

  2. Storage baskets help organize and add decor to a nursery says:
    December 19, 2012 at 10:05 pm

    […] the above one from Serena and Lily or create your own for […]

  3. M's Favorite Posts of the Year | 2 Sisters 2 Cities says:
    December 31, 2012 at 4:05 pm

    […] This fall, I did a post with a tutorial on how to make your own Rolling Storage Crate.  I’m happy to report that we love using it for T’s ever growing book collection in […]

Recent Posts

  • Easy Holiday Office Party Tips
  • 5 Steps to an Easy Football Party
  • Gingerbread Biscotti
  • Holiday Coffee Bar and Thanksgiving Recipes
  • Soft Sugar Pumpkin Cookies
  • Cinnamon Sugar Apple Cake
  • Hello Pumpkin Season!
  • Make Your Own Milkshake Party!
  • Mama’s Pickles
  • S’more Cookies

Categories

  • About 2 Sisters 2 Cities (7)
  • Books (8)
  • Crafting & DIY (22)
  • Design & Decorating (15)
  • Gardening (5)
  • Giveaway (14)
  • Guest Bloggers (8)
  • K's post (46)
  • K's Recipes (191)
    • K's Desserts (75)
    • K's Entrees (23)
    • K's Sides (24)
  • M's post (72)
  • M's recipes (167)
    • M's Entrees (21)
    • M's Sides (14)
    • M's Desserts (30)
  • Organizing (7)
  • Party Ideas (49)
  • Uncategorized (1)
  • Vacation (12)
Stitch Fix

Archives

Blogroll

  • Annie's Eats
  • Bake at 350
  • Baked Bree
  • Boston Harbor Beacon
  • Confections of a Foodie Bride
  • Cook Like a Champion
  • Erin’s Food Files
  • Forever and a Recipe
  • Framed Cooks
  • Oh Happy Day
  • On Common Ground
  • Pennies on a Platter
  • Pink Parsley
  • Recipe Girl
  • Sally's Baking Addiction
  • Simply Scratch
  • The Curvy Carrot
  • The Pioneer Woman
  • Tidy Mom
  • Two Peas & Their Pod
  • What’s Gaby Cooking
  • Young House Love
Increase your website traffic with Attracta.com

grab a 2 sisters button!


Copyright © 2014 ~ 2 Sisters 2 Cities | Blog Design by Minx Design