2 Sisters 2 Cities

Image Map
  • About 2 Sisters 2 Cities
  • Recipe Index
  • Project Index
  • Contact Us
  • Like us on Facebook
  • Follow m on twitter
  • Follow k on twitter
  • Follow 2S2C on Pinterest
  • Follow 2S2C on G+
  • rss
  • e-mail 2S2C

Valentine’s Day Gift Packaging

Posted by Keelin Hollenbeck on February 11, 2014

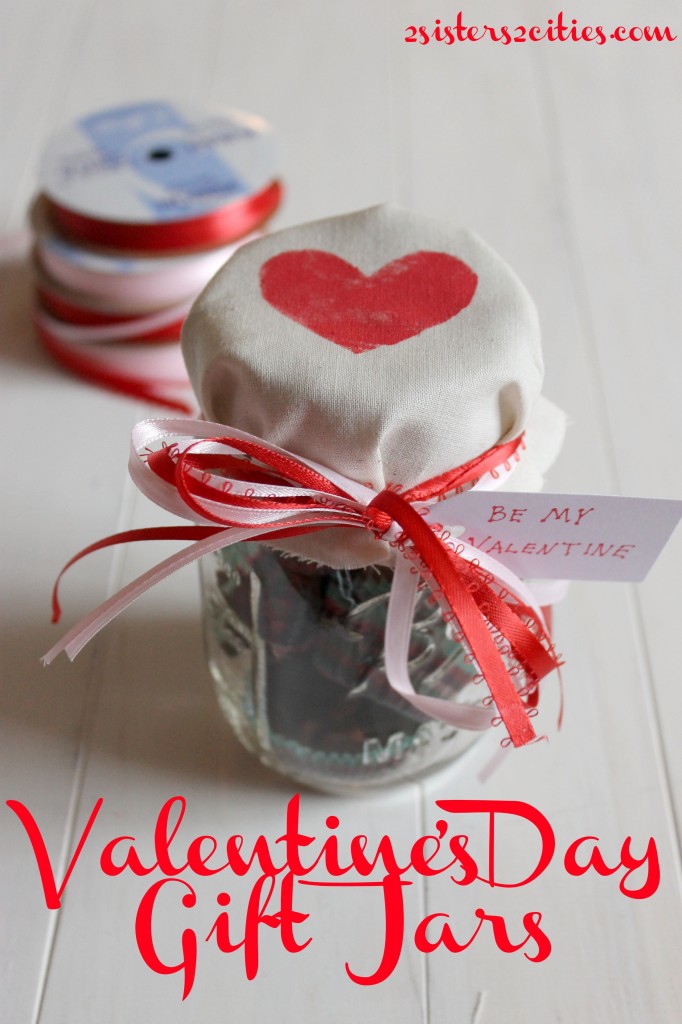
Valentine's Day Gift Jars

Valentine’s Day is almost here and if your haven’t started thinking about gifts for your loved ones, I have just the idea for you!  For my Christmas gift to my co-workers and friends this year, I made mason jars filled with homemade candy.  I then covered the jar with muslin fabric (stenciled with the holiday greeting “cheers!”) and tied it on with red and green ribbon.  Like most things around here, I finished it late the day before I was handing them out with no day light left.  Therefore, I never came up with a good picture to share with you all.
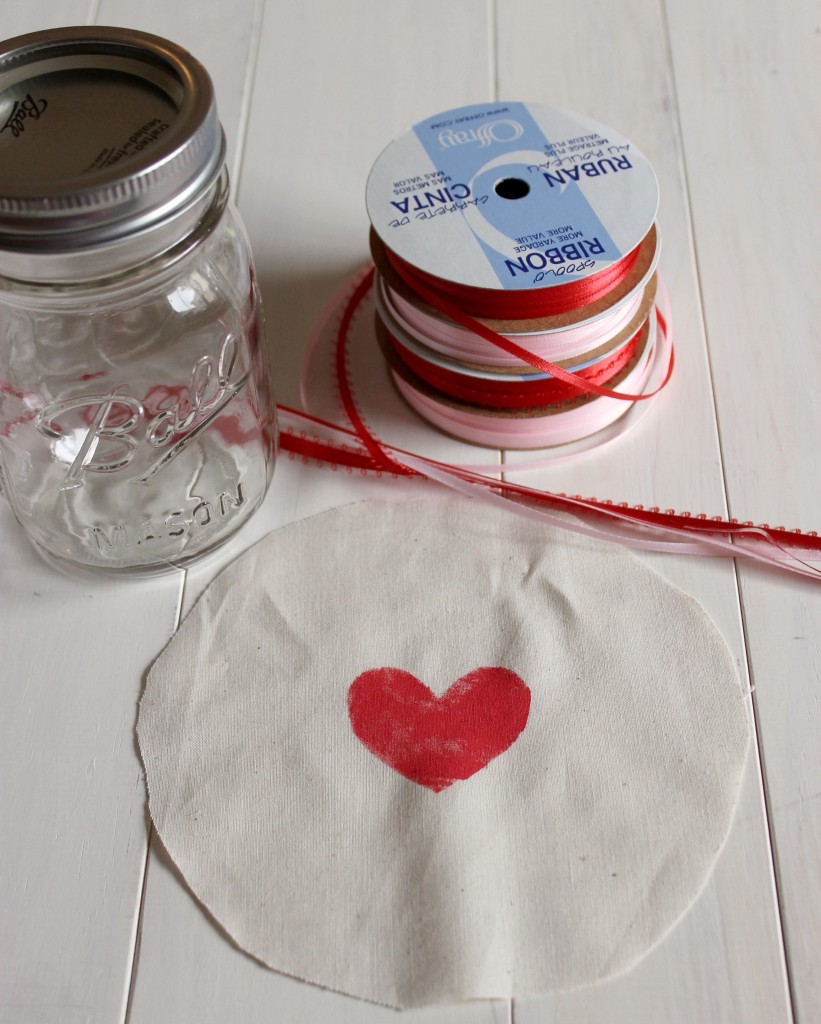
Getting Heart Jars Ready

After thinking about what I could make and write about on the blog for Valentine’s Day, I thought of re-creating the gift jars, except for a Valentine’s day gift.   Mason jars are such a cute way to gift and are usually less than a dollar.  The jars can be filled with whatever store-bought candy or homemade candy you would like to fill them with.  For Christmas I filled them with crock pot candies and peanut brittle.   The crock pot candy was so popular that I decided to fill my jars with them again because it was so simple to make.  I had originally planned to make homemade peanut butter cups for my jars, but had run out of time and calories!

Muslin fabric is one of the cheapest kinds of fabric you can buy.  I bought four yards at Christmas time and used a 50% off coupon so it ended up costing about four dollars!  I will have enough fabric to make gift jars for every holiday for the rest of my life!  As for ribbon, I always stock up on the 50 cent Offray ribbon at the craft stores in all the colors and different sizes.   For 50 cents, you just can’t go wrong!  I love combining different colors and sizes for a texture effect.  Mason jars can be bought at the grocery store, Target or even Amazon for less than a dollar each.

If this project is last minute for you, think about using store-bought Valentine’s Day candies such as conversation hearts, M&M’s, Reese’s, Mini Snickers, and or Hershey’s Kisses.  I also came up with a list of homemade candies that you could gift in these jars if you have more time (lucky!)

From our Blog:

  • Crock Pot Candies
  • Light Caramel Corn
  • Chocolate Oreo Truffles
  • Golden Oreo Truffles
  • Puppy Chow
  • White Trash Party Mix

From Other Blogs:

  • Homemade Peanut Butter Cups from Brown Eyed Baker
  • Valentine’s Day Homemade Gumdrops from Mom on Timeout
  • Peanut Butter Pretzel Truffles from Annie’s Eats
  • Chocolate Chip Cookie Dough Truffles from Inside BruCrew Life
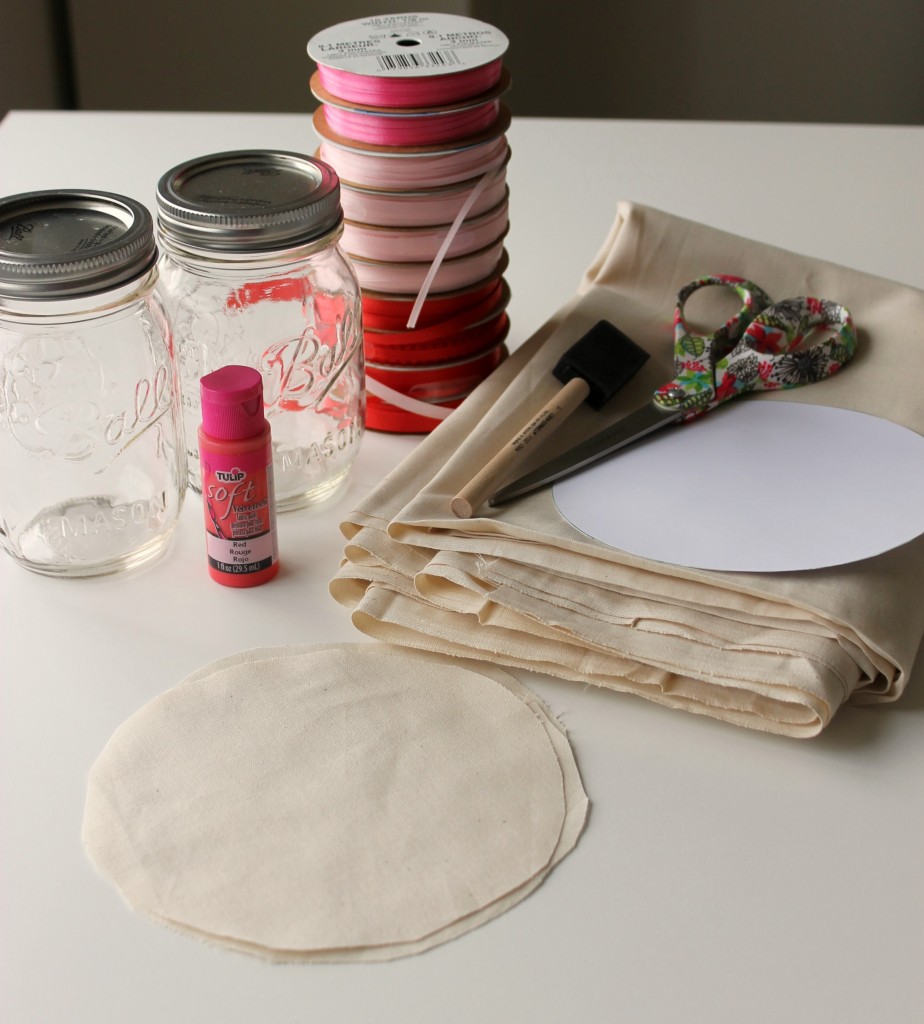
Gift Jar Supplies

Materials:

  • Muslin Fabric
  • Fabric Scissors
  • Fabric Paint
  • Foam Brush
  • Heart Stencil (or card stock paper with a heart cut out of it)
  • Rubber Band
  • Colored Ribbons
  • Mason Jars, cleaned and dried
  • Tags

Stenciling Heart

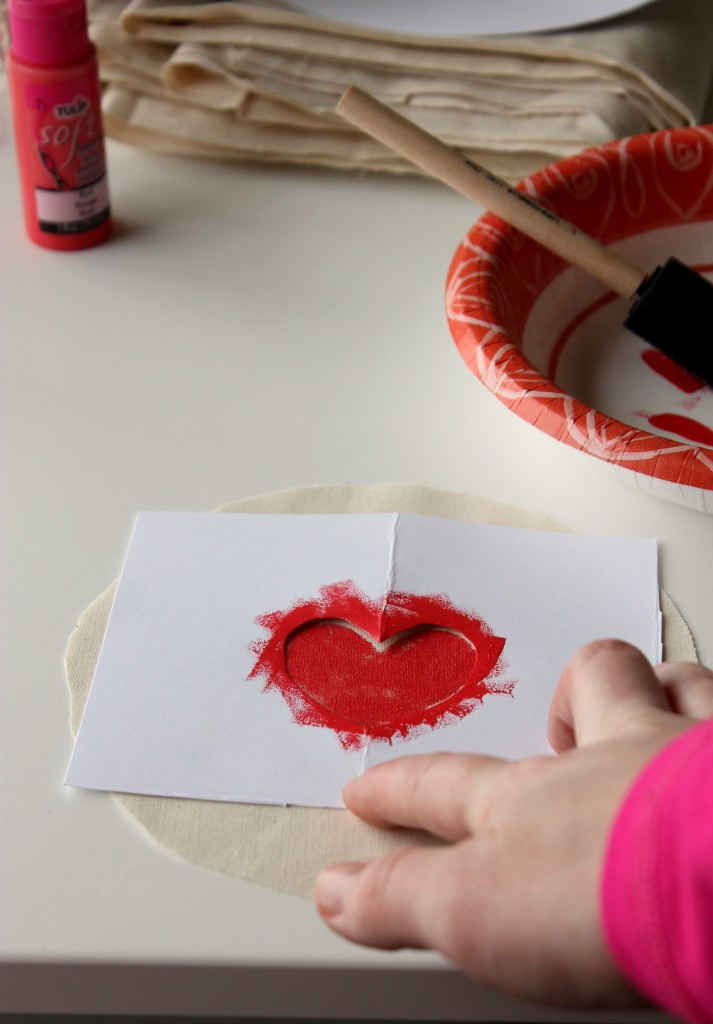
Cut muslin fabric in a 6-inch circle. Stencil the middle of fabric with heart by dabbing fabric paint with a foam brush.  Make sure to put scrap paper underneath because some paint might bleed through.
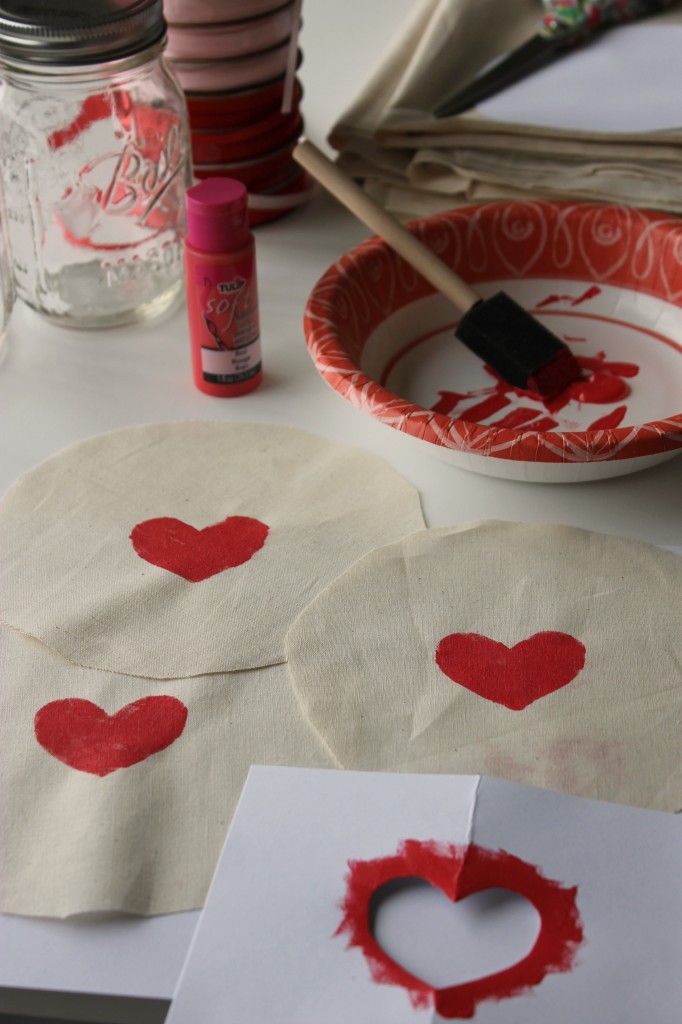
Stenciled Fabric

Let the fabric dry.

Fill Jar with Candy

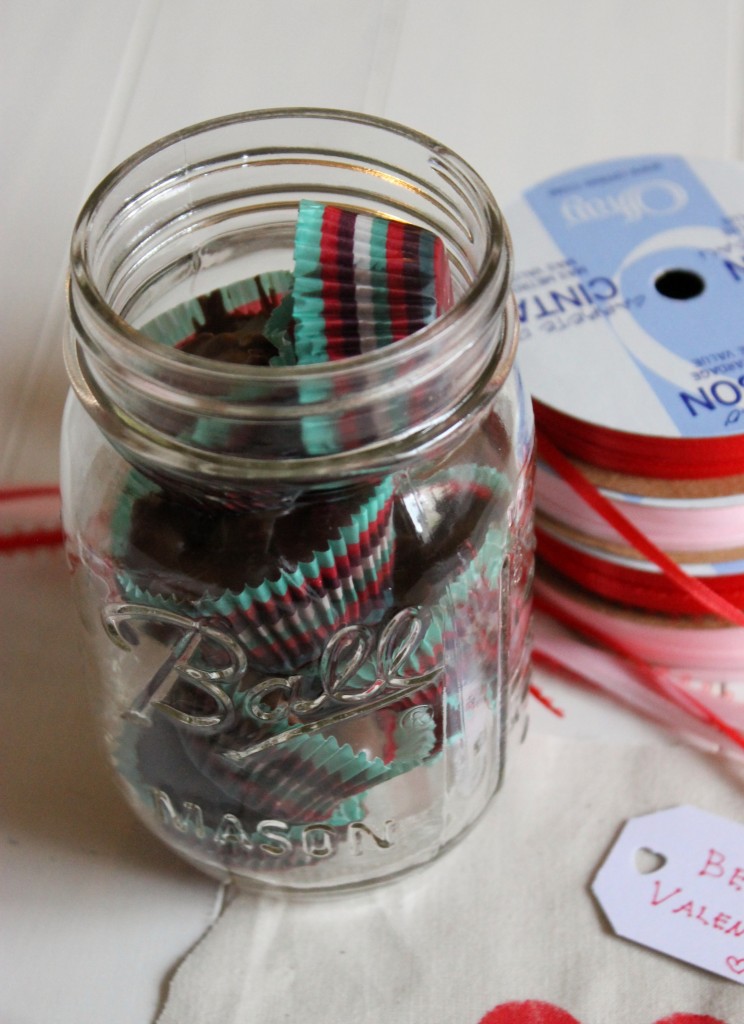
Fill your jars with candy and close with lids.
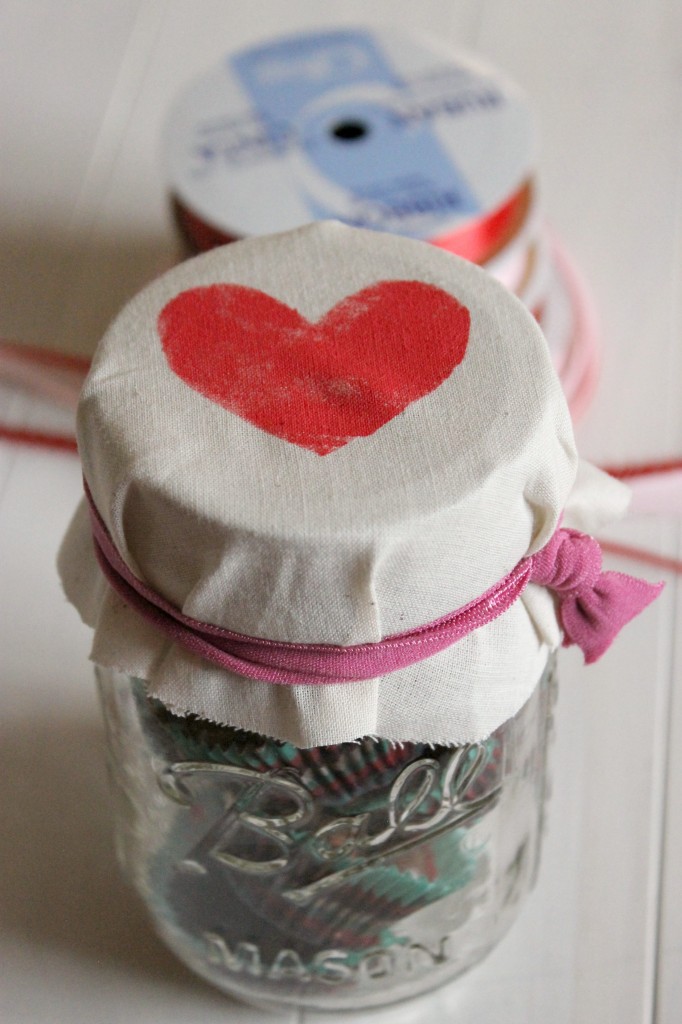
Rubberband around Jar

  Take the fabric circle on the top of the lid and place rubber band to hold it in place around the lid.
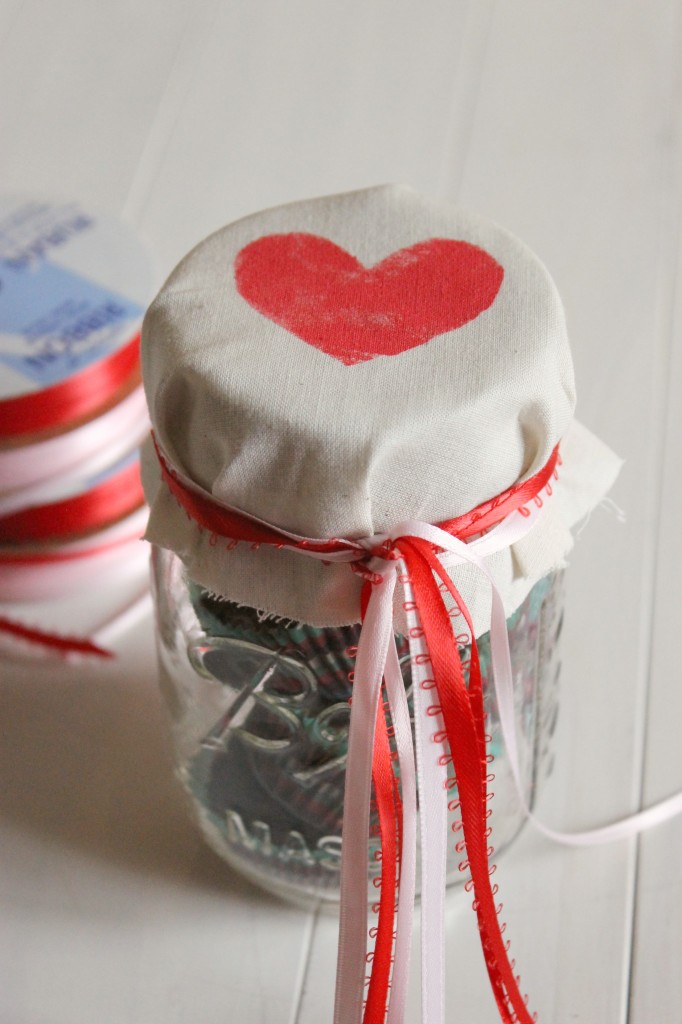
Tie Ribbon on Jar

 Cut about 2 feet of each ribbon color you intend to use.   Double knot the ribbon on top of the rubber band and then carefully pull the rubber band out from below so that ribbon remains holding the fabric over lid.
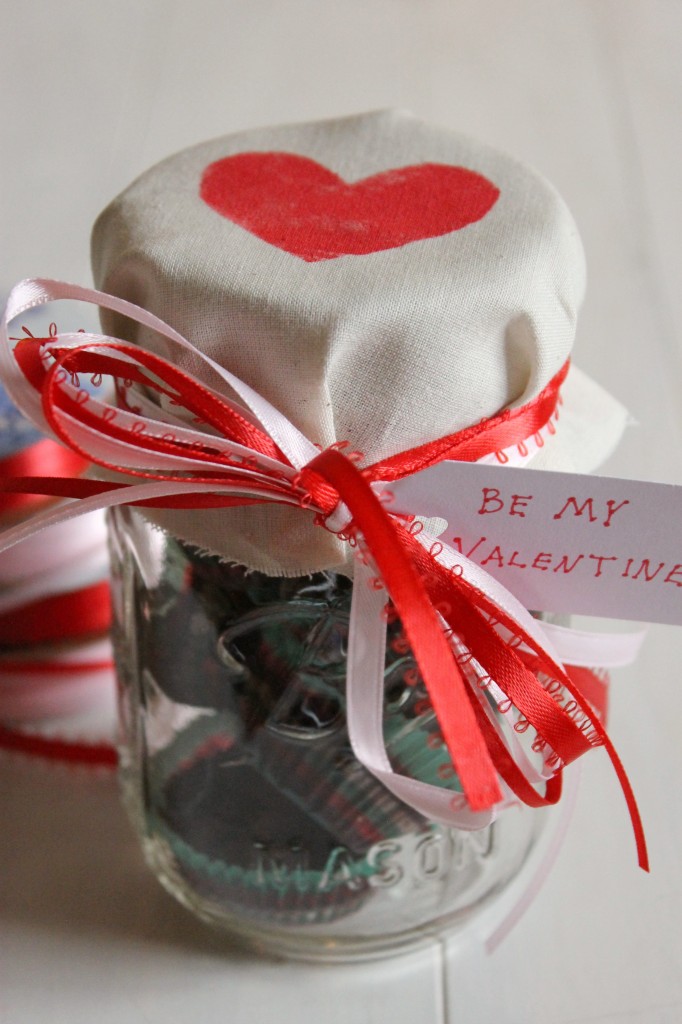
Finished Gift Jars for Valentine's Day

String tag onto of the ribbons and then tie bow on top. Ta da!  Happy Valentine’s Day!

sisterk (2)


Filed Under: Crafting & DIY, K's post, Party Ideas Tagged With: crockpot candies, gift jars, gift packaging, valentine's day, valentine's day gift idea

Homemade Candy

Posted by Keelin Hollenbeck on December 16, 2013

Slow Cooker Candy

Today we are taking a break from the cookie countdown, but we are still focusing on Christmas treats!  This year for my co-workers’ holiday gifts, I am giving mason jars filled with two kinds of homemade candy inside.   I have given my co-workers Christmas cookies in the past, but I decided to change it up this year.  I have been bringing the cookies into work right after I make them to give us a little break from being surrounded by Christmas cookies 24/7.  I love the idea of mason jars and how they can be used for some many things.  Leftovers, soups, vases, glasses, and gift packaging!  I purchased my jars at Target for around $8 for 12, but they also sell them on Amazon for $9.99 with Prime shipping if you can’t find them around where you live.

Slow Cooker Candies

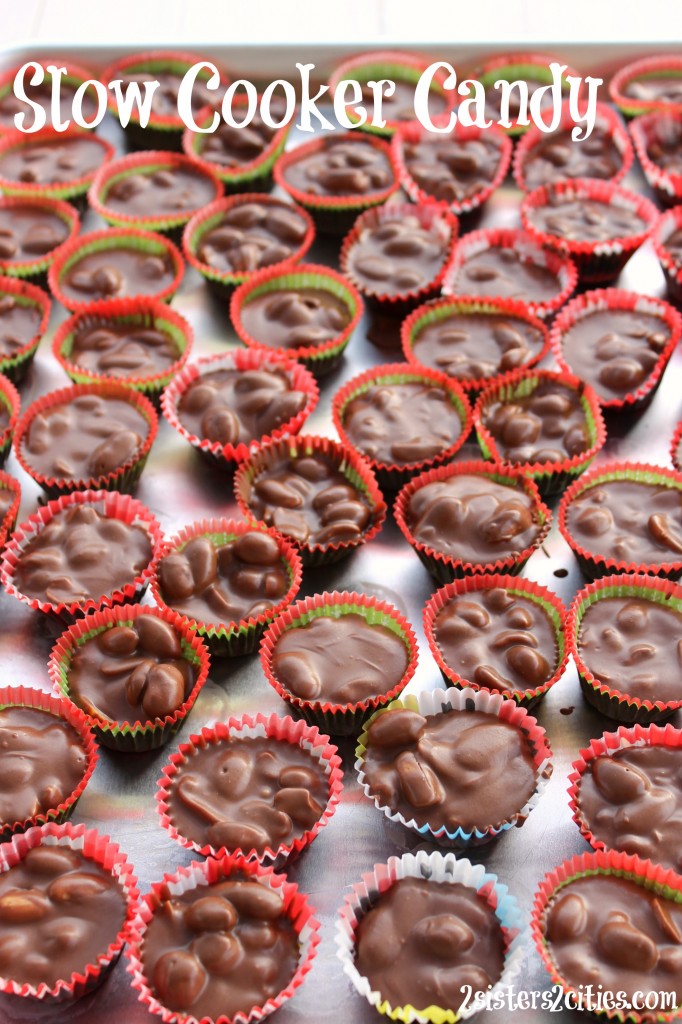
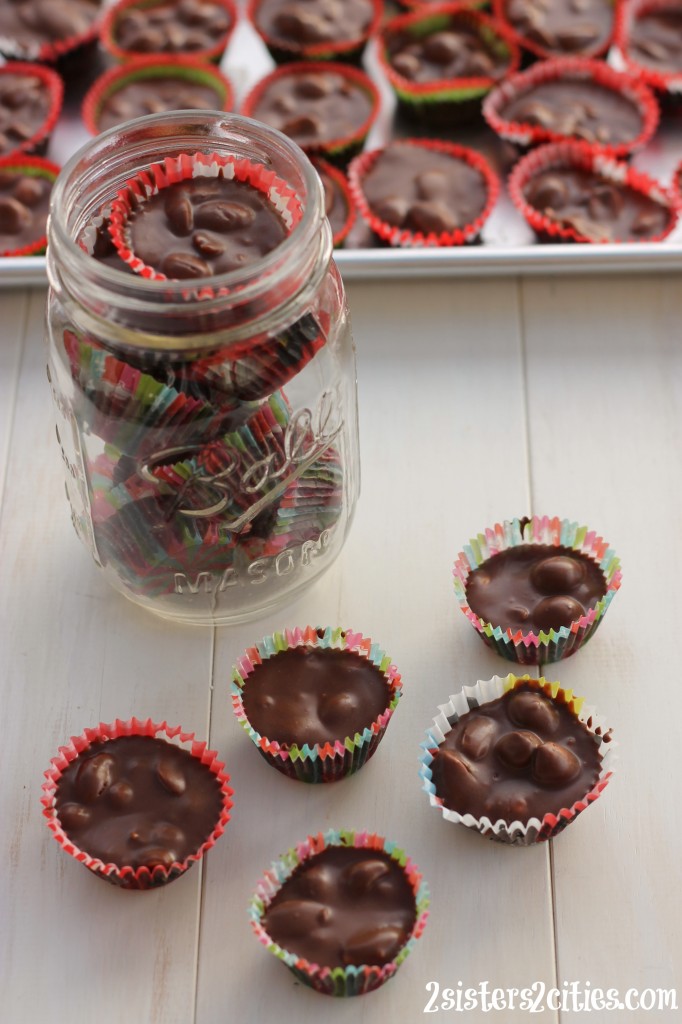
The first candy I made was one that I have been seeing all over Pinterest called “Crockpot Candy.”  This candy is made with a slow cooker.  It is really easy to make and is super addictive!  They are like a chocolate-covered nut cluster with a softer more tastier chocolate mixture.  I used mini cupcake liners to put the chocolate candies in instead of the regular sized liners called for in the original recipe.  I found Christmas cupcake liners at both Target and my grocery store.  The original recipe also asks for white almond bark, which they do not sell anywhere around here.   After googling some resolutions, I found out that you can use Candiquik vanilla melting chocolate in replacement of white almond bark.  I had seen this product at Target when I was looking for the bark.  If you can’t find either, just use white chocolate.

For a quicker hardening stage- stick your trays outside (if it’s cold out).  It has been record breaking cold over hear in the Bay Area, which would be regular cold everywhere else, but its considered cold here.  I know what M is thinking now- we grew up with Syracuse winters… toughen up K!  Right M?

Print
Slow Cooker Candies
Author: 2 Sisters 2 Cities
Recipe type: Candy
Prep time:  20 mins
Cook time:  2 hours 30 mins
Total time:  2 hours 50 mins
Serves: 50-60 candies
 
Ingredients
  • 1 pound dry-roasted salted peanuts
  • 2 oz. German Chocolate, broken into squares
  • 1 cup Semi-sweet chocolate
  • 1¼ pounds Candiquik vanilla melting chocolate, broken into squares
Instructions
  1. In your slow cooker add peanuts followed by German sweet chocolate, semi-sweet chocolate chips and then topped with the candiquik vanilla melting chocolate.
  2. Cover slow cooker and turn on low. Cook untouched for 2½ hours.
  3. While the chocolate is heating, line a baking sheet with mini cupcake liners. You will need about 50-60 liners.
  4. After 2½ hour cooking time, stir the chocolate until all combined. Keep the heat on low while dividing.
  5. Using a teaspoon or a small cookie scoop, scoop candy mixture into each liner. Half way through filling. Tap tray against counter to force the chocolate to settle into the liners. Repeat when finished filling the remainder of liners.
  6. Let candies cool complete before eating. Keep in an air tight container.
3.2.2199

Source- Adapted from Home Cooking with Trisha Yearwood via foodnetwork.com

Peanut Brittle

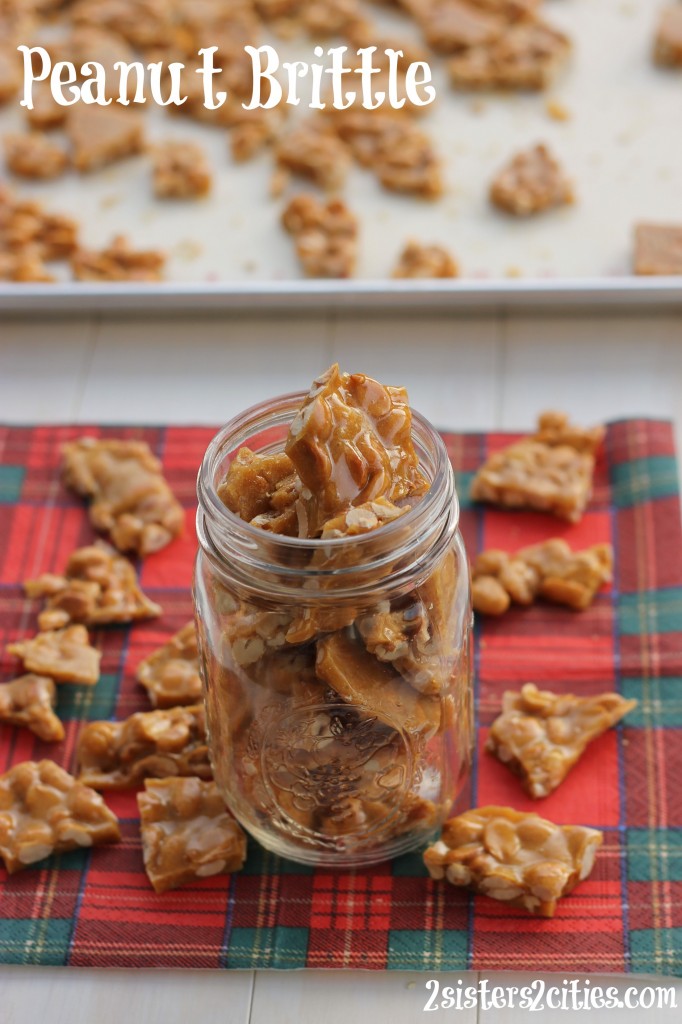
The second type of candy I am packaging this year is my all time favorite holiday candy, Peanut Brittle.  My mom made this recipe growing up and I am such a huge fan.  I had posted this recipe when we first started this blog, but I didn’t have any photos of it and it is pretty buried in our history.  The key to this recipe is finding raw, blanched peanuts.  This, my friends, is not an easy task.  I have been searching for raw blanched peanuts for the last four years!  Wegmans used to carry then and Whole Foods has them occasionally,  but I haven’t seen them in either for awhile.  You can buy these on-line for sure, I just never got to ordering them ahead of time.  This year while  getting my produce at a store called Sprouts, I found the peanuts in the bulk nut section!   I couldn’t believe it!  I quickly filled a bag with the peanuts and knew I had to make my favorite peanut brittle again.

Print
Peanut Brittle
Author: 2 Sisters 2 Cities
 
Ingredients
  • 1 cup sugar
  • 1 cup light corn syrup
  • 2 cups raw blanched peanuts
  • 1 tsp. Baking Soda
  • 1 tsp. vanilla extract
Instructions
  1. Prepare a cookie sheet by spraying with cooking spray and set aside. Also spray a heat resistant rubber spatula or regular spatula with spray; it will come in handy when spreading the sticky mixture.
  2. In a sauce pan over medium-high heat, stir together sugar and light corn syrup.
  3. Once melted together, add in raw peanuts. Stir constantly for 12-15 minutes, until peanuts start to turn brown (often the signal that it’s ready is a puff of smoke, but I am yet to see this puff.)
  4. Stir in vanilla extract and baking soda quickly before the candy starts to harden.
  5. Once all the ingredients are completely stirred together, pour mixture onto greased baking sheet, using greased spatula to spread it out. Spread candy out as far as you can without making holes so that there is a single layer of peanuts.
  6. After this is spread, leave for about 1 or 2 hours until completely hardened then break into small pieces. Store in an airtight container.
3.2.2199

Source- A 2s2c original
sisterk (2)


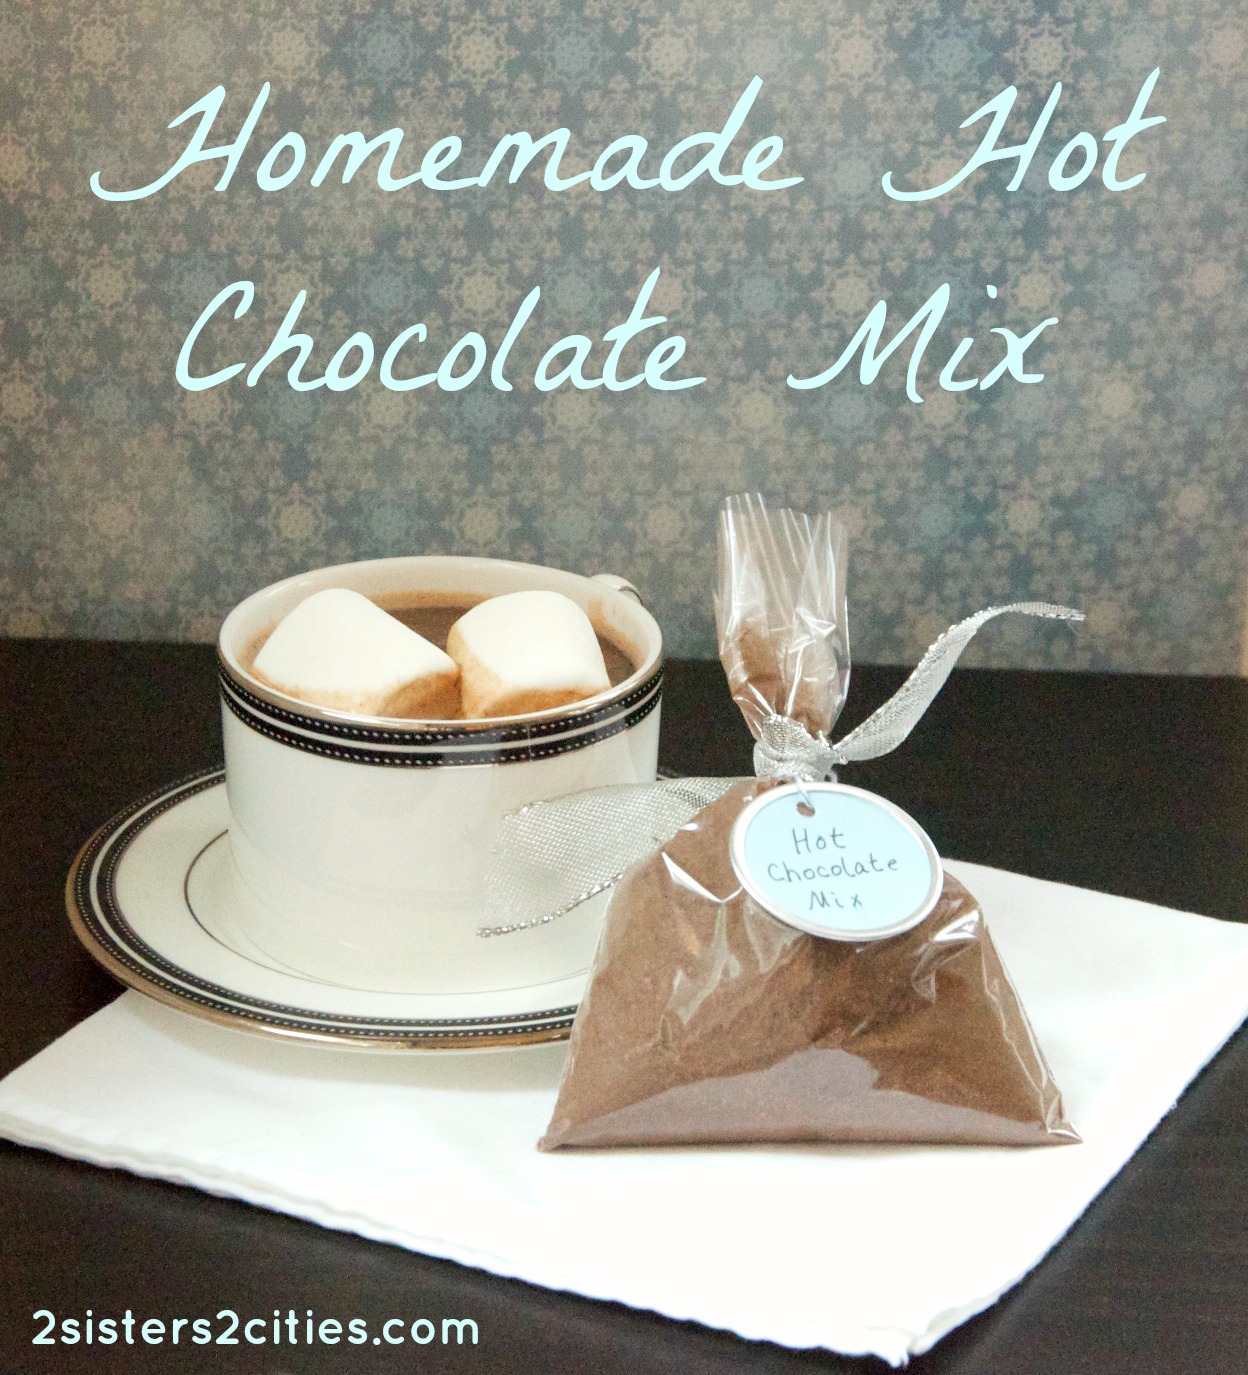
P.S. Looking for more holiday edible gift ideas besides homemade candy?  Try our homemade hot chocolate mix!

Homemade Hot Chocolate Mix

Related Posts Plugin for WordPress, Blogger...


Filed Under: K's Desserts, K's Recipes Tagged With: candy, christmas gift ideas, crockpot candies, diy christmas project, DIY gifts, edible stocking stuffers, homemade candy, Peanut Brittle, stocking stuffers

Recent Posts

  • Easy Holiday Office Party Tips
  • 5 Steps to an Easy Football Party
  • Gingerbread Biscotti
  • Holiday Coffee Bar and Thanksgiving Recipes
  • Soft Sugar Pumpkin Cookies
  • Cinnamon Sugar Apple Cake
  • Hello Pumpkin Season!
  • Make Your Own Milkshake Party!
  • Mama’s Pickles
  • S’more Cookies

Categories

  • About 2 Sisters 2 Cities (7)
  • Books (8)
  • Crafting & DIY (22)
  • Design & Decorating (15)
  • Gardening (5)
  • Giveaway (14)
  • Guest Bloggers (8)
  • K's post (46)
  • K's Recipes (191)
    • K's Desserts (75)
    • K's Entrees (23)
    • K's Sides (24)
  • M's post (72)
  • M's recipes (167)
    • M's Entrees (21)
    • M's Sides (14)
    • M's Desserts (30)
  • Organizing (7)
  • Party Ideas (49)
  • Uncategorized (1)
  • Vacation (12)
Stitch Fix

Archives

Blogroll

  • Annie's Eats
  • Bake at 350
  • Baked Bree
  • Boston Harbor Beacon
  • Confections of a Foodie Bride
  • Cook Like a Champion
  • Erin’s Food Files
  • Forever and a Recipe
  • Framed Cooks
  • Oh Happy Day
  • On Common Ground
  • Pennies on a Platter
  • Pink Parsley
  • Recipe Girl
  • Sally's Baking Addiction
  • Simply Scratch
  • The Curvy Carrot
  • The Pioneer Woman
  • Tidy Mom
  • Two Peas & Their Pod
  • What’s Gaby Cooking
  • Young House Love
Increase your website traffic with Attracta.com

grab a 2 sisters button!


Copyright © 2014 ~ 2 Sisters 2 Cities | Blog Design by Minx Design