2 Sisters 2 Cities

Image Map
  • About 2 Sisters 2 Cities
  • Recipe Index
  • Project Index
  • Contact Us
  • Like us on Facebook
  • Follow m on twitter
  • Follow k on twitter
  • Follow 2S2C on Pinterest
  • Follow 2S2C on G+
  • rss
  • e-mail 2S2C

Archives for February 2014

Soft Heart Sugar Cookies with Buttercream Frosting

Posted by Keelin Hollenbeck on February 14, 2014

Valentine's Day Soft Sugar Cookies

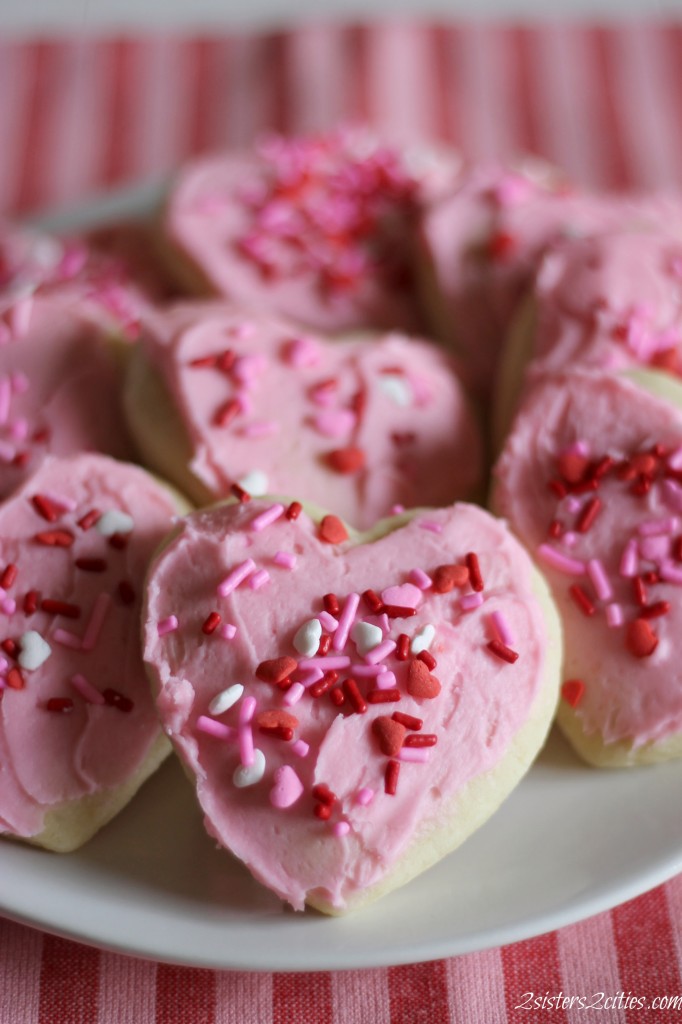
The most popular type of dessert in this house is by far cookies. It seems we have tried every type of chocolate chip cookie and frosted sugar cookie there is. I am always saving the latest and greatest recipes I find. While I was thinking about what I was going to make for Valentine’s Day, I knew that a soft fluffy cut-out sugar cookie with buttercream frosting was in order. Last years cutout sugar cookies with buttercream frosting were such a hit that I thought soft heart cookies would be worth a try. I made soft sugar cookies with buttercream frosting a couple years ago for a bake sale and they were heavenly. My mom made them for Christmas this year and between my boyfriend and I we ate at least half the batch! These heart shaped soft sugars are right up there with the my other two favorite recipes!
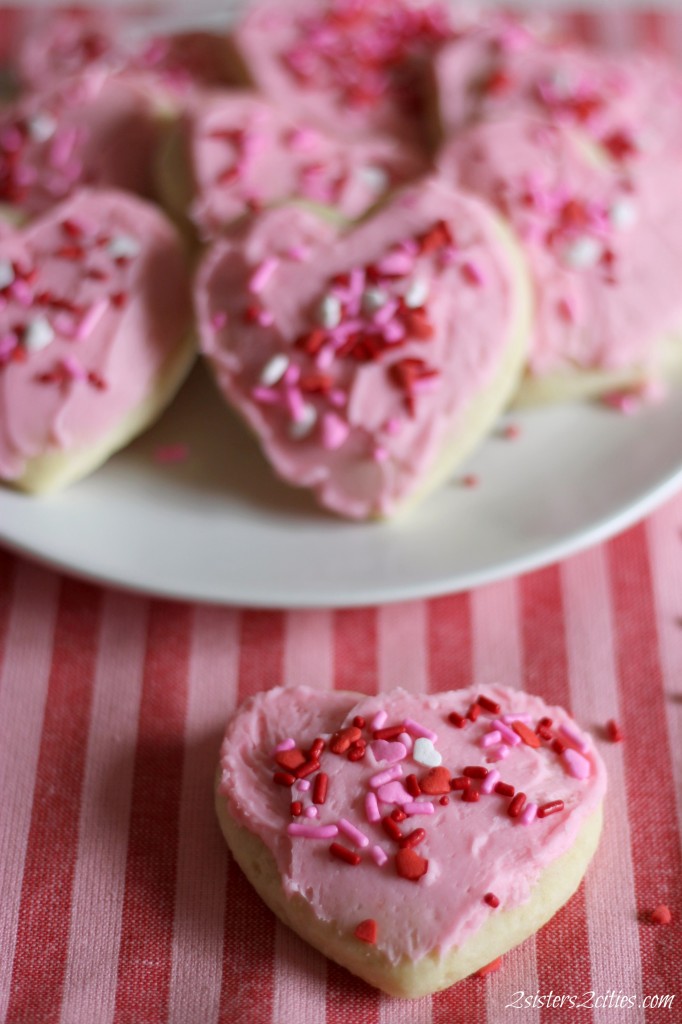
Cut Out Soft Sugar Cookies with Buttercream Frosting
I divided the original recipe in half because it made 6 dozen cookies. Since there is only the two of us in my house and we are both on Weight Watchers, we really did not need 6 dozen cookies!
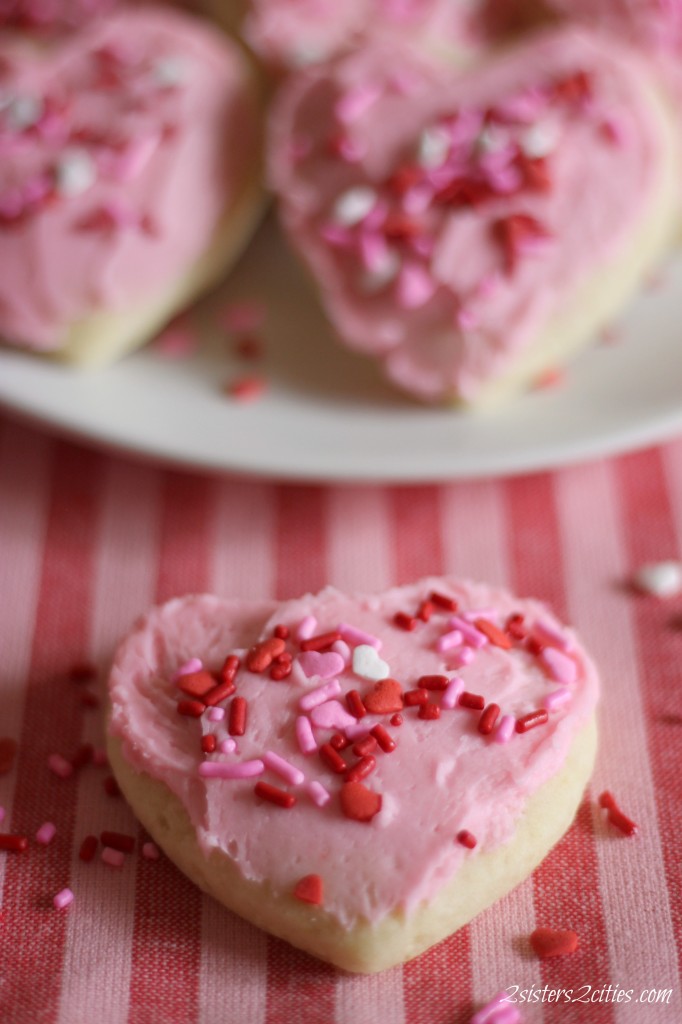
Soft Cut Out Sugar Cookies

After decorating these cookies with pink frosting and Valentine’s Day sprinkles, I realized how similar these looked to last year’s cookies! I should have tried to make red or purple frosting, but oh well! They were delicious anyways.
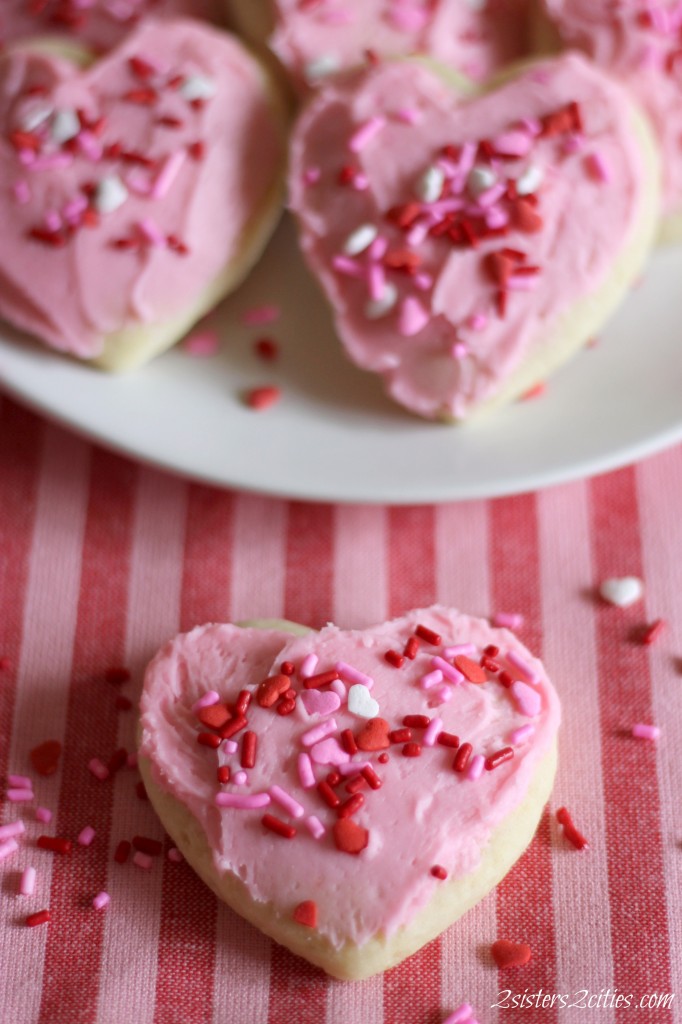
Heart Cut Out Cookies
Happy Valentine’s Day!

Print
Soft Heart Sugar Cookies with Buttercream Frosting
 
Ingredients
For Cookies:
  • 3 cups of All Purpose Flour
  • ½ tsp. baking soda
  • ½ tsp. baking powder
  • ¼ tsp. salt
  • ½ cup unsalted butter (1 stick), at room temperature
  • 1 cup granulated sugar
  • 2 small eggs or 1 and ½ large eggs
  • 1 tsp. vanilla extract
  • ¾ cup sour cream or light sour cream
For Frosting:
  • ½ cup unsalted butter (1 stick), at room temperature
  • ½ tsp. vanilla extract
  • 2 cups confectioners' sugar
  • Smidgen of salt
  • 3 tbsp. heavy cream
  • food coloring, optional
  • sprinkles, optional
Instructions
For Cookies:
  1. In the bowl of your stand mixer, mix the butter and sugar together until light and fluffy. Add in egg and mix until combined. Add in vanilla extract and sour cream and stir until everything is incorporated.
  2. In a separate medium-sized bowl, whisk together the flour, baking soda, baking powder, and salt.
  3. Slowly mix dry ingredients into the butter mixture, with your mixer on low and making sure to scrape down the sides. Once all combined, divide dough into two. The dough will be sticky so you may want to lightly oil or flour your hands to prevent sticking. Place each dough half on a piece of plastic wrap and flatten to about 1 ½ inches thickness. Wrap completely, repeat for second half, and chill both halves for at least 2 hours.
  4. Preheat oven to 425 degrees. Line two baking sheets with parchment paper or silicone baking mats.
  5. Flour countertops and roll out the first dough slab to about a ¼th inch thickness. You may need to flour the top of a dough a little too if it gets too sticky. Lightly flour your cookie cutter and cut out your shapes, place each cookie on prepared baking sheet and leave about 2 inches between each cookie. Repeat until you use up all the dough. This recipe should make about 3 dozen but that all depends on the size of your cookie cutter (mine was about a 3 inch heart.)
  6. Bake for 7-8 minutes until cookies start to turn golden on the edges. Using a spatula, gently move your cookies over to a cooling rack.
For Frosting:
  1. Cream together butter and vanilla extract in the bowl of you stand mixer set at a low speed. Slowly add confectioners’ sugar and a smidgen of salt (half a pinch) until smooth. Add in heavy cream a tablespoon at a time and continue to beat on medium for 1-2 minutes until the frosting has a light and fluffy consistency. Add your desired food coloring and mix in.
For Assembly:
  1. Once the cookies are cool, frost them with 1-2 tsp. of frosting with a offset spatula or a butter knife. If desired, add sprinkles to frosting right after before it begins to set. Enjoy!
3.2.2265

Source- Adapted from Two Peas and Their Pod
sisterk (2)

Follow my blog with Bloglovin

Filed Under: K's Desserts, K's Recipes Tagged With: cookie recipe, cookies, cutout sugar cookies, soft sugar cookies, sugar cookies, sugar cookies with buttercream frosting, valentine's day

Valentine’s Day Gift Packaging

Posted by Keelin Hollenbeck on February 11, 2014

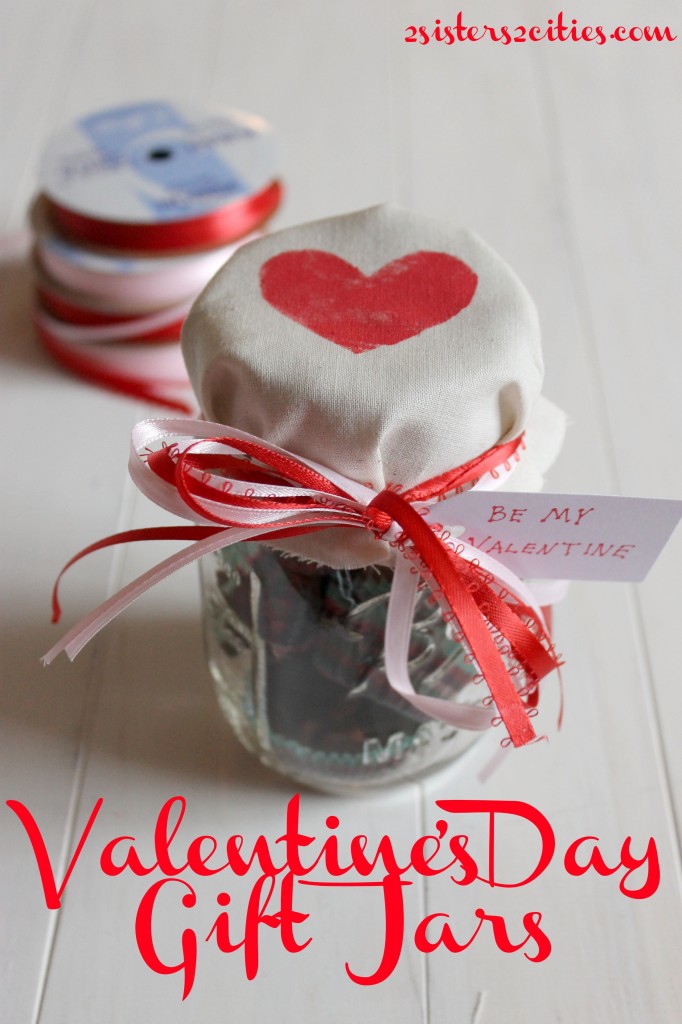
Valentine's Day Gift Jars

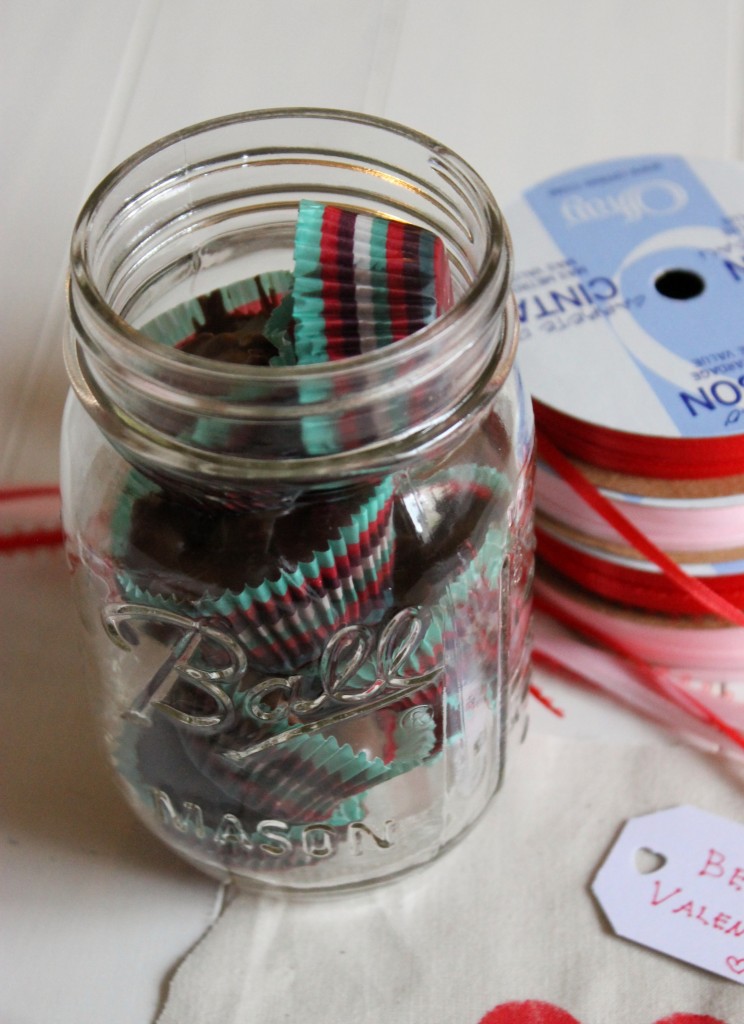
Valentine’s Day is almost here and if your haven’t started thinking about gifts for your loved ones, I have just the idea for you!  For my Christmas gift to my co-workers and friends this year, I made mason jars filled with homemade candy.  I then covered the jar with muslin fabric (stenciled with the holiday greeting “cheers!”) and tied it on with red and green ribbon.  Like most things around here, I finished it late the day before I was handing them out with no day light left.  Therefore, I never came up with a good picture to share with you all.

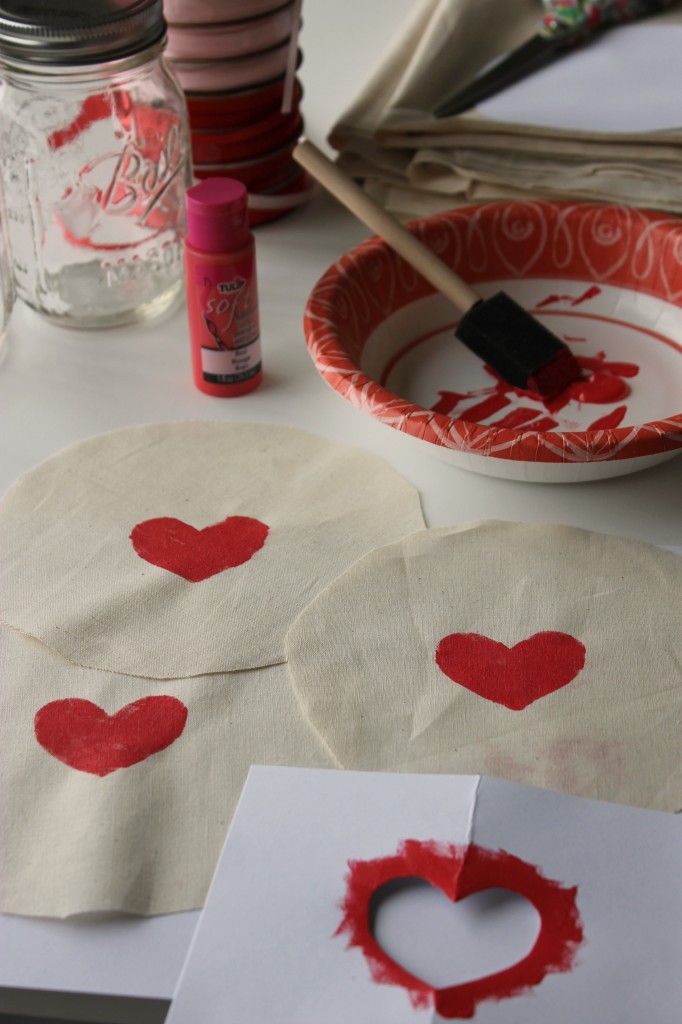
Getting Heart Jars Ready

After thinking about what I could make and write about on the blog for Valentine’s Day, I thought of re-creating the gift jars, except for a Valentine’s day gift.   Mason jars are such a cute way to gift and are usually less than a dollar.  The jars can be filled with whatever store-bought candy or homemade candy you would like to fill them with.  For Christmas I filled them with crock pot candies and peanut brittle.   The crock pot candy was so popular that I decided to fill my jars with them again because it was so simple to make.  I had originally planned to make homemade peanut butter cups for my jars, but had run out of time and calories!

Muslin fabric is one of the cheapest kinds of fabric you can buy.  I bought four yards at Christmas time and used a 50% off coupon so it ended up costing about four dollars!  I will have enough fabric to make gift jars for every holiday for the rest of my life!  As for ribbon, I always stock up on the 50 cent Offray ribbon at the craft stores in all the colors and different sizes.   For 50 cents, you just can’t go wrong!  I love combining different colors and sizes for a texture effect.  Mason jars can be bought at the grocery store, Target or even Amazon for less than a dollar each.

If this project is last minute for you, think about using store-bought Valentine’s Day candies such as conversation hearts, M&M’s, Reese’s, Mini Snickers, and or Hershey’s Kisses.  I also came up with a list of homemade candies that you could gift in these jars if you have more time (lucky!)

From our Blog:

  • Crock Pot Candies
  • Light Caramel Corn
  • Chocolate Oreo Truffles
  • Golden Oreo Truffles
  • Puppy Chow
  • White Trash Party Mix

From Other Blogs:

  • Homemade Peanut Butter Cups from Brown Eyed Baker
  • Valentine’s Day Homemade Gumdrops from Mom on Timeout
  • Peanut Butter Pretzel Truffles from Annie’s Eats
  • Chocolate Chip Cookie Dough Truffles from Inside BruCrew Life

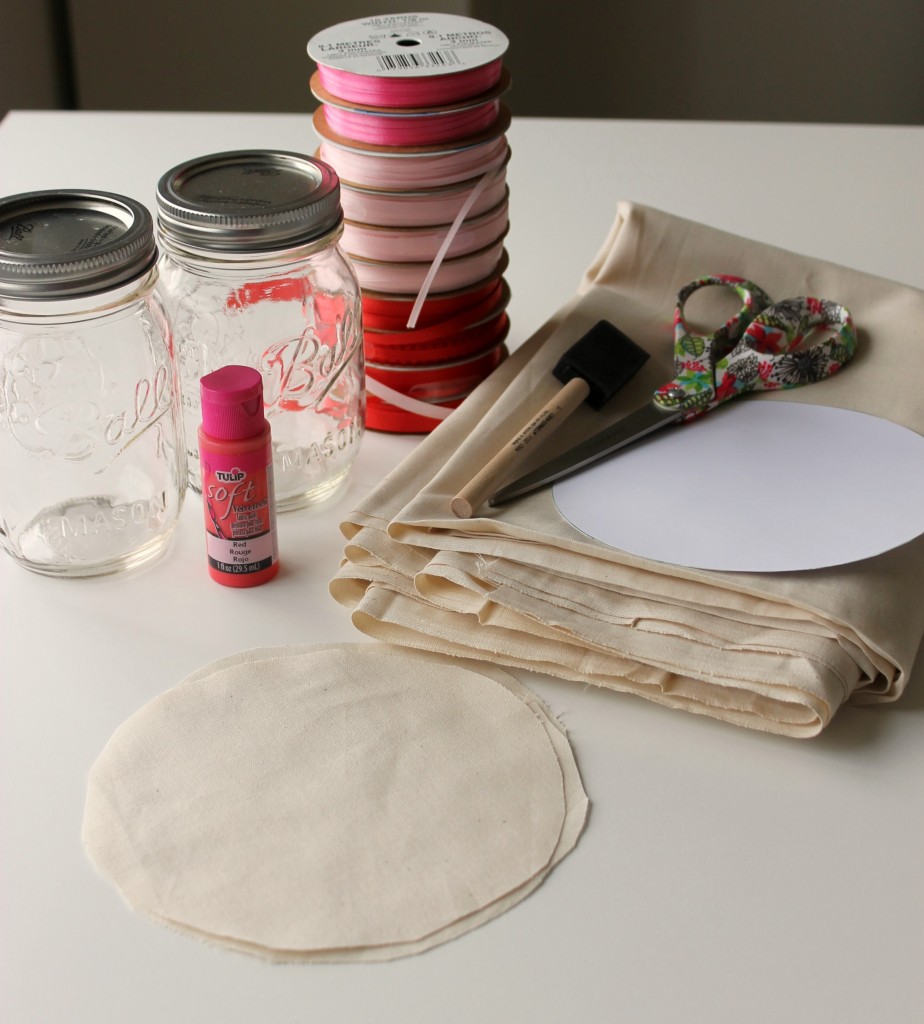
Gift Jar Supplies

Materials:

  • Muslin Fabric
  • Fabric Scissors
  • Fabric Paint
  • Foam Brush
  • Heart Stencil (or card stock paper with a heart cut out of it)
  • Rubber Band
  • Colored Ribbons
  • Mason Jars, cleaned and dried
  • Tags

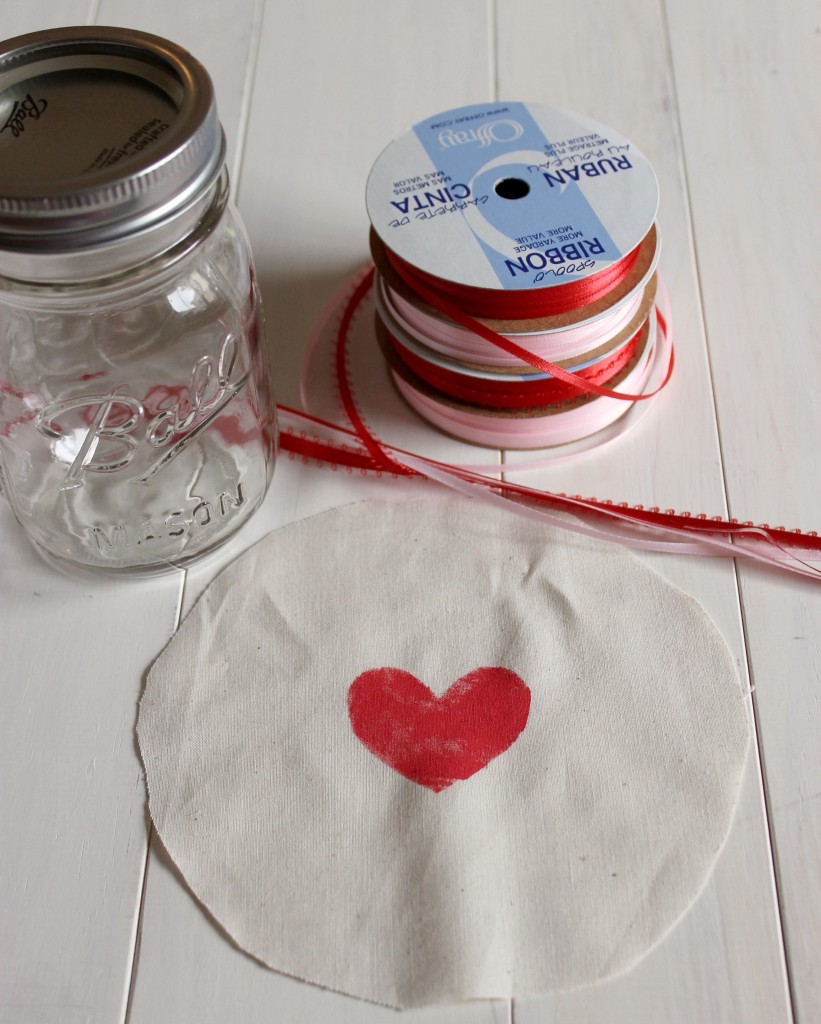
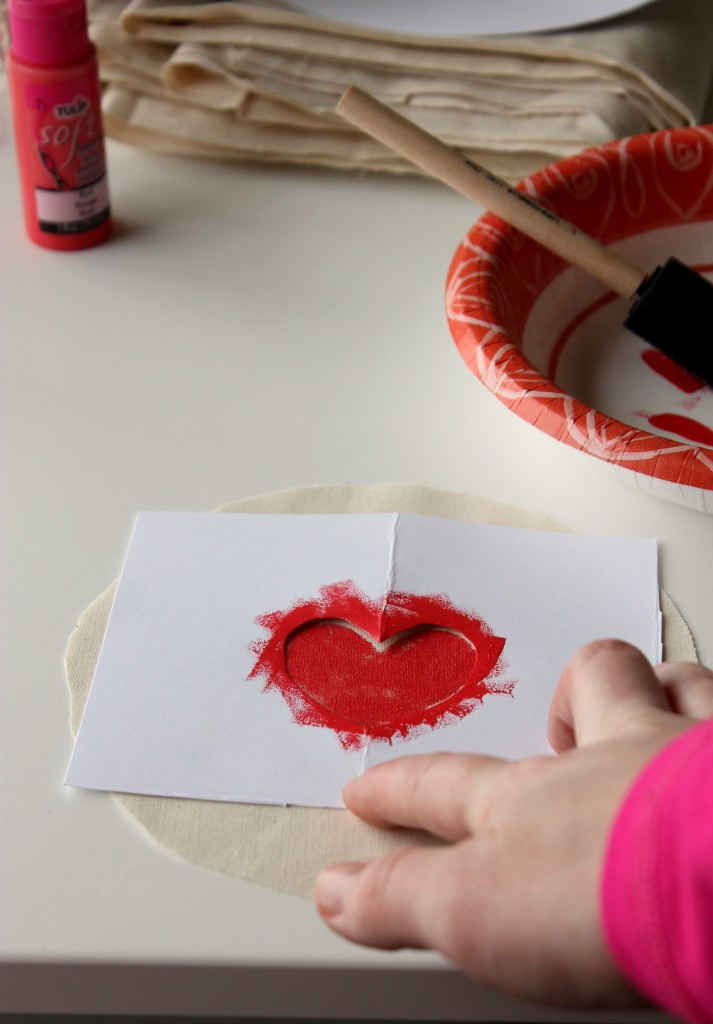
Stenciling Heart

Cut muslin fabric in a 6-inch circle. Stencil the middle of fabric with heart by dabbing fabric paint with a foam brush.  Make sure to put scrap paper underneath because some paint might bleed through.

Stenciled Fabric

Let the fabric dry.

Fill Jar with Candy

Fill your jars with candy and close with lids.

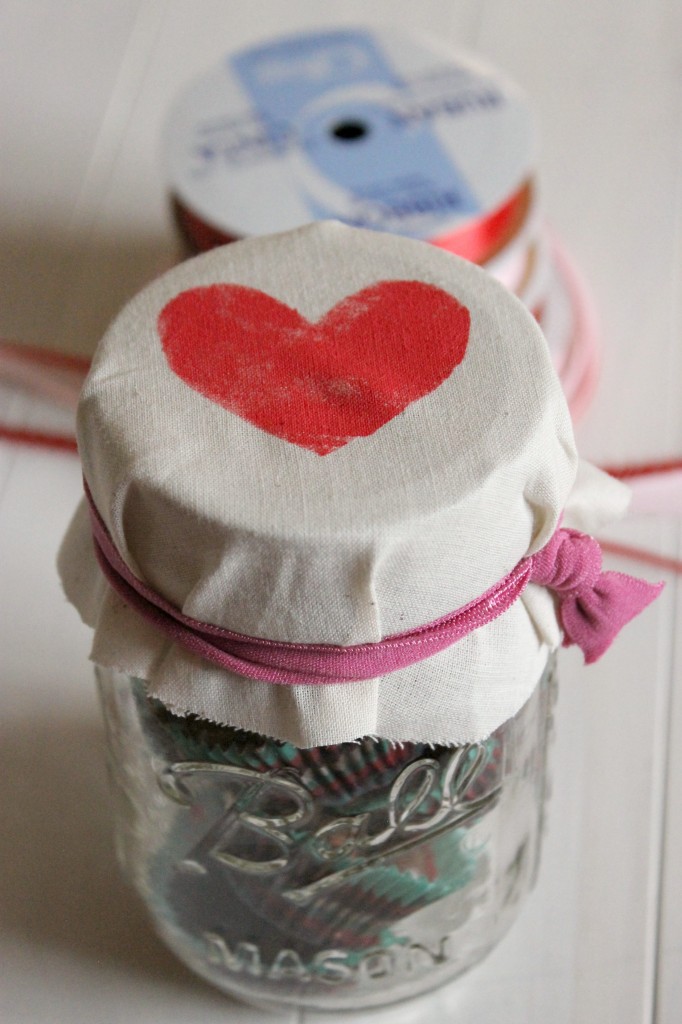
Rubberband around Jar

  Take the fabric circle on the top of the lid and place rubber band to hold it in place around the lid.

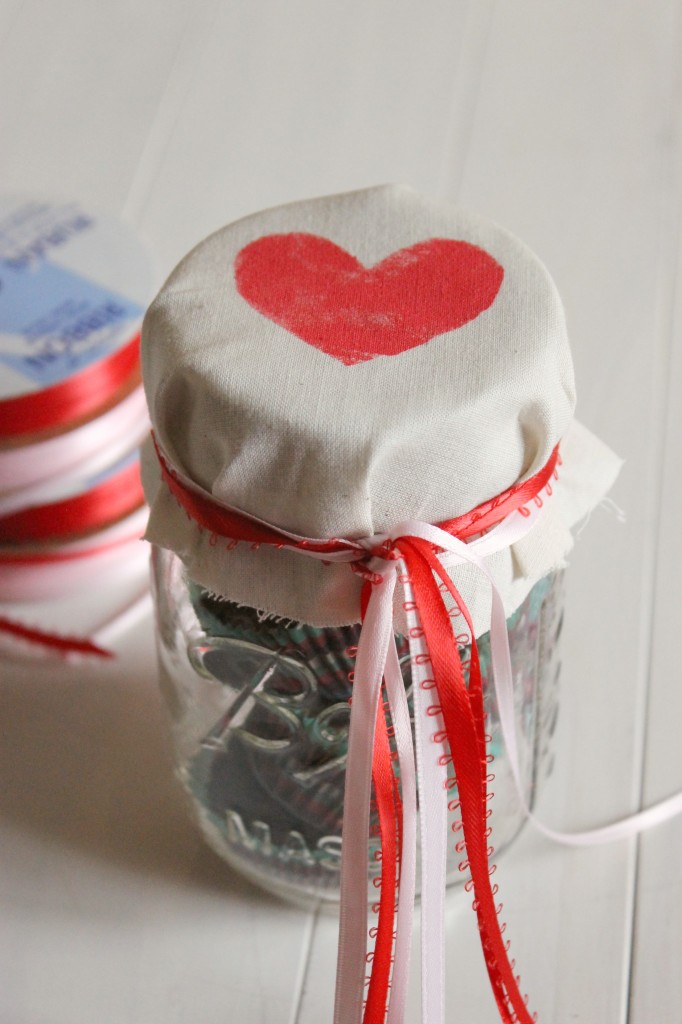
Tie Ribbon on Jar

 Cut about 2 feet of each ribbon color you intend to use.   Double knot the ribbon on top of the rubber band and then carefully pull the rubber band out from below so that ribbon remains holding the fabric over lid.

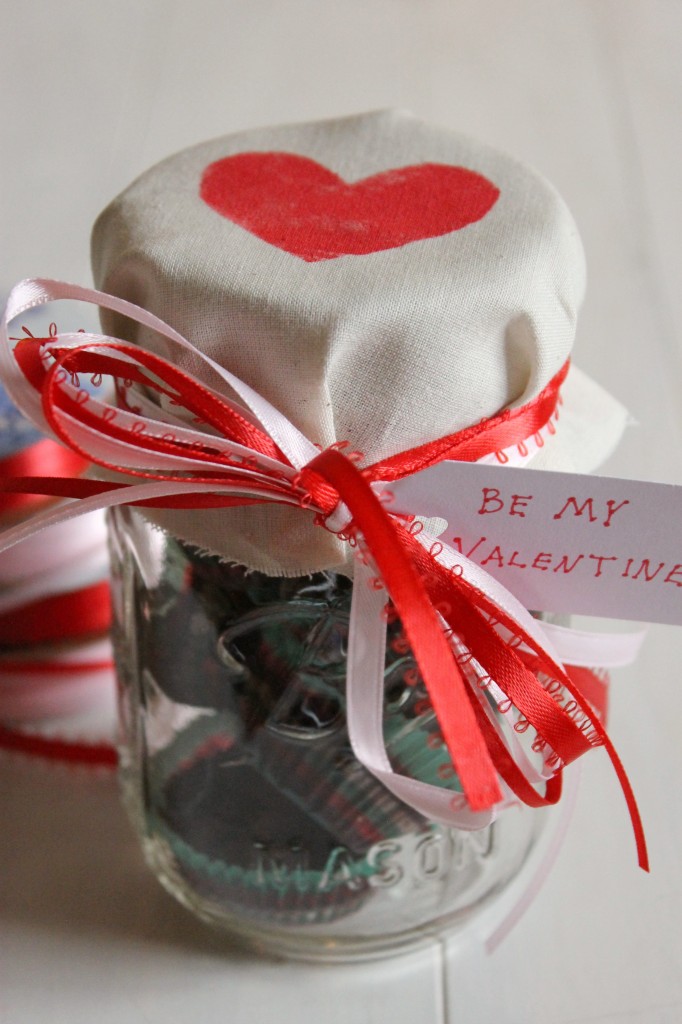
Finished Gift Jars for Valentine's Day

String tag onto of the ribbons and then tie bow on top. Ta da!  Happy Valentine’s Day!

sisterk (2)


Filed Under: Crafting & DIY, K's post, Party Ideas Tagged With: crockpot candies, gift jars, gift packaging, valentine's day, valentine's day gift idea

Valentine’s Day Round-Up

Posted by Meaghan Barry on February 7, 2014

It’s officially one week until Valentine’s Day and I have got some serious planning to do!  I have yet to make a single treat or card and our V’day menu remains a blank sheet of paper.  I figured a Valentine’s Day round-up was in order to spark some serious inspiration!

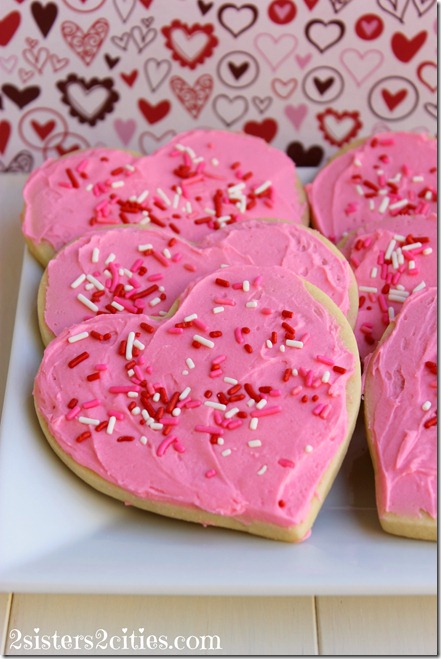
Cutout Sugar Cookies with Buttercream Frosting

These heart-shaped Cutout Sugar Cookies with Buttercream Frosting have recently been our most popular post and for good reason!  They are amazingly delicious cutout cookies without all the fuss that royal icing requires.

Valentine's Day M&M Cookies {from 2 Sisters 2 Cities}

I also love these these M&M cookies.  While I made them for the first time last year for Valentine’s Day, I made them throughout the year with various colored M&Ms.

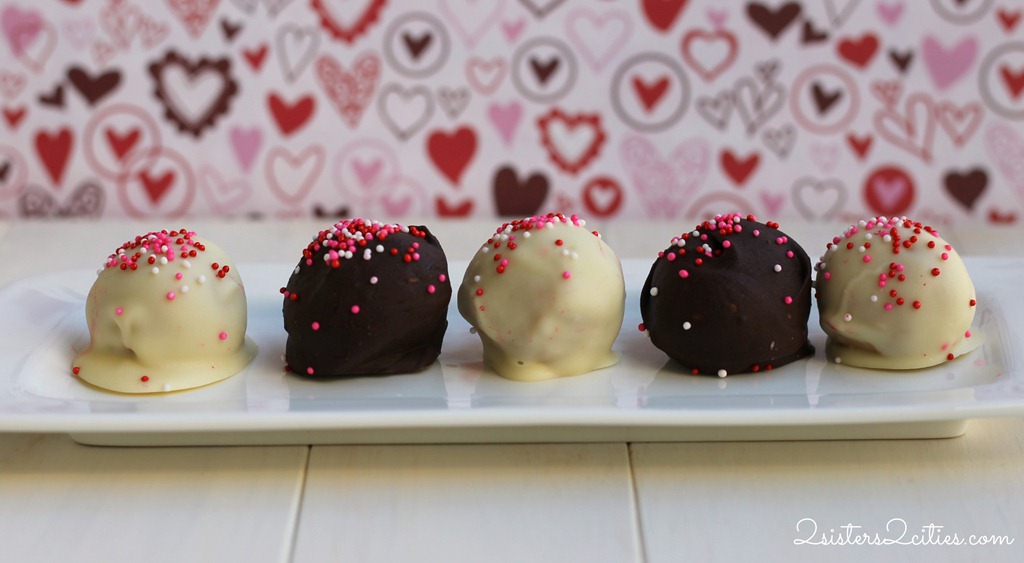
Golden-Oreo-Truffles

These Golden Oreo Truffles are only 5 ingredients and are perfectly easy to make for your sweetheart!

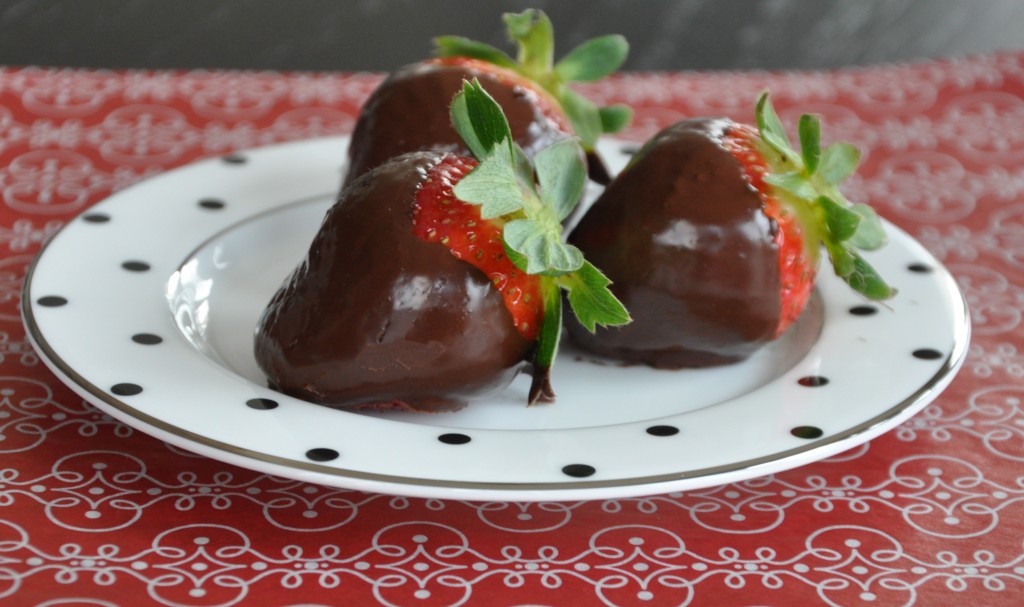
chocolate_covered_strawberries

It’s also a great time of year to make Chocolate-Covered Strawberries (or pretzels or bananas!)

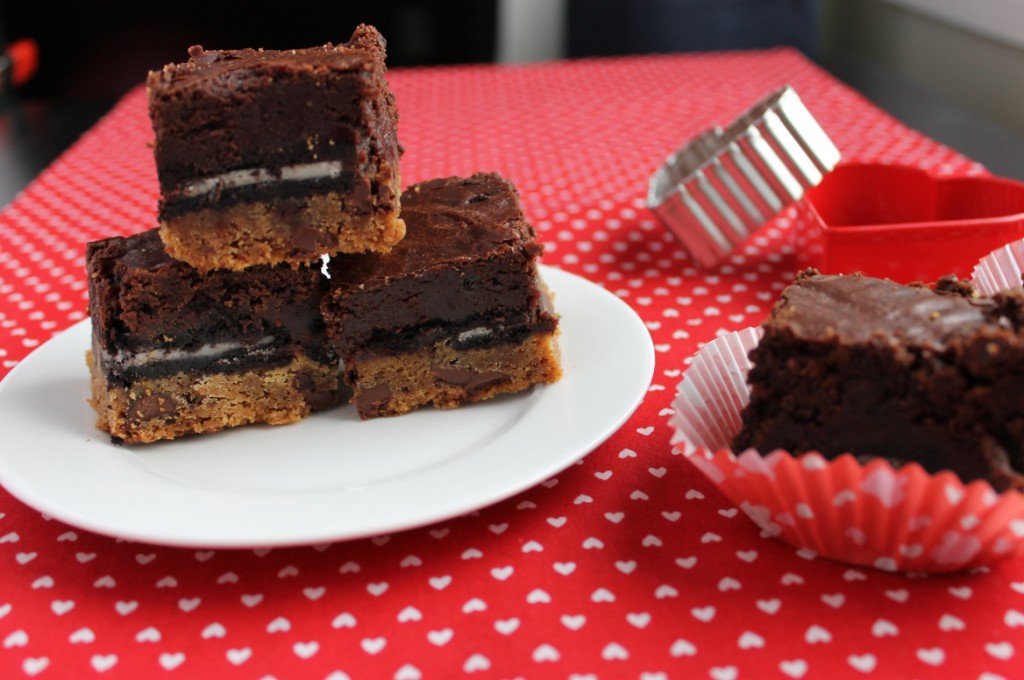
3 Layer Brownies- chocolate chip cookies, Oreos, and brownies together in one bar!

Or you could package up these amazing Three Layer Brownies to give out as gifts for Valentine’s Day!  The three layers include chocolate chip cookies, Oreos and brownies…wow!

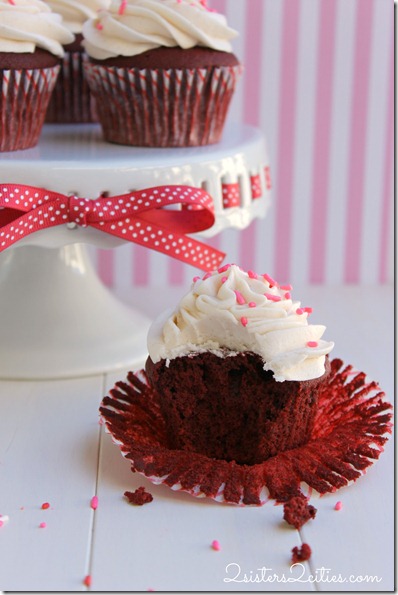
Red-Velvet-Cupcakes-for-Valentines-Day_thumb.jpg

Our Red Velvet Cupcakes were recently selected as part of the Blog Better Boston {hub}LINKS newsletter as part of their “Let’s Talk Love” round-up.  Here were the other blog posts that were selected as part of this week’s theme:

hublinks-featured-blogger-LOVE

  • Looking to buy your sweetie a V-day gift? Mandy’s Money has a guide that covers gifts of various price points.
  • Who doesn’t love wedding photos? Lindsay’s Look takes us back to her wedding, 3 years ago.
  • DIY to your heart’s content with these Valentine’s Day DIYs (that aren’t cheesy) from Design Fixation.
  • Three words: Red. Velvet. Cupcakes. Two Sisters Two Cities has the recipe…and it involves cinnamon cream cheese icing.
  • This Valentine’s Day themed shoot from Stephanie Rita Photography is just too cute!
  • Want kissable lips? Cobbs Hill has the recipe for this two step process.
  • Inspired by grammar school valentines, Glitter Trim cooked up these adorable envelope cookies.
  • Wearing your heart on your sleeve is so last year! Style Tab recommends wearing it on your sunglasses instead.

Happy Valentine’s Day planning!

sister m signature


Filed Under: M's post Tagged With: brownies, cookies, cupcakes, heart, pink, red, round-up, strawberries, valentine's day

Throwback Thursdays- The Root Beer Float

Posted by Keelin Hollenbeck on February 6, 2014

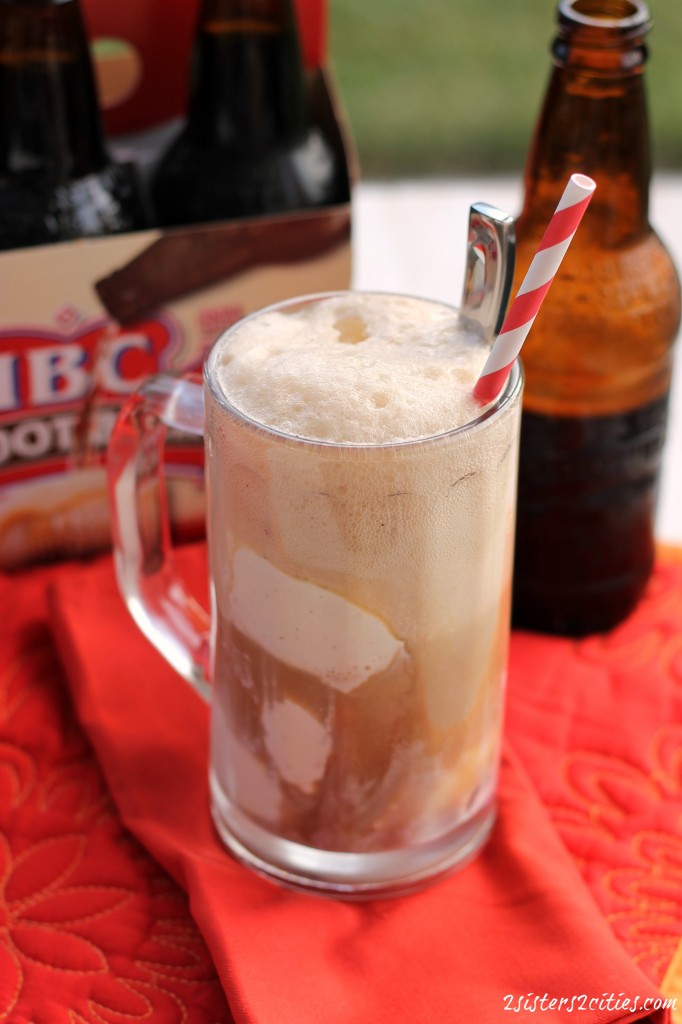
Root Beer Floats

Do you remember the days of letter jackets, Sadie Hawkins dances, and hanging out at the soda shop after school? Yeah I don’t… I wasn’t born yet.  I did have a poodle skirt and saddle shoes for a Halloween costume though.  I am also pretty sure I kept wearing the saddle shoes well after Halloween because I thought I was “wicked” cool.  (Wicked is a term used in the Syracuse and Boston area that in essence means really really or like totally… Yup that’s my technical definition.)

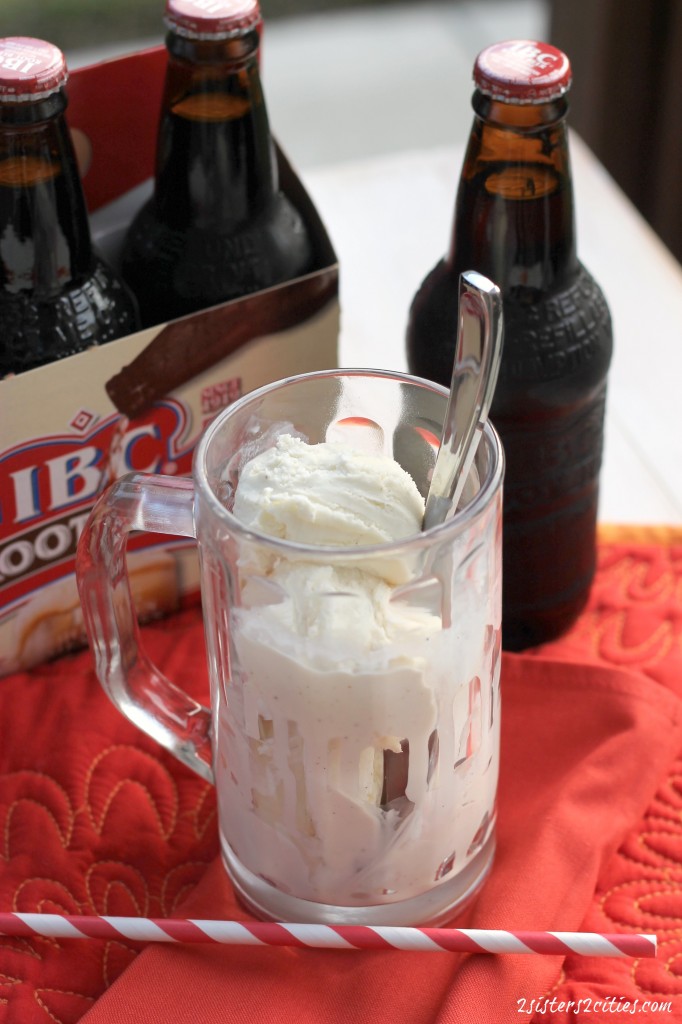
Vanilla Ice Cream for Float
Why am I referring to soda shops and saddle shoes? That’s because today’s recipe is the Root Beer Float, a favorite throwback recipe in my home.

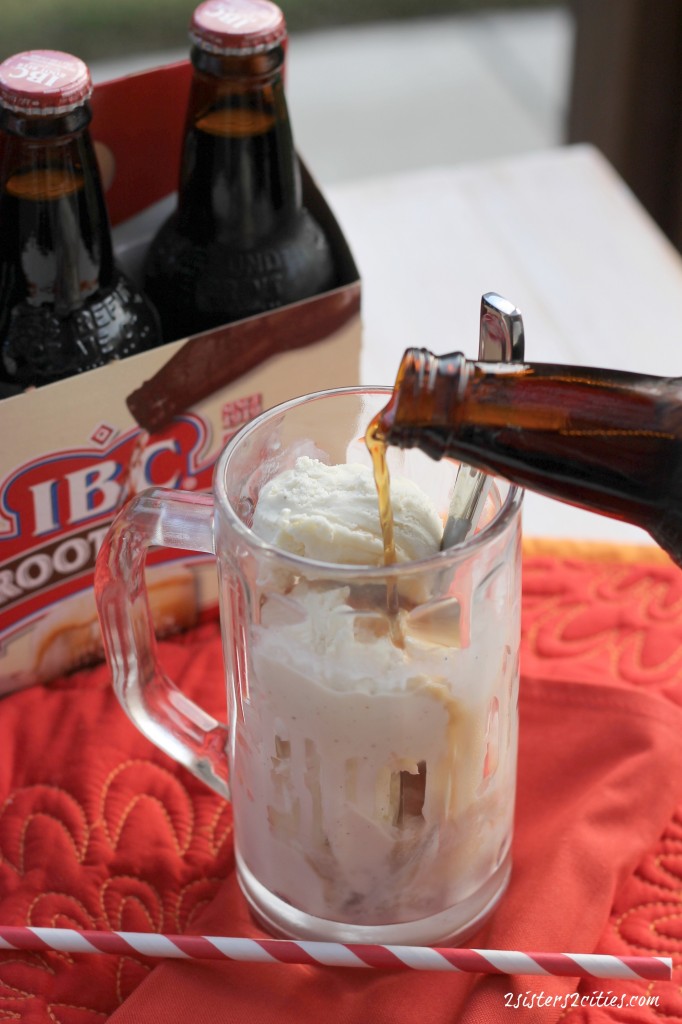
Root Beer Poured into Float

My mom and I made some fantastic root beer floats when she came to visit in November.  Due to Thanksgiving sides, Christmas cookies, and appetizer craziness around here, I hadn’t had a chance to post about them.   While we were making the floats, we recalled how grandma called root beer floats, Brown Cows, and ones made with cola and vanilla ice cream, Black Cows.   This sparked a conversation and some googling to see what other types of floats are out there.

There are a lot of types of soda floats!  A Boston Cooler is when you made a float with ginger ale and vanilla ice cream (originated in Detroit not Boston- sorry M!)  A Snow White is a when you make a float with lemon-lime soda and vanilla ice cream.  Then, there is an Orange Cow with orange soda and Purple Cows with grape soda, both with vanilla ice cream.  You can get crazy with some Beer floats or Shakin’ Jesse, which is Guinness and vanilla ice cream.  Who knew you could make this many floats, but my favorite will always be the Root Beer Float!

Print
Root Beer Floats
Author: 2 Sisters 2 Cities
 
Ingredients
  • Root Beer
  • Vanilla Ice Cream
Variations:
  • Cola and Vanilla Ice Cream
  • Orange Soda and Vanilla Ice Cream
  • Grape Soda and Vanilla Ice Cream
  • Root Beer and Chocolate Ice Cream
  • Lemon-Lime Soda and Vanilla Ice Cream
  • Ginger Ale and Vanilla Ice Cream
Instructions
  1. In a glass add in two scoops of ice cream and then slowly pour in soda until glass is filled.
  2. Serve with a straw and a spoon.
3.2.2199

sisterk (2)


Filed Under: K's Desserts, K's Recipes Tagged With: Brown cow, drinks, Floats, ice cream, Ice Cream Floats, root beer, Root Beer Floats, Throwback Thursday

Taco Dip

Posted by Meaghan Barry on February 1, 2014

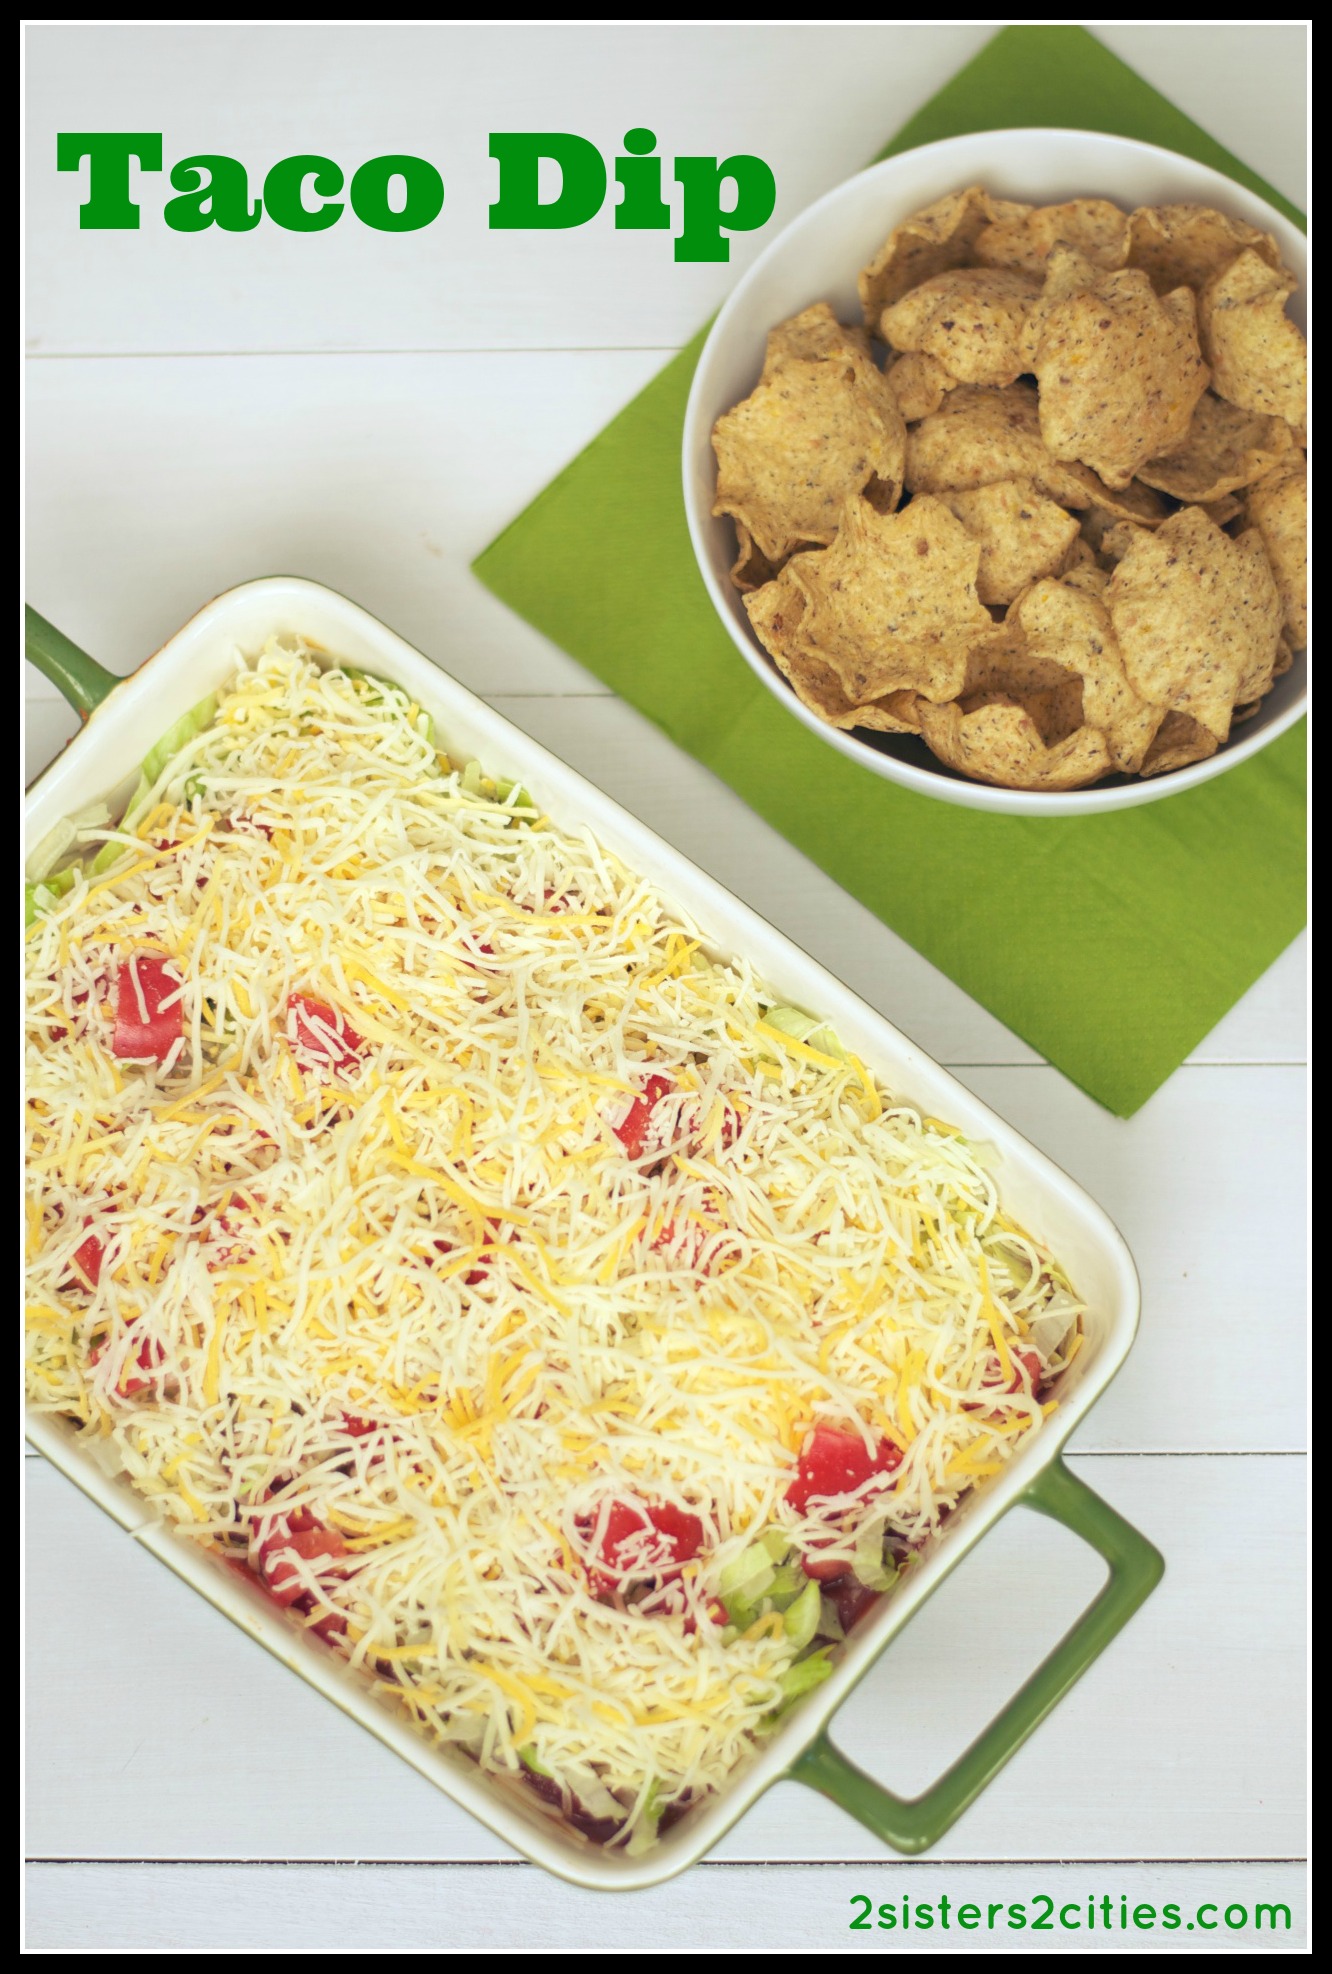
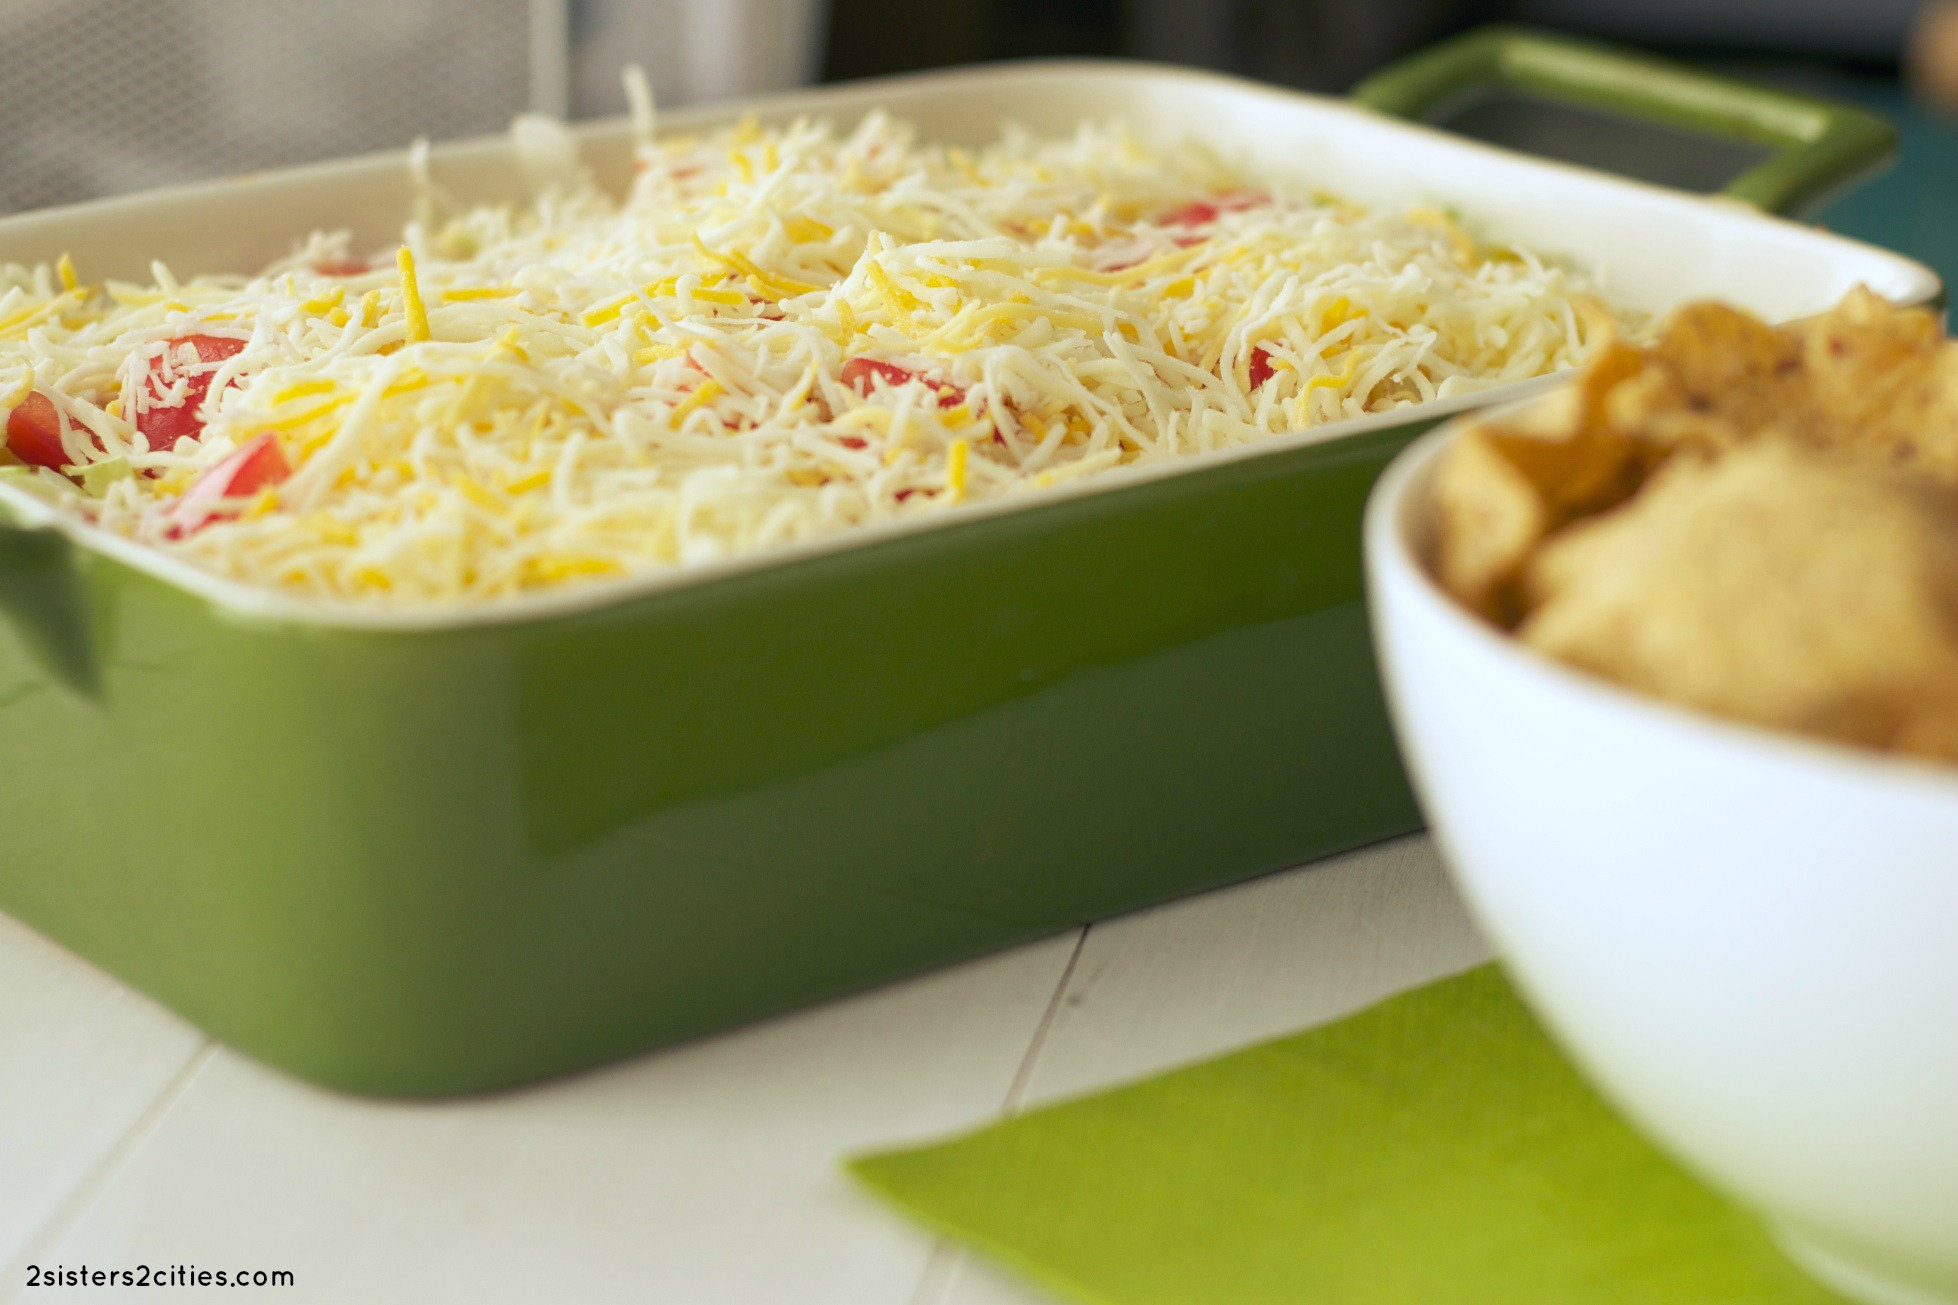
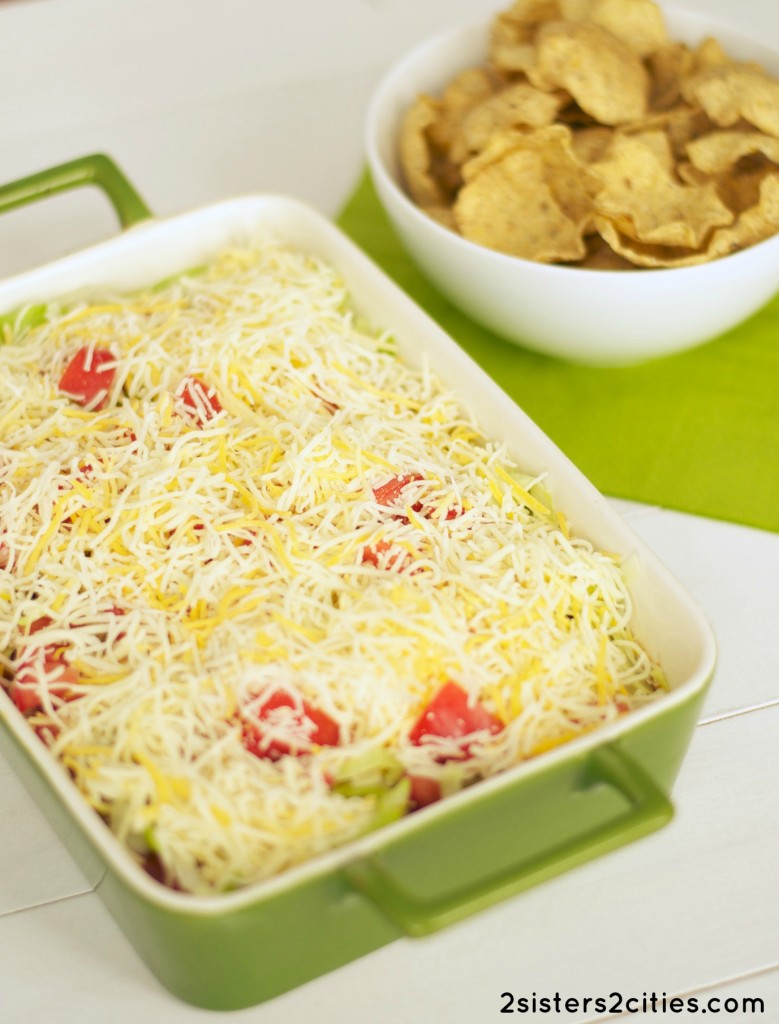
Taco Dip

It’s been awhile since my last post and I decided to dive back into things with an easy recipe.  I’m far too often guilty of trying to come up with new and creative (and often complicated) recipes whenever we have guests visit.  However, with the birth of baby N, there are just not enough hours in the day to make every recipe that I would like to make.  I’ve come to the realization that it’s perfectly acceptable most of the time to just stick with easy, classic recipes.  This recipe for taco dip can be whipped up in no time at all!  If you are on the search for an easy recipe to add to your menu for this Super Bowl Sunday, this one has your name all over it (in cheese!)

taco dip

K actually posted this recipe for taco dip back in 2011, but we are trying to redo any of our old posts that did not have pictures or just have really bad pictures.  If you search through some of our archives, you can definitely see some of these photos for yourselves (I’m looking at you blurry iPhone photos of burnt lamb sliders…I’m not going to even link to it I’m so embarrassed.)  One of the many side benefits of working on our blog is that it has definitely honed our photography skills.  While I definitely still need to learn a lot more, blogging has definitely served as a catalyst to learn much more about photography.

taco dip

I accidentally bought the multi-grain version Tostitos scoops at the grocery store, however I was pleasantly surprised by how much I liked them.  Serve this dip with any type of tortilla chip you prefer.  You could also mix up this recipe a bit by adding more layers…diced green chills, sliced black olives, or black beans would all be interesting options to add.

Print
Taco Dip
Author: 2 Sisters 2 Cities
Prep time:  1 hour 10 mins
Total time:  1 hour 10 mins
 
Ingredients
  • 8 oz. block of light cream cheese
  • 16 oz. light sour cream
  • 1 packet of taco seasoning (or try 2 tablespoons homemade taco seasoning)
  • 1 jar of salsa
  • Shredded iceberg lettuce
  • 2 small or 1 large tomatoes chopped
  • Shredded Mexican cheese
  • Tortilla chips
Instructions
  1. Allow the cream cheese to come to room temperature. Once the cream cheese is softened, combine with sour cream and taco seasoning until smooth (you can mix it together by hand or mix with an electric stand mixer using the paddle attachment.) Spread the mixture out onto a 9×13-inch or an 8×10-inch pan evenly. Let it set by refrigerating it for an hour.
  2. After an hour or right before you are ready to serve it, use a spatula to spread the jar of salsa evenly over the top of the cream cheese/ sour cream mixture. Next, put the shredded iceberg lettuce on top (you can use as much as you want, I put on about 1½-2 cups), followed by the chopped tomatoes. Finally you sprinkle the shredded cheese on top of everything until it is well covered (about 1½ cups).
3.2.2199

sister m signature

Related Posts Plugin for WordPress, Blogger...


Filed Under: M's recipes Tagged With: appetizers, cleaning, easy recipes, Super Bowl, taco dip

Recent Posts

  • Easy Holiday Office Party Tips
  • 5 Steps to an Easy Football Party
  • Gingerbread Biscotti
  • Holiday Coffee Bar and Thanksgiving Recipes
  • Soft Sugar Pumpkin Cookies
  • Cinnamon Sugar Apple Cake
  • Hello Pumpkin Season!
  • Make Your Own Milkshake Party!
  • Mama’s Pickles
  • S’more Cookies

Categories

  • About 2 Sisters 2 Cities (7)
  • Books (8)
  • Crafting & DIY (22)
  • Design & Decorating (15)
  • Gardening (5)
  • Giveaway (14)
  • Guest Bloggers (8)
  • K's post (46)
  • K's Recipes (191)
    • K's Desserts (75)
    • K's Entrees (23)
    • K's Sides (24)
  • M's post (72)
  • M's recipes (167)
    • M's Entrees (21)
    • M's Sides (14)
    • M's Desserts (30)
  • Organizing (7)
  • Party Ideas (49)
  • Uncategorized (1)
  • Vacation (12)
Stitch Fix

Archives

Blogroll

  • Annie's Eats
  • Bake at 350
  • Baked Bree
  • Boston Harbor Beacon
  • Confections of a Foodie Bride
  • Cook Like a Champion
  • Erin’s Food Files
  • Forever and a Recipe
  • Framed Cooks
  • Oh Happy Day
  • On Common Ground
  • Pennies on a Platter
  • Pink Parsley
  • Recipe Girl
  • Sally's Baking Addiction
  • Simply Scratch
  • The Curvy Carrot
  • The Pioneer Woman
  • Tidy Mom
  • Two Peas & Their Pod
  • What’s Gaby Cooking
  • Young House Love
Increase your website traffic with Attracta.com

grab a 2 sisters button!


Copyright © 2014 ~ 2 Sisters 2 Cities | Blog Design by Minx Design