2 Sisters 2 Cities

Image Map
  • About 2 Sisters 2 Cities
  • Recipe Index
  • Project Index
  • Contact Us
  • Like us on Facebook
  • Follow m on twitter
  • Follow k on twitter
  • Follow 2S2C on Pinterest
  • Follow 2S2C on G+
  • rss
  • e-mail 2S2C

Golden Oreo Truffles

Posted by 2 Sisters 2 Cities on February 14, 2013

Golden Oreo Truffles

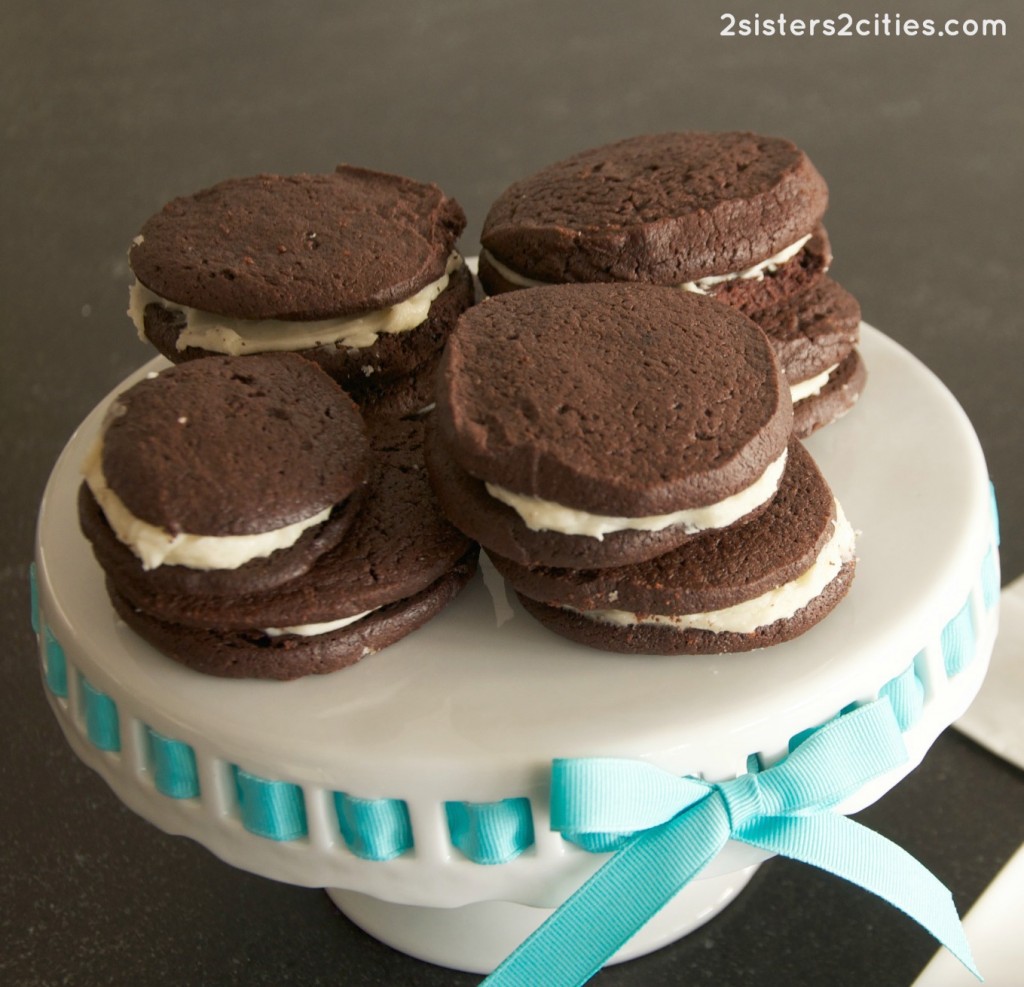
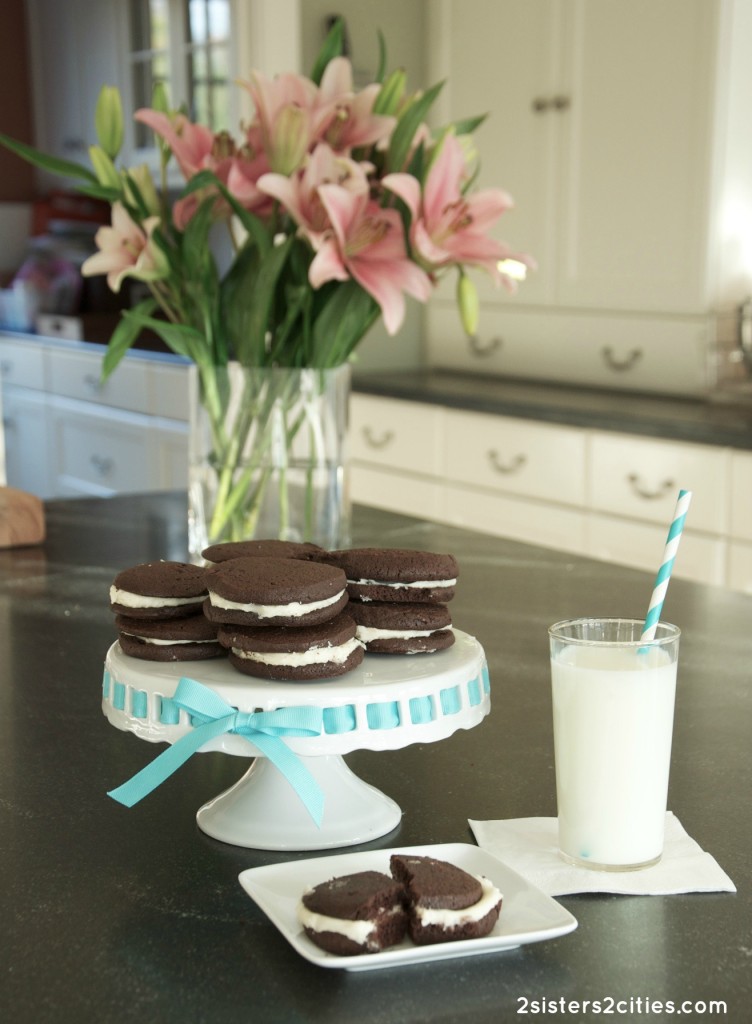
Did you forget that it is Valentine’s Day and need a festive  (but quick) treat to give to someone special?  Well these Golden Oreo Truffles are super easy to make and can be made with dark chocolate or white chocolate.  Did I mention that they are delicious?

White Chocolate and Dark Chocolate Oreo Truffles

These are very similar to the Oreo Truffles that M made for our 12 Days of Christmas Cookies, but with a slight twist using Golden Oreos instead.  I also used a combination of white and dark chocolate…I prefer dark, while my dear Valentine prefers white.  These Golden Oreo Truffles can be easily switched up for any holiday or theme…just add whatever color sprinkles you need!  I found mini cupcake wrappers to be the perfect holder for the truffles.

Easy To Make Golden Oreo Truffles

Print
Golden Oreo Truffles
Author: 2 Sisters 2 Cities
Recipe type: Dessert
Prep time:  1 hour
Total time:  1 hour
Serves: 24
 
Ingredients
  • 1 package (8 oz.) reduced-fat cream cheese, room temperature
  • 1 package Golden Oreos
  • White chocolate bars (5-6 oz.)
  • Dark chocolate bars (5-6 oz.)
  • Sprinkles or sanding sugar to decorate with (optional)
Instructions
  1. Prepare baking sheet by lining them with parchment paper and set aside.
  2. Using a food processor, chop up Golden Oreos until finely crushed. In a separate bowl, mix together the cream cheese and crushed Oreos until fully combined.
  3. Shape the cream cheese/Oreo mixture into ~48 (1-inch) balls and place onto parchment-lined baking sheet. Place the tray in the freezer for 25-40 minutes.
  4. Meanwhile, chop up the white and dark chocolate and place in separate bowls. Melt the chocolate in the microwave at 30 second intervals until chocolate is fully melted and smooth (stir between each interval.) Once the cream cheese/Oreo balls are full frozen, dip the balls into either the white or dark chocolate bowl. Place back onto baking sheet and decorate with sprinkles or sanding sugar before the chocolate sets. Refrigerate the Golden Oreo Truffles for 20 more minutes so the chocolate fully sets. Be sure to store truffles in the fridge as the center has cream cheese in it.
3.2.1652

Source: Slightly adapted from Sally’s Baking Addiction

Still looking for more Valentine’s Day treats?  Here are five more ideas from 2S2C:

  1. Heart Cut-out Cookies with Buttercream Frosting: http://www.2sisters2cities.com/2013/02/cutout-sugar-cookies-with-buttercream-frosting/
  2. Red Velvet Cupcakes with Cinnamon Cream Cheese Frosting: http://www.2sisters2cities.com/2013/02/red-velvet-cupcakes/
  3. M&M Valentine’s Day Cookies: http://www.2sisters2cities.com/2013/02/mm-cookies-for-valentines-day/
  4. Chocolate Covered Strawberries: http://www.2sisters2cities.com/2012/02/chocolate-covered-strawberries-and-valentines-day-menu/
  5. Extreme Three-Layer Brownies: http://www.2sisters2cities.com/2012/02/happy-valentines-day-with-three-layer-brownies/

Hope you have a great V-Day!

sisterk (2)


Filed Under: K's Desserts, K's Recipes Tagged With: dark chocolate, easy to make dessert, Golden Oreo Truffles, holiday treat, oreo truffles, Oreos, sprinkles, valentine's day, white chocolate

Homemade Chocolate Sandwich Cookies

Posted by 2 Sisters 2 Cities on January 18, 2013

Homemade Oreos from 2 Sisters 2 Cities

Happy {almost} long weekend everyone!  I just spent my entire morning looking for T’s monkey lovey.  I had finally just about given up when T magically found it…I still don’t even know where it was.  I could seriously save myself a lot of time my installing a GPS beacon on this thing.  Hopefully I can have a more productive afternoon and evening!

This is usually a big ski weekend for us, but we are sticking close to home this year given my recent news.  I’m definitely going to miss skiing this winter, but we are going to try to tackle some projects around the home while it’s cold out and we have the time.  I’m hoping to hang the canvas photos I had printed, install black-out shades in our master bedroom, and attempt a major organizing project in our basement.  I’m also got some new and some old recipes lined up to make- Chipotle Shrimp  Tacos with Avocado Salsa Verde, Pan-Seared Steak with Chive-Horseradish Butter, Khalil’s Turkey & White Bean Chili, Vanilla Ice Cream, and Gooey Butter Cake.

A few weeks ago, Aunt N brought over some Homemade Oreos that she had made and I instantly fell in love with them.  The original recipe is from Joanne Chang, who owns Flour bakery + cafe (You must visit one of the locations if you are ever visiting Boston!)  After trying these cookies, I added her cookbook to my Amazon birthday wish list!  I know in the past that I have said that I enjoy cooking a lot more than baking, but our 12 days of Christmas Cookies has gotten me off on a bit of a baking kick.

Homemade Oreos

This recipe for Homemade Oreos was fairly easy to make…if you like them, you may want to consider doubling the recipe and freezing the dough in the log format.  Homemade Oreos are definitely a tasty treat to have on hand.  It’s totally up to you, but I thought the cookies I made in these photos came out a little big…I would rather have a larger quantity of smaller cookies.  Next time, I will roll the log out so the diameter is thinner, but the log is longer.  Then, I would cut the log into ~40 slices instead of 32.  Again, it’s just a preference thing.

Homemade Oreos

Print
Homemade Oreos
Author: 2 Sisters 2 Cities
Prep time:  3 hours 15 mins
Cook time:  25 mins
Total time:  3 hours 40 mins
 
Ingredients
Cookies
  • 1 cup unsalted butter, melted
  • ¾ cup sugar
  • 1 teaspoon vanilla extract
  • 1 cup semi-sweet chocolate chips, melted
  • 1 egg
  • 1 and ½ cups flour
  • ¾ cup unsweetened cocoa powder
  • ½ teaspoon baking soda
  • 1 teaspoon salt
Frosting Filling
  • ½ cup unsalted butter (1 stick), at room temperature
  • 1 teaspoon vanilla extract
  • 1 and ⅔ cup confectioners' sugar
  • 1 tablespoon milk
  • 1 pinch salt
Instructions
Cookies
  1. Mix the melted butter and sugar together with a whisk in a medium-sized bowl. Whisk in the vanilla and melted chocolate. Add the egg and stir until combined.
  2. In a separate bowl, combine all the dry ingredients for the cookies (flour, cocoa powder, baking soda, and salt) and stir together. Add the dry ingredients to the chocolate mixture and stir until combined. Cover the bowl with plastic wrap and allow to chill in the fridge for 1 hour (or until firm.)
  3. Once the dough has firmed up, remove it from the fridge and place it on a long sheet of parchment paper. Using your hands, roll it into a long long. The original recipe calls for the log to be about 10 inches long and 2 and 2/1 inches in diameter. I thought these cookies ended up rather large, so I would recommend rolling the log to about 12 inches long and 2 inches or less in diameter. Roll the parchment around the log and wrap tight. Refrigerate the log of dough for about 2 hours (or until firm.)
  4. After the two hours has passed, set to oven to 325 degrees F. Prepare two baking pans by lining them with parchment paper.
  5. Remove the dough from the fridge, then remove the paper from the log. The original recipe calls for the log to be cut into 32 slices, but if you wanted smaller cookies, I would recommend aiming for 40 slices. A good trick is to cut the log in half, then halve each half again. You can then get a pretty good sense of what each slice needs to be for each quarter log. Place each slice on the baking sheet about an inch apart (they will expand while baking.)
  6. Bake the cookies for 20-25 minutes. They are done when the centers are firm. Once done, remove the pans from the oven and allow the cookies to cool on the sheets.
Frosting Filling
  1. Meanwhile, begin to prepare the frosting. Using an electric mixer, beat the butter on low speed for 30 seconds. Add the vanilla and confectioners' sugar and beat until smooth.
  2. Next, add in the milk and salt. Continue to beat frosting filling until well-mixed and smooth.
  3. Once cookies are cool, spread ~1 tablespoon frosting filling on the flat side of a cookie. Place the flat side of another cookie on the frosting and press two cookies together. Continue to frost the remainder of the cookies.
3.2.1337

Source: Recipe from Flour Bakery

Have a great holiday weekend!

sister m signature


Filed Under: M's recipes Tagged With: cookie recipe, cookies, flour bakery, homemade oreos, joanne chang, mlk weekend, Oreos

Twelve Oreo Truffles

Posted by 2 Sisters 2 Cities on December 2, 2012

Oreo Truffles

It’s here!  We are officially ready to kick off another year of the 2S2C Twelve Days of Christmas Cookies!  (If you missed the event from 2011, the recap with all 12 cookie recipes can be found here.)  K and I have found twelve new recipes for the holiday season and we hope you’ll join us for the celebration!  I’m kicking off the party with a recipe that is new to me- Oreo Truffles.

My mom brought these Oreo Truffles to my house for a post-Thanksgiving treat.  She said that she had read about this recipe on a lot of food blogs and had to try them out.  At first I was skeptical, especially after eating way too many Oreos for T’s Mickey Mouse-themed birthday party.  The fact that the original recipe for Oreo Truffles only has three ingredients didn’t help either.  However, once I tried one, I understood what all the fuss was about.  Who knew that such an easy cookie recipe could be so good!?

I figured this recipe would be a great way to kick things off with a nice and simple, but amazing recipe.  Try making some Oreo Truffles to kick off your Christmas cookie season (however, did I mention these are no-bake?)  Hopefully that will get you in the mood for more holiday baking.  We’ve got so many great cookie recipes planned….I can hardly wait!

Oreo Truffles

Print
Twelve Oreo Truffles
Author: 2 Sisters 2 Cities
Recipe type: Cookie
Prep time:  1 hour 20 mins
Total time:  1 hour 20 mins
Serves: 48
 
Ingredients
  • 36 Oreo cookies
  • 8 oz. cream cheese, room temperature
  • 16 oz. semi-sweet or dark chocolate
  • 3 tablespoons sprinkles (optional)
Instructions
  1. Place Oreo cookies in a food processor and pulse until finely ground. Reserve ¼ cup of the cookie crumbs in a small bowl. Mix the remaining cookie crumbs and cream cheese in a medium size bowl until blended. Shape mixture into 48 balls.
  2. Mix reserved cookie crumbs with the sprinkles. (This step is optional, but I wanted to get a little green, red, and white color on the truffles to make them more Christmas-y.)
  3. Meanwhile, melt chocolate in a microwave-safe bowl (a glass Pyrex measuring cup also works great). Microwave on high for 2-4 minutes depending on your microwave's strength, stirring about every 30 seconds.
  4. Cover a rimmed baking sheet with a piece of wax paper. Once the chocolate is melted, dip each oreo ball into the melted chocolate mixture. Use two forks to roll truffles in the chocolate until evenly coated. Let excess chocolate drip back into the bowl and place dipped truffle onto the baking sheet. Before the chocolate firms up, sprinkle a small amount of the cookie crumb and sprinkle mixture on top.
  5. Refrigerate 1 hour or until firm. Store truffles in an air-tight container in the fridge or freeze in a freezer bag until ready to serve.
3.1.09

Source: Slightly adapted from Kraft Recipes

sister m signature


Filed Under: M's Desserts, M's recipes Tagged With: 12 cookies of Christmas, 12 days of christmas cookies, christmas, Christmas cookie recipes, Christmas Cookies, cookie recipe, cookies, oreo truffles, Oreos

Happy Valentine’s Day with Three Layer Brownies

Posted by 2 Sisters 2 Cities on February 13, 2012

Happy Valentine’s Day Everyone!   Hope you all have a great day today and do something special with the ones you love.  My boyfriend and I have nothing official planned,  just going to the gym and then having a homemade dinner together.  We exchanged gifts over the weekend.   He took me to Staples and let me pick out whatever I wanted from the new Martha Stewart by Avery line.   Doesn’t he know me so well?   It was such a perfect gift and I am so excited about the items I picked out (more to come about that!)

I like to bring in treats for my co-workers for holidays so for Valentine’s Day this year I decided to make these very special brownies I had seen on one of the blogs I follow.   These brownies are from Gaby’s blog What’s Gaby Cooking and originally called “slutty brownies.”  They are layered with chocolate-chip cookies, Oreos and brownies…obviously worthy of their name.  Gaby posted them about a month ago and I knew that I would need to make these as soon as possible.  I planned on bringing them to work so I renamed them Extreme 3-Layer Brownies for professional purposes (obviously not as fun of a name.)

I cut the brownies into squares and placed each one in a heart-patterned cupcake paper.  Then I wrapped each brownie in a plastic bag so they would stay fresh.   I had red paper lunch bags I found at Target that I thought would be perfect to give out for Valentine’s Day gift bags.   I took each each wrapped brownie and placed them in the red bag,  folded over the top of the bag and then attached a tag that says “Happy Valentine’s Day”  and gave the recipe for these extremely tasty brownies on the other side of the tag.  I tied on the tag with red & white baker’s twine I had bought from Ebay.

Extreme 3-Layer Brownies

*A chocolate chip cookie, Oreo and brownie bar*

Ingredients:
Brownie layer:
10 tbsp. unsalted butter (1 ¼ stick of butter)
1 1/4 cups white sugar
3/4 cup cocoa powder
1/2 tsp. salt
2 tsp. vanilla extract
2 large eggs
1/2 cup all-purpose flour
Oreo layer:
1 package of Oreo
Cookie Dough layer:
1/2 cup unsalted butter (at room temp)
1/4 cup brown sugar
3/4 cup white sugar
1 egg
1 1/4 tsp. vanilla extract
1 1/4 cup all-purpose flour
1/2 tsp. salt
1/2 tsp. baking soda
1/2 tsp. baking powder
1 cup semi-sweet chocolate chips

Instructions:
For brownie layer:
Melt butter in a medium sauce pan over medium high heat. Add in sugar and cocoa powder and whisk into melted butter. Take off heat and mix in salt, vanilla, and eggs. Mix in flour and set brownie batter aside.

For cookie layer:
Cream the butter and sugar together with mixer. Add in the egg and vanilla, scraping down the sides of the bowl. In a separate bowl mix together flour, salt, baking soda, and baking powder. Mix in dry ingredients into wet ingredients until combined. Mix in chocolate chips.

Assembly:
Preheat oven to 350 degrees F. Line the bottom of a 9×9 baking pan with tin foil and spray with baking spray. Starting with the cookie dough layer, lay down the cookie dough and flatten. Make sure the dough is spread out in an even layer. Next layer Oreos in a single layer. Finally pour brownie batter on top of Oreo layer and spread so batter evenly covered. Bake for 30-35 minutes until toothpick comes out clean from center. Add an additional 5 minutes on if needed.  Allow to cool before cutting.

Source- Adapted from What’s Gaby CookingI did figure out the Weight Watchers PointsPlus for these.  I am not sure if you want to know.  It really depends on how many pieces you cut them into.  My plan was to just eat one, but my boyfriend and I failed miserably at that so make them at you own risk.  Pass them off to your friends and co-workers as soon as possible!!

Happy Valentine’s Day Lovelies!

-K

These post is linked at:

Dear Lillie's Valentine's Link Party

momnivore's dilemma
Related Posts Plugin for WordPress, Blogger...


Filed Under: K's Desserts, K's Recipes Tagged With: Brownie Bars, brownies, chocolate chip cookies, gift ideas, Oreos, valentine's day

Recent Posts

  • Easy Holiday Office Party Tips
  • 5 Steps to an Easy Football Party
  • Gingerbread Biscotti
  • Holiday Coffee Bar and Thanksgiving Recipes
  • Soft Sugar Pumpkin Cookies
  • Cinnamon Sugar Apple Cake
  • Hello Pumpkin Season!
  • Make Your Own Milkshake Party!
  • Mama’s Pickles
  • S’more Cookies

Categories

  • About 2 Sisters 2 Cities (7)
  • Books (8)
  • Crafting & DIY (22)
  • Design & Decorating (15)
  • Gardening (5)
  • Giveaway (14)
  • Guest Bloggers (8)
  • K's post (46)
  • K's Recipes (191)
    • K's Desserts (75)
    • K's Entrees (23)
    • K's Sides (24)
  • M's post (72)
  • M's recipes (167)
    • M's Entrees (21)
    • M's Sides (14)
    • M's Desserts (30)
  • Organizing (7)
  • Party Ideas (49)
  • Uncategorized (1)
  • Vacation (12)
Stitch Fix

Archives

Blogroll

  • Annie's Eats
  • Bake at 350
  • Baked Bree
  • Boston Harbor Beacon
  • Confections of a Foodie Bride
  • Cook Like a Champion
  • Erin’s Food Files
  • Forever and a Recipe
  • Framed Cooks
  • Oh Happy Day
  • On Common Ground
  • Pennies on a Platter
  • Pink Parsley
  • Recipe Girl
  • Sally's Baking Addiction
  • Simply Scratch
  • The Curvy Carrot
  • The Pioneer Woman
  • Tidy Mom
  • Two Peas & Their Pod
  • What’s Gaby Cooking
  • Young House Love
Increase your website traffic with Attracta.com

grab a 2 sisters button!


Copyright © 2014 ~ 2 Sisters 2 Cities | Blog Design by Minx Design