2 Sisters 2 Cities

Image Map
  • About 2 Sisters 2 Cities
  • Recipe Index
  • Project Index
  • Contact Us
  • Like us on Facebook
  • Follow m on twitter
  • Follow k on twitter
  • Follow 2S2C on Pinterest
  • Follow 2S2C on G+
  • rss
  • e-mail 2S2C

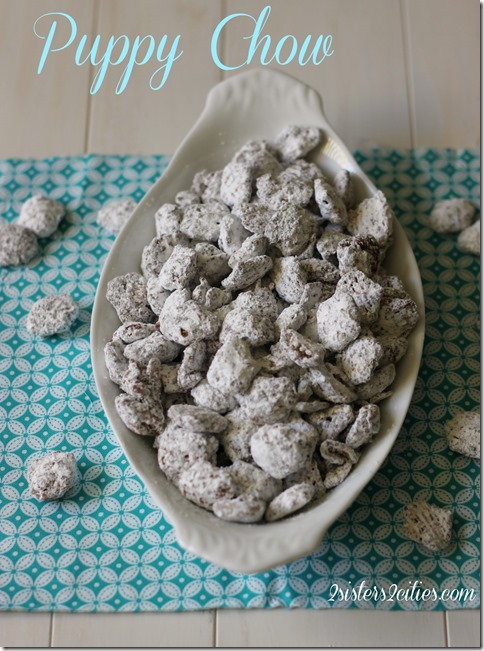
Puppy Chow

Posted by Keelin Hollenbeck on July 28, 2013

Puppy Chow

No, this isn’t a recipe for dog food!   This is a recipe for a snack dessert mix with corn/rice cereal covered in peanut butter, chocolate and powdered sugar for humans only.  Why is it called puppy chow?  I am not quite sure, maybe because it’s so addictive it makes you want to put your head in the bowl and just chow it down like a dog eating food.  I haven’t got to that point yet, but I wouldn’t put it past me!  Puppy chow is also sometimes called Muddy Buddies, which is the name Chex coined for it.

I was first introduced to puppy chow at my elementary school’s career day.  Yes, my elementary school had career day but it wasn’t like a college or high school career day.  It was more like fun activity day where you got to try things like cross country skiing, cake decorating, cooking, sewing, basket weaving, aerobics, and other fun crafty activities.   I don’t think it helped us to actually choose a career.  The activities I picked during the time I am remembering was cooking and making stained glass.   During our cooking class we learned how to make Puppy Chow.

*Note-Please do not feed this “puppy chow” to you pets.  Despite that name, this treat is not for dogs and could actually be harmful to your pets because it contains chocolate.
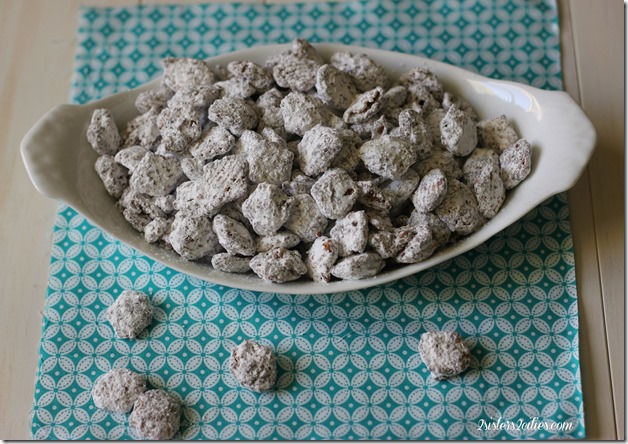
Puppy Chow

Print
Puppy Chow
Author: 2 Sisters 2 Cities
 
Ingredients
  • 9 cups of Crispix or 4½ cups of Corn Chex and 4½ cups Rice Chex
  • 1 cup semi sweet chocolate chips
  • ½ cup creamy peanut butter
  • ¼ cup butter (1/2 stick)
  • 1 teaspoon vanilla extract
  • 1½ cup of powdered sugar
Instructions
  1. In a large bowl, measure out cereal and set aside.
  2. In a medium sized heat proof bowl add chocolate chips, peanut butter, and butter. Cook in microwave for 1 minute and stir. Repeat in 30 second intervals, stirring in-between each turn until completely melted and smooth. Stir in vanilla extract.
  3. Pour the chocolate mixture over the cereal stir until all the cereal is evenly covered.
  4. Add coated cereal into a 2-gallon re-sealable bag and add in powdered sugar. Seal the bag and shake together until all the sugar has coated the cereal. This step can be done in two parts if you don’t have a large enough bag. Just make sure to split the cereal and the powdered sugar.
  5. Once the cereal is coated with sugar, pour out onto a waxed paper lined baking sheet. Let cool and enjoy. Keep in an airtight container.
3.2.1753

Source- Adapted from Chex
sisterk (2)


Filed Under: K's Desserts, K's Recipes, Party Ideas Tagged With: cereal, puppy chow, snack

Fresh Squeezed Lemonade

Posted by Keelin Hollenbeck on July 2, 2013

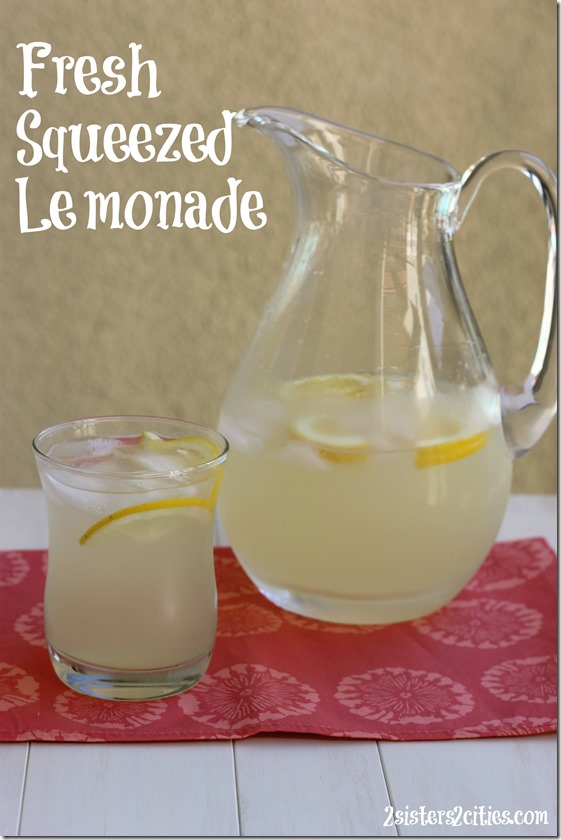
Fresh Squeezed Lemonade

Although I love a chilled glass of rosé in the summer and the occasional icy cocktail, sometimes I love a glass of freshly squeezed lemonade.  My favorite summer drink is to mix lemonade with iced tea and make what I call a half ‘n half, but it is also known as an Arnold Palmer.
When I was in high school, I worked at the New York State Fair for the two weeks it ran every year in Syracuse.  It was a great way to make extra cash to buy my back‐to‐school clothes.  I worked for a fried dough place that also owned lemonade stands.  The lemonade stands were in the shape of a lemon sliced in half and then propped open.   I would always work in the lemon which was fun because I got to people‐watch and drink lemonades.   The occasional fried dough also helped.  Whenever I drink fresh lemonades, it reminds me of when I worked in the lemon.

The recipe for lemonade is pretty basic; lemon juice, sugar, water and ice.  In this recipe I use super fine sugar because it dissolves easier than regular granulated sugar.  This sugar is found in most grocery stores.  If you can’t find it you can use regular sugar…you may just have to stir it a little longer.   I give a range for the amount of sugar because it is based on personal preference.  My lemons were very tart so I used the full 3/4 cups of sugar.    I used my hand lemon squeezer which works very well for juicing.   This recipe can be halved or double based on your crowd size.

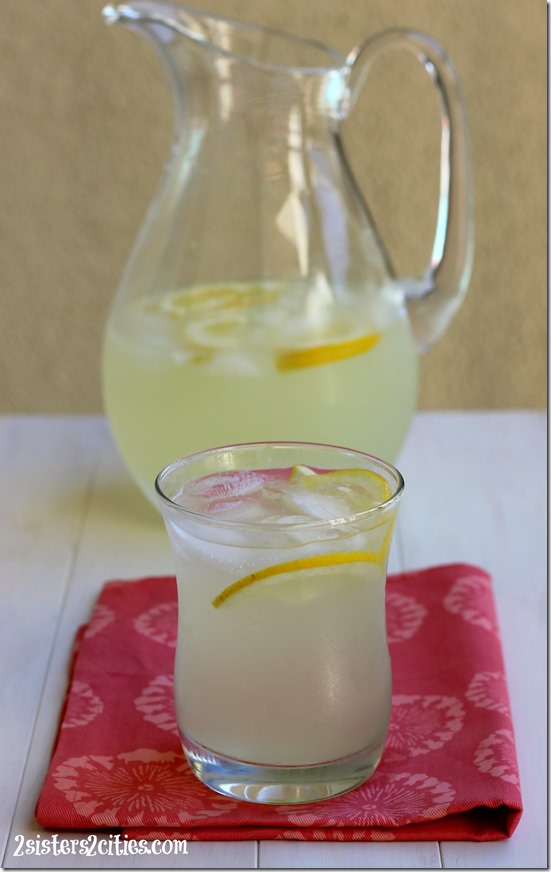
Serve a pitcher this week at your Fourth of July party with a pitcher of ice tea!  You could also use this recipe to make Arnold Palmer popsicles or basil lemonade.

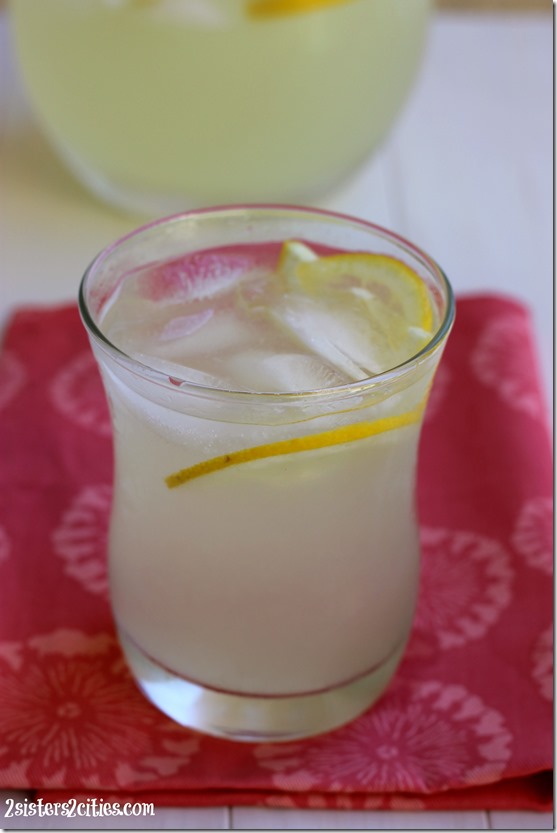
Glass of Fresh Lemonade

Print
Fresh Squeezed Lemonade
Author: 2 Sisters 2 Cities
 
Ingredients
  • 1 cup of lemon juice, from 4-5 lemons
  • ½-3/4 cup of super fine sugar
  • 4 cups cold water
  • 1 cup ice
  • lemon slices, for garnish
Instructions
  1. In a large pitcher add all ingredients and stir vigorously until all the sugar is dissolved. Serve with additional ice if needed.
3.2.1753

Source- Adapted from Ina Garten’s The Barefoot Contessa Cookbook

Lemonade

sisterk (2)


Filed Under: K's post, K's Recipes, Party Ideas Tagged With: arnold palmer, fourth of july menu ideas, fourth of july party, fourth of july recipes, fresh lemonade, fresh squeezed lemonade, lemonade, lemons, non-alcoholic drinks, summer drinks, summer recipes

Graduation Party Decor

Posted by Meaghan Barry on May 29, 2013

Graduation Party Decor {from 2 Sisters 2 Cities}

A couple weekends ago, I hosted a small college graduation party for my baby sister. {Side note: am I allowed to use the terms college and baby in the same sentence?}  It was just our direct family attending, but with my parents, husband, three sisters and a toddler, it was still a pretty lively event!  Since we were at the graduation ceremony for most of the first half of the day, we had the party catered so we wouldn’t have to worry about being in a rush to pull together a celebratory meal afterwards.  K had to catch a flight back to San Francisco that night so a dinner out at a restaurant was also out of the picture.  I forgot to take a lot of photos of the graduation party decor, but I did want to share a few of the photos I took.

Since I didn’t have to worry about pulling together a big meal for the graduation party, I decided instead to focus on making my own decor for the party.  “Baby Sister” M’s school colors were blue and yellow so I decided to use this as the theme for the decorations.  I took a page from K’s party decor for our family reunion’s Fourth of July luncheon last year and used a paper punch to create handmade paper garlands to hang up around the kitchen and dining room.

Graduation Party Decor {from 2 Sisters 2 Cities}

I have a pretty large supply of decorative paper and card stock and I went through my stockpile to find some cute yellow card stock and a roll of Paper Source dark blue polka dotted paper that I had from leftover from my wedding.  I used my scallop punch that I bought to make the favor bags for T’s 2nd birthday party and punched out ~100 large scalloped circles.  I then used double-sided tape and affixed them to some blue twine (I stuck two of scalloped circles together with the twine running up the middle between the two circles.)

blue garland

I then took some blue and yellow washi tape to create tiny flags between each of the scalloped circles.  I stuck together a long piece of washi tape around each string of twine and then snipped the edges to create a tiny flag.  I then used masking tape to hang each string of garland from the ceiling (I tried using the washi tape at first, but they all fell down within minutes.)  I love that I can reuse the paper and washi tape garlands again for a future party.  I carefully took each one down and stored them in a ziploc storage bag for future use.

I also took her graduation announcements (one from the school and one my mom had made on Tiny Prints) and placed them in small white frames on the buffet table.  My mom had picked up some blue and yellow jelly beans that and we served those in cute little polka dot candy cups that I had bought at Shop Sweet Lulu awhile back.  T insisted on getting a cake for the party so we picked up the little graduation hat cupcake from Whole Foods.

Graduation Party Decor

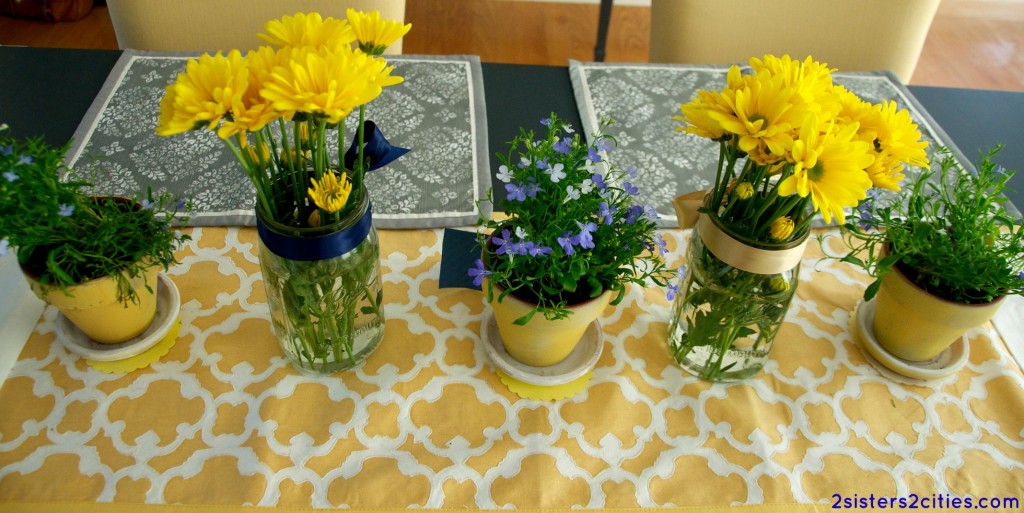
My mom also made a project similar to the silver flower pot party favors we made for T’s baptism a few years ago.  She painted three terra cotta pots yellow and planted blue/purplish flowers in each pot.  I also bought some yellow daisies for the party and placed them in two mason jars tied with ribbon.  We then placed all five flower decorations in the middle of the dining room table for our tablescape.

Graduation Party Flower Decor

I also printed off a few of these 2013 graduation party decor printables from Catch My Party that I found on Pinterest (most notably the foldable labels to write down the types of food that were being served.)  I didn’t get a chance to take a picture of these and the food because I was way too excited about trying all of it.  Our gluten-free menu included Thai shrimp spring rolls with spicy chili sauce, chicken mango curry, coconut rice, Thai steak salad, and coconut flan.  (For those of you living in the Boston South Shore area, I highly recommend you check out The Fresh Feast in Cohasset where we ordered the food from- so delicious and very reasonably priced!)

Do you have any favorite ways to make your own decorations for parties?

sister m signature


Filed Under: Crafting & DIY, Party Ideas Tagged With: blue and yellow party, college graduation, commencement, diy decorations, graduation, graduation 2013, graduation party, graduation party decor, handmade decorations, paper garland, party decor, yellow terra cotta pots

Tres Leches Cupcakes

Posted by Meaghan Barry on May 2, 2013

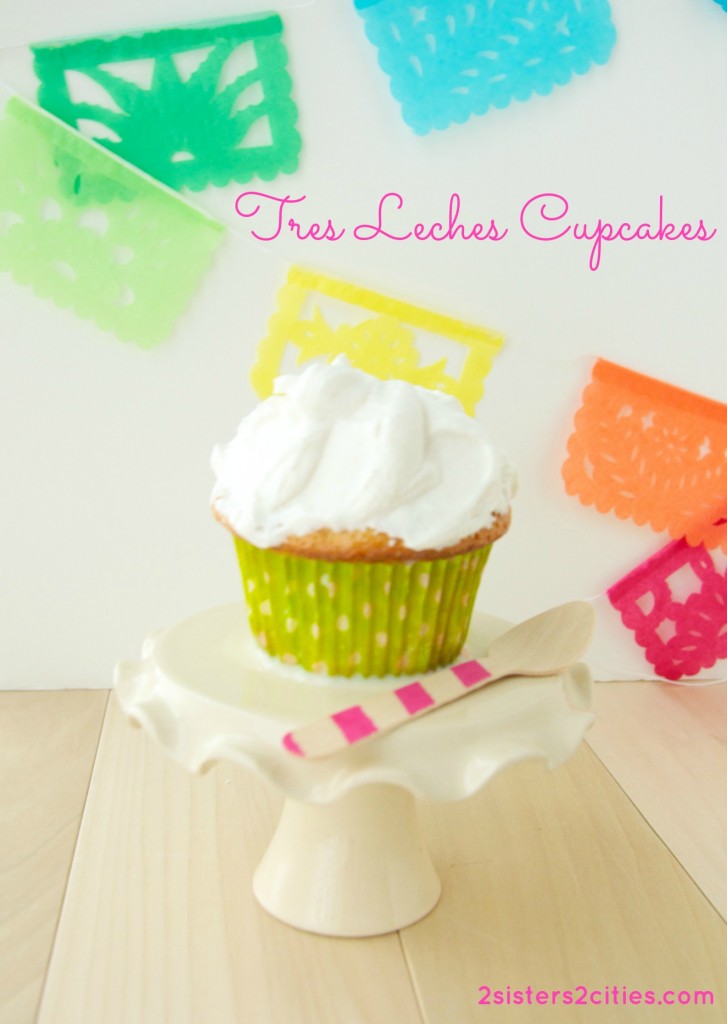
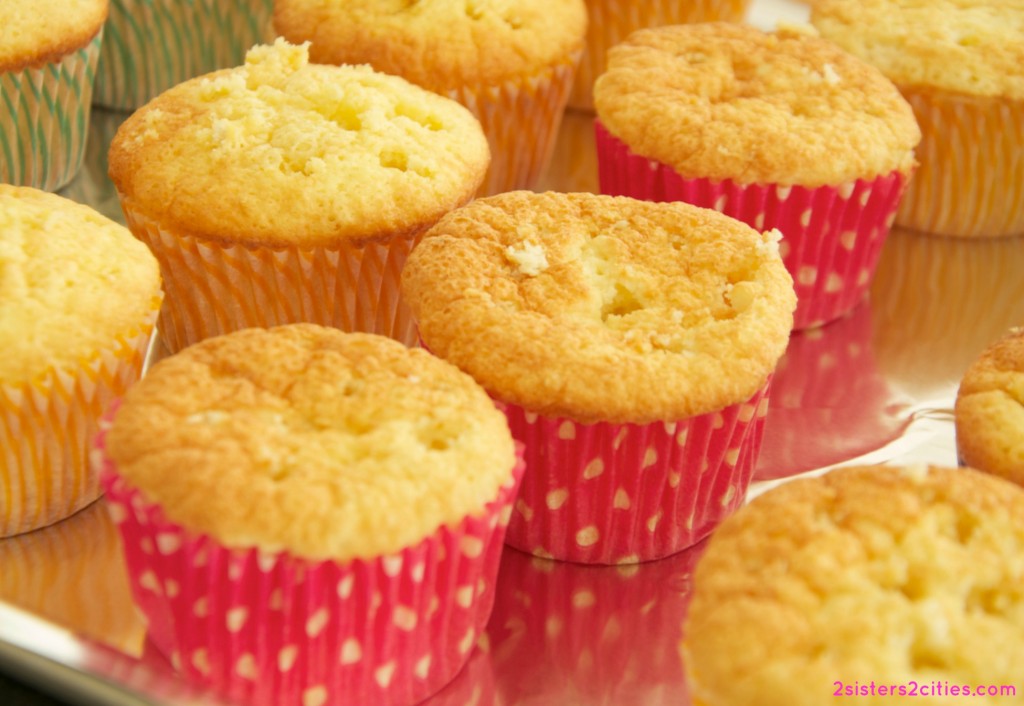
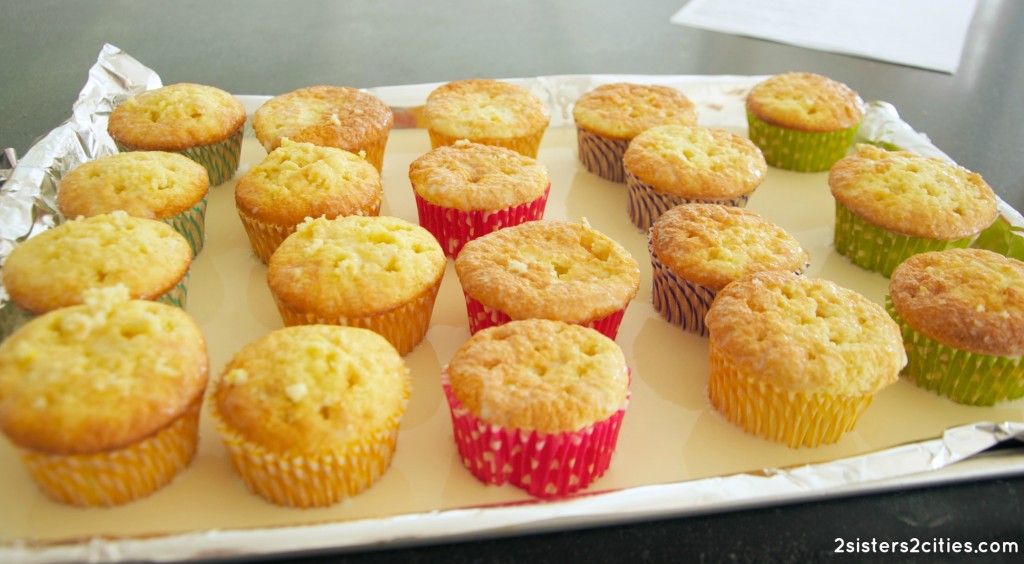
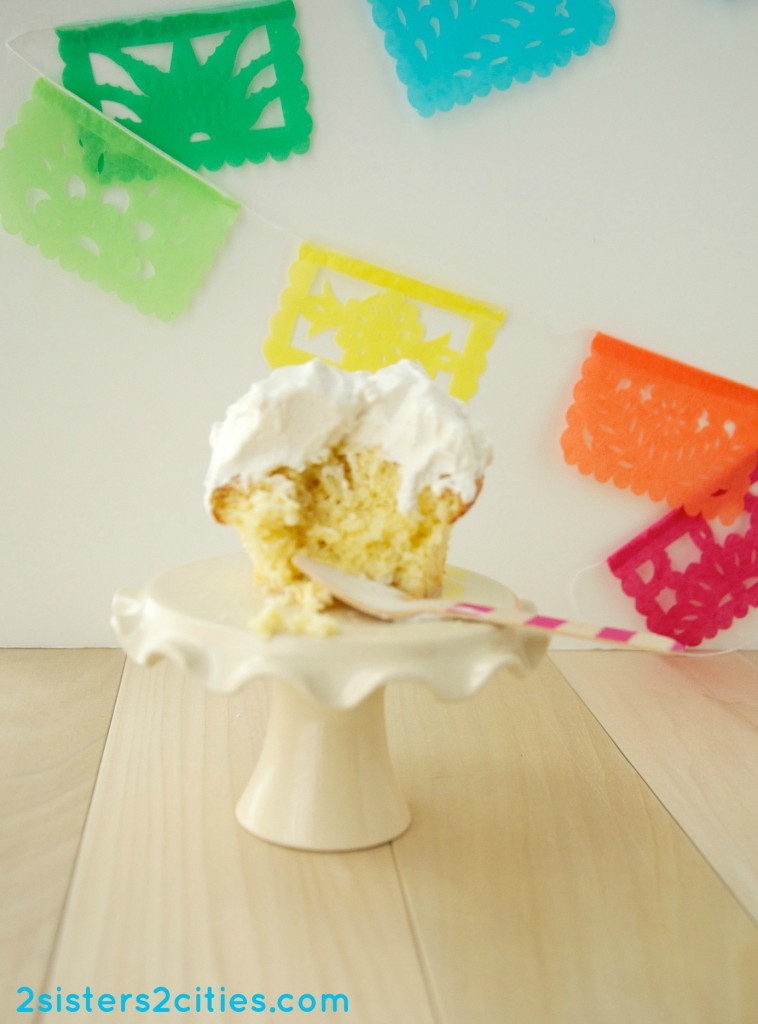
Tres Leches Cupcakes {from 2 Sisters 2 Cities}

I typically buy healthier items when I grocery shop at Whole Foods (versus a typical Boston-area grocery store such as Stop & Shop or Shaw’s.)  However, the one thing that gets me everytime is the tres leches cake from prepared foods section.  It’s always located on the last end-cap we have to go around before we head to the cashier.  I can practically hear it calling my name from the shelf!  I often find myself picking up a slice to split with my husband for dessert.

Tres Leches Cupcakes {from 2 Sisters 2 Cities}

While K and I were discussing what Cinco de Mayo recipes we were going to post, I told her about my obsession with the WF tres leches cake.  I’ve never made one before and she told me that I had to try making tres leches cupcakes instead.  K just bought me some awesome new cupcake pans for my birthday so I figured it would be the perfect chance to use them.

Tres Leches Cupcakes {from 2 Sisters 2 Cities}

If you haven’t had a tres leches cake (or cupcake) before, tres leches means three milks due to the three varieties of milk used in the recipe.  This recipe actually has four types if you count milk and heavy cream as separate types of milk (the other two are evaporated milk and sweetened condensed milk.)

Tres Leches Cupcakes {from 2 Sisters 2 Cities}

Print
Tres Leches Cupcakes
Author: 2 Sisters 2 Cities
Recipe type: dessert
Cuisine: Mexican
Prep time:  30 mins
Cook time:  15 mins
Total time:  45 mins
Serves: 18
 
Ingredients
For the cupcakes:
  • 1 cup, plus 2 tablespoons cake flour
  • 1 teaspoon baking powder
  • ¼ teaspoon salt
  • 5 eggs, yolks and egg whites separated
  • 1 cup sugar, divided
  • ⅓ cup whole or 2% milk
  • 1 and ½ teaspoons vanilla extract
For the tres leches glaze
  • 1 12-ounce can evaporated milk
  • 1 14-ounce sweetened condensed milk
  • ½ cup heavy cream
For the cupcake topping
  • 2 cups heavy cream
  • ½ cup sugar
  • 1 teaspoon vanilla extract
  • ¼ teaspoon cinnamon (optional)
Instructions
For the cupcakes:
  1. Preheat the oven to 350 degrees Fahrenheit. Prepare two cupcake pans with paper liners (this recipe makes about 18 cupcakes.)
  2. In a large bowl, whisk together the flour, baking powder, and salt. Meanwhile, in a mixing bowl of an electric mixer, add the egg yolks and ¾ cup sugar. Beat them together using the whisk attachment until mixture is well combined. Add the milk and 1 and ½ teaspoon vanilla; continue to beat until combined.
  3. Pour the liquid mixture over the flour mixture and stir together gently with a spatula. Wash out the mixing bowl and whisk attachment. Once dry, beat the egg whites on high speed until stiff peaks appear. Add ¼ cup sugar and continue to beat until combined.
  4. Using the spatula, gently fold the egg whites into the other large bowl. Mix until just combined and pour batter into cupcake liners. Bake for 15 minutes or until center of cupcakes reach 200 degrees Fahrenheit. Remove from oven and allow to cool.
For the tres leches glaze
  1. Line a baking sheet with foil and transfer the cupcakes once they have cooled. Using a fork or a skewer, poke about 10 holes into each cupcake.
  2. In a large measuring cup, whisk together the evaporated milk, sweetened condensed milk, and ½ cup heavy cream. Pour mixture over the cupcakes (some residual glaze will spill over onto the foil.) Place the baking sheet of cupcakes in the fridge and allow to chill up to 30 minutes.
For the cupcake topping
  1. In the mixing bowl of an electric mixer, add the heavy cream, sugar, vanilla extract, and cinnamon. Using the whisk attachment, mix together until stiff peaks form. Use a spatula or spoon to top cupcakes with whipped cream topping.
  2. Store cupcakes in refrigerator.
3.2.1753

Source: Adapted from The Pioneer Woman, Alton Brown, and The Latin Kitchen

sister m signature


Filed Under: M's Desserts, M's recipes, Party Ideas Tagged With: cinco de mayo, cupcake recipe, cupcakes, mexican, mexican food, tres leches cake, tres leches cupcakes

The Classic Margarita

Posted by Keelin Hollenbeck on April 30, 2013

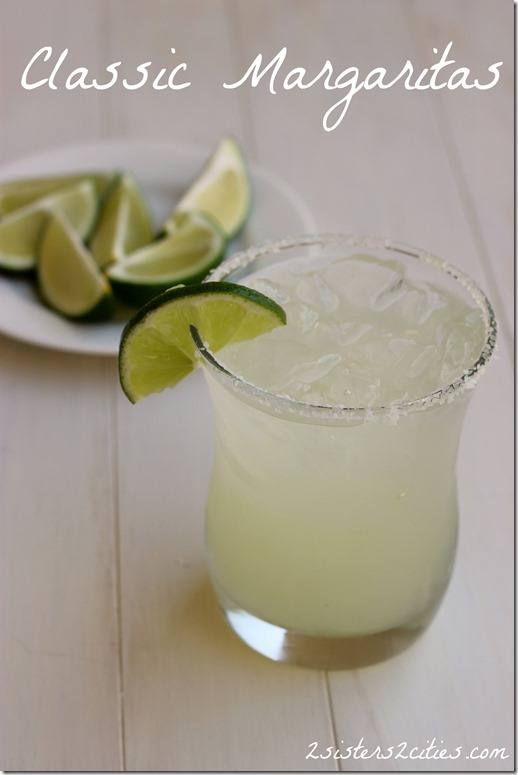
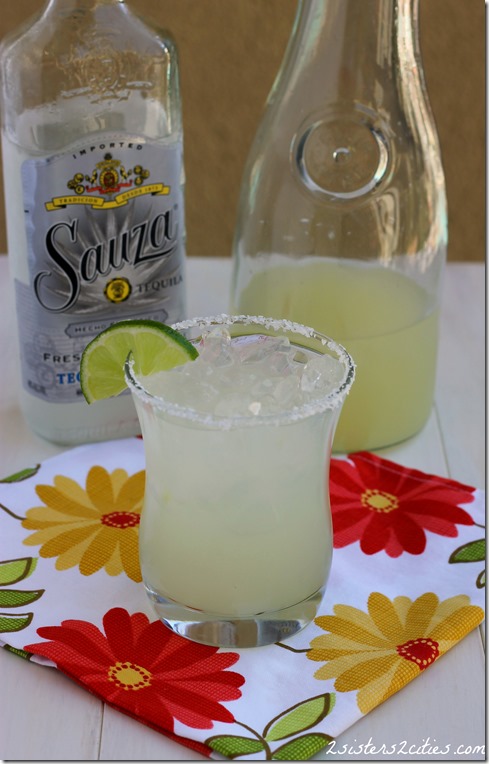
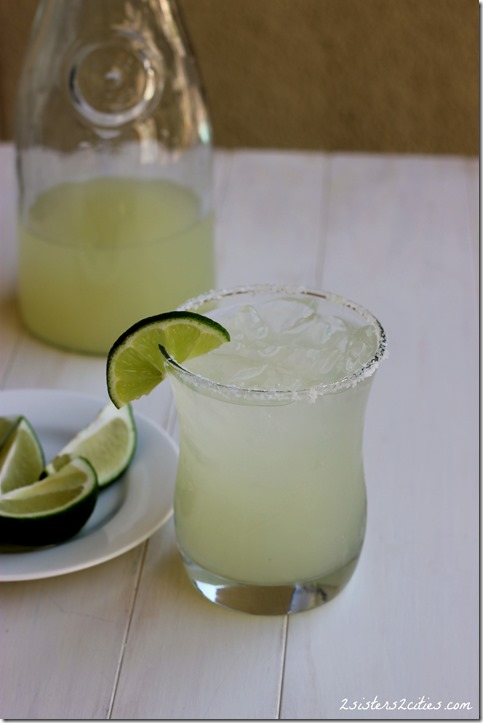
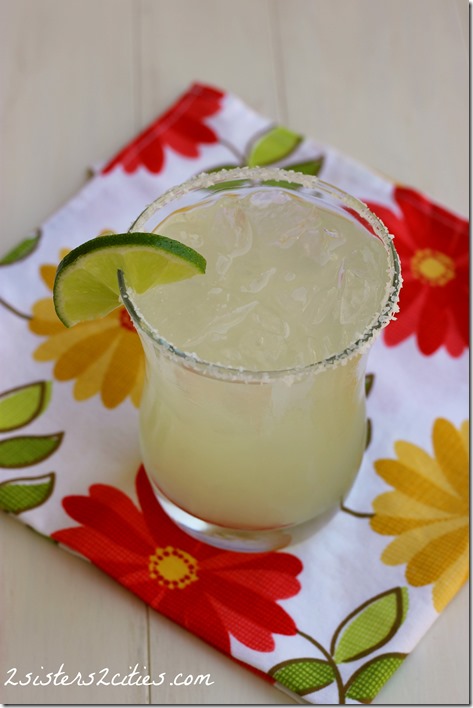
Classic Margaritas

You all know how much I love themed-blogging!  I made all sorts of Mexican food this weekend to share with you this week to help plan your Cinco De Mayo celebrations for this upcoming weekend.  Or, if you are like me and love all Mexican foods all the time, there will be plenty of new recipes for you to try anytime.

I am going to start this fiesta off right with my favorite margarita recipe.  I made this for a group of friends at a bachelorette party I was at last year and for my family last Memorial Day weekend.  It was a hit both times.

Pitchers of Margs

As I have mentioned before, I am not a huge liquor drinker  Until last year I didn’t have to much experience with drinking margaritas.  In search of the perfect after-work happy hour place with two of my co-workers in NY,  we found a restaurant close by that served amazing margarita for five dollars during happy hour.  You are probably thinking that’s a rip-off, but in NYC that is a steal for a drink that is served in a glass cup.  Sad, but true! Anyways, I fell in love with margaritas and especially love them served with freshly made tortilla chips salsa and guac.  Needless to say, we frequented this place a lot and always had a good time.

Making your margaritas at home is always the best because you can control the amount of liquor you want in it and you can put extra salt on the rim!   This recipe makes four drinks so feel free to double or halve it as needed.   Serve with a salt-rimmed glass and ice!

Lime Margaritas

Print
The Classic Margarita
Author: 2 Sisters 2 Cities
Serves: 4
 
Ingredients
  • ½ cup sugar
  • 1 cup water
  • 1 cup fresh squeezed lime juice (about 8-12 limes)
  • ¾ cup (6 oz) silver tequila
  • ½ cup (4 oz) orange liqueur
  • lime wedges/slices for garnish (optional)
  • kosher salt for rim of glass (optional)
Instructions
  1. In a sauce pan, heat up water and sugar until sugar is completely dissolved. Place simple syrup in a jar or pitcher and let cool.
  2. Using a juicer or citrus press squeeze 8-12 limes until you have 1 cup of lime juice. For easier juicing bring the limes to room temperature and roll the lime back and forth with the palm of your hand against a hard flat surface (like counter-top) and apply pressure to the lime as you roll.
  3. Add lime juice to cooled sugar water. Stir in tequila and orange liquor.
  4. To prepare the glass rub a lime wedge on the edge of glass to add a small amount of moisture. Place some kosher salt on a plate and turn glasses rim in the salt until covered, add in ice and pour in the margarita! Enjoy!
3.2.1753

Source- adapted from Confections of a Foodie Bride

Margaritas

sisterk (2)


Filed Under: K's post, K's Recipes, Party Ideas, Vacation Tagged With: cinco de mayo, classic margarita, drinks, fresh limes, fun cocktails, limes, margaritas, mexican, mexican food, party drinks, summer cocktail recipe, tequila

Orange Julius… Go Orange!

Posted by Keelin Hollenbeck on April 6, 2013

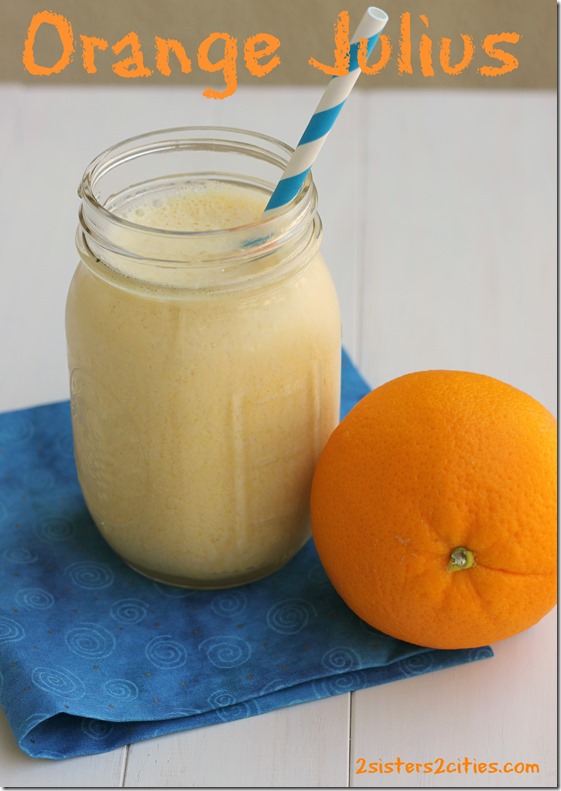
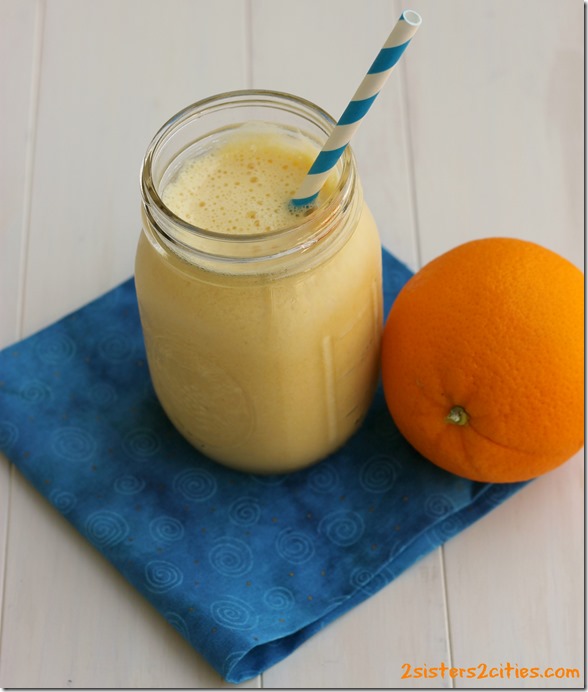
Orange Julius
As M and I have mentioned before, we grew up in Syracuse, NY.   Our father has played basketball his whole life and started to follow Syracuse Basketball when he moved to Syracuse 37 years ago for his first job.   He has held season tickets for Syracuse Basketball that whole time, and is one of the biggest SU fans I know.  My dad would take us to a couple games every year when we were young and it was always fun for the Dome Dogs, nachos, and the quality time with our dad of course!
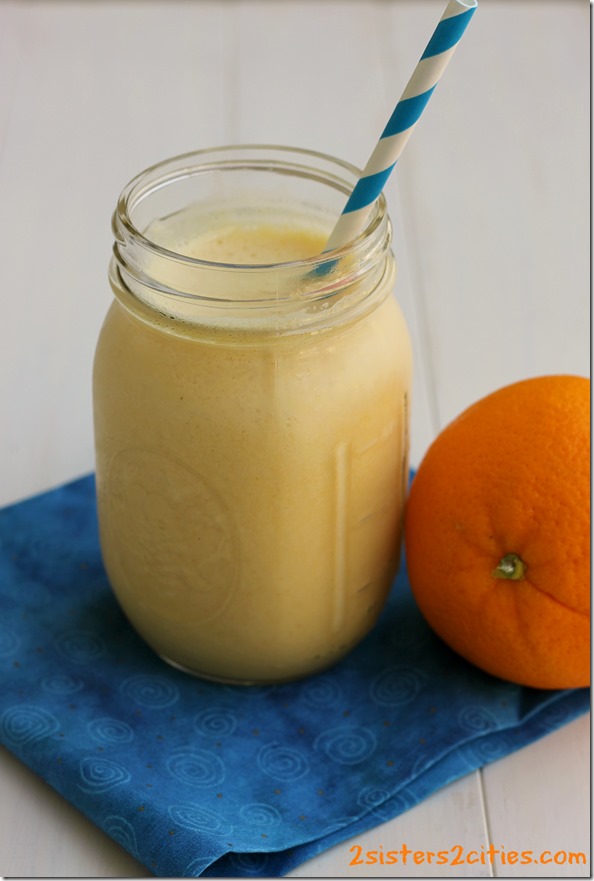
Delicious Orange Julius
In case you haven’t heard,  Syracuse Men’s Basketball is in the Final Four tonight!  They are also winning my brackets for work so Go Cuse!!!   If you happen to be looking for a good Syracuse Orange spirit, you have come to the right place.   My sisters and I use to make this recipe for Orange Julius or Orange Frost all the time when were little.   It is a delicious cold, frothy, fruity drink that’s perfect for kids or adults.   Adults can add vodka or gin to it to make it an even better basketball watching drink!   You can also use this drink to make popsicles!   Go Syracuse!! Cusee is in the house oh my god oh my god!

Print
Orange Julius
Author: 2 Sisters 2 Cities
Serves: 6-8
 
Ingredients
  • 6 oz. frozen orange juice concentrate
  • 1 cup milk
  • 1 cup water
  • ⅓ cup sugar
  • 2 tsp. vanilla extract
  • 12-16 ice cubes
Instructions
  1. Add everything but the ice to a blender. Blend until combined. Add in ice cubes in 3 to 4 parts making sure all the ice is crushed before adding next part. Serve immediately.
3.2.1682

Syracuse Orange Julius
sisterk (2)


Filed Under: K's Recipes, Party Ideas Tagged With: Cuse Recipes, final four, Go orange, orange drinks, orange frost, orange Julius, Syracuse Basketball, syracuse orange, Syracuse Party Recipes

Dill Dip with Pumpernickel Pretzels

Posted by Keelin Hollenbeck on April 5, 2013

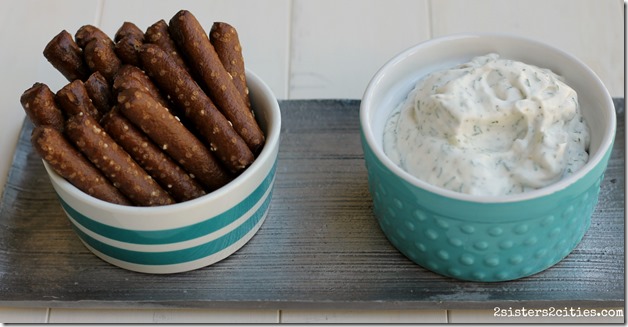
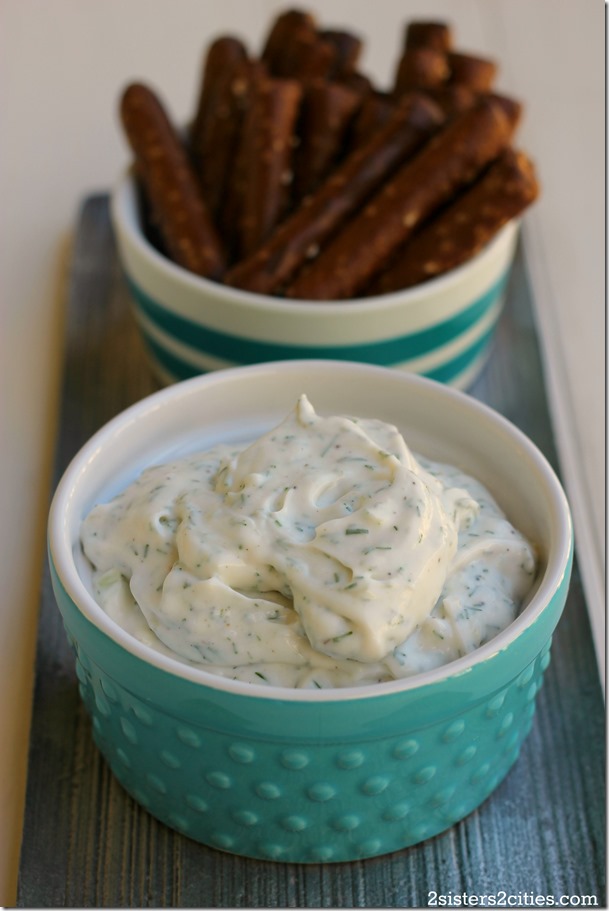
Easy Dill Dip

Have you ever had a rye boat dip? You take a round loaf of pumpernickel bread and create a bowl in the center and and fill it with dill dip with or without chipped beef.  Then, you would use the cut-up bread to eat the dip.  Well, I love those and I still make them occasionally for parties or on a football Sunday because the boyfriend loves it too.

Every time I make it, I need to look up recipes because I lost the recipe that my mom originally gave me.  I have to recreate the recipe every time by looking at different recipes online.  That’s one of the great things about having a blog- not only do I get to share my recipes with you, but I have a centralized place to look up all my family’s/favorite recipes.

When I was in World Market the other day (umm, my favorite store right after Target and Marshall’s,) I found pumpernickel pretzels by Utz.  I had the genius idea of making dill dip to go with these pretzels to taste like a rye boat dip.  The results were awesome and we can’t get enough of the pumpernickel pretzels.  We actually pack a serving in our lunches everyday (without the dill dip.)  Can’t find these pretzels?  Make a pumpernickel boat and fill it with dill dip or just dip slices of cut-up veggies in it.

Dill Dip

Print
Dill Dip
Author: 2 Sisters 2 Cities
 
Ingredients
  • 1 cup light mayonnaise
  • 1 cup light sour cream
  • 1 tbsp. dill
  • 2 tbsp. chopped fresh onion (or 1 tbsp. dried onion)
  • 1 tsp. beau monde seasoning
  • salt and pepper, to taste
Instructions
  1. Combine all the ingredients in a bowl. Cover and place in the refrigerator for at least an hour. Serve with pumpernickel pretzels or pumpernickel bread.
3.2.1682

sisterk (2)


Filed Under: K's Recipes, Party Ideas Tagged With: dill dip, pumpernickle pretzels, pumpernickle rye boat dip, ultz pumpernickle pretzels

Classic Deviled Eggs

Posted by 2 Sisters 2 Cities on March 24, 2013

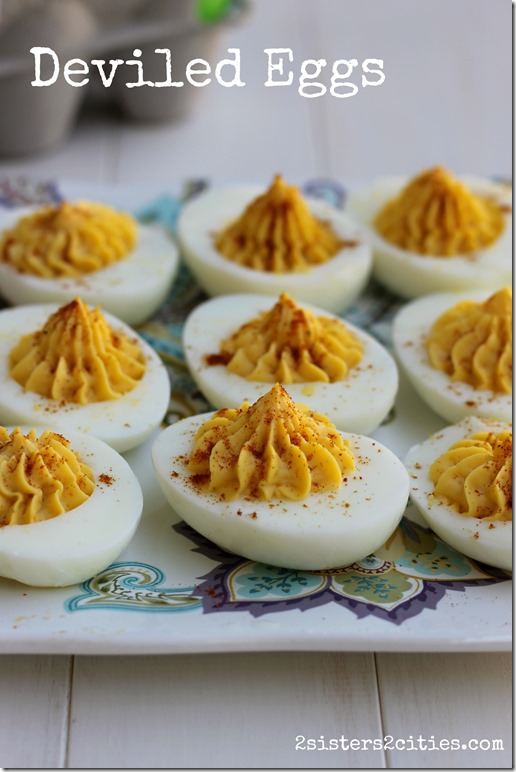
Deviled Eggs

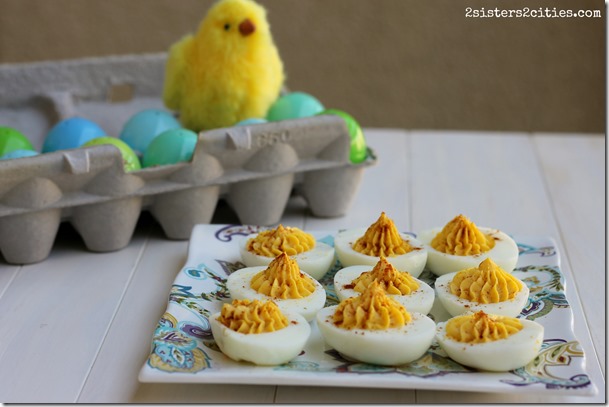
Deviled Eggs are an Easter staple in my book.  Growing up, we used to decorate eggs with the Paas dye kits from the grocery store.  My mom would set up mugs with all the colors and my sisters and I would “wait patiently” for the color we wanted.  My sister C was always the artistic one and would make beautiful tie-dye patterns, striped, or multi-colored eggs.  I, on the other hand, didn’t have the patience for that so what I would do it  just leave my eggs in the dye for as long as possible to see how dark and bright I could get the color.  My favorite was the purple dye because it would never come out a perfectly solid color like the other dyes.  For some reason, the purple dye always made these beautiful splotches of pink, blue, and different shades of purple.

When we were all done with coloring our eggs, we would let them dry in our own individual styrofoam egg carton.   Later on, she would make deviled eggs from our colored eggs and I imagine egg salad later on in the weeks (How else do you use up 3-4 dozens hard boiled eggs because each of her children insisted on dying a whole carton full on their own.)

There are plenty of variations of Deviled Eggs, but today I am going to share with you a classic version.   If dyeing eggs isn’t part of your Easter tradition, have no fear as you can just make the eggs as specified below.

Classic Deviled Eggs

Print
Classic Deviled Eggs
 
Ingredients
  • 8 large eggs
  • 4 tbsp. mayonnaise (I used light)
  • 1½ teaspoons of vinegar (cider or white)
  • ¾ tsp. whole grain mustard
  • ¼ tsp. Worcestershire sauce
  • Salt and pepper, to taste
  • Paprika, for sprinkling
Instructions
To hard-boil eggs-
  1. Gently place the eggs in a medium saucepan and cover with cold water (water level should be 1-inch above the eggs.) Place saucepan on stove-top, set to high and bring to a boil. Once boiling, remove saucepan from heat, cover, and let stand for 10 minutes. Fill a medium-sized bowl with ice cold water while the eggs are sitting. After the 10 minutes, take eggs out of hot water with a slotted spoon and place in the ice water gently; let sit for 5 minutes.
To Make Deviled Eggs-
  1. Peel eggs and then slice length wise. Take out the yolks of the eggs and place them in a medium sized bowl. With a fork, mash the egg yolks until all the large chunks are gone. Add in remainder of ingredients and stir with a rubber spatula. Mash mixture on the side of the bowl to smooth out any lumps.
  2. Prepare a pastry bag with a large star tip (I used Wilton’s 6B). Take egg yolk mixture and add it to the pastry bag, then twist the top portion closed to push the eggs into the bag further. Pipe the yolks into the egg whites by applying pressure to pastry bag and lifting up slowly and releasing the pressure as the egg white fills with yolk. Sprinkle yolk filling with paprika and serve immediately.
3.2.1682

Source: Slightly adapted from Cook’s Illustrated Cookbook

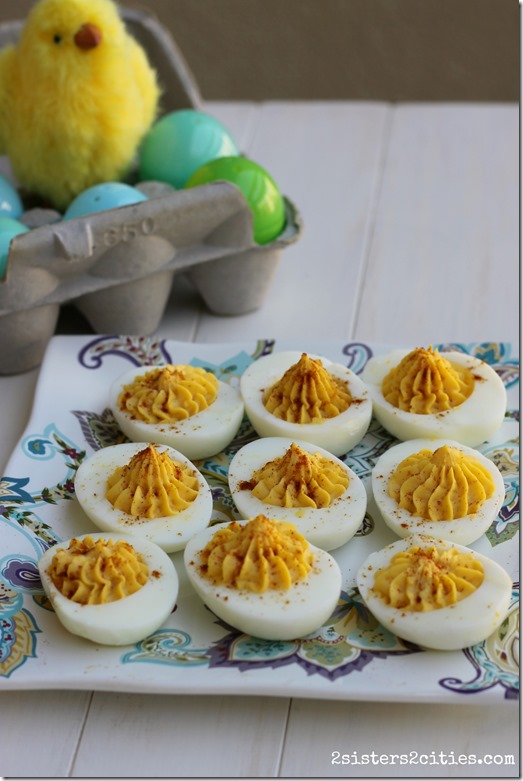
Deviled Eggs for Easter

{Edited from original post} Since this post was so popular last year, Keelin added four new variations of deviled egg recipes this year.  After you try our classic deviled egg recipes, be sure to check back and try another variation!

  • Pickle Jalapeño
  • Pimiento Cheese
  • Herb and Crumb
  • Wasabi Ginger

Need more ideas for those leftover hard-boiled eggs?  Check out M’s post for 10 recipes for leftover Easter Eggs.

10-recipe-ideas-for-leftover-easter-eggs
sisterk (2)


Filed Under: K's Sides, K's Recipes, Party Ideas Tagged With: deviled eggs, easter appetizer, Easter eggs, easter side dish, hardboiled eggs, leftover Easter eggs, recipe ideas for leftover Easter eggs

Recipe Redo- Lighter Jalapeño Poppers

Posted by Keelin Hollenbeck on March 5, 2013

Lighter Jalapeno Poppers

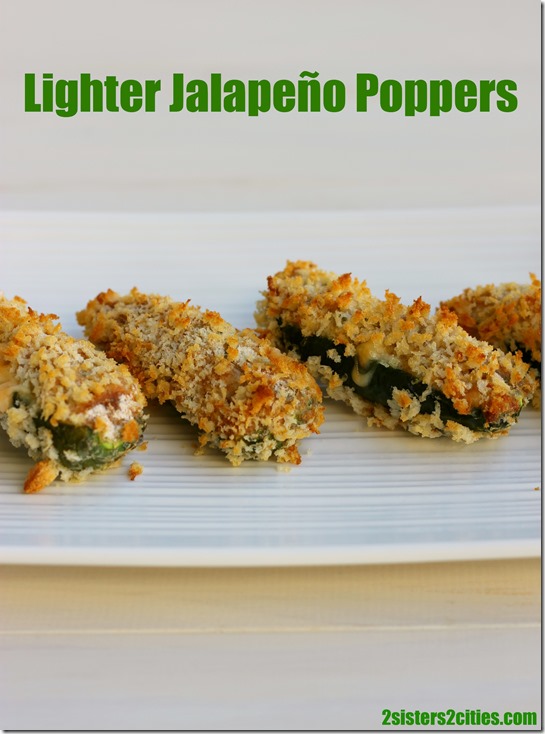
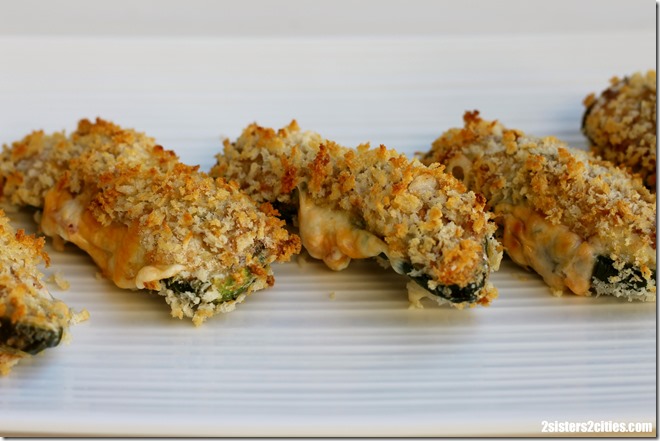
Have I ever mentioned that I love jalapeño poppers? I absolutely love this jalapeño popper stuffed chicken recipe and make it all the time. My love for jalapeño poppers started with the frozen ones you get at the grocery store. I have an older post with a link to my favorite recipe for jalapeño poppers, but I realized the other day when I was trying to get the recipe that the link was broken. I guess it’s the perfect time for my recipe redo! I even spiffed up the recipe with the addition of turkey bacon… Mmmmm.

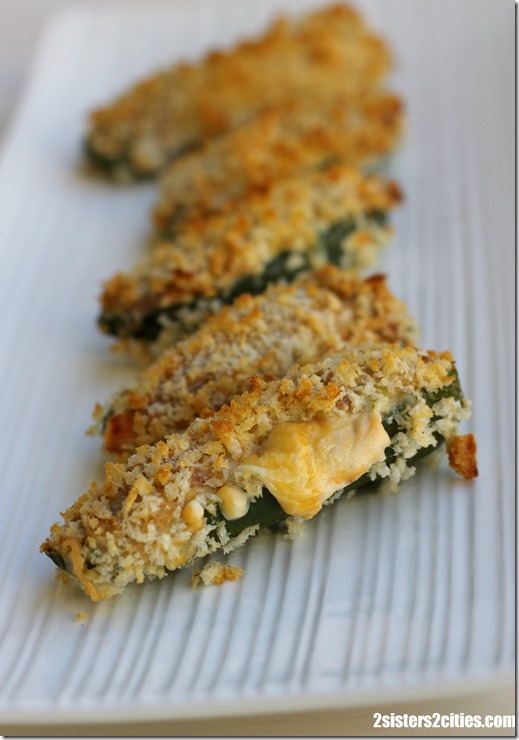
I find the hardest part about this recipe is taking the seeds and ribs out of the jalapeño. I have been burned by jalapeños before so I am very cautious when working with them now. Other than that, the filling and baking is real easy and make a great appetizer! They come out crisp on the outside and gooey and delicious on the inside. I didn’t make a dip to go with them this time because I don’t think they need anything. But if you insist on having a dip, chop up some scallions, mix it with some light sour cream, and add a little salt and pepper to taste. Dip away! Not only are these lighter jalapeño poppers healthier then the store-bought kind, they put them to shame in the taste department.

Gooey Jalapeño Poppers


Print
Recipe Redo- Lighter Jalapeño Poppers
Author: 2 Sisters 2 Cities
Recipe type: Appetizer
 
Ingredients
  • 6 jalapeños, halved, seeds and ribs removed
  • ½ cup reduced fat shredded cheddar
  • 4 oz. reduced fat cream cheese, at room temperature
  • 4 scallions, finely chopped
  • 2 pieces crisp cooked turkey bacon, crumbled
  • ½ cup whole wheat flour
  • 1 cup panko bread crumbs
  • 3 egg whites
Instructions
  1. Preheat broiler to high. Place a wire rack on a foil covered baking sheet. Place jalapeños, opening side down on wire rack. Broil for 2 minute until they begin to char. Let cool as you put together filling
  2. Preheat oven to 450 degrees.
  3. In a medium bowl, mix together cheddar, cream cheese, scallions, and turkey bacon. Fill cooled jalapeños with filling.
  4. Place egg whites in a bowl and whisk until foamy. In two separate bowls add bread crumbs and whole wheat flour.
  5. Dip jalapeños in whole wheat flour and shake off excess flour. Then dip jalapeño in egg whites and then panko crumbs. Place opening side up on wire rack. Be careful not to lose filling. Repeat for all 12 halves.
  6. Bake for 20 minutes and then let cool a few minutes before serving.
3.2.1682

Jalapeño Popper

Source– Adapted from Rocco DiSpirito’s Now Eat This! 150 of America’s Favorite Comfort Foods
sisterk (2)


Filed Under: K's Recipes, Party Ideas Tagged With: appetizers, healthy appetizers, jalapeno poppers, jalapenos, lightened up recipes, lighter snacks, recipe redo, super bowl appetizers, Superbowl recipes

Caramel Corn, Lightened up!

Posted by Keelin Hollenbeck on February 24, 2013

Caramel Corn, Lightened Up

I love caramel corn because it is ultimately the perfect salty sweet crunchy treat.  As I have said before, I have been trying to watch what I eat (hey, I never said I was good at it.) Carmel corn isn’t the healthiest treat with the sugar and butter in it, but air popped popcorn isn’t a bad snack  with all that good fiber.  So, since the unhealthy part of caramel corn is the caramel I came up with the perfect recipe for caramel corn for those of you who are calorie conscious.

I took my favorite caramel corn recipe I shared with you last year and I halved the recipe for the caramel and kept the amount of popcorn the same. If you don’t have an air popper and love popcorn, you should totally get one.  I found mine at Target for $20 and have totally gotten my money back with how many times I use it.  With this light caramel corn recipe, your popcorn will have a lot less caramel on it, but you still get the amazing caramel flavor.  I pretty much make this recipe every weekend for watching movies, new TV series, or when I am just zoned out on my couch watching my computer screen.  I made some last night to eat while watching the Oscars today.  You should probably too, because like the fabulous stars you are watching, you will feel more fabulous with this lightened up caramel corn.  Yeah… there was some shameless marketing for my recipe:).

Lighter Version of Caramel Corn

Print
Light Caramel Corn
Author: 2 Sisters 2 Cities
Serves: 6
 
Ingredients
  • ¼ cup of unsalted butter (1/2 stick)
  • ½ cup of light brown sugar, packed
  • 2 tbsp. light corn syrup
  • 1 tsp. kosher salt
  • ⅛ tsp. baking soda
  • ¼ tsp. vanilla extract
  • 12 cups of popped popcorn,placed in extra large bowl
Instructions
  1. Preheat oven to 300 degrees. Line a baking sheet with aluminum foil and then spray with cooking spray.
  2. Place butter in medium pot over medium heat to melt. Add in brown sugar and corn syrup and stir until sugar dissolves.
  3. Bring to a boil, then turn heat down to low and allow sugar syrup to simmer for 4-5 minutes without stirring.
  4. After, stir the mixture and continue to simmer for 5-6 minutes, stirring every 30 seconds. The caramel mixture will start to become a deep golden color.
  5. At this point turn off heat and stir in salt, baking soda and vanilla extract.
  6. Once the caramel is all mixed together, pour over large bowl of popcorn. Stir the caramel into the popcorn, trying to get all the popcorn mixed in. You will need to work quickly because caramel with start to dry. (Also note that as you bake it you will be able to spread the caramel out more.)
  7. Spread the popcorn out on the lined baking sheet and place in the oven.
  8. Bake for 15-20 minutes, stirring every five minutes. The finished popcorn will have a deep amber color and the caramel will looks a bit like sugar crystals. I usually go the entire 20 minutes because every five minutes I use a rubber spatula to break up and stir the caramel so each piece of popcorn has a little caramel on it.
  9. Let the caramel corn cool and store in an airtight container.
3.2.1652


Light Caramel Corn

Side Note:  Last night I made my caramel corn with mushroom popcorn which you can find on Amazon.  It pops up really huge and is perfect for caramel corn.  I also use the regular kernels that you find at the grocery store sometimes so whatever it easiest for you… both delicious!

Need more ideas of what to make for watching the Oscars tonight?

How about this award-winning line up…

California-Salsa-and-Tortilla-Chips.jpg

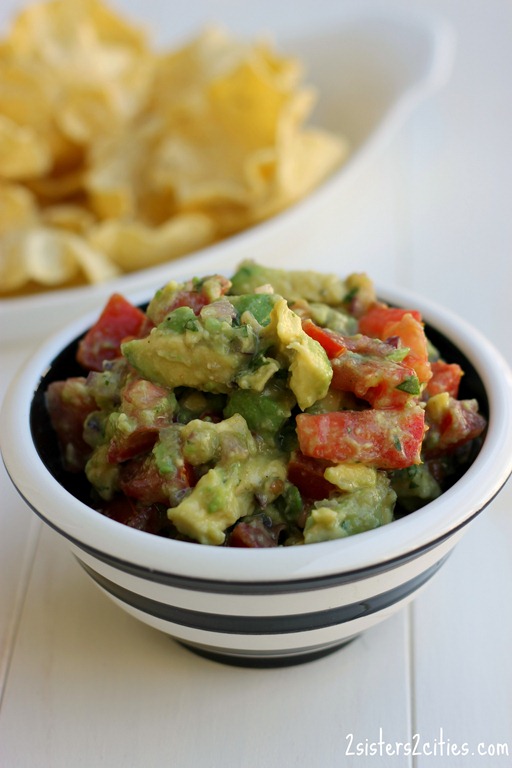
California Salsa with tortilla chips- you can whip this up really fast and be back to the red carpet gawking with a yummy snack

soft pretzels with jalapeño dipping sauce

M’s Soft Homemade Pretzels with Jalapeno Dipping Sauce looks to good,  if you start now you will be enjoying these well before all the star finish getting their make-up done.

Baked Potato Dip with veggies, chips, and pretzels

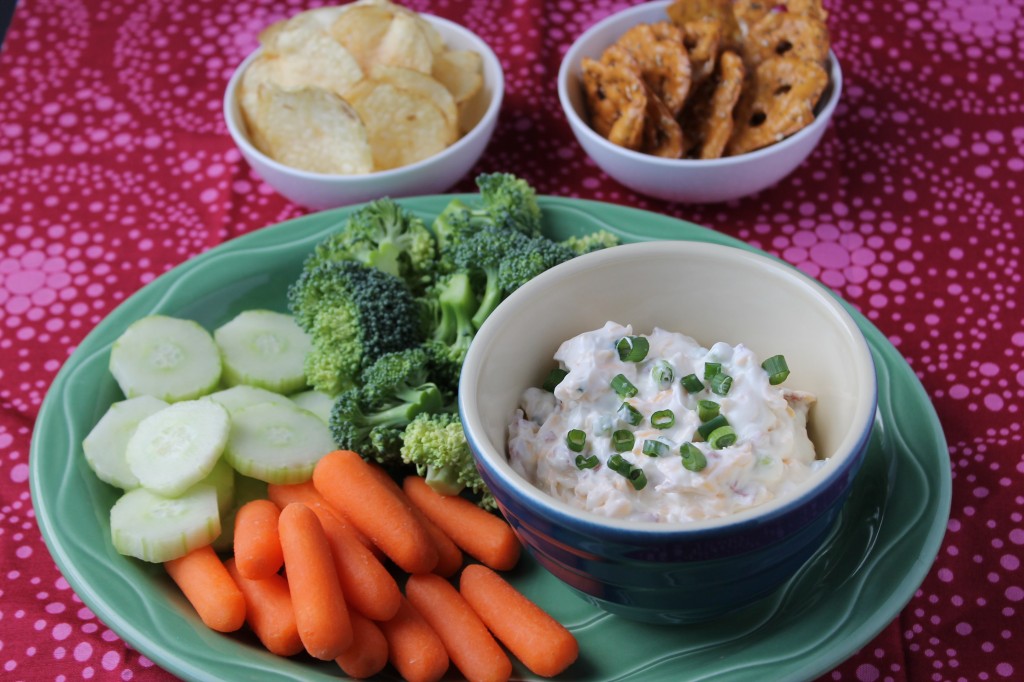
Baked Potato Dip if so easy to make and you can have a variety of dippers to pick from.
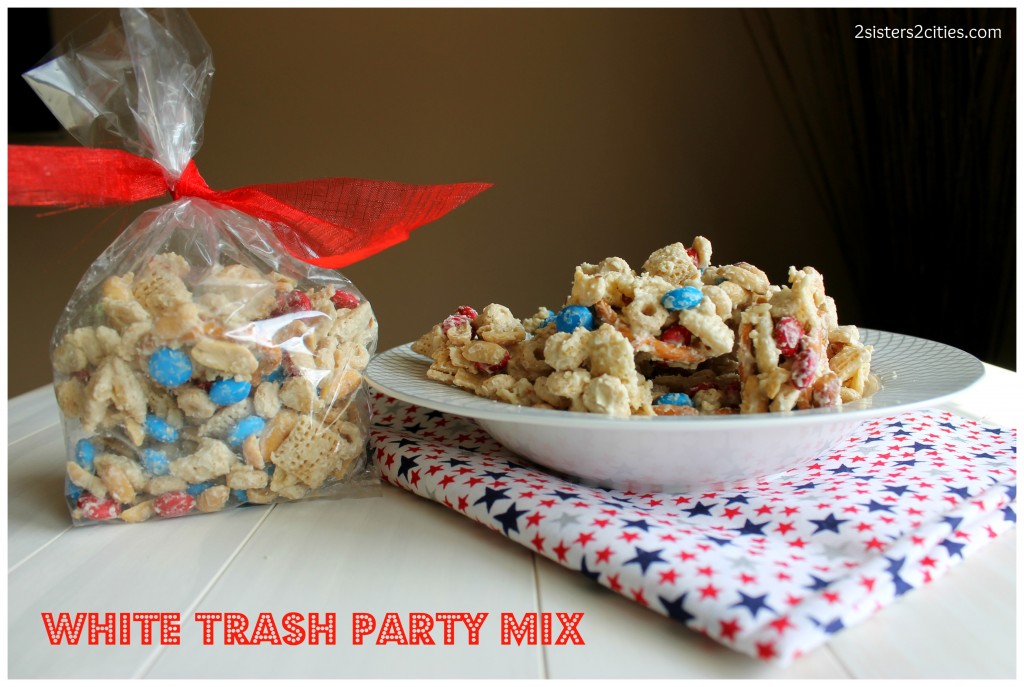
White Trash Party Mix

White Trash Party Mix is always a crowd pleaser and oh so easy to make.   Don’t let the name fool you,  you can still be classy and eat it during the Oscars Winking smile.
popcorn_with_extra_virgin_olive_oil_and_kosher_salt

Need more popcorn recipes?  Check of M’s post about all her favorite popcorn recipes.

sisterk (2)

Related Posts Plugin for WordPress, Blogger...


Filed Under: K's Recipes, Party Ideas Tagged With: caramel corn, crunchy snacks, lighter snacks, oscar snacks, oscar treats, party idea, popcorn recipes, recipes for oscar party, snacks, Sweet and Salty

  • « Previous Page
  • 1
  • 2
  • 3
  • 4
  • 5
  • Next Page »

Recent Posts

  • Easy Holiday Office Party Tips
  • 5 Steps to an Easy Football Party
  • Gingerbread Biscotti
  • Holiday Coffee Bar and Thanksgiving Recipes
  • Soft Sugar Pumpkin Cookies
  • Cinnamon Sugar Apple Cake
  • Hello Pumpkin Season!
  • Make Your Own Milkshake Party!
  • Mama’s Pickles
  • S’more Cookies

Categories

  • About 2 Sisters 2 Cities (7)
  • Books (8)
  • Crafting & DIY (22)
  • Design & Decorating (15)
  • Gardening (5)
  • Giveaway (14)
  • Guest Bloggers (8)
  • K's post (46)
  • K's Recipes (191)
    • K's Desserts (75)
    • K's Entrees (23)
    • K's Sides (24)
  • M's post (72)
  • M's recipes (167)
    • M's Entrees (21)
    • M's Sides (14)
    • M's Desserts (30)
  • Organizing (7)
  • Party Ideas (49)
  • Uncategorized (1)
  • Vacation (12)
Stitch Fix

Archives

Blogroll

  • Annie's Eats
  • Bake at 350
  • Baked Bree
  • Boston Harbor Beacon
  • Confections of a Foodie Bride
  • Cook Like a Champion
  • Erin’s Food Files
  • Forever and a Recipe
  • Framed Cooks
  • Oh Happy Day
  • On Common Ground
  • Pennies on a Platter
  • Pink Parsley
  • Recipe Girl
  • Sally's Baking Addiction
  • Simply Scratch
  • The Curvy Carrot
  • The Pioneer Woman
  • Tidy Mom
  • Two Peas & Their Pod
  • What’s Gaby Cooking
  • Young House Love
Increase your website traffic with Attracta.com

grab a 2 sisters button!


Copyright © 2014 ~ 2 Sisters 2 Cities | Blog Design by Minx Design