2 Sisters 2 Cities

Image Map
  • About 2 Sisters 2 Cities
  • Recipe Index
  • Project Index
  • Contact Us
  • Like us on Facebook
  • Follow m on twitter
  • Follow k on twitter
  • Follow 2S2C on Pinterest
  • Follow 2S2C on G+
  • rss
  • e-mail 2S2C

Archives for May 2013

Samoa Truffles

Posted by Keelin Hollenbeck on May 31, 2013

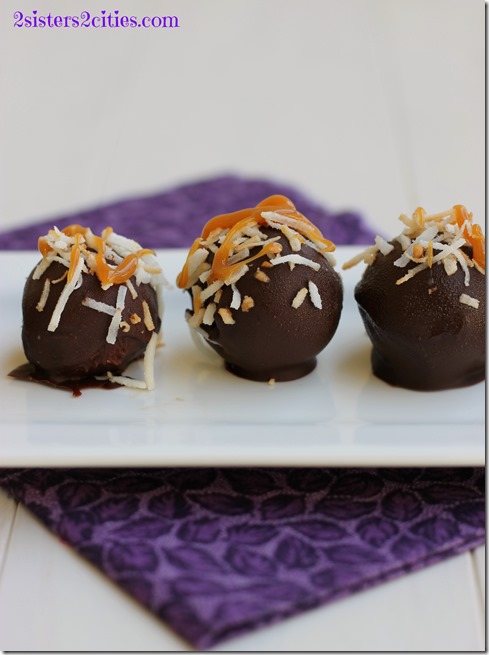
Samoa Truffles with Toasted Coconut and Caramel

Did you know that you can make truffles with just about any type of cookie or brownie?  It blew my mind when I discovered all the different type of truffles out there.  My boyfriend was as shocked as me and then immediately made me make Samoa truffles.
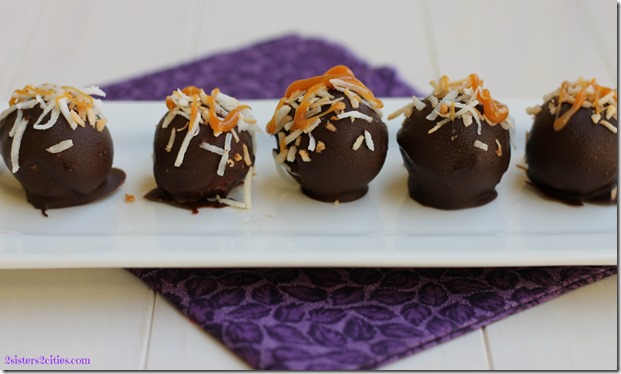
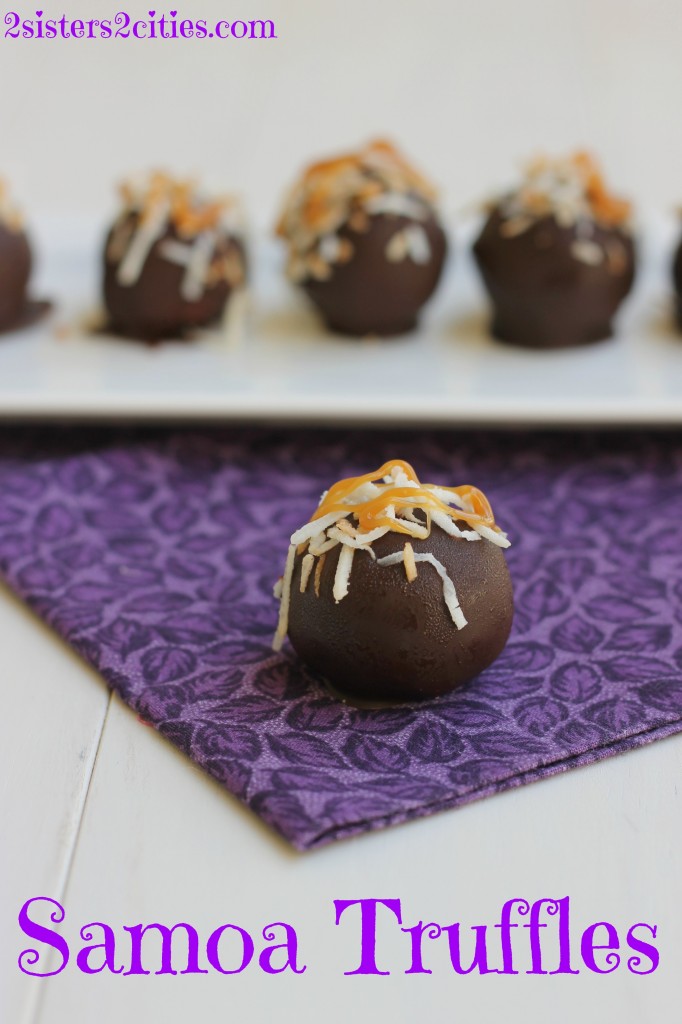
Samoa Truffles

These cookies would be perfect if you froze your Girl Scout Samoas for a rainy day. I don’t really know many people that can do that- we certainly can’t save Samoas around here.  They are way too delicious and we love cookies far more than the “average Joe.”  So instead, we bought Keebler’s Coconut Dreams which are practically the same thing.  I am pretty sure they are the same thing- they just don’t have the nostalgia of Girl Scout Cookies.  Anyways for the purpose of this recipe, they are perfect because we are going to pulverize them into dust (okay, more like crumbs but I was going for the dramatic statement here.)  The crumbs are then mixed with cream cheese, rolled into balls,  partially froze and then dipped in melted chocolate.  You could end it there but then I topped them with toasted coconut and drizzled them with caramel.  Oh yeah, that’s how we do it around here.  Go big or go home!

Also as a side note, I keep truffles in the freezer and then bring them out before serving.  That’s why my truffles have a little condensation on them!
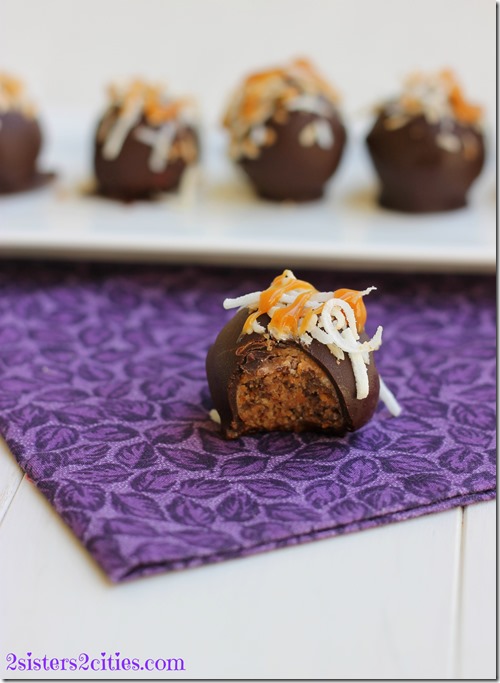
Bite of Samoa Truffle

Print
Samoa Truffles
Author: 2 Sisters 2 Cities
Serves: 24
 
Ingredients
  • 1 box of Samoas or Keebler’s Coconut Dream
  • 2 oz. cream cheese , at room temperature
  • 8 oz. bittersweet or semisweet chocolate, melted
  • ¼ cup sweetened coconut,
  • 2-3 caramel pieces
  • half and half or milk (caramel sauce)
Instructions
  1. In the bowl of a food processor, grind the cookies into a crumb consistency. In a medium bowl mix together the crumbs and the cream cheese at room temperature. Stir them until they are combined into a dough like consistency.
  2. Roll the dough into balls. Mine was a little smaller than a ping pong ball. Place on a wax paper covered baking sheet and freeze for 30 minutes.
  3. While the balls are freezing, place shredded coconut in a non-stick frying pan over medium heat. Stir until lightly browned and toasted. Watch the coconut carefully because it will burn easily.
  4. Melt the chocolate in a medium-sized heat proof bowl in the microwave in 30 second intervals. Stirring in between until completely melted.
  5. Once the dough balls are in the freezer for 30 minutes dip them in the melted chocolate. Place on a waxed paper covered baking sheet and sprinkle with toasted coconut. Repeat for remaining dough balls.
  6. Place tray back in the freezer for chocolate to harden.
  7. Take a few pieces of caramel candy chews in a small bowl with a few drops of half and half or milk. Microwave in 5-10 second intervals to melt, stirring in-between. Watch the caramel carefully because it will start to burn very easy (I burned my first batch.) With a spoon drizzle the caramel in zig-zags on top of the toasted coconut that is stuck on the chocolate coating. Let cool an enjoy!
3.2.1753

Source- Adapted from Cookies and Cups

Samoa Cookie Truffles

sisterk (2)


Filed Under: K's Desserts, K's post Tagged With: easy dessert, Girl scout cookies, samoa cookies, samoa truffles, truffles

Graduation Party Decor

Posted by Meaghan Barry on May 29, 2013

Graduation Party Decor {from 2 Sisters 2 Cities}

A couple weekends ago, I hosted a small college graduation party for my baby sister. {Side note: am I allowed to use the terms college and baby in the same sentence?}  It was just our direct family attending, but with my parents, husband, three sisters and a toddler, it was still a pretty lively event!  Since we were at the graduation ceremony for most of the first half of the day, we had the party catered so we wouldn’t have to worry about being in a rush to pull together a celebratory meal afterwards.  K had to catch a flight back to San Francisco that night so a dinner out at a restaurant was also out of the picture.  I forgot to take a lot of photos of the graduation party decor, but I did want to share a few of the photos I took.

Since I didn’t have to worry about pulling together a big meal for the graduation party, I decided instead to focus on making my own decor for the party.  “Baby Sister” M’s school colors were blue and yellow so I decided to use this as the theme for the decorations.  I took a page from K’s party decor for our family reunion’s Fourth of July luncheon last year and used a paper punch to create handmade paper garlands to hang up around the kitchen and dining room.

Graduation Party Decor {from 2 Sisters 2 Cities}

I have a pretty large supply of decorative paper and card stock and I went through my stockpile to find some cute yellow card stock and a roll of Paper Source dark blue polka dotted paper that I had from leftover from my wedding.  I used my scallop punch that I bought to make the favor bags for T’s 2nd birthday party and punched out ~100 large scalloped circles.  I then used double-sided tape and affixed them to some blue twine (I stuck two of scalloped circles together with the twine running up the middle between the two circles.)

blue garland

I then took some blue and yellow washi tape to create tiny flags between each of the scalloped circles.  I stuck together a long piece of washi tape around each string of twine and then snipped the edges to create a tiny flag.  I then used masking tape to hang each string of garland from the ceiling (I tried using the washi tape at first, but they all fell down within minutes.)  I love that I can reuse the paper and washi tape garlands again for a future party.  I carefully took each one down and stored them in a ziploc storage bag for future use.

I also took her graduation announcements (one from the school and one my mom had made on Tiny Prints) and placed them in small white frames on the buffet table.  My mom had picked up some blue and yellow jelly beans that and we served those in cute little polka dot candy cups that I had bought at Shop Sweet Lulu awhile back.  T insisted on getting a cake for the party so we picked up the little graduation hat cupcake from Whole Foods.
Graduation Party Decor

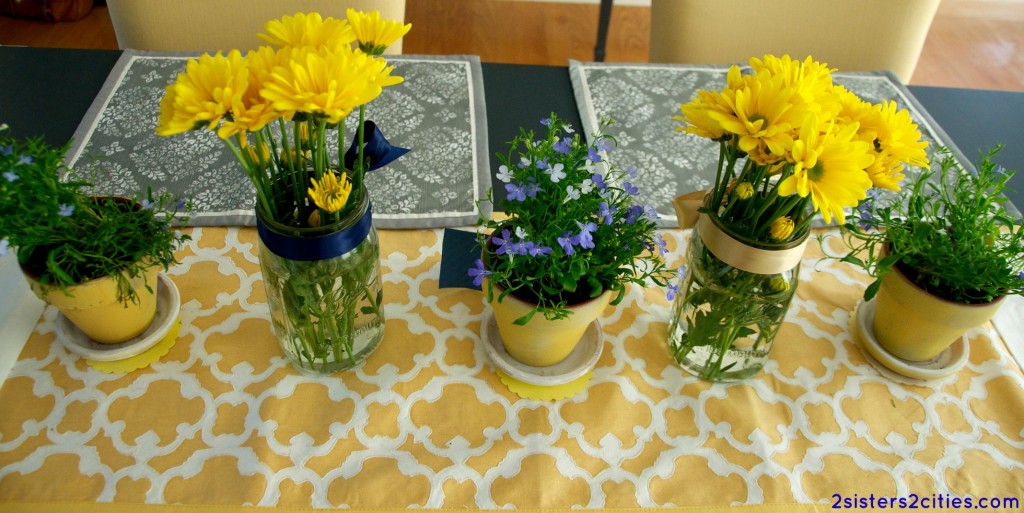
My mom also made a project similar to the silver flower pot party favors we made for T’s baptism a few years ago.  She painted three terra cotta pots yellow and planted blue/purplish flowers in each pot.  I also bought some yellow daisies for the party and placed them in two mason jars tied with ribbon.  We then placed all five flower decorations in the middle of the dining room table for our tablescape.

Graduation Party Flower Decor

I also printed off a few of these 2013 graduation party decor printables from Catch My Party that I found on Pinterest (most notably the foldable labels to write down the types of food that were being served.)  I didn’t get a chance to take a picture of these and the food because I was way too excited about trying all of it.  Our gluten-free menu included Thai shrimp spring rolls with spicy chili sauce, chicken mango curry, coconut rice, Thai steak salad, and coconut flan.  (For those of you living in the Boston South Shore area, I highly recommend you check out The Fresh Feast in Cohasset where we ordered the food from- so delicious and very reasonably priced!)

Do you have any favorite ways to make your own decorations for parties?

sister m signature


Filed Under: Crafting & DIY, Party Ideas Tagged With: blue and yellow party, college graduation, commencement, diy decorations, graduation, graduation 2013, graduation party, graduation party decor, handmade decorations, paper garland, party decor, yellow terra cotta pots

More Memorial Day Menu Ideas

Posted by Keelin Hollenbeck on May 23, 2013

Before K and I start delving into a whole new season of summer recipes, we wanted to share a few of our favorites from the 2S2C archives.  With Memorial Day weekend coming up (seriously people, I’m pretty concerned about what just happened to the entire month of May- eek!), I have been starting to plan my menu for the holiday weekend.  If you are looking for even more Memorial Day menu ideas, be sure to check out our Memorial Day Weekend and Fourth of July menu round-ups from last year.  In addition, K’s post about our Fourth of July family reunion party from last year is chock-full of patriotic menu and decoration ideas.  I really want to make her DIY Patriotic Pennant Banner to have on hand for all the patriotic holidays!
Even though the weather forecast is looking pretty lousy for the Boston area this weekend, I’m still hoping to do a lot of grilling.  In addition, we are going to have our first lobster night of the summer- can’t wait!  I’m also going to try to make some of the 10 summer recipes shown below.

10 Memorial Day Menu Ideas

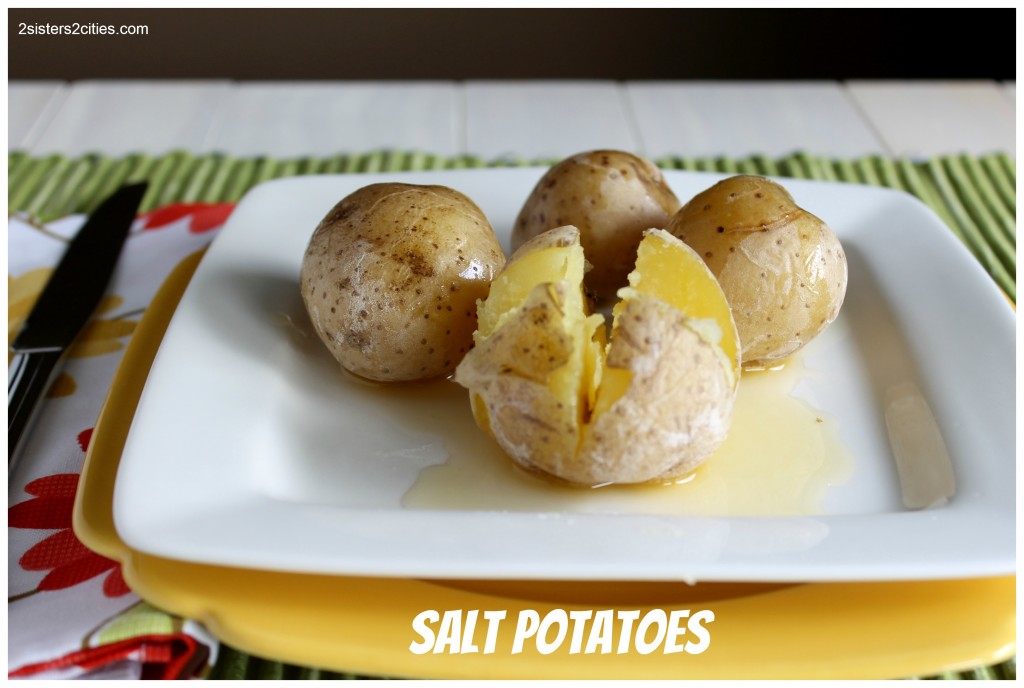
Salt Potatoes: an upstate NY summer tradition

Salt Potatoes

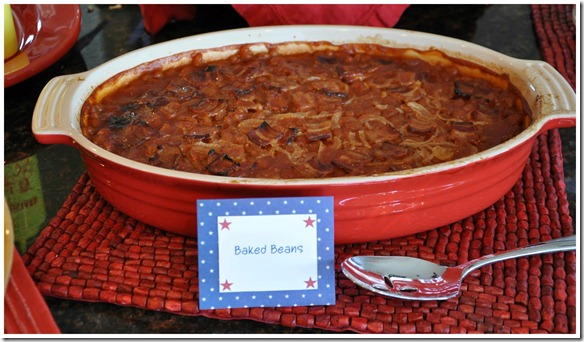
Baked Beans: a great side dish for summer cook-outs

Baked Beans {from 2 Sisters 2 Cities}

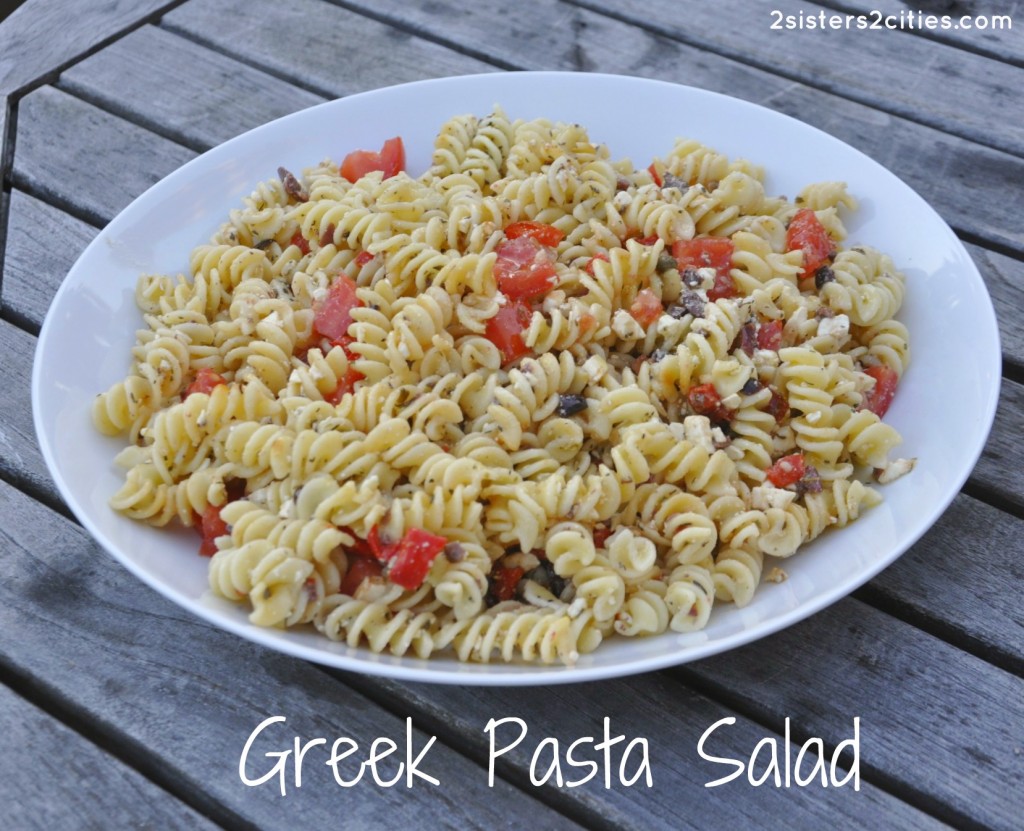
Greek Pasta Salad: the perfect side for hot dogs and hamburgers

Greek Pasta Salad (from 2 Sisters 2 Cities}

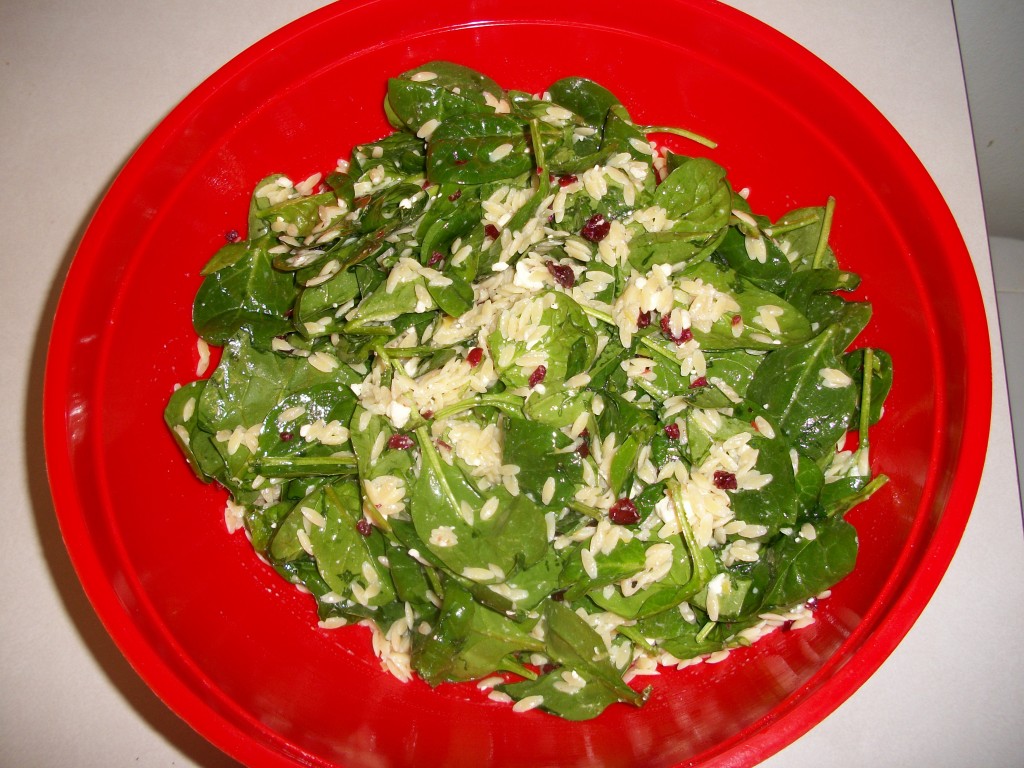
Orzo and Spinach Salad with Lemon-Cranberry Vinaigrette: a family favorite (and a 2S2C old-school photo flashback!)

Orzo Salad

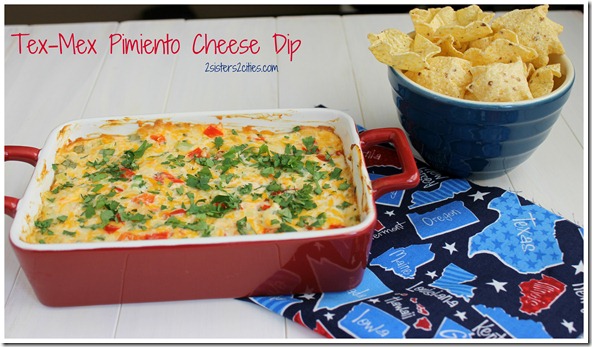
Tex-Mex Pimiento Cheese Dip: serve with red and blue tortilla chips! {I realize I put this dish in just about every round-up that I do, but you will not regret making this for your next party!!}

Tex-Mex Pimiento Cheese Dip
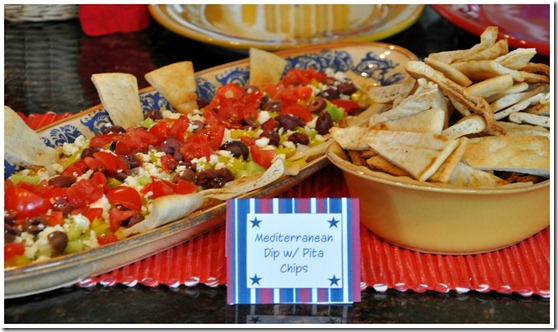
Mediterranean Dip: this recipe is great for showcasing fresh summer produce

Mediterranean-Dip-with-Pita-Chips
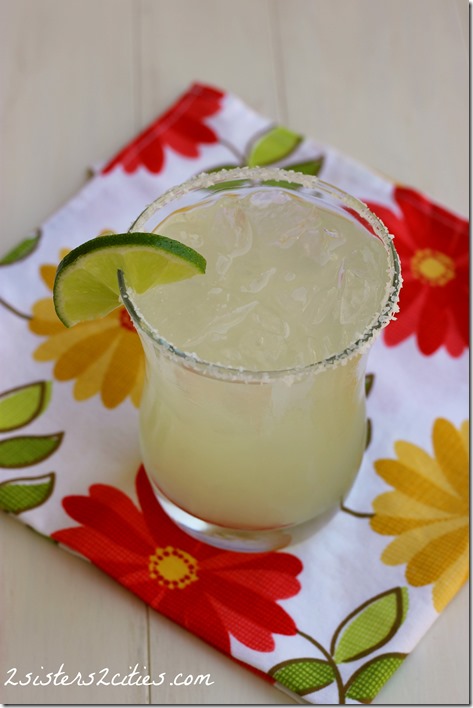
The Classic Margarita: get the weekend started off the right way with this perfect margarita (5 more weeks to go until I can sample one!)

The Classic Lime Margarita {from 2 Sisters 2 Cities}
Sausage, Pepper, Onion, and Potato Bake (I’m making this tonight- one of my favorite summer dishes!)

Sausage, Pepper, Onion, & Potato Bake {from 2 Sisters 2 Cities}
Frozen Cupcake S’mores: a great summer treat!

Frozen Cupcake S'mores {from 2 Sisters 2 Cities}
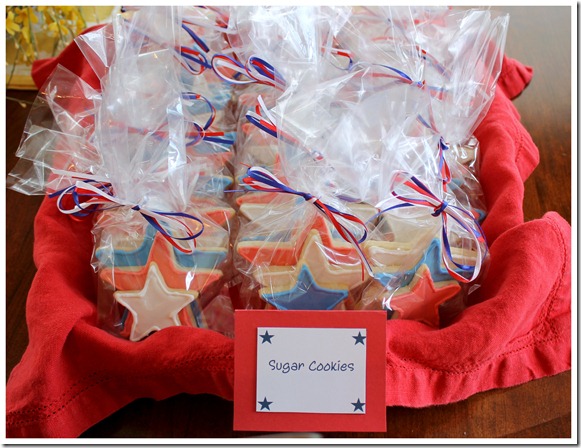
Patriotic Star Sugar Cookie Cut-outs: for the very ambitious Memorial Day celebraters!

Star cookie cut-outs

Well, it looks like K is a way better summer-blogger than I am considering that 80% of the above recipes are hers.  I can’t promise that I’ll be able to catch up to her pace this summer with baby #2’s arrival, but I am still hoping to share a few of my new favorite summer recipes over the next few months.  What do you have planned for your Memorial Day weekend menu?

sister m signature


Filed Under: M's recipes Tagged With: cookout recipes, grilling, memorial day, memorial day recipes, memorial day weekend, memorial day weekend menu ideas, patriotic holiday menu, patriotic holidays, patriotic menu ideas, patriotic party ideas, summer recipes

DIY Baby Closet Dividers

Posted by Keelin Hollenbeck on May 20, 2013

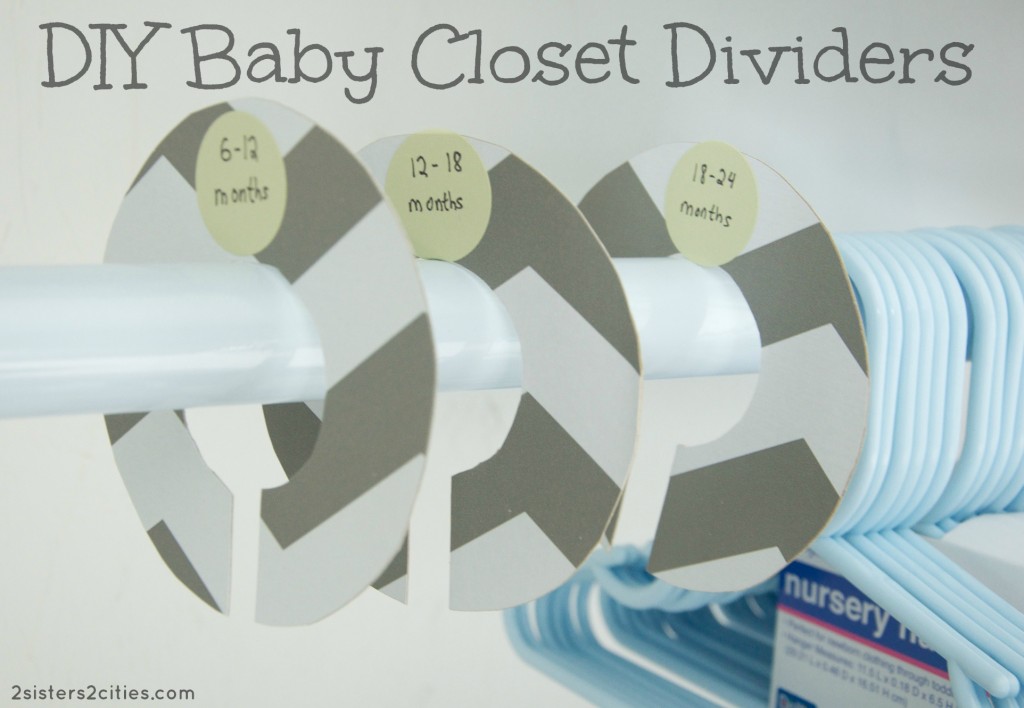
DIY Baby Closet Dividers {from 2 Sisters 2 Cities}

I’ve mentioned in a lot of my last posts that I have been busy nesting and getting ready for baby #2’s arrival.  This time around, I realize that the nursery does not need to be finished by the time the baby comes since he will be in a bassinet next to our bed most nights, but time will likely be a rare commodity with two little munchkins.  I’m trying to get as many things done ahead of time with just T around.

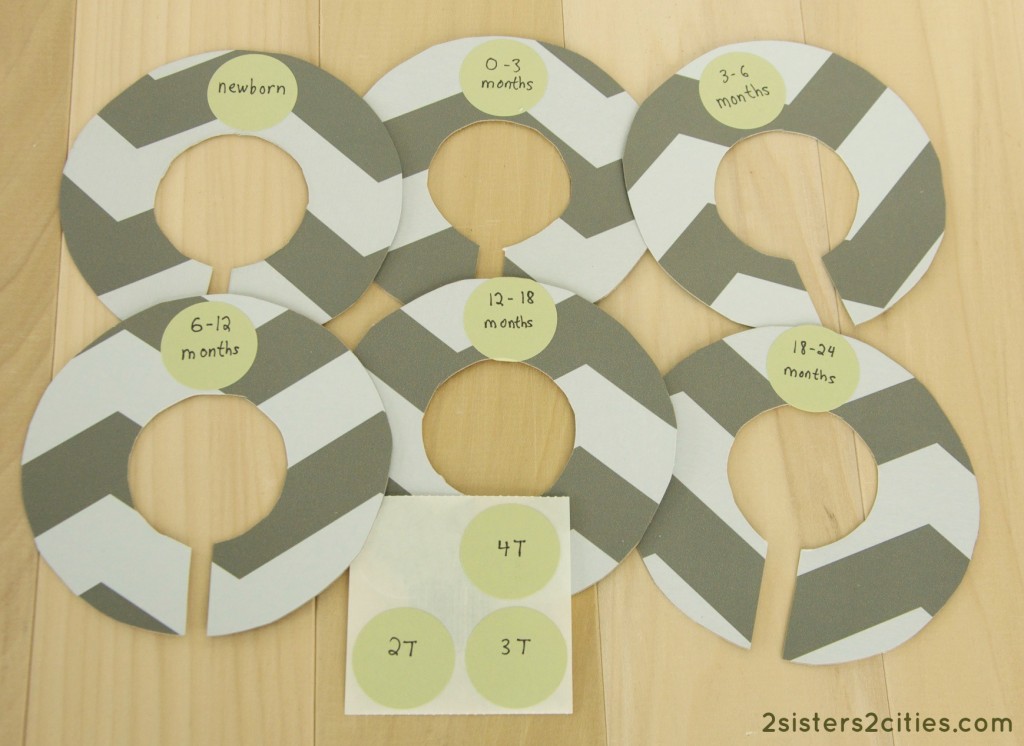
I wanted to share one of the latest baby projects that I just finished- DIY baby closet dividers.  These baby closet dividers are all the rage on etsy and I was originally going to just buy some.  I realized they would be fairly easy to make myself however so I decided to give it a try.  I had a few rolls of gray chevron contact paper that I picked up at Marshall’s a few months ago and I had put them aside for any projects that might come up.  I decided this paper would be perfect for making my own baby closet dividers.  {Side note: I’m not sure I’ve mentioned this in a past post, I decided to decorate this baby’s nursery in dark gray, bright green, and white.  Check out this post for a peek at baby T’s airplane-themed nursery that I did a few years ago.}

DIY Baby Closet Dividers

Materials

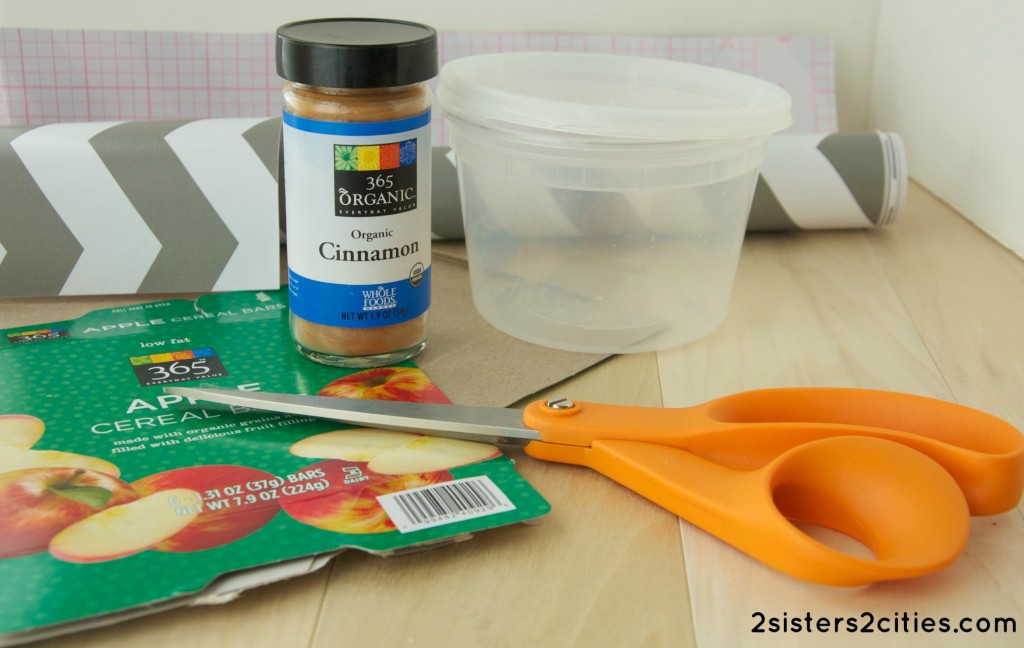
Materials for DIY Baby Closet Dividers

  • empty cereal, cracker, or snack cardboard boxes
  • large circle trace (I used a plastic take-out container)
  • small circle trace (I used a spice jar)
  • pencil
  • scissors
  • decorative contact paper
  • stickers or labels

Instructions

DIY Baby Closet Dividers {from 2 Sisters 2 Cities}

  1. Use the scissors to cut two large squares out of the decorative contact paper (make sure the squares are larger than the large circle trace you plan on using.)
  2. Remove the backing from the contact paper and place on both sides of a flat piece of cardboard.  The squares should match up so that when you cut a circle out of the cardboard, the contact paper will fully cover the circle on both sides.
  3. Using a pencil and large circle trace, trace a circle on one side of the square contact paper.  Then, using the small circle trace, trace a small circle in the middle of the large circle that you just traced.
  4. With your scissors, follow the large circle trace and cut the large circle from the piece of cardboard.  Then, cut two small even slits to cut out the small circle trace from the center.  Neaten any edges so that both circles appear even and smooth.
  5. Repeat this process 5-8 times depending on how many baby closet dividers you want to make.  (I made six of them since I will likely be storing away the baby clothes once the baby grows out of them.  I will then change the sticker out on the divider for a larger clothes size.)
  6. Label 6-9 stickers with common baby clothes sizes: newborn, 0-3 months, 3-6 months, 6-12 months, 12-18 months, 18-24 months, 2T, 3T, and 4T.  Apply sticker or label to top of clothes dividers.
  7. Hang in closet and organize baby’s clothes by size!

Baby Closet Dividers {from 2 Sisters 2 Cities}

I love how this project turned out!  Plus, I love being able to look at that first newborn onesie every time I open the closet door- I can never get over how little and cute newborn clothes are.  It barely even fits on the mini hanger!

T never had a closet in our city condo since the closet in his nursery served as my husband’s main closet.  I used a lot of baskets to divide his clothes by size and type and stored them on a bookshelf.  While that system worked well, I really like having everything organized and hanging in a closet this time around.  It’s much easier to visualize what I have by size with everything in sight.  I still need to do a little more organizing once I move the dresser and changing table into this room, but it’s come a long way from the catch-all closet it used to be.

Baby Nursery Closet

Have you ever seen an idea on Etsy or a retail store that you decided to make yourself?

sister m signature


Filed Under: Crafting & DIY, M's post Tagged With: baby, baby #2, baby closet dividers, baby clothes, baby's nursery, closet organization, DIY projects, etsy, getting organized, getting ready for baby, nesting, nursery, nursery storage, preparing for baby

Carnita Tacos

Posted by Keelin Hollenbeck on May 14, 2013

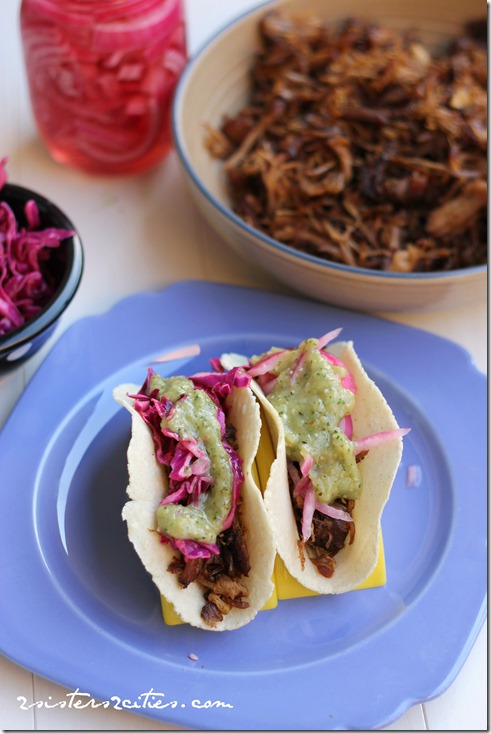
Carnitas Tacos with Pickled Onions

Well, I missed the Cinco de Mayo train with this recipe.  I was getting ready to post this last Sunday, but I got into a cleaning mood all Sunday morning and completely cleaned every surface in my house.  I even vacuumed my balcony.  Who does that?   It was one of those moments when your realize that you are totally turning into your mom.   I am having those a lot lately!

I feel like May is going by so fast.  I was shocked the other day that it was already May and now we are already halfway through.   We are on summer time already apparently.   I know it’s no longer Cinco de Mayo, but one of the great thing about Mexican food is that you can eat it all year round.

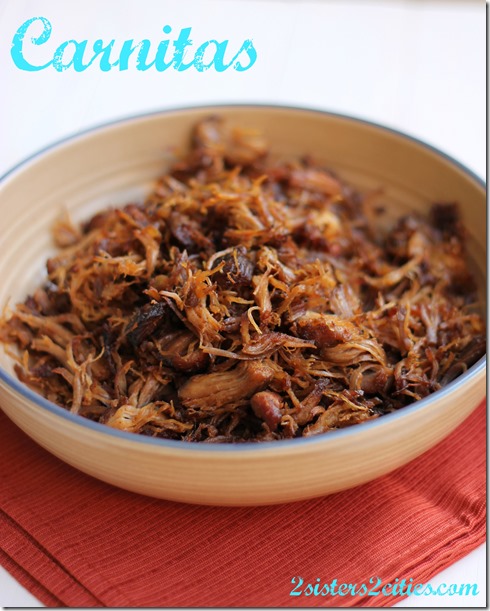
Carnitas

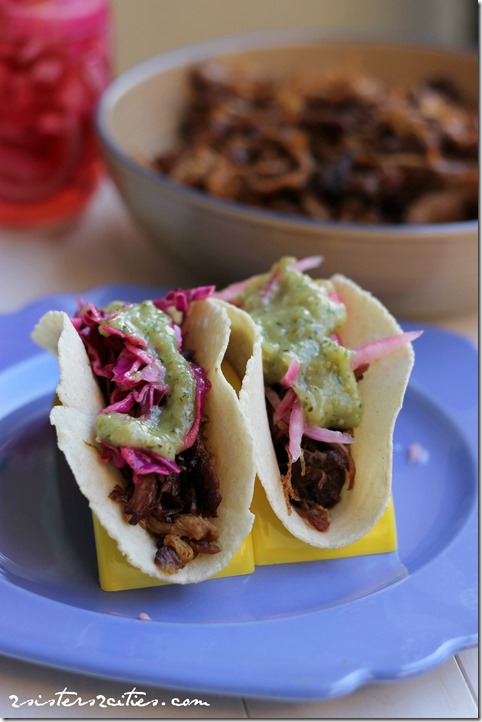
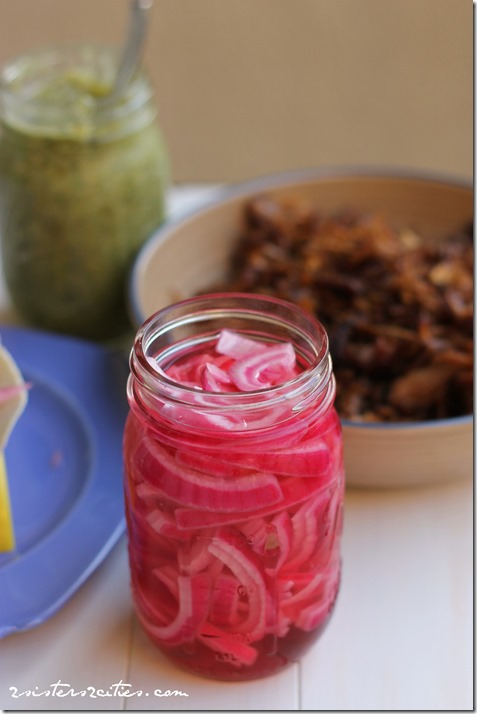
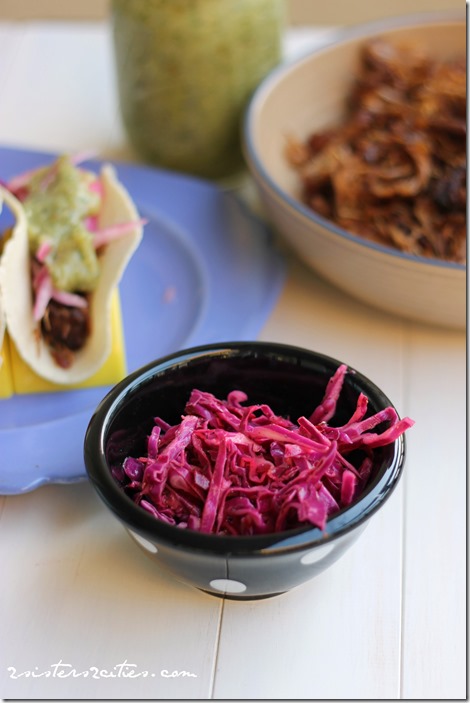
Since I have moved to California, Carnitas have become my favorite kind of taco.  What are Carnitas you ask?  Carnitas are the Mexican version of pulled pork.  The pork is shredded and then cooked a little longer to caramelize.  What’s better than carnitas?   Well I would say carnitas in a corn tortilla topped with salsa verde and your choice of pickled onions or cabbage slaw.   Oh yeah, that’s what I am talking about.

Carnitas Tacos

Print
Carnita Tacos
Author: 2 Sisters 2 Cities
 
Ingredients
  • 4-6 lbs. bone-in pork shoulder
  • 2 tablespoons canola oil
  • 1 lime, juiced
  • 1 orange, juiced
  • 1 teaspoon chile powder
  • 1 teaspoon ancho chile powder
  • 2 bay leaves
  • ½ teaspoon cumin
  • 3 cloves garlic, thinly sliced
  • 1 medium onion, chopped
  • Kosher salt
Instructions
  1. The night before- Cut pork shoulder into 3-4 inch pieces, trimming off the excess fat. Sprinkle pieces of the the pork with kosher salt and stick in a large sealable bag to refrigerate overnight.
  2. The day of- Preheat your oven to 350°F.
  3. In a large Dutch oven or pot heat oil over medium-high heat. Sear pork pieces on all sides about 2-3 minutes on each side. You may need to do this in 2 parts to lay all the pork pieces down flat. Remove the browned pork to a plate.
  4. In a 1 cup measuring cup squeeze a lime and orange and fill remaining cup with water. Pour into the Dutch oven and scrape the brown bits off the bottom. Add in chili powders, bay leaves, cumin, garlic, onions, and a pinch of kosher salt to the liquid. Return the pork back into the pot and then add water so that ⅔rds of pork is covered.
  5. Place in oven to cook for 2½ to 3 hours without a lid. Turn the pork a few times during the cooking time. The pork is cooked when most of the liquid is gone and pork falls apart easily with a fork.
  6. Shred the pork with two forks. Return pork back to the oven and cook until pork crispy and caramelized. This will take 15-20 minutes.
3.2.1753


Pickled Onions

Print
Pickled Onions
Author: 2 Sisters 2 Cities
 
Ingredients
  • 1 red onion, sliced thin
  • ½ cup vinegar, apple cider or white
  • 1 cup warm water
  • 1 tbsp. sugar
  • 1½ tsp. Kosher salt
Instructions
  1. Mix vinegar, warm water, sugar and salt in a small bowl until sugar is dissolved. Add onions into a mason jar or sealable container. Add vinegar mixture to jar and refrigerate for at least day.
3.2.1753

Cabbage Slaw

Print
Cabbage Slaw
Author: 2 Sisters 2 Cities
 
Ingredients
  • 1 cup Shredded red cabbage
  • juice from ½ lime
  • fresh cracked salt and pepper, to taste
Instructions
  1. In a container stir together cabbage, lime juice, salt and pepper. Refrigerate for at least 30 minutes.
3.2.1753

Source- Carnitas and Pickled Onions adapted from Shared Appetite, Cabbage slaw adapted from Skinnytaste

sisterk (2)


Filed Under: K's Entrees, K's Recipes Tagged With: cabbage slaw, carnitas, cinco de mayo, mexican, mexican food, pickled onions, pork carnitas, tacos

Top 20 Recipes for Mother’s Day

Posted by Meaghan Barry on May 10, 2013

Is anyone else wondering where this week has gone?  I can’t believe it’s Friday afternoon.  It’s been a pretty busy week around here with doctor’s appointment, my dad visiting for a night, book club, playgroup, a new swing-set for T, and getting stuff checked off the “holy crap, I’m due in 7 weeks” to-do list.  I’m looking forward to a fun (and hopefully somewhat relaxing) mother’s day weekend!

Unfortunately, neither K nor I will get a chance to see our mom for Mother’s Day this weekend, but we will see her next weekend for little sister M’s big college graduation weekend!  If we had the opportunity to see her this weekend though, we thought of some recipes we would consider making for her.  This list originally started off as our top 10 recipes for mother’s day, and quickly grew to 20!

For a Fun Brunch:

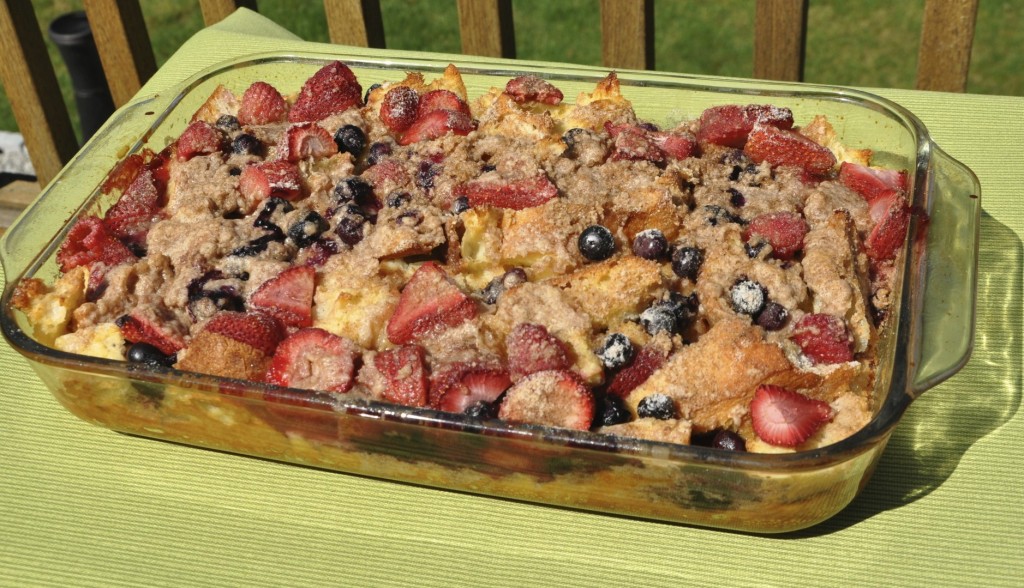
Baked French Toast

Baked French Toast {from 2 Sisters 2 Cities}

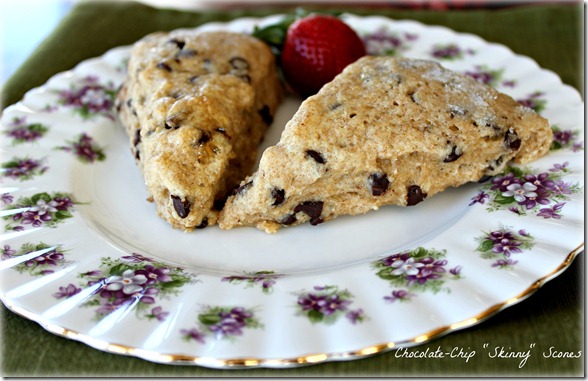
Chocolate Chip Skinny Scones

Chocolate Chip Skinny Scones {from 2 Sisters 2 Cities}

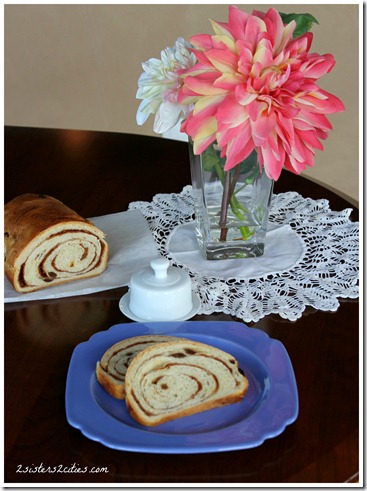
Cinnamon Raisin Swirl Bread

Cinnamon Raisin Swirl Bread {from 2 Sisters 2 Cities}

Homemade Cold-Brewed Iced Coffee

Iced Coffee Recipe

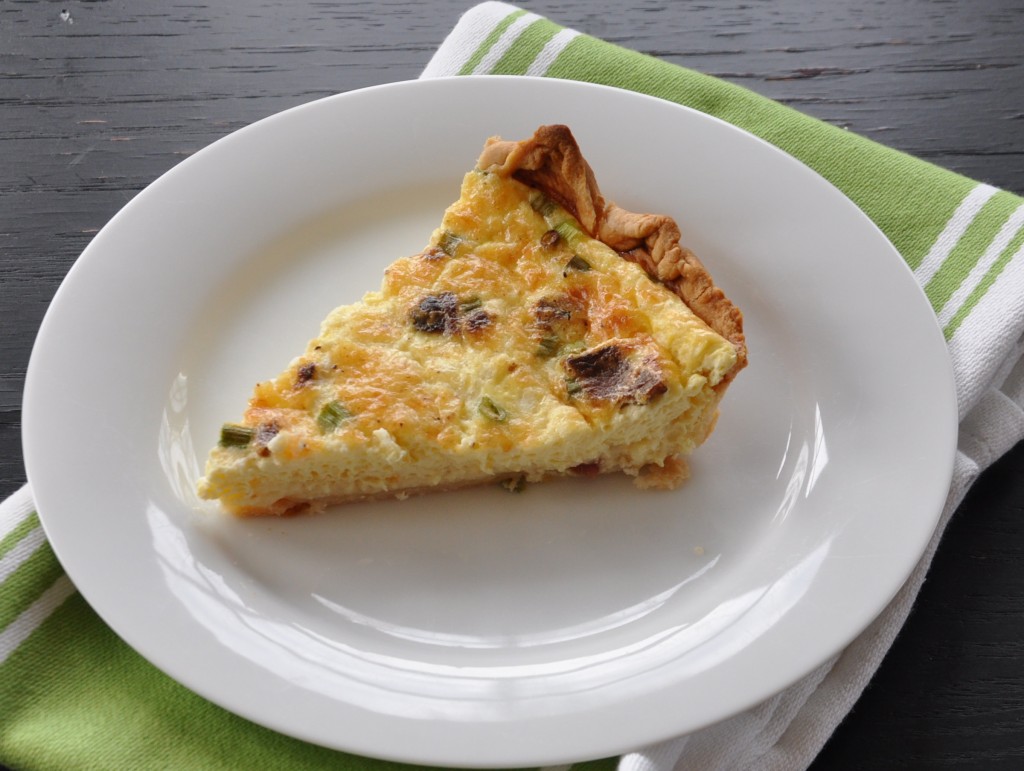
Bacon & Green Onion Quiche

Bacon & Green Onion Quiche

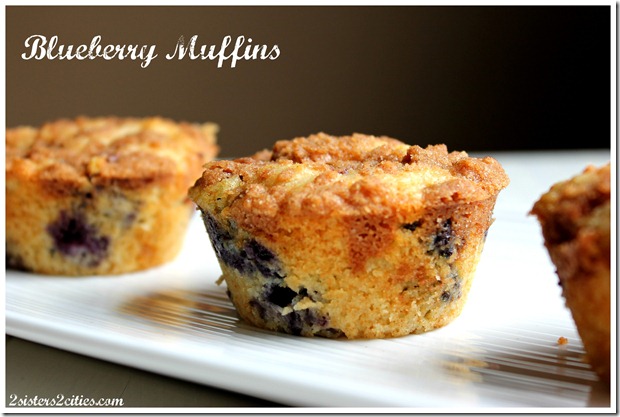
Blueberry Muffins

Blueberry Muffins {from 2 Sisters 2 Cities}

For a Mid-Afternoon Snack

Caramel Corn

Caramel Corn {from 2 Sisters 2 Cities}

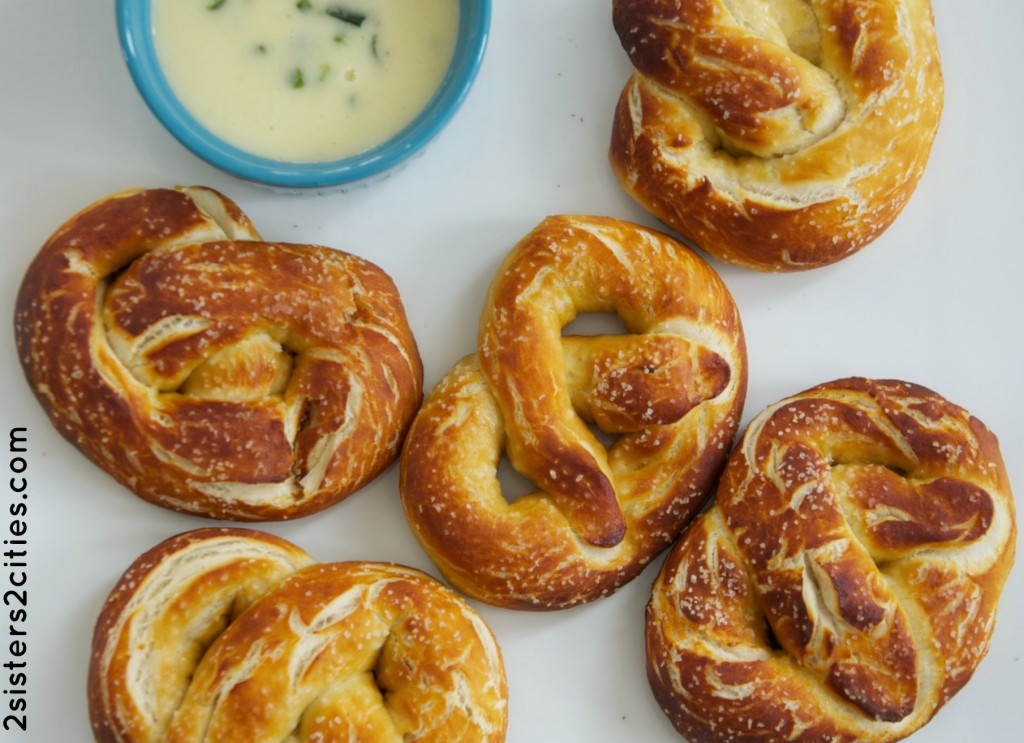
Soft Pretzels with Jalapeño Dipping Sauce

soft pretzels with jalapeño dipping sauce

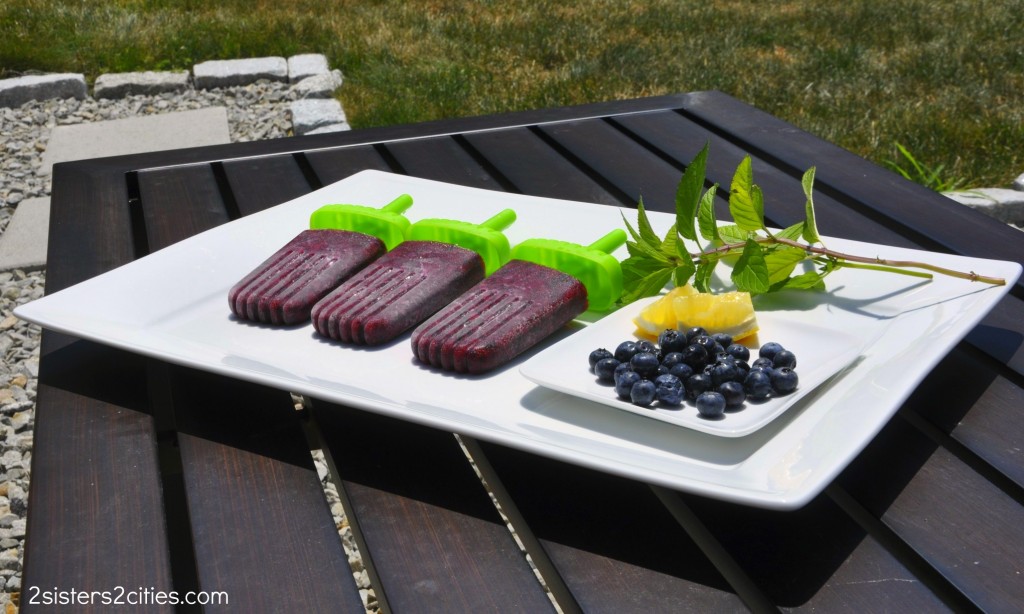
Blueberry Lemon Popsicles

blueberry lemon mint popsicle

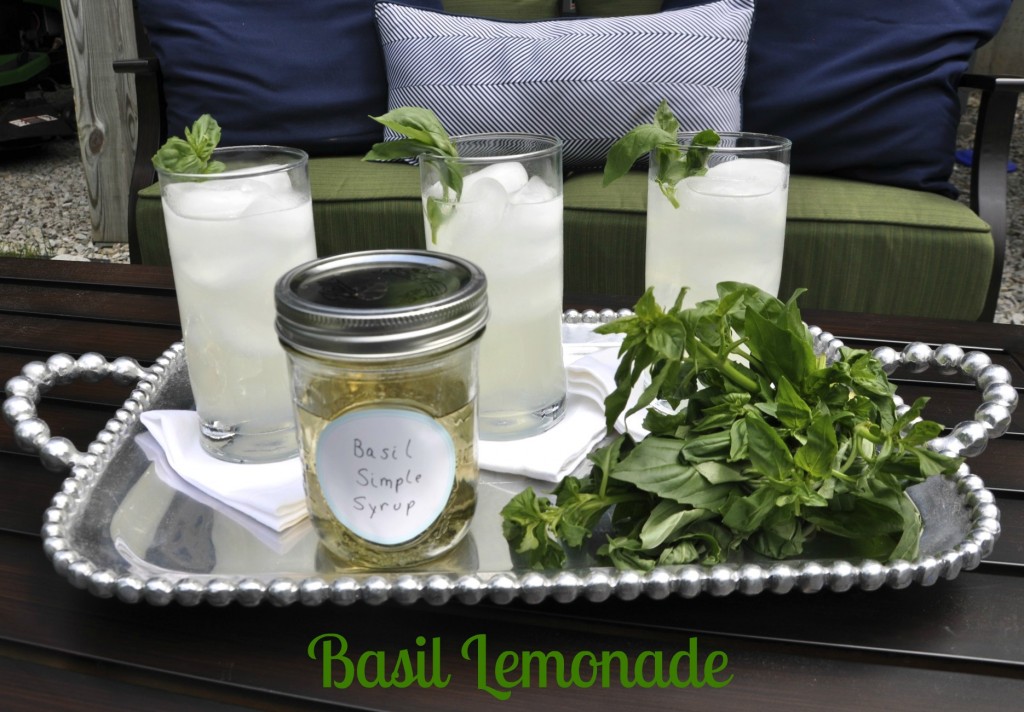
Basil Lemonade

basil lemonade

For An Easy & Elegant Dinner:

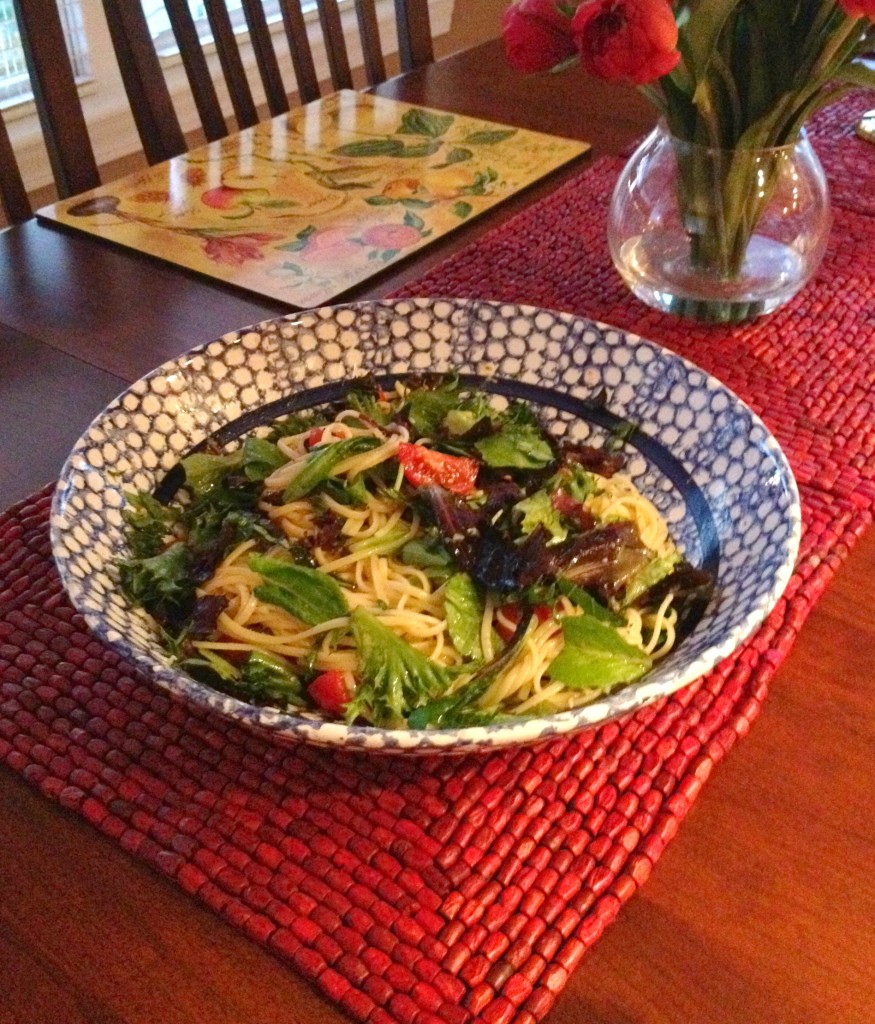
Girls’ Night Pasta

Girls' Night Pasta {from 2 Sisters 2 Cities}

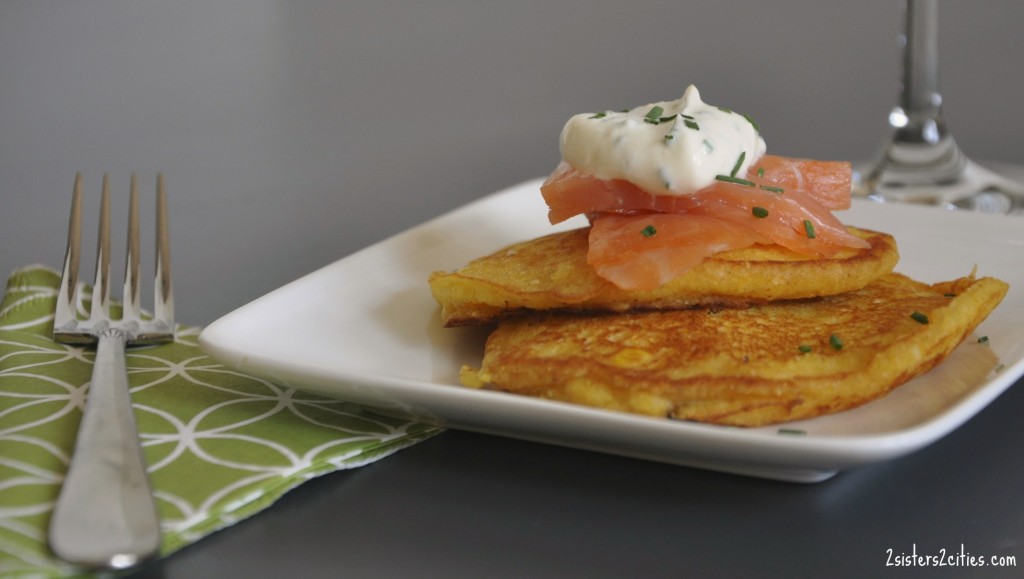
Corn Pancakes with Smoked Salmon and Lemon-Chive Cream

corn pancakes with smoked salmon

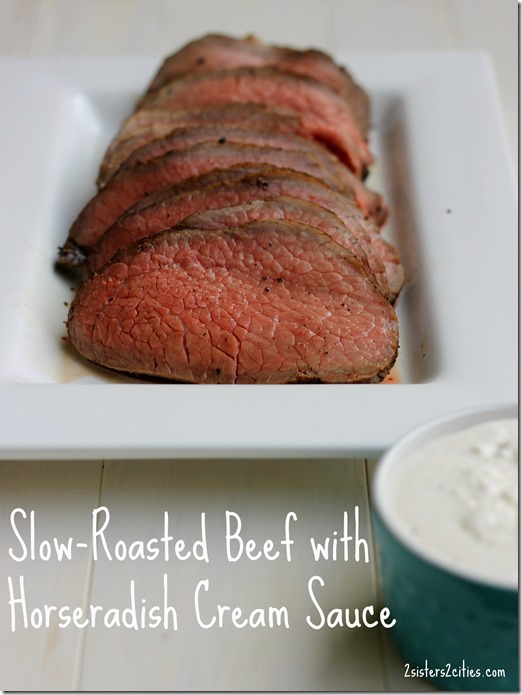
Slow-Roasted Beef with Horseradish Cream Sauce

Slow Roasted Beef with Horseradish Cream Sauce

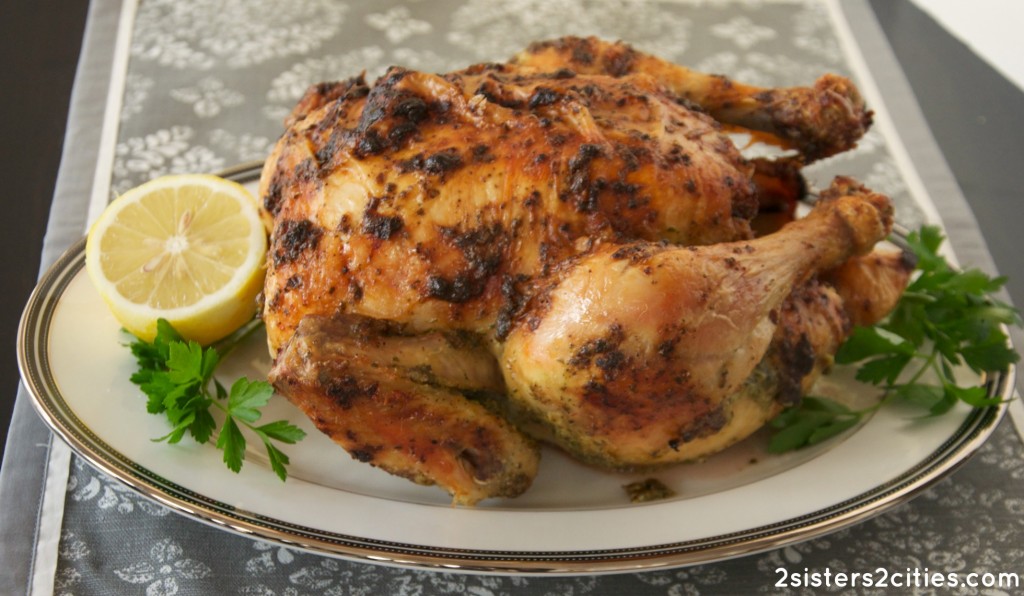
Roast Chicken with Garlic, Lemon, & Parsley

roast chicken

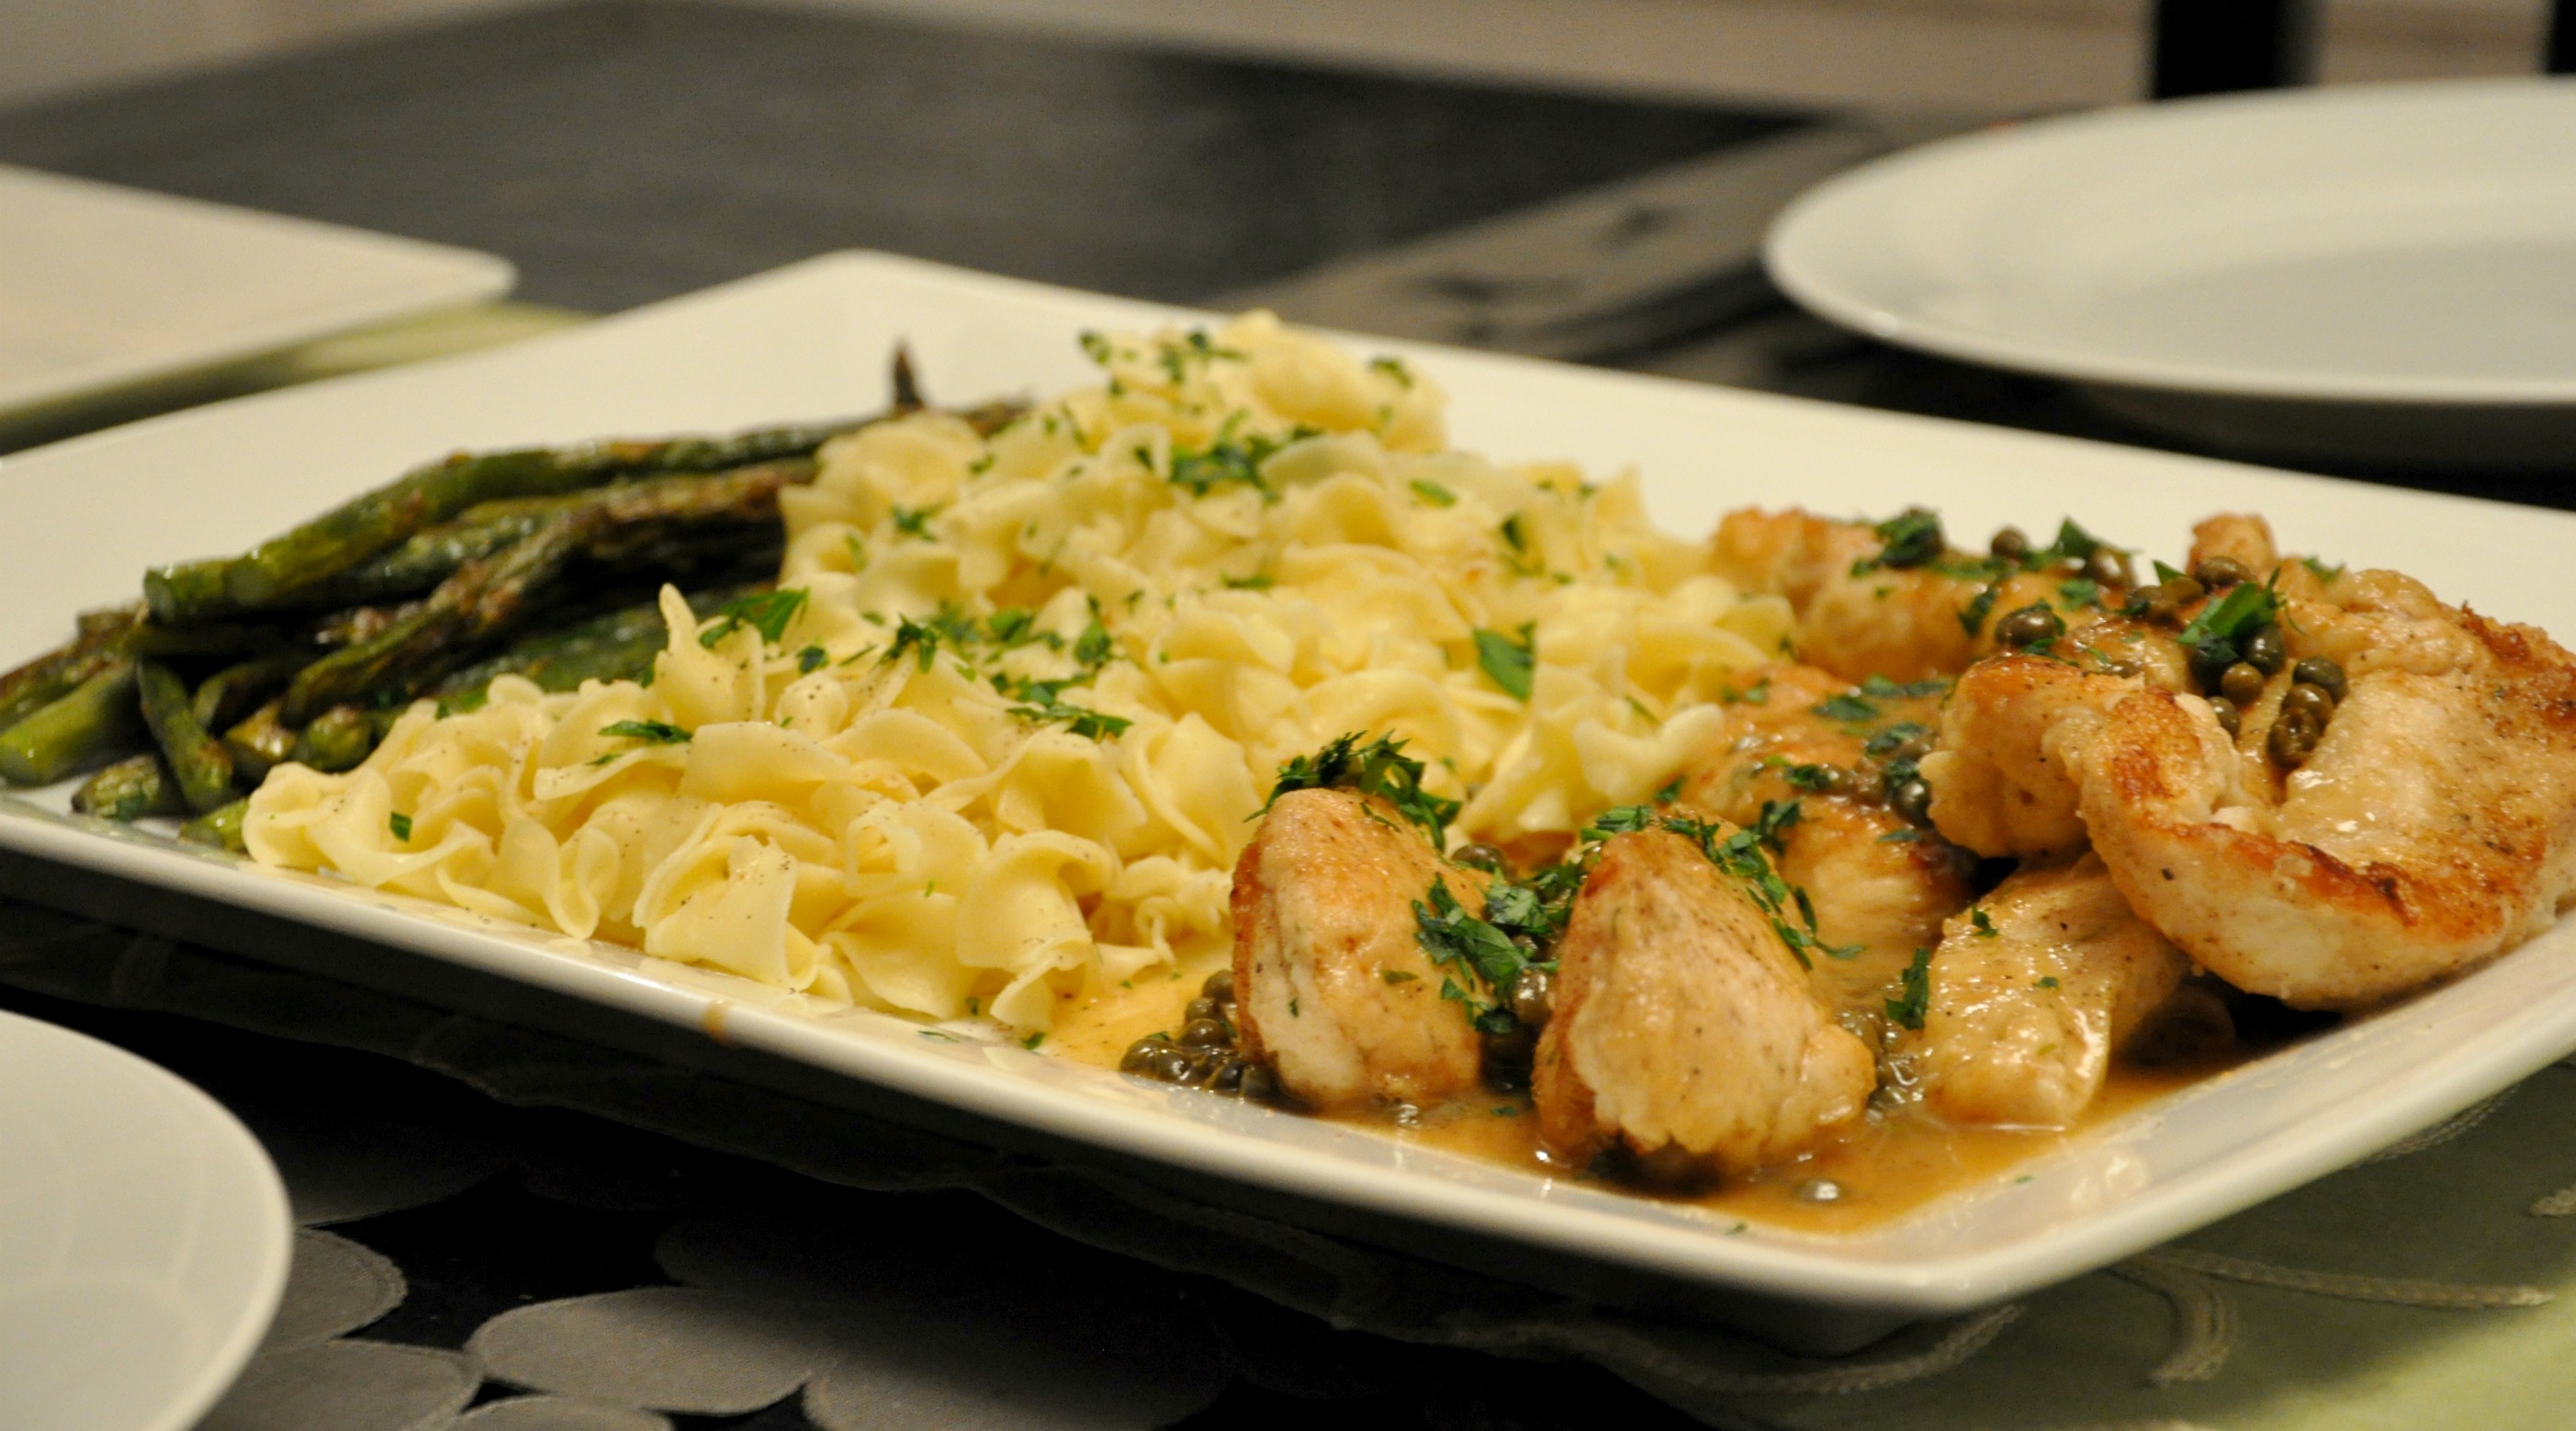
Chicken Piccata

chicken piccata

For a Special Dessert:

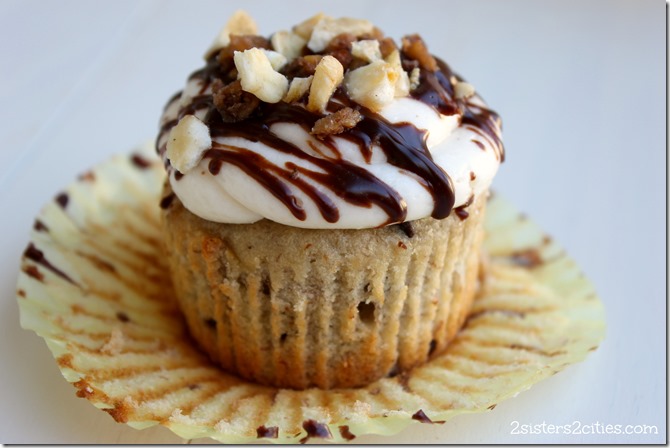
Chunky Monkey Cupcakes

Chunky Monkey Cupcakes {from 2 Sisters 2 Cities}

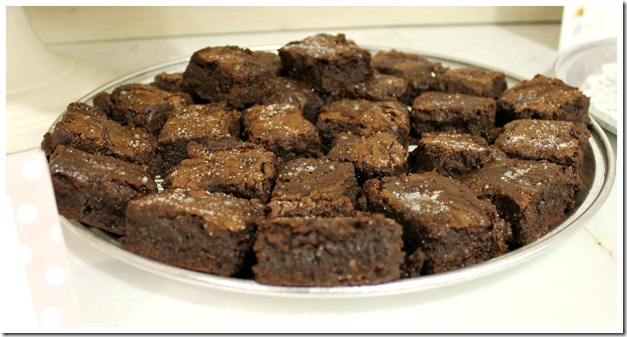
Sea Salt Caramel Brownies

Sea Salt Caramel Brownies

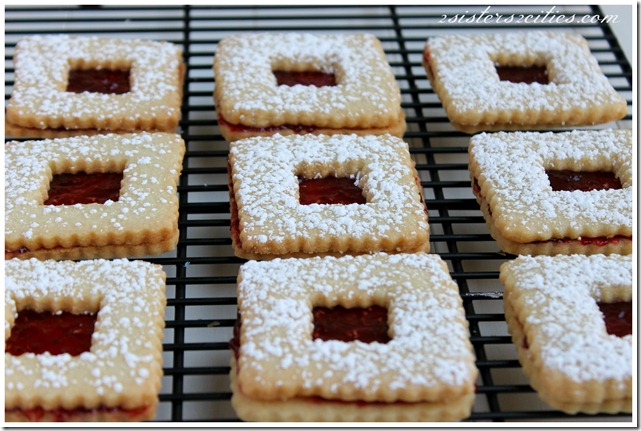
Raspberry Linzer Cookies

Raspberry Linzer Cookies

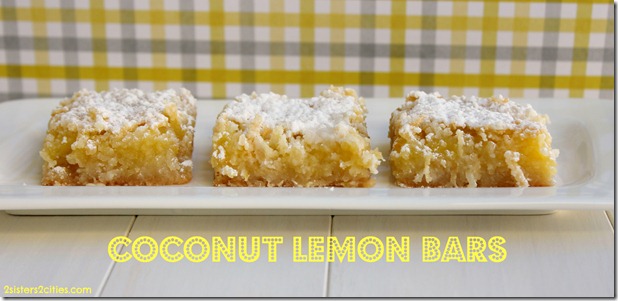
Coconut Lemon Bars

coconut lemon bars

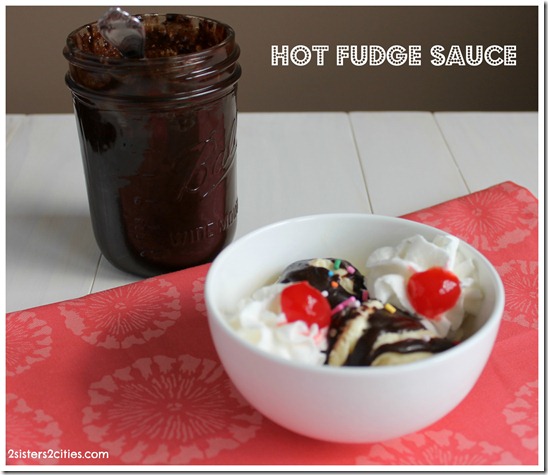
Homemade Vanilla Bean Ice Cream with Hot Fudge Sauce

Hot fudge sauce

Happy mother’s day mom, our #1 reader at 2 Sisters 2 Cities!

sister m signature


P.S. If you are also looking for gift ideas for mom, check out my often-updated gift guide on Pinterest for some gifting inspiration!


Filed Under: M's recipes Tagged With: for mom, mother's day, mother's day breakfast, mother's day brunch, mother's day dessert, mother's day easy dinner, mother's day menu, mother's day snack

Cinco de Mayo Recipes: Dip your chip in this!

Posted by Keelin Hollenbeck on May 3, 2013

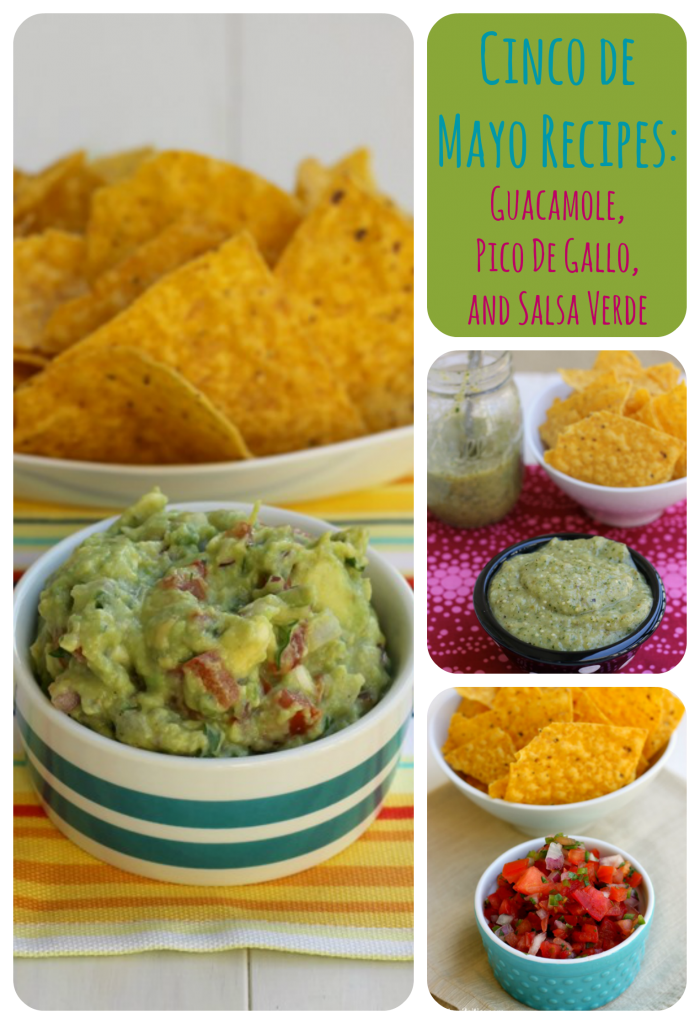
Cinco De Mayo Recipes: Guacamole, Pico De Gallo, and Salsa Verde {from 2 Sisters 2 Cities}

I started looking for Cinco de Mayo recipes to make last weekend.  I found really good-looking recipes for guacamole, pico de gallo, and salsa verde on the blog Shared Appetite.  I was so inspired by all of Chris’s photos and Mexican recipes, I planned a whole weekend of Mexican foods to cook.  There are even more recipes I want to try, but I decided to start with these three.

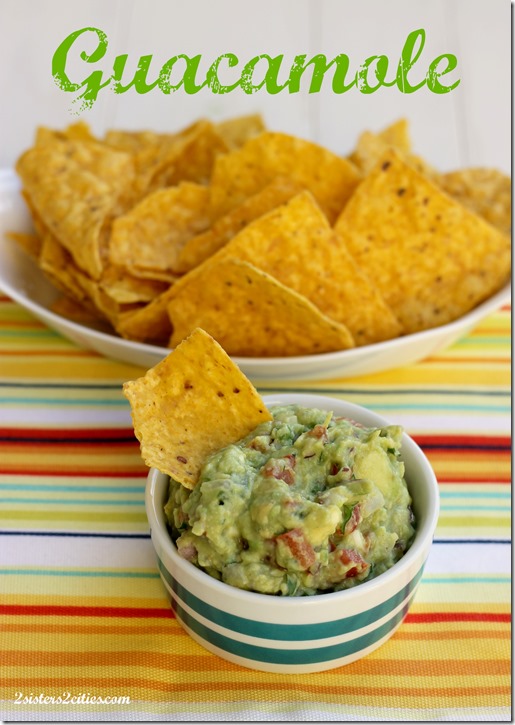
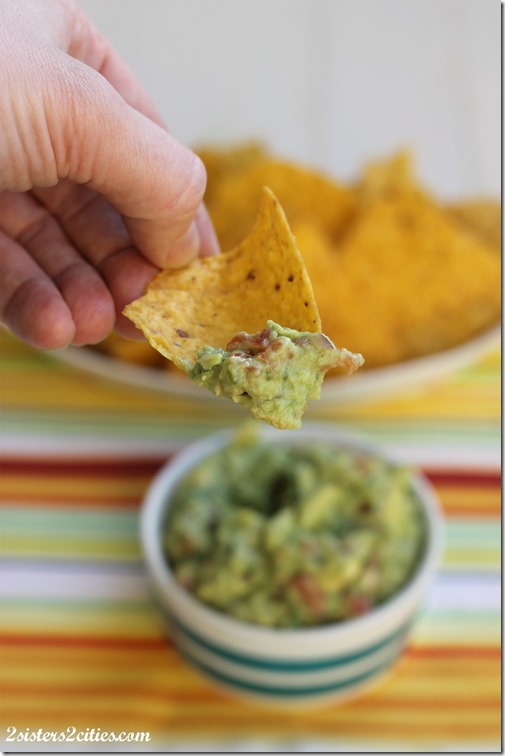
Guacamole

Guacamole

What goes more perfectly with margaritas than a bowl of fresh homemade guacamole and tortilla chips?  M and I have given you several recipes for guacamole over the years.  Think of this as an update to those.  I have to say this recipe is the closest to restaurant guacamole that I have ever made.  The best part of making guacamole is that it is so easy to make and you don’t need to cook anything-  just mix!  If you use my bag method, it is even easier.

The Best Guacamole

Print
Guacamole
 
Ingredients
  • ¼-1/3 cup finely chopped red onions
  • 2 tsp. chopped garlic, about 1-2 cloves depending on size
  • 1 jalapeno, seeded and deveined, chopped
  • ½ teaspoon cumin
  • 3 ripe avocados
  • 1-2 tbsp. lime juice, 1-2 limes depending on how juicy limes are
  • ½ large tomato, seeded and diced
  • ¼ c. cilantro, chopped
  • Kosher salt
  • Freshly ground pepper
Instructions
  1. Add red onion, garlic, jalapeno, and cumin into a large plastic bag.
  2. Cut the avocados in half and remove pits. Using a dull knife, like a butter knife, slice a grid pattern in the avocado making sure to not cut the skin (about 3-4 vertical, 4-5 horizontal). Flip the skin inside out over a bowl, and small squares of the avocado should fall out. Take a spoon and scrape off the rest. Repeat for the rest of the avocado halves.
  3. Once avocados are in the bowl, stir together and mash up to your liking ( I leave mine a bit chunky.)
  4. Add the avocado to the plastic bag with the other ingredients and add 1 tbsp. of lime and chopped cilantro. Seal bag and mix ingredients together with your hands on the outside of the bag. Add salt and pepper to taste and add additional lime if need.
  5. Let set for 30 minutes in the fridge in the bag for better flavor. Serve and enjoy.
  6. When storing leftovers make sure to place plastic wrap directly on guacamole to prevent browning.
3.2.1753

Source- slightly adapted from Shared Appetite

Pico de Gallo

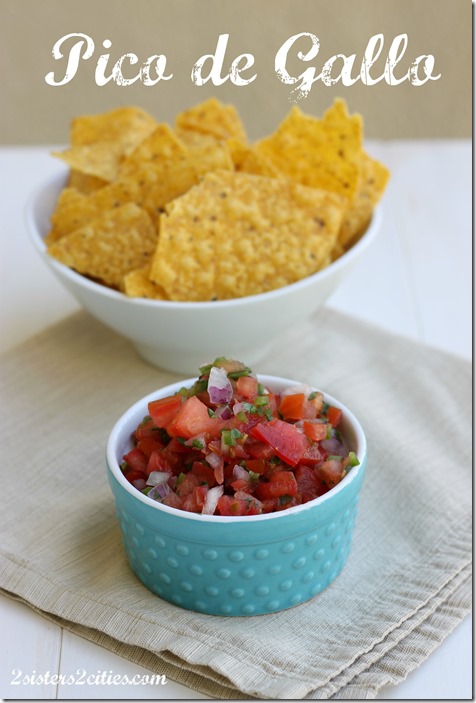
Pico de Gallo

Pico de Gallo is basically a fresh tomato salsa.  Salsa is one of my favorite condiments.  I like salsa with chips, tacos, fajitas, quesadillas, taco salads,  baked potatoes, and even perogies.  When I was single, I used to go through a huge jar of salsa every week.   When I go to Chipotle, I love their mild fresh tomato salsa on my burritos and in my salads.  I love it so much that I even get a side of it to go with their lime & kosher salt chips.  I have been searching for years for a recipe that is like their salsa and this recipe is totally it!

Whether you call it Pico de Gallo, fresh salsa, tomato salsa, or mild salsa, it is delicious and so easy to make!

Print
Pico De Gallo
 
Ingredients
  • 2 large tomatoes, diced
  • ¼ cup chopped red onion
  • 1 jalapeño, seeded, deveined and chopped
  • 1-2 tbsp. lime juice, about 1-2 limes depending on how juicy the limes are
  • ⅛- ¼ cup chopped cilantro
  • Kosher salt
Instructions
  1. In a bowl, combine all the ingredients and stir together. With cilantro and lime, start with the lower measurement and work up to higher measurement depending on your liking. Add kosher salt to taste.
  2. Let sit at least 30 minutes before serving.
  3. Store in an air tight container or jar in the refrigerator for up1-2 days.
  4. Serve with tacos, chips, fajitas, or quesadillas.
3.2.1753

Source- slightly adapted from Shared Appetite

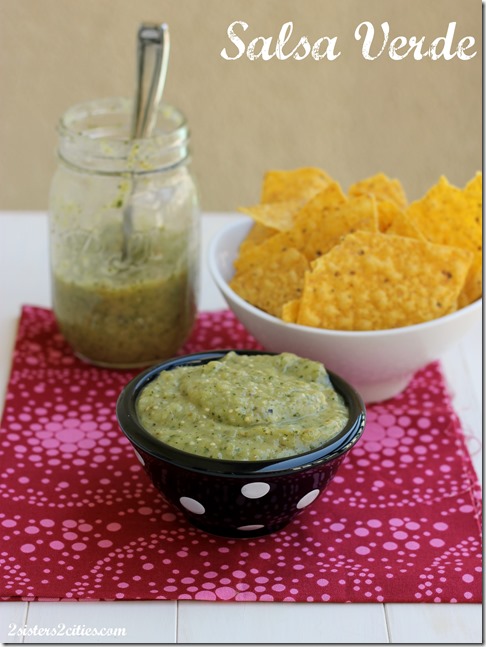
Salsa Verde with Chips

Salsa Verde

Let’s talk some more about salsa.  This salsa is green from the tomatillos that you put it it, instead of tomatoes.   There is a taco place in San Fran called Tacolicious and they often come to our market lunches and sample sales.   I love their carnitas or brisket tacos covered in some of their salsa verde!  Sooooo good.  My mouth is watering just thinking about it.   I made all these sauces and salsa this weekend like they were going out of style!  Can you tell that I love Mexican food?!

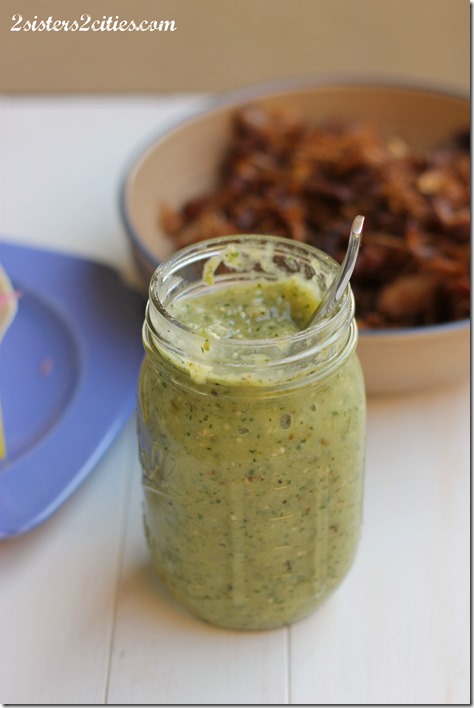
Jar of Salsa Verde

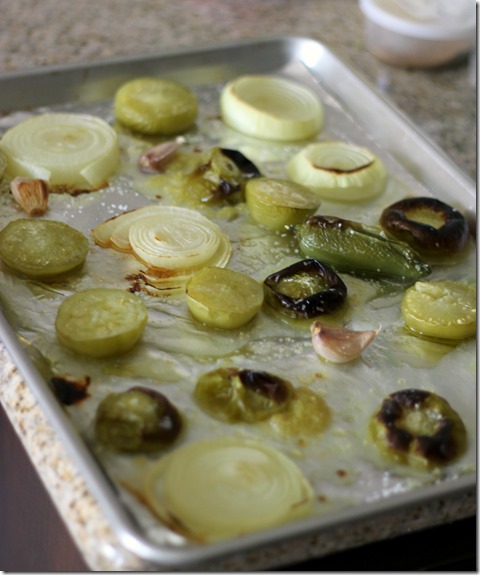
This salsa is easy to pull together by roasting all your veggies on a baking sheet.  You then simply process everything together and you have salsa.   Dip it with chips or top some tacos and you are good to go.

Roasted Tomatillas

Print
Salsa Verde
 
Ingredients
  • 6-8 small tomatillos, peeled,cleaned,and halved
  • 3-4 cloves garlic (still in its skin)
  • 1 onion, cut into 3-4 round slices
  • 1 jalapeño
  • 1-2 tablespoons olive oil
  • Kosher salt
  • 1-2 tablespoons lime juice, about 1-2 limes depending on how juicy the limes are
  • ⅓ cup loosely packed cilantro
  • Freshly ground black pepper
Instructions
  1. Preheat oven to 450 degrees
  2. Prepare a baking sheet by lining with aluminum foil and drizzling part of olive oil down on the pan to prevent sticking. Place tomatillos, garlic, onion, and jalapeño on the baking sheet. Take remaining olive oil and drizzle over vegetables and sprinkle with 1-2 tsp. kosher salt.
  3. Place baking sheet in oven for 18-20 minutes. After baking, turn broiler on for 3 -4 minutes to slightly char the top of vegetables. Take pan out of oven and let cool.
  4. Place tomatillos and onions in the food processor. Squeeze the garlic cloves out of their skins and add to food processor. With gloves or plastic bags on your hands, remove top and seeds from jalapeño. Add to food processor . Keep some seeds on the jalapeño for spiciness. Add in cilantro and 1 tbsp. lime juice, and salt and pepper to taste. Blend all together until smooth.
  5. Taste, add additional lime, salt and/or pepper if needed. Blend an additional couple seconds if adding ingredient.
  6. Store in an air tight container in the refrigerator and serve with tacos, chips, or whatever type of food you would put salsa on.
3.2.1753

Source- slightly adapted from Shared Appetite

Check back soon for more Cinco de Mayo recipes- taco and quesadilla recipes coming up!

sisterk (2)


Filed Under: K's Sides, K's Recipes Tagged With: chips, cinco de mayo, dipping sauces, fiesta, guacamole, mexican, mexican food, pico de gallo, salsa, salsa verde, tortilla chips

Tres Leches Cupcakes

Posted by Meaghan Barry on May 2, 2013

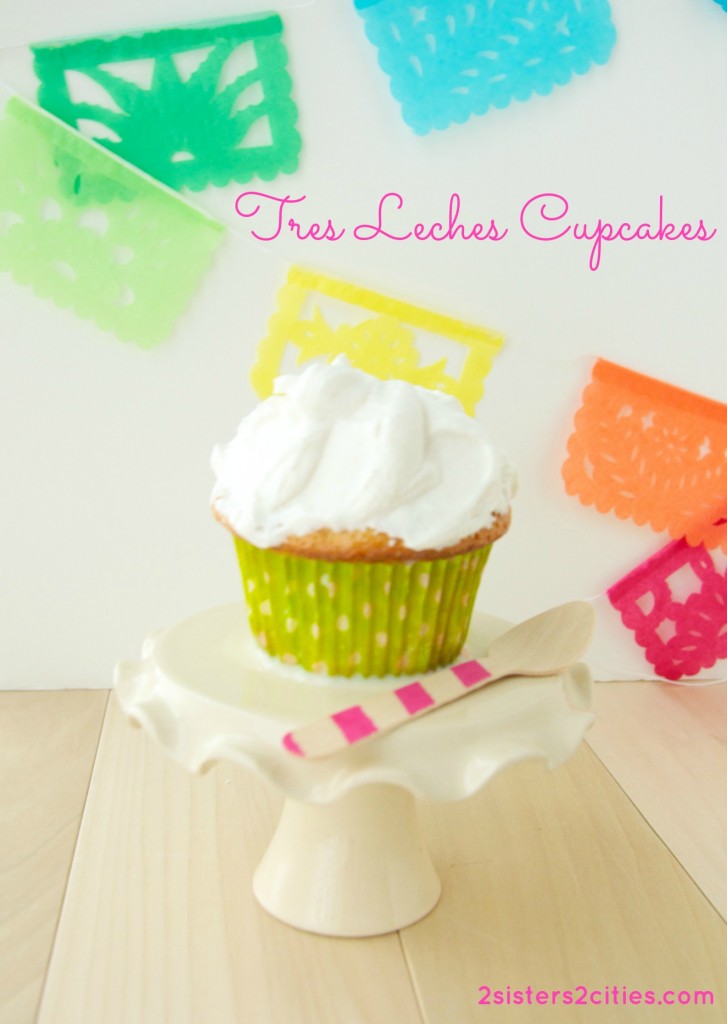
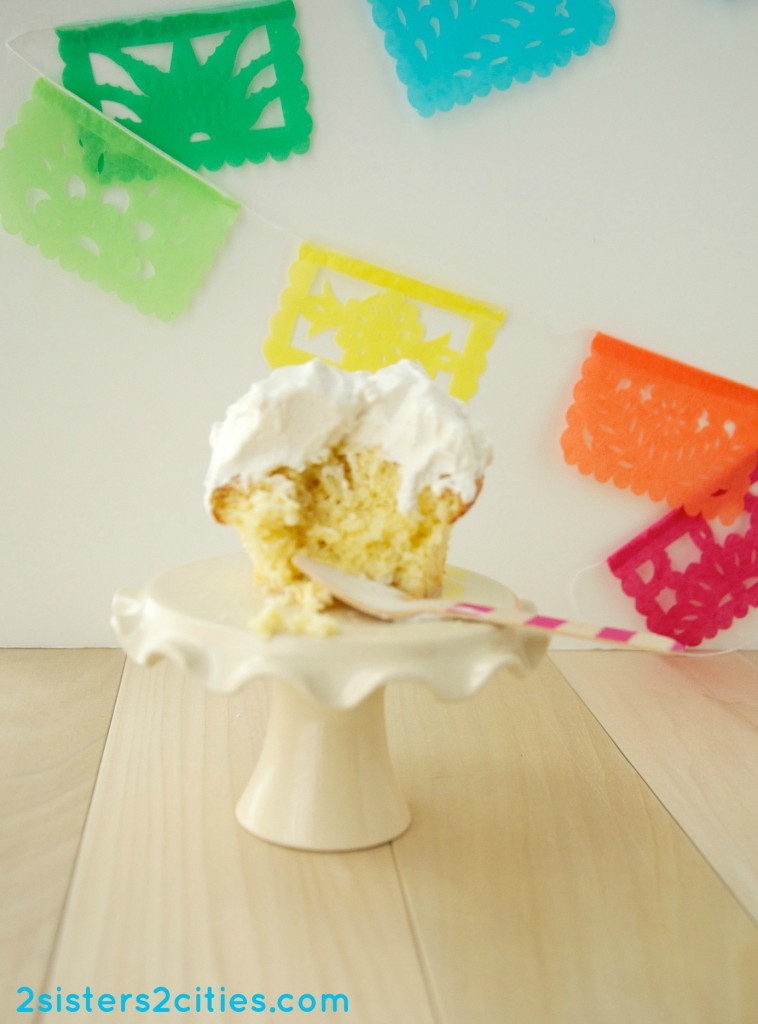
Tres Leches Cupcakes {from 2 Sisters 2 Cities}

I typically buy healthier items when I grocery shop at Whole Foods (versus a typical Boston-area grocery store such as Stop & Shop or Shaw’s.)  However, the one thing that gets me everytime is the tres leches cake from prepared foods section.  It’s always located on the last end-cap we have to go around before we head to the cashier.  I can practically hear it calling my name from the shelf!  I often find myself picking up a slice to split with my husband for dessert.

Tres Leches Cupcakes {from 2 Sisters 2 Cities}

While K and I were discussing what Cinco de Mayo recipes we were going to post, I told her about my obsession with the WF tres leches cake.  I’ve never made one before and she told me that I had to try making tres leches cupcakes instead.  K just bought me some awesome new cupcake pans for my birthday so I figured it would be the perfect chance to use them.

Tres Leches Cupcakes {from 2 Sisters 2 Cities}

If you haven’t had a tres leches cake (or cupcake) before, tres leches means three milks due to the three varieties of milk used in the recipe.  This recipe actually has four types if you count milk and heavy cream as separate types of milk (the other two are evaporated milk and sweetened condensed milk.)

Tres Leches Cupcakes {from 2 Sisters 2 Cities}

Print
Tres Leches Cupcakes
Author: 2 Sisters 2 Cities
Recipe type: dessert
Cuisine: Mexican
Prep time:  30 mins
Cook time:  15 mins
Total time:  45 mins
Serves: 18
 
Ingredients
For the cupcakes:
  • 1 cup, plus 2 tablespoons cake flour
  • 1 teaspoon baking powder
  • ¼ teaspoon salt
  • 5 eggs, yolks and egg whites separated
  • 1 cup sugar, divided
  • ⅓ cup whole or 2% milk
  • 1 and ½ teaspoons vanilla extract
For the tres leches glaze
  • 1 12-ounce can evaporated milk
  • 1 14-ounce sweetened condensed milk
  • ½ cup heavy cream
For the cupcake topping
  • 2 cups heavy cream
  • ½ cup sugar
  • 1 teaspoon vanilla extract
  • ¼ teaspoon cinnamon (optional)
Instructions
For the cupcakes:
  1. Preheat the oven to 350 degrees Fahrenheit. Prepare two cupcake pans with paper liners (this recipe makes about 18 cupcakes.)
  2. In a large bowl, whisk together the flour, baking powder, and salt. Meanwhile, in a mixing bowl of an electric mixer, add the egg yolks and ¾ cup sugar. Beat them together using the whisk attachment until mixture is well combined. Add the milk and 1 and ½ teaspoon vanilla; continue to beat until combined.
  3. Pour the liquid mixture over the flour mixture and stir together gently with a spatula. Wash out the mixing bowl and whisk attachment. Once dry, beat the egg whites on high speed until stiff peaks appear. Add ¼ cup sugar and continue to beat until combined.
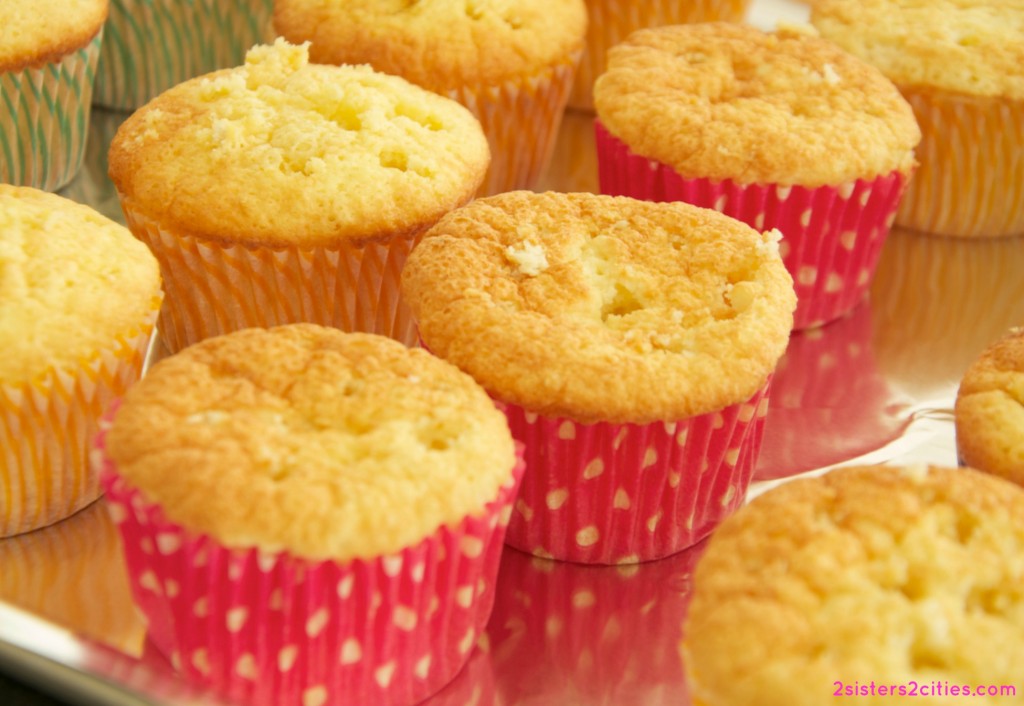
  4. Using the spatula, gently fold the egg whites into the other large bowl. Mix until just combined and pour batter into cupcake liners. Bake for 15 minutes or until center of cupcakes reach 200 degrees Fahrenheit. Remove from oven and allow to cool.
For the tres leches glaze
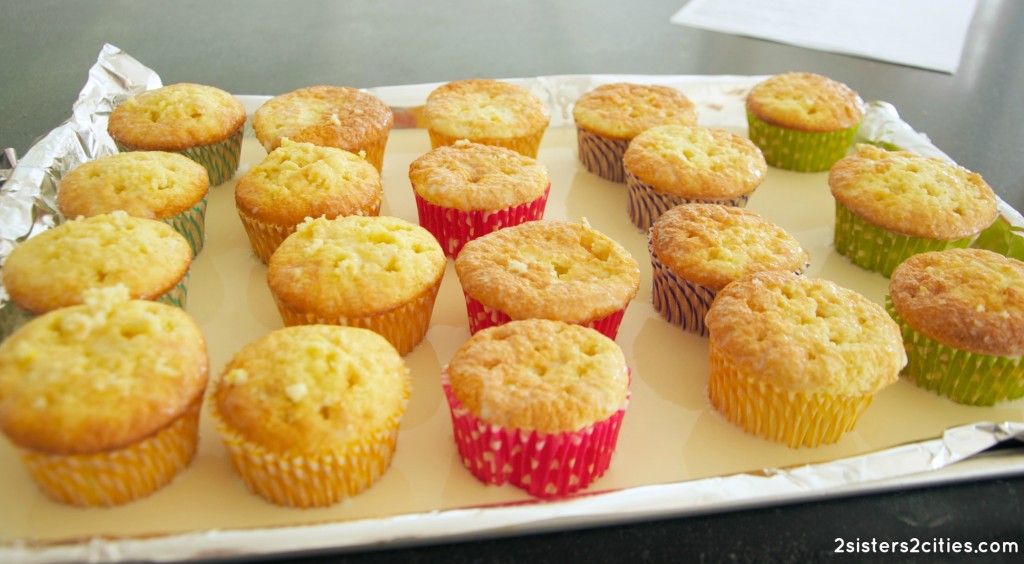
  1. Line a baking sheet with foil and transfer the cupcakes once they have cooled. Using a fork or a skewer, poke about 10 holes into each cupcake.
  2. In a large measuring cup, whisk together the evaporated milk, sweetened condensed milk, and ½ cup heavy cream. Pour mixture over the cupcakes (some residual glaze will spill over onto the foil.) Place the baking sheet of cupcakes in the fridge and allow to chill up to 30 minutes.
For the cupcake topping
  1. In the mixing bowl of an electric mixer, add the heavy cream, sugar, vanilla extract, and cinnamon. Using the whisk attachment, mix together until stiff peaks form. Use a spatula or spoon to top cupcakes with whipped cream topping.
  2. Store cupcakes in refrigerator.
3.2.1753

Source: Adapted from The Pioneer Woman, Alton Brown, and The Latin Kitchen

sister m signature

Related Posts Plugin for WordPress, Blogger...


Filed Under: M's Desserts, M's recipes, Party Ideas Tagged With: cinco de mayo, cupcake recipe, cupcakes, mexican, mexican food, tres leches cake, tres leches cupcakes

Recent Posts

  • Easy Holiday Office Party Tips
  • 5 Steps to an Easy Football Party
  • Gingerbread Biscotti
  • Holiday Coffee Bar and Thanksgiving Recipes
  • Soft Sugar Pumpkin Cookies
  • Cinnamon Sugar Apple Cake
  • Hello Pumpkin Season!
  • Make Your Own Milkshake Party!
  • Mama’s Pickles
  • S’more Cookies

Categories

  • About 2 Sisters 2 Cities (7)
  • Books (8)
  • Crafting & DIY (22)
  • Design & Decorating (15)
  • Gardening (5)
  • Giveaway (14)
  • Guest Bloggers (8)
  • K's post (46)
  • K's Recipes (191)
    • K's Desserts (75)
    • K's Entrees (23)
    • K's Sides (24)
  • M's post (72)
  • M's recipes (167)
    • M's Entrees (21)
    • M's Sides (14)
    • M's Desserts (30)
  • Organizing (7)
  • Party Ideas (49)
  • Uncategorized (1)
  • Vacation (12)
Stitch Fix

Archives

Blogroll

  • Annie's Eats
  • Bake at 350
  • Baked Bree
  • Boston Harbor Beacon
  • Confections of a Foodie Bride
  • Cook Like a Champion
  • Erin’s Food Files
  • Forever and a Recipe
  • Framed Cooks
  • Oh Happy Day
  • On Common Ground
  • Pennies on a Platter
  • Pink Parsley
  • Recipe Girl
  • Sally's Baking Addiction
  • Simply Scratch
  • The Curvy Carrot
  • The Pioneer Woman
  • Tidy Mom
  • Two Peas & Their Pod
  • What’s Gaby Cooking
  • Young House Love
Increase your website traffic with Attracta.com

grab a 2 sisters button!


Copyright © 2014 ~ 2 Sisters 2 Cities | Blog Design by Minx Design